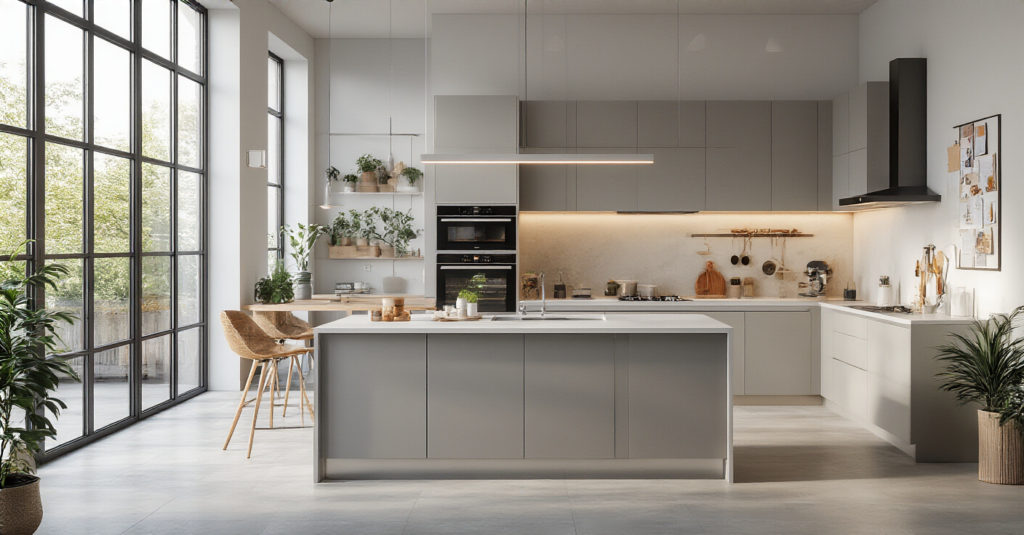
Picture this: It’s Saturday morning. The sun is pouring in, you’ve got coffee brewing, but you look around your kitchen and… ugh. It just doesn’t feel like you anymore. The lighting is dreary, the counters are cluttered, and the whole vibe feels stuck in another decade. You dream of a bright, fresh space for hosting brunches or just enjoying a quiet Tuesday night dinner, but the thought of a full-blown renovation with dust, decisions, and dollar signs feels completely overwhelming.
Well, what if I told you it doesn’t have to be that way? Forget the sledgehammers and the months of eating takeout. As an event planner and stylist, I’ve learned the secrets to transforming spaces without tearing them down to the studs. It’s all about making smart, high-impact changes that celebrate the rhythm of your life. A kitchen makeover isn’t a one-and-done project; it’s a series of little love letters you write to your home throughout the year. Let’s get into it.
Laying the Groundwork: Planning & Initial Steps
Okay, before we even think about paint swatches or pretty faucets, we need a game plan. I know, I know—planning sounds like the boring part. But trust me, this is where the magic really starts. Getting this right is the difference between a project that’s fun and energizing, and one that makes you want to pull your hair out. A little bit of thoughtful prep work now saves you so much time, money, and sanity later.
1. Define Your Vision: Establish Kitchen Style and Functional Goals
You know what people always ask me? “Where do I even start?” They get so lost on Pinterest that they end up with a board that’s half modern farmhouse, half sleek industrial, and they can’t make a single decision. The trick is to stop looking and start feeling. For one week, live in your kitchen with a notebook. Don’t just write down what you hate; write down the moments. “Wish I had a spot for the kids to do homework.” “Nowhere to put this hot pan!” “This corner would be so perfect for a little coffee bar.”
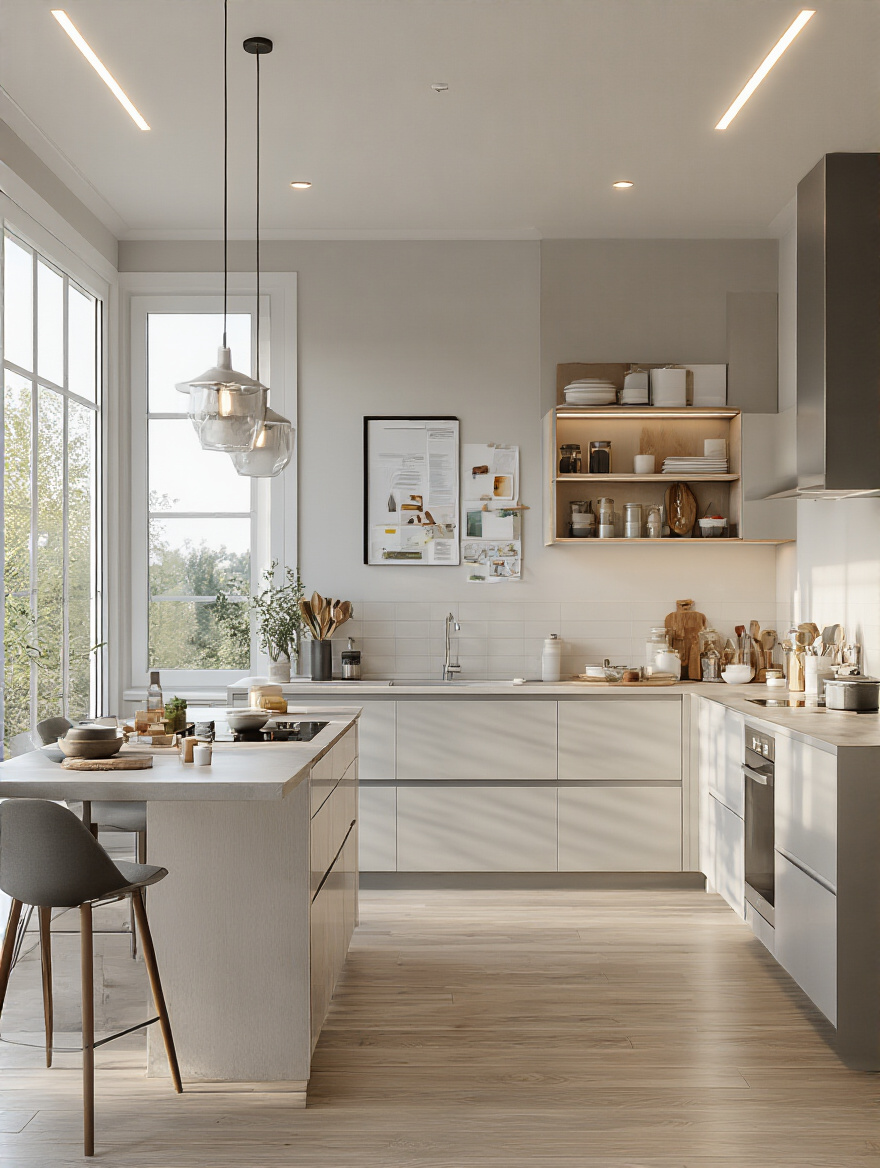
This isn’t about picking a “style” from a magazine. It’s about defining how you want to live in your kitchen. Are you a gourmet chef who needs a serious command center? An entertainer who wants an island where everyone can gather? A busy parent who needs a ruthlessly efficient, easy-to-clean space? Your real-life moments will give you a clearer vision than any design blog ever will. Your vision is your North Star for every other decision you’re about to make.
With that vision in hand, you can start making real choices instead of getting stuck in an inspiration-overload spiral.
2. Budget Wisely: Create a Realistic Renovation Spending Plan
Can we talk about why everyone gets kitchen budgets wrong? People either pick a random number out of thin air or they assume they need a six-figure loan to do anything meaningful. Both are myths. The real secret is to be a ruthless prioritizer. That vision board you just made? Split it into two lists: “Need to Have” and “Nice to Have.” Be honest. You need functional storage. You might just want that imported Italian tile.
Once you have your priorities, start pricing things out, but here’s the shortcut: assume labor will be about 20-30% of your total cost. People always focus on the shiny new stove and forget someone has to actually install it. And the biggest rule of all? Add a 15% “oops” fund. Seriously. Every project has a surprise—whether it’s finding weird plumbing or deciding you absolutely can’t live without that other faucet. Your contingency fund is what keeps a tiny surprise from turning into a major financial meltdown.
Now that we’ve got our money talk out of the way, let’s get into the flow of things.
3. Assess Workflow: Optimize Layout for Ergonomic Efficiency Gains
Okay, “ergonomic efficiency” sounds super corporate, but here’s what it really means: making your kitchen work for you, not against you. Think about the path you walk from the fridge to the sink to the stove. Is it a clear path, or an obstacle course? This is the famous “work triangle,” and while it’s a great starting point, modern kitchens are more about “zones.” You have a prep zone, a cooking zone, a cleanup zone, and maybe even a social zone.
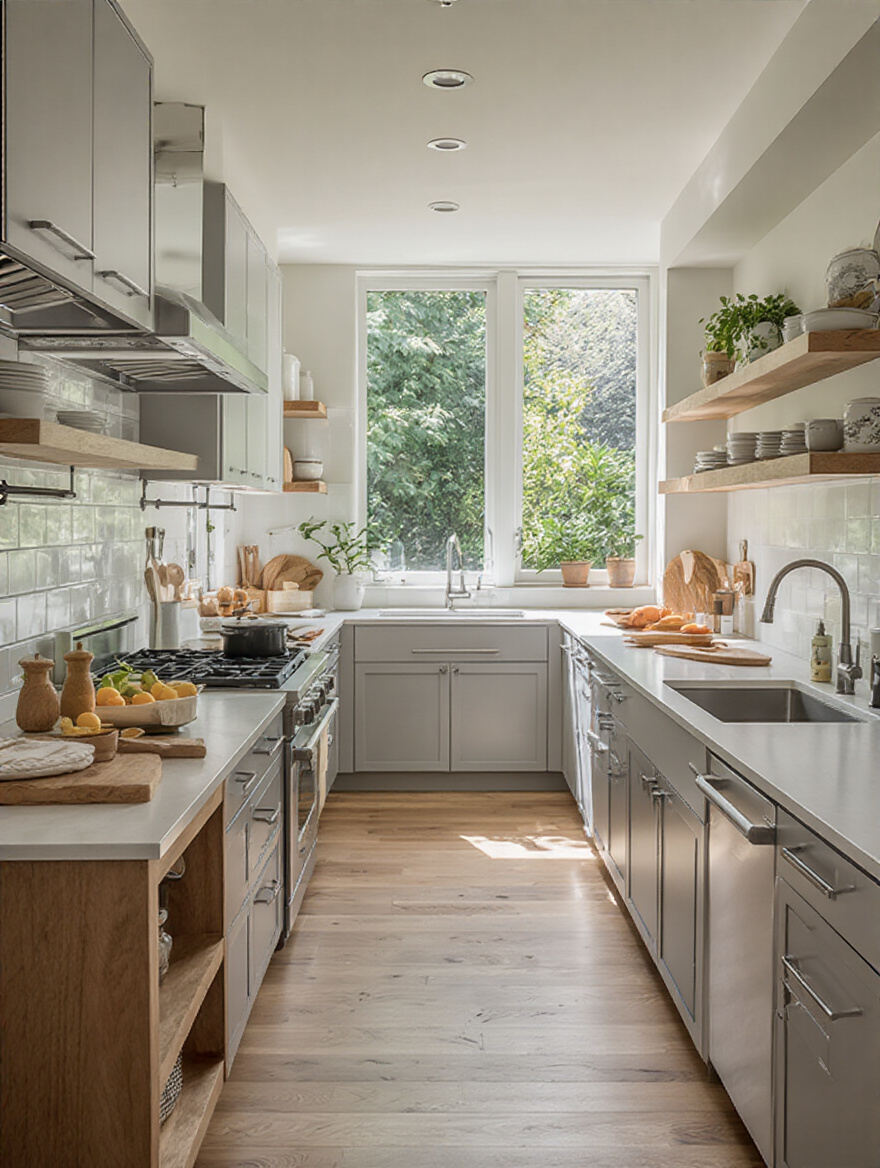
Here’s a trick I learned from event planning: before you change anything, map it out. Use painter’s tape on the floor to outline where a new island or counter would go. Then, walk it. Pretend you’re making your favorite meal. Are you bumping into things? Is the trash can a million miles away from where you chop vegetables? Fixing these annoying little traffic jams is one of the most satisfying parts of a makeover. It doesn’t have to be a major gut job; sometimes just moving a trash can or adding a small rolling cart can be a total game-changer.
Once you’ve figured out your flow, you might realize you need a little help from the pros.
4. Consider Professional Help: When to Hire an Interior Designer
I used to think hiring a designer was just for million-dollar homes. Then I saw a client waste thousands on a contractor who didn’t understand her vision, and I realized a good designer can actually save you money. They stop you from making expensive mistakes. They know which materials look high-end but are actually affordable, and they get trade discounts you’ll never have access to.
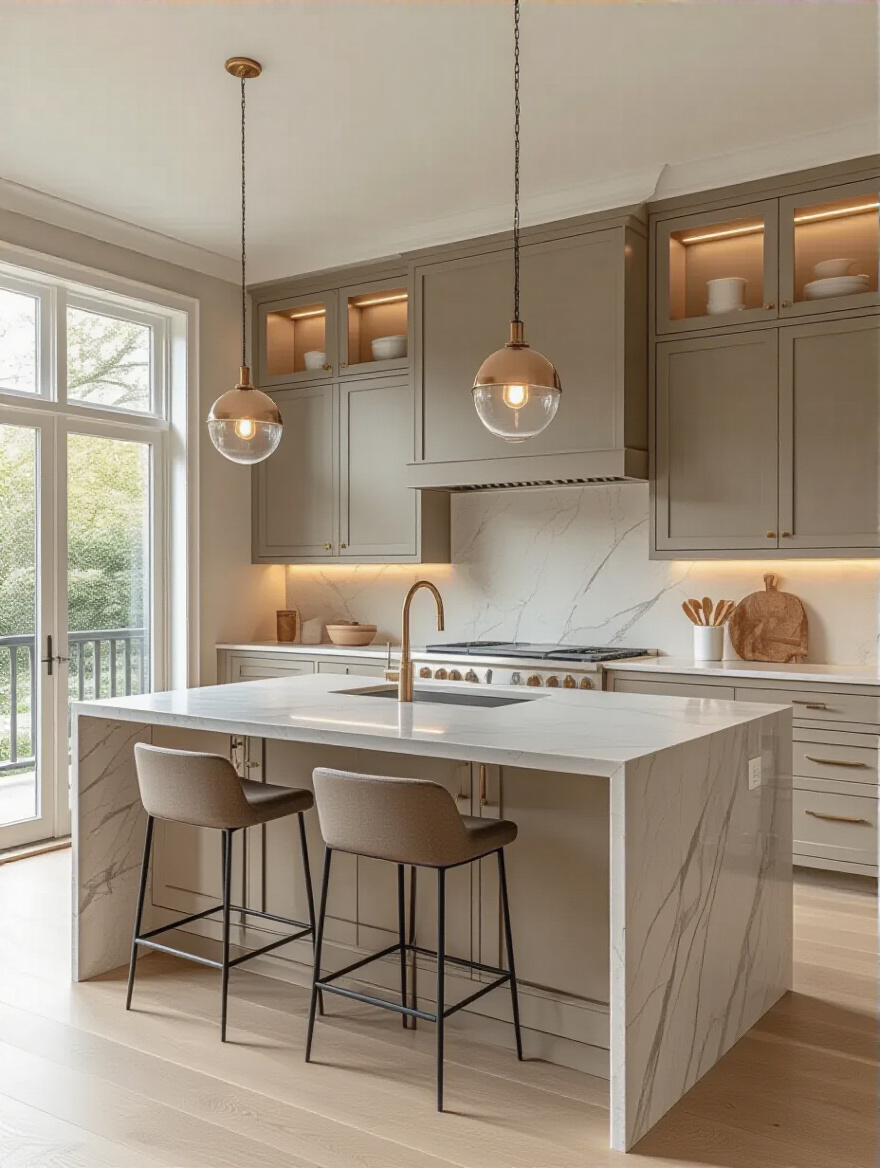
Here’s the deal: if you’re just painting and swapping hardware, you’ve got this. But if you’re moving walls, changing the layout, or feeling completely paralyzed by all the choices, a designer is your secret weapon. They’re not there to boss you around; they’re there to translate your jumbled ideas into a concrete plan. Find someone whose portfolio you love and just have a consultation. Think of them less as an expense and more as an insurance policy for your dream kitchen.
Transforming Core Surfaces & Major Elements
This is the really fun part! Once the plan is locked in, we get to make the big, dramatic changes that deliver that jaw-on-the-floor “after” photo. These are the surfaces you see and touch every single day—the walls, the cabinets, the counters. Getting these right will completely redefine the energy of your space and give you the most bang for your buck.
5. Paint Power: Refresh Walls with a New Invigorating Color
Never, ever underestimate the power of a can of paint. It’s the fastest, cheapest, and most transformative thing you can do to a room, period. People spend so much time agonizing over the perfect color, but what they forget is the sheen. Kitchens are messy. You need paint you can scrub. A satin or semi-gloss finish is your best friend here. It’s durable, wipeable, and will stand up to spaghetti sauce splatters and greasy steam.
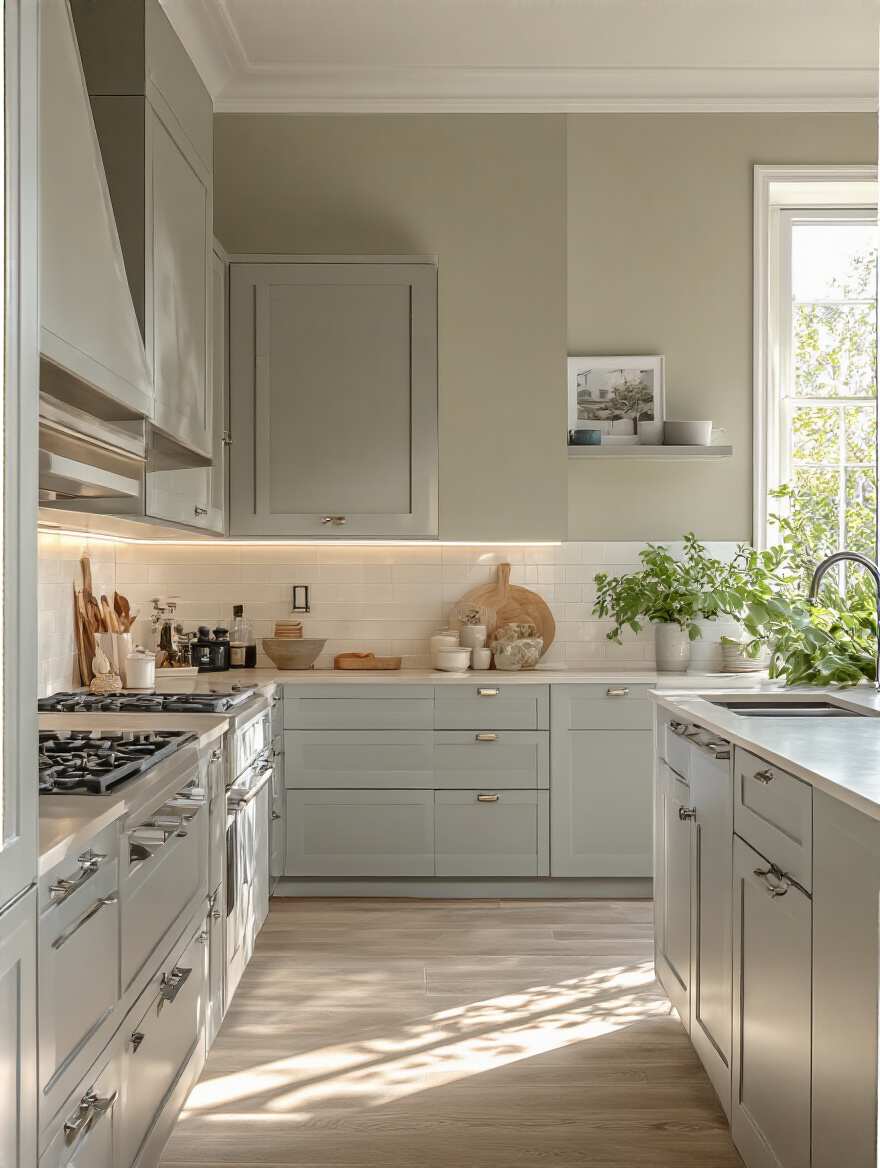
I once worked with a family whose kitchen felt like a dark little cave. They had good cabinets and counters, but the deep red walls were just sucking all the light out of the room. We spent one weekend painting it a soft, warm white. The change was instant. It felt twice as big, a hundred times brighter, and suddenly all the other elements they already had looked fresh and new. They felt like they had a whole new kitchen for the cost of a few gallons of paint.
Now that the walls are looking fresh, let’s turn our attention to the biggest feature in the room.
6. Cabinet Revival: Paint or Refinish for a Budget-Friendly Facelift
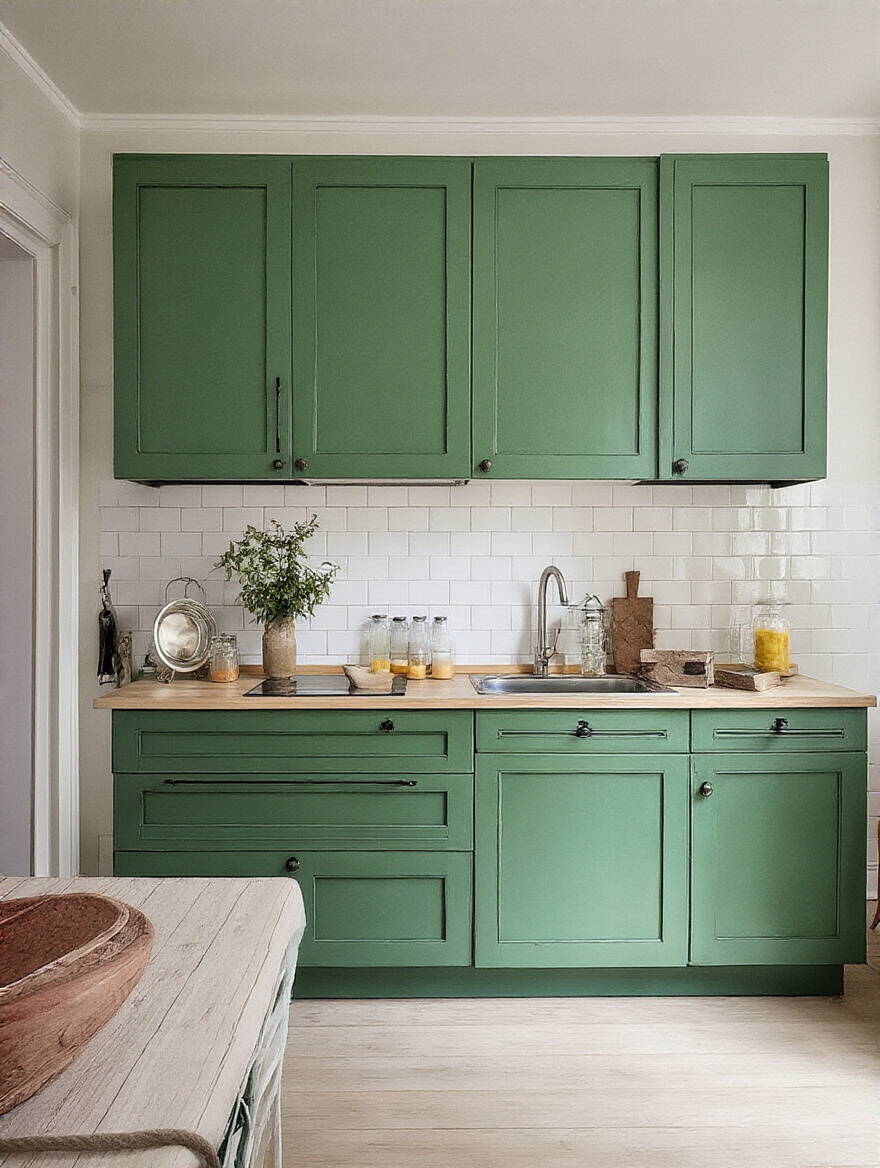
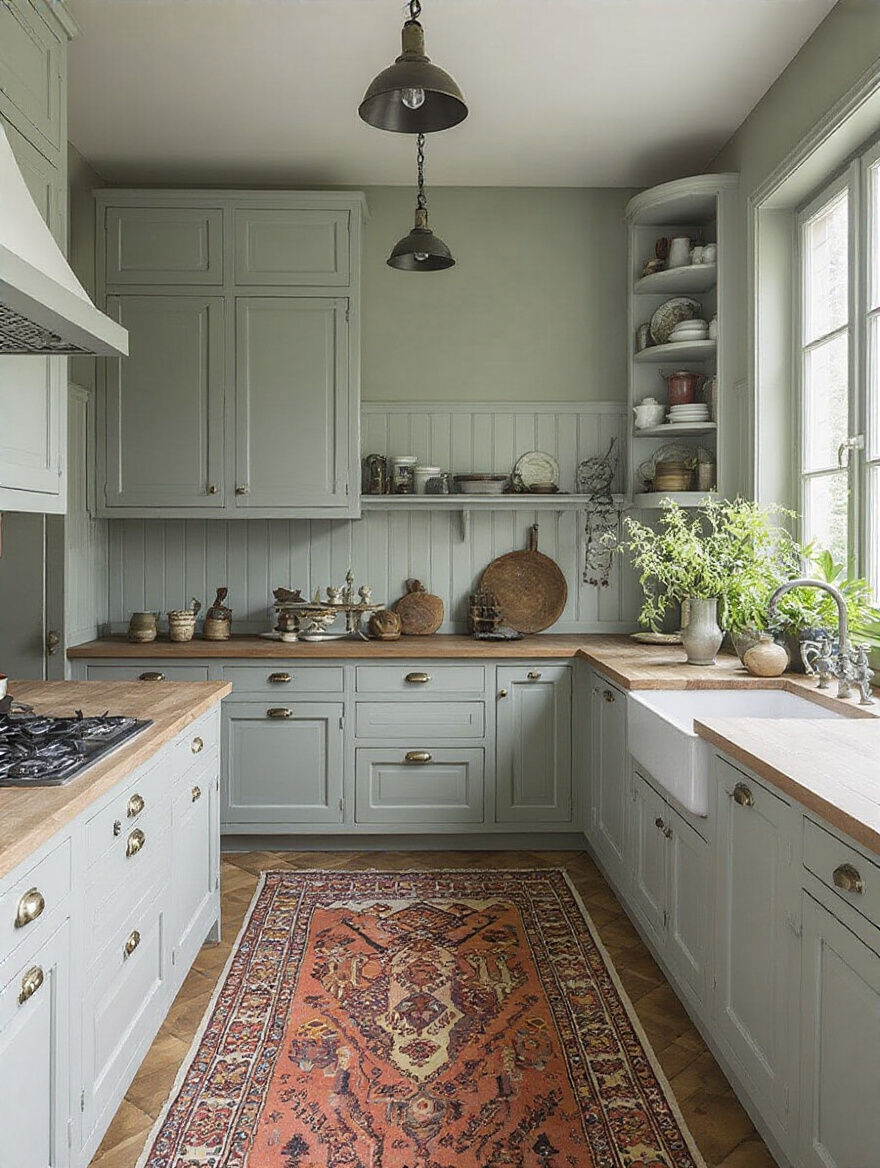
Everyone thinks you need to rip out old cabinets. Here’s what actually happened when a client of mine wanted to do just that: I stopped them. They had builder-grade honey oak cabinets from the 90s, and they hated them. A quote for new cabinets came in at $15,000. Instead, we spent about $1,000 to have them professionally prepped and sprayed a gorgeous, moody gray-green. They looked brand new.
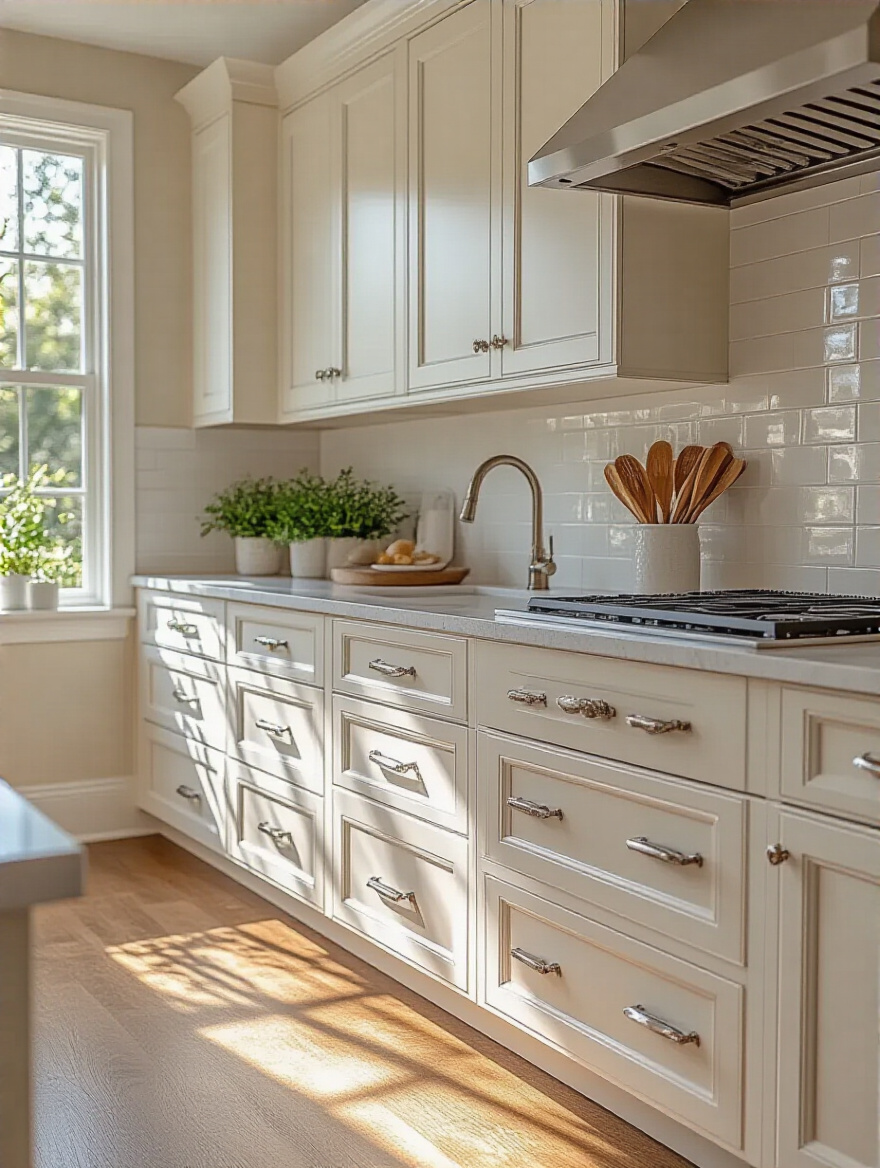
The secret isn’t the paint; it’s the prep. Anyone who tells you that you can just slap a coat of paint on is setting you up for failure. You have to clean, sand, and prime like your life depends on it. A professional cabinet painter once told me, “My job is 90% prep, 10% painting.” It’s a tedious process, but it’s the only way to get a finish that won’t chip the second you look at it. If you’re not up for that level of detail, this is one area where hiring a pro is worth every single penny.
With those cabinets gleaming, the surface you use the most is up next.
7. Countertop Upgrade: Select Durable Materials for Enhanced Appeal
Your countertops are the workhorses of your kitchen. This is not the place to skimp on quality just to save a few bucks. The BS everyone falls for is thinking granite is the only “high-end” option. These days, engineered quartz is the reigning champion. It’s virtually indestructible, it never needs to be sealed, and it comes in a million gorgeous patterns that look just like marble without the terrifying maintenance.
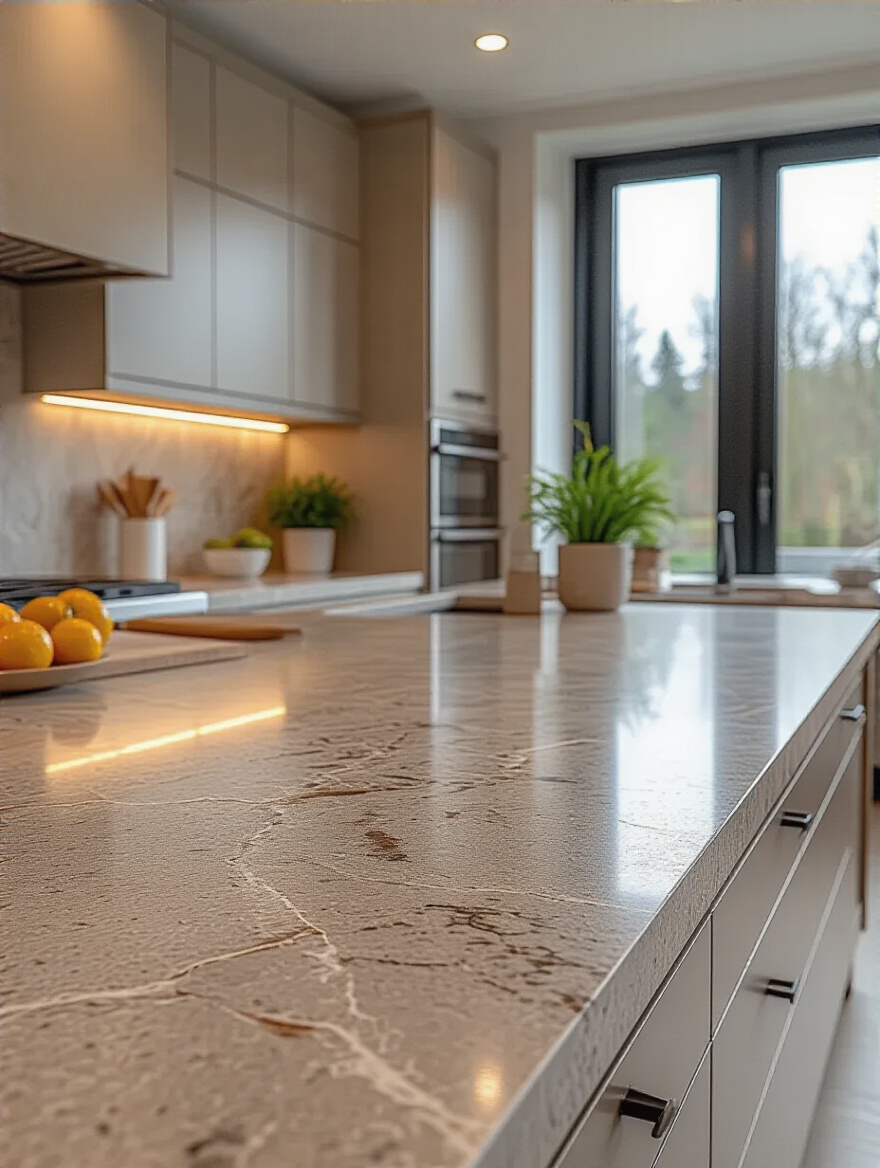
A few years ago, I helped a couple who loved to cook but had these awful laminate counters with burn marks and stains. They were so afraid of damaging a new, expensive surface. We chose a durable quartz with a subtle gray veining. Not only did it completely elevate the look of their kitchen, but it gave them the freedom to actually use their kitchen without fear. They could roll out dough, spill some wine, and just wipe it clean. The best upgrade is one that makes your life easier, not more stressful.
Now that your horizontal surfaces are handled, let’s add some personality to the vertical ones.
8. Backsplash Brilliance: Install a Stylish Accent for Visual Interest
The backsplash is the jewelry of the kitchen. It’s your chance to play with pattern, color, and texture in a way that you can’t with big-ticket items like cabinets or floors. This is where you get to show off your personality! And the best part? It doesn’t have to be expensive. Classic subway tile is timeless and affordable, but you can give it a modern twist with a dark, contrasting grout or by laying it in a herringbone pattern.
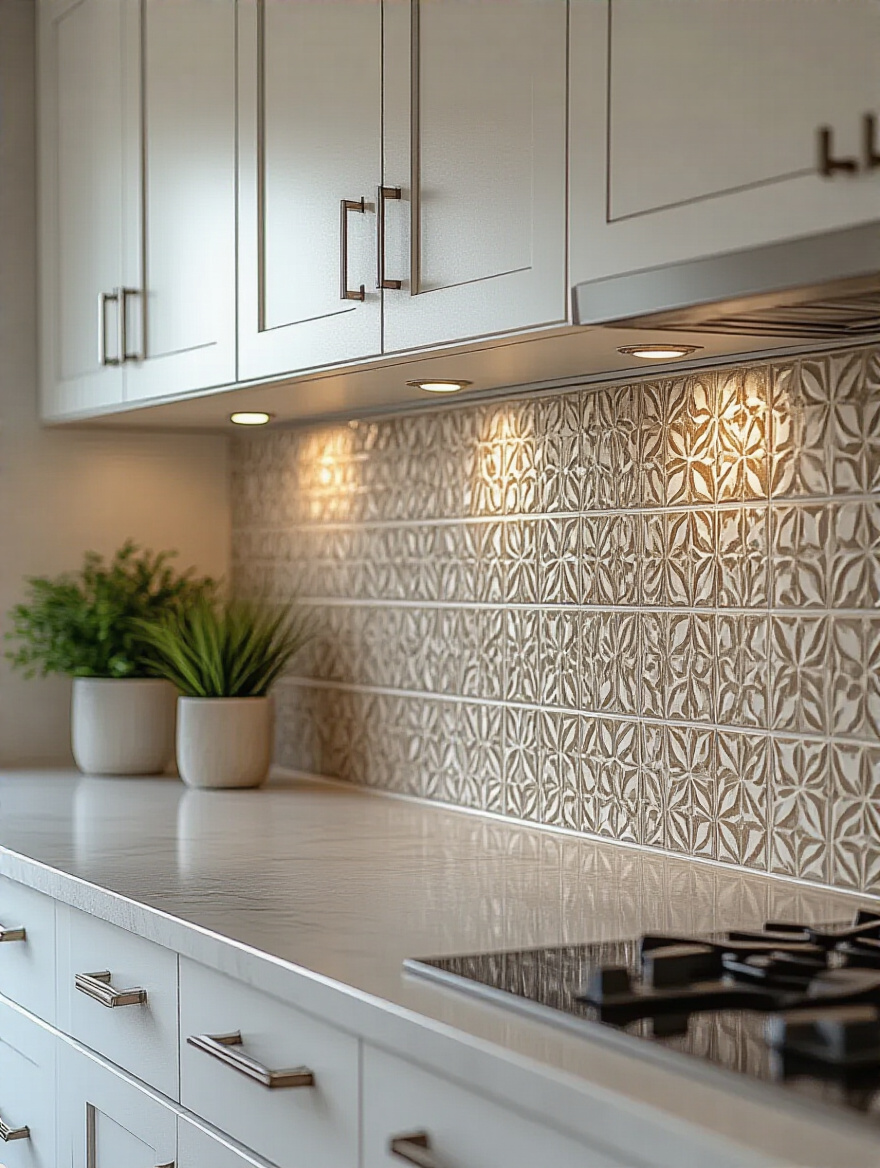
So many people are afraid to choose something bold here, but it’s a relatively small area. My advice? Get samples. Tape them to the wall and live with them for a few days. See how they look in the morning light versus the evening. A client of mine fell in love with a stunning, colorful patterned tile. She was nervous, but we decided to use it just behind the stove as a feature and keep the rest of the backsplash simple. It became the centerpiece of her kitchen—a piece of art she gets to look at every single day.
Let’s look down for our next big update, to the very foundation of the room.
9. Flooring Refresh: Choose New Durable Options for Lasting Style
Oh, kitchen floors. They take such a beating. The biggest mistake I see people make is choosing something that isn’t built for a war zone of spills, dropped pans, and constant foot traffic. You might love the look of hardwood, but one overflowing dishwasher could spell disaster. This is where you need to be practical.
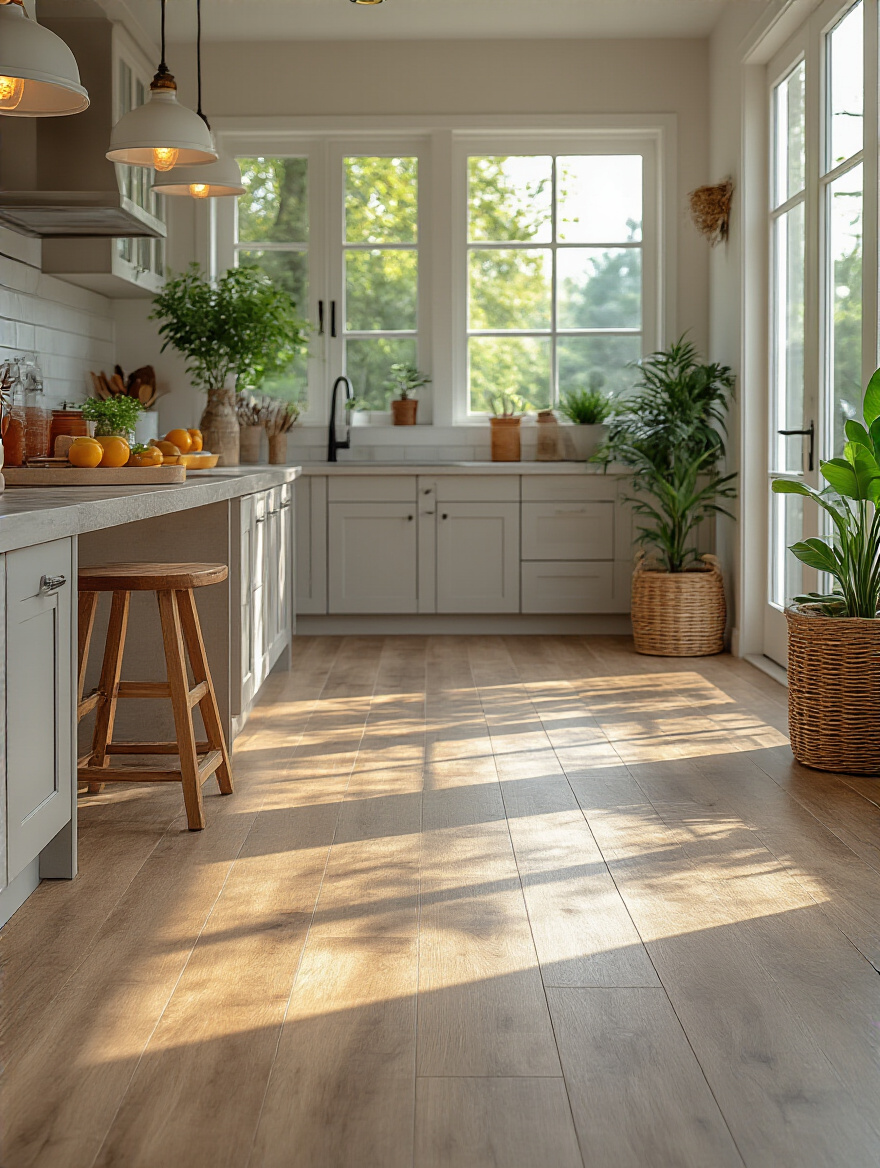
Thankfully, “practical” doesn’t mean “ugly” anymore. Luxury Vinyl Plank (LVP) is the unsung hero of kitchen flooring. It looks convincingly like real wood, it’s 100% waterproof, and it’s way more comfortable to stand on for long periods than hard tile. I had a client with two big dogs and three kids, and their kitchen floor was a disaster. We put in LVP, and it completely changed their lives. They could finally stop worrying about spills and scratches and just live.
Upgrading Fixtures & Modernizing Appliances
Alright, we’ve built a gorgeous stage with our surfaces. Now it’s time to bring in the stars of the show: the fixtures and appliances. These are the tools you interact with every single day. Upgrading them isn’t just about looks; it’s about making your kitchen smarter, more efficient, and way more pleasant to use.
10. Fancier Faucet: Replace Worn Fixtures for Instant Modernity
If a backsplash is the jewelry of the kitchen, the faucet is the statement earring. It’s a small detail that makes a massive difference. You can have the most beautiful sink and countertops, but if you have a leaky, builder-grade faucet from 2002, the whole look falls flat. Swapping it out is a quick, relatively easy update that instantly makes the entire space feel more luxurious.
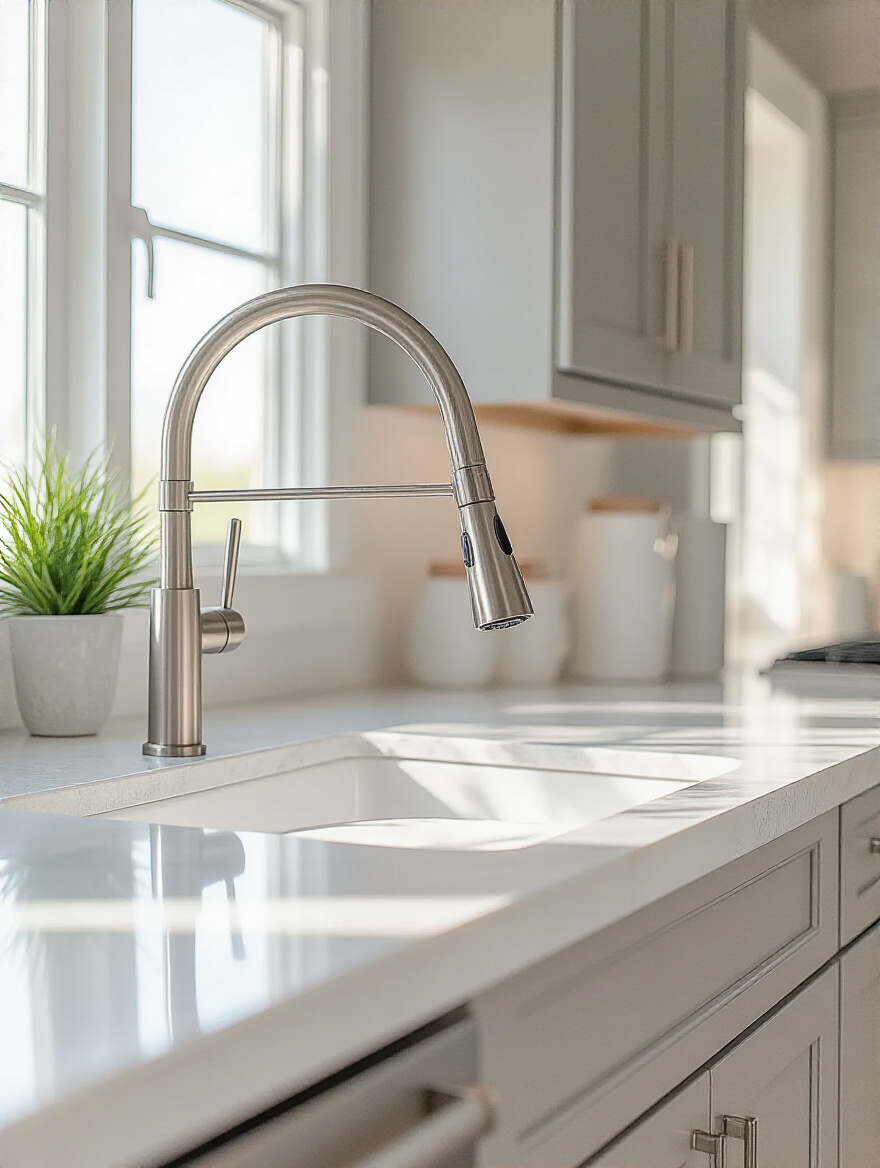
Look for features that will actually make your life better. A high-arc, pull-down sprayer is non-negotiable for me—it makes rinsing dishes and cleaning the sink so much easier. And these days, touchless faucets are more affordable than ever. I watched a client try to wash his hands after handling raw chicken, trying to nudge the faucet handle with his elbow. The next week, he installed a touchless model. Total game-changer for kitchen hygiene and convenience.
With your sink area sparkling, it’s time to light up the whole room.
11. Layered Lighting: Install Ambiance, Task, and Accent Lights
Can we please talk about the “big boob light”? You know, that single, ugly flush-mount fixture in the middle of the ceiling that casts weird shadows and makes everyone look terrible. It’s the worst. A great kitchen needs layers of light, just like a great outfit. You need three kinds:
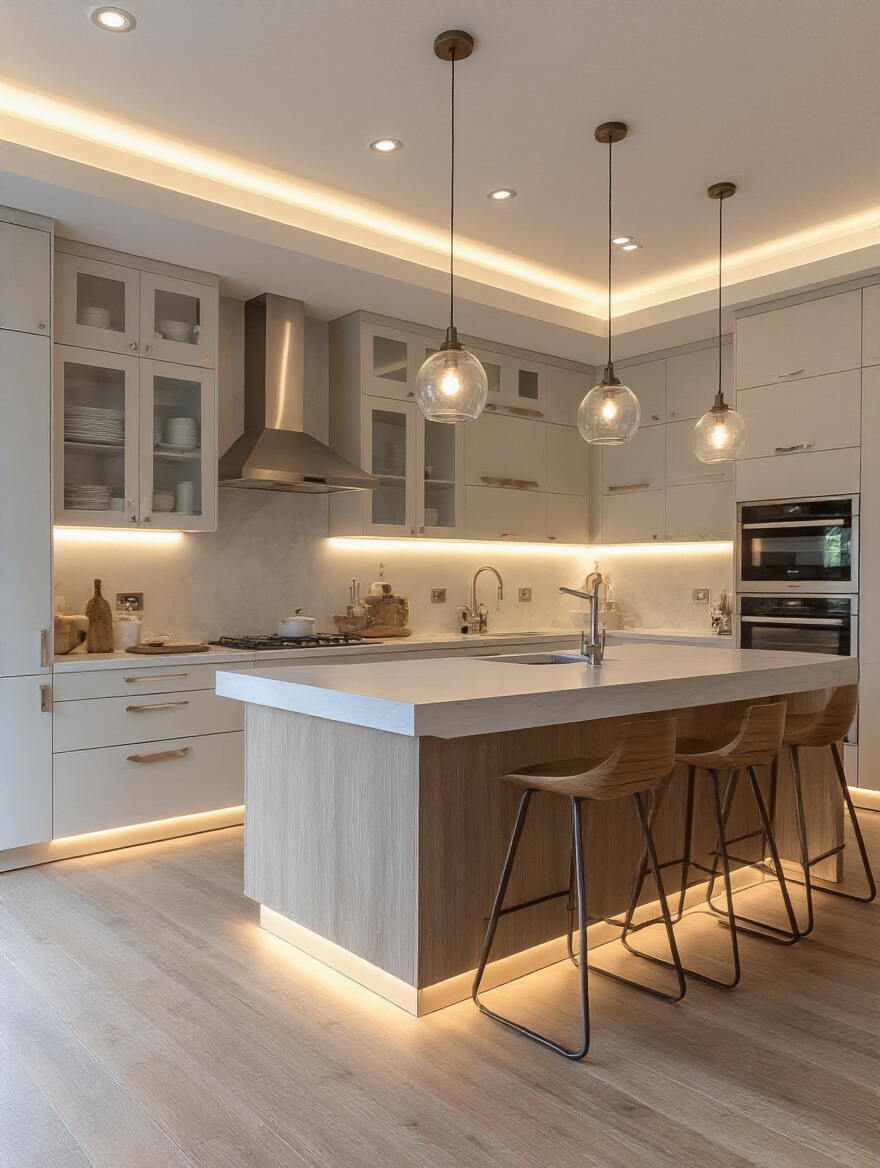
- Ambient: This is your general, overall light. Think recessed cans or a beautiful central fixture.
- Task: This is focused light for getting things done. The most important place for this is under your cabinets.
- Accent: This is the mood lighting! A pretty pendant over the island or a small lamp in a corner.
The absolute non-negotiable shortcut here is to put everything on a dimmer. Everything. This is what lets you go from bright, full-blast “I’m-chopping-onions” mode to a soft, “let’s-have-a-glass-of-wine” glow with the flick of a switch. It’s the cheapest, most effective way to control the entire mood of your space.
And speaking of a brighter kitchen, let’s shine a light on one of the most crucial task areas.
12. Appliance Refresh: Invest in Energy-Efficient Models for Savings
Okay, new appliances are a big investment, but hear me out. If your refrigerator is old enough to vote, it’s costing you a fortune in electricity. Newer, ENERGY STAR models are so much more efficient that they can literally pay for themselves in utility savings over a few years. Plus, they come with features that are actually useful.
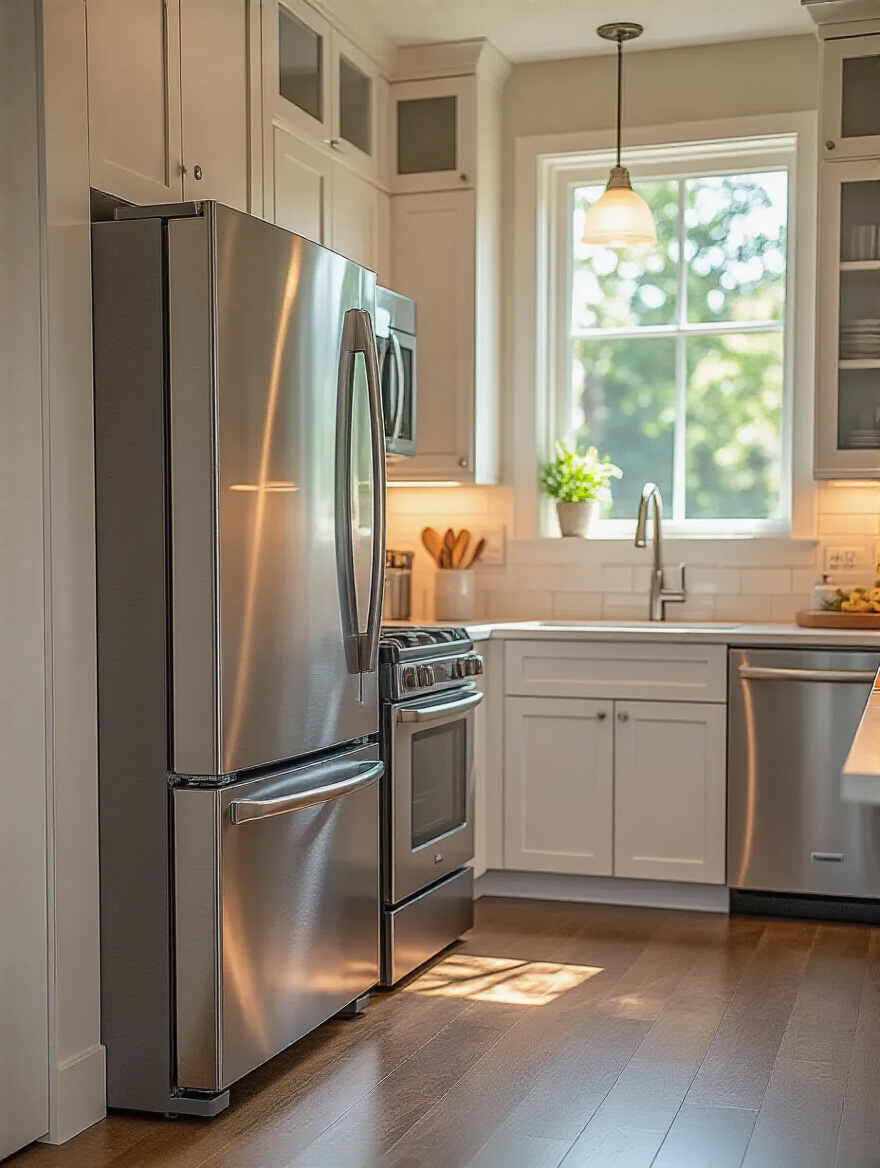
But you don’t have to replace everything at once. The shortcut is to buy a “panel-ready” dishwasher or refrigerator. This means you can have a custom cabinet panel installed on the front to match your cabinetry perfectly. I did this for a client who had a stunning historic kitchen but a clunky stainless-steel dishwasher that stuck out like a sore thumb. The panel-ready model blended in seamlessly, preserving the kitchen’s charm while giving her modern-day convenience.
Now let’s zero in on the single most important lighting upgrade you can make.
13. Under-Cabinet Illumination: Add Task Lighting for Enhanced Workflow
If you only make one lighting change in your kitchen, please let it be this. Adding lighting under your upper cabinets is a complete and total revolution. You know how you’re always chopping in your own shadow, leaning to the side to see what you’re doing? Under-cabinet lighting solves that. Instantly. It illuminates your entire work surface, making prep work safer, easier, and just plain more pleasant.
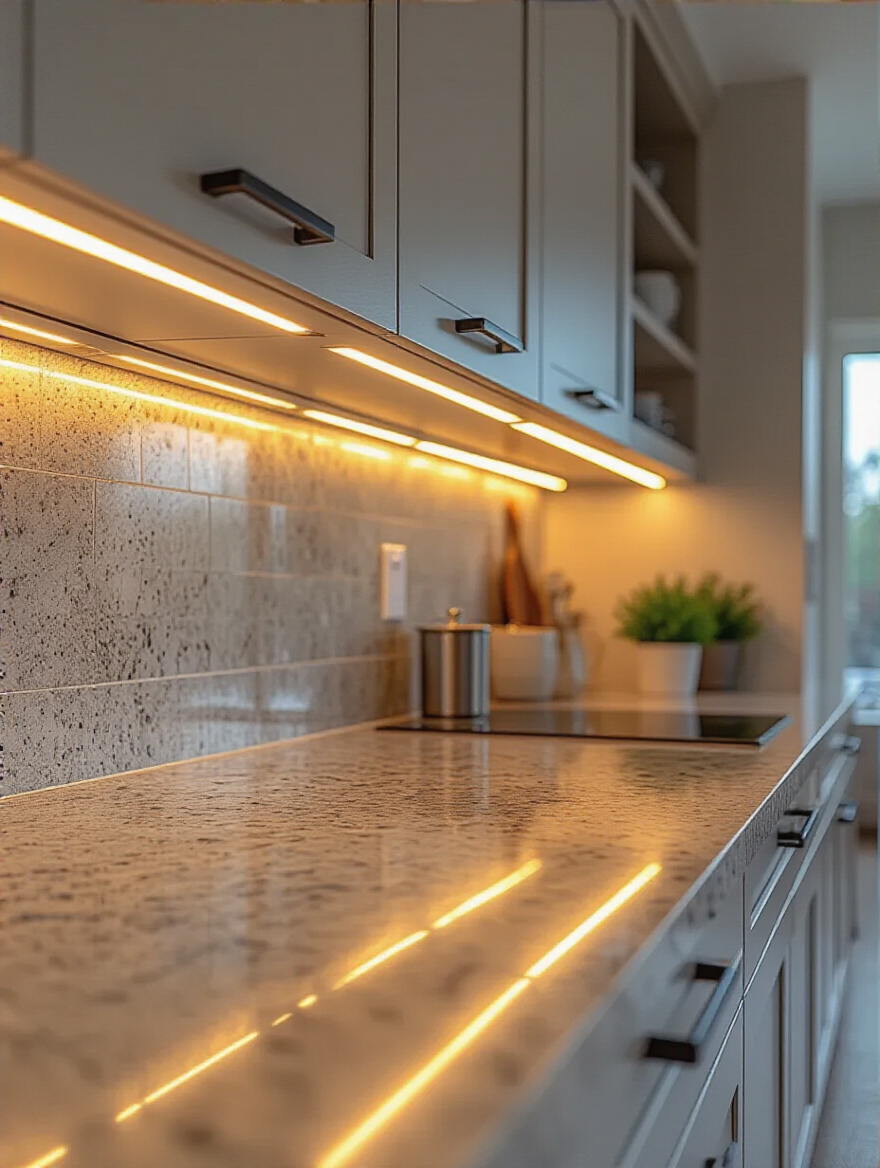
It also makes your kitchen look way more expensive and custom-designed. These days, you can get super-slim LED strips that are easy to install yourself (the plug-in kind) or you can have an electrician hardwire them for a totally seamless look. It highlights your beautiful countertops and backsplash, adding depth and dimension. It’s one of those “how did I ever live without this?” upgrades.
Optimizing Storage & Layout for Efficiency
A beautiful kitchen that’s a nightmare to use isn’t a success—it’s just a pretty mess. The secret to a truly happy kitchen is organization. This is where my event planning brain goes into overdrive. Every single thing needs a logical home. When your space is decluttered and efficient, your mind feels decluttered and efficient, too.
14. Pantry Perfection: Design Custom Shelving for Ultimate Organization
Walk into your pantry. Is it a black hole where cereal boxes go to die? We can fix that. The biggest mistake people make is having deep, fixed shelves. Things get lost in the back and you end up buying a third jar of paprika because you couldn’t see the other two. The solution is variety. You need some shallow shelves for single rows of cans, deeper shelves for appliances, and pull-out drawers or baskets for things like bags of chips or potatoes.
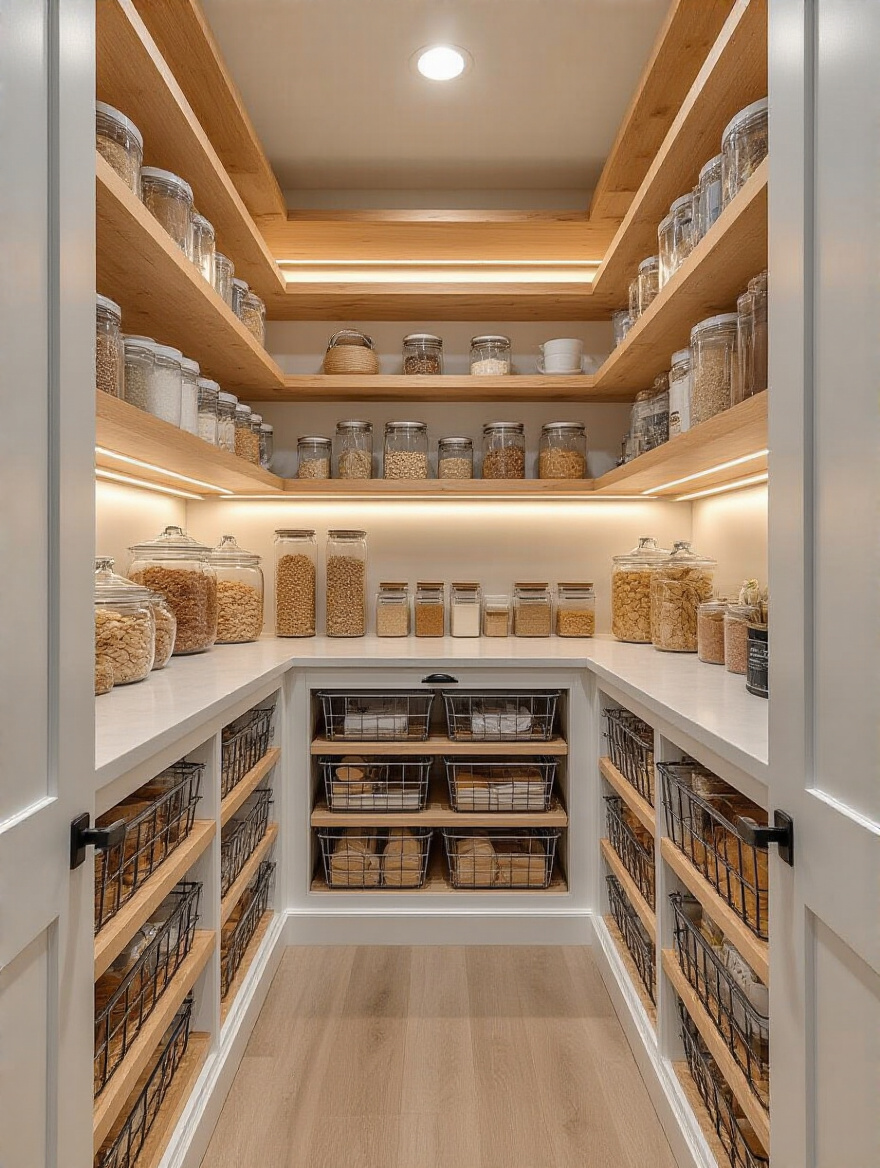
A client of mine has a small reach-in pantry, and it was pure chaos. We took everything out, and instead of just putting it all back, we installed adjustable shelving. We put shallow shelves on the door for spices, and clear bins on the shelves for pasta and grains. Suddenly, she could see everything she had at a glance. It didn’t just make her pantry look good; it changed how she grocery shopped and cut down on her food waste.
This same logic applies to all your hidden spaces, not just the pantry.
15. Drawer Dividers: Utilize Smart Inserts for Clutter-Free Cabinets
Open your utensil drawer. Is it a jumbled nest of whisks and spatulas that you have to dig through every time you need something? This is a tiny, daily annoyance that adds up to a lot of frustration. Drawer dividers are the answer, and they’ve come a long way from those flimsy plastic trays. You can now get beautiful bamboo dividers that are adjustable or even custom-cut inserts that fit your drawers perfectly.
The absolute best use of this is for deep drawers. Instead of just piling pots and pans on top of each other, use heavy-duty vertical dividers. You can file your pans, lids, and baking sheets away like library books. No more noisy clanging or digging for the right lid. It’s a simple, elegant solution that transforms a messy pile into a work of art.
Now let’s bring that organizational magic out into the open.
16. Island Utility: Add a Multi-Functional Space for Prep and Seating
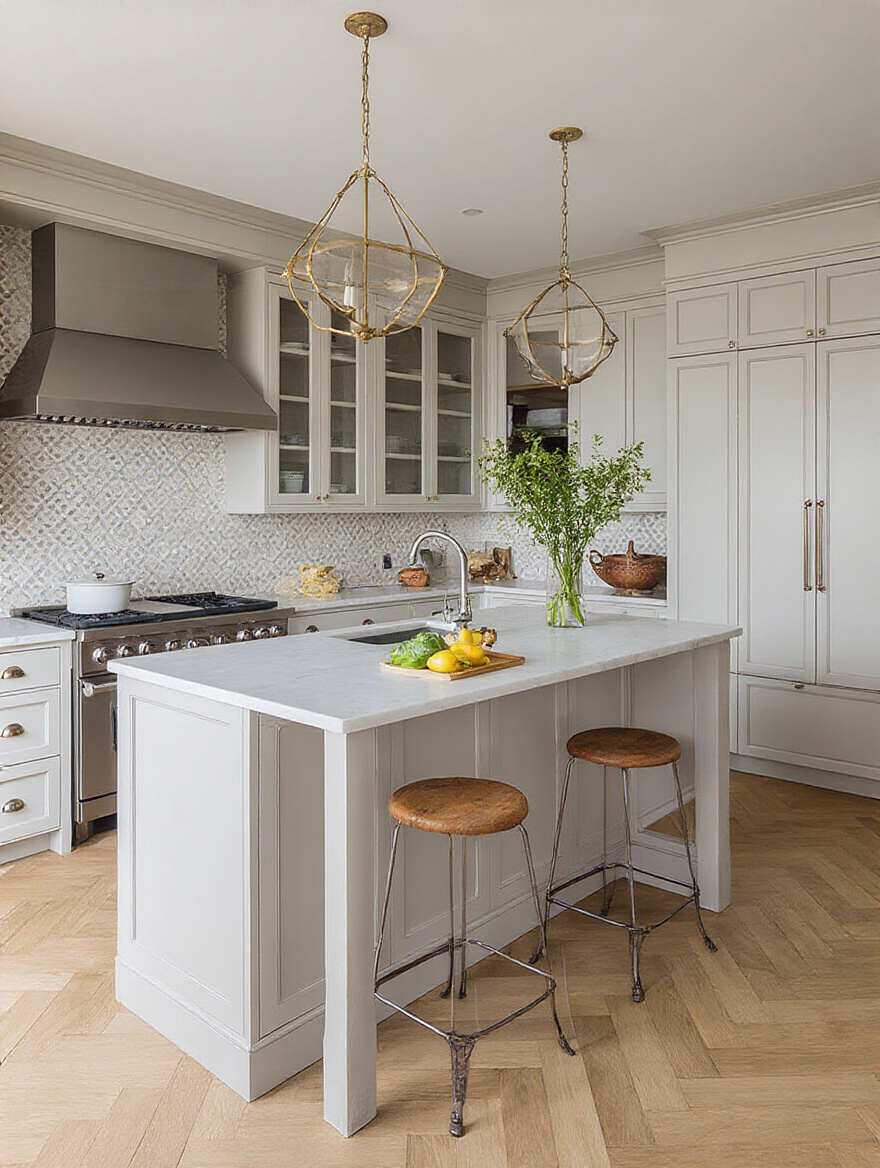
The kitchen island is the modern-day hearth. It’s where everything happens: prep, homework, morning coffee, wine with friends. If you have the space, an island is the single best way to improve your kitchen’s function. But here’s the pet peeve I have to call out: make sure you have enough clearance! You need at least 36-42 inches of walkway around it, or it will feel cramped and become a roadblock instead of a hub.
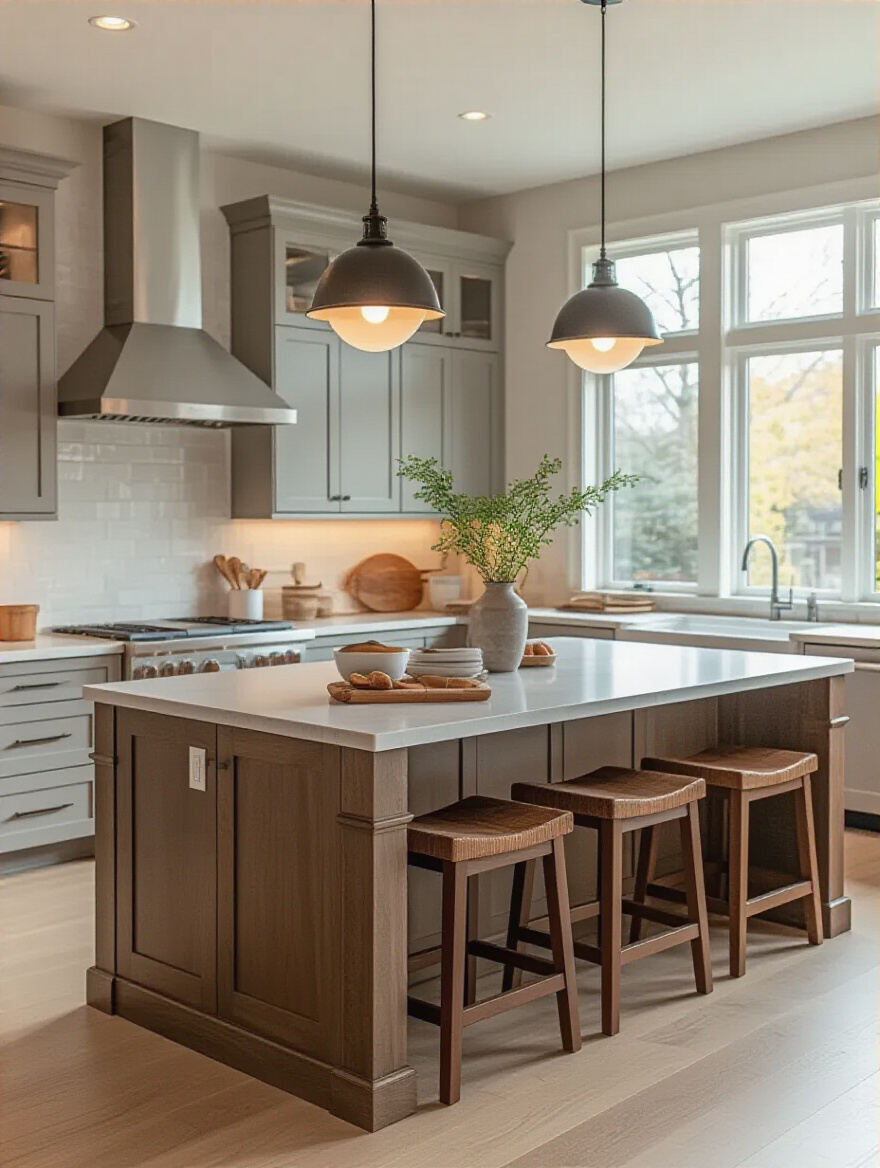
And don’t forget the power outlets! This is the #1 thing people forget to include. You want to be able to plug in a stand mixer, a laptop, or charge your phone right there where you’re hanging out. A client of mine put an outlet strip right under the countertop overhang on their island. It’s totally hidden but incredibly useful. They call it their “command center.”
But what if you don’t have space for a giant island? You can still get creative.
17. Vertical Storage: Utilize Walls with Pegboards or Hanging Racks
In a small kitchen, your walls are your best-kept secret. Getting things up off the counters and onto the walls is a total game-changer. A magnetic knife strip, a rail system for hanging utensils, or even a classic Julia Child-style pegboard for pots and pans can free up so much valuable counter and drawer space. It also keeps your most-used items right at your fingertips.
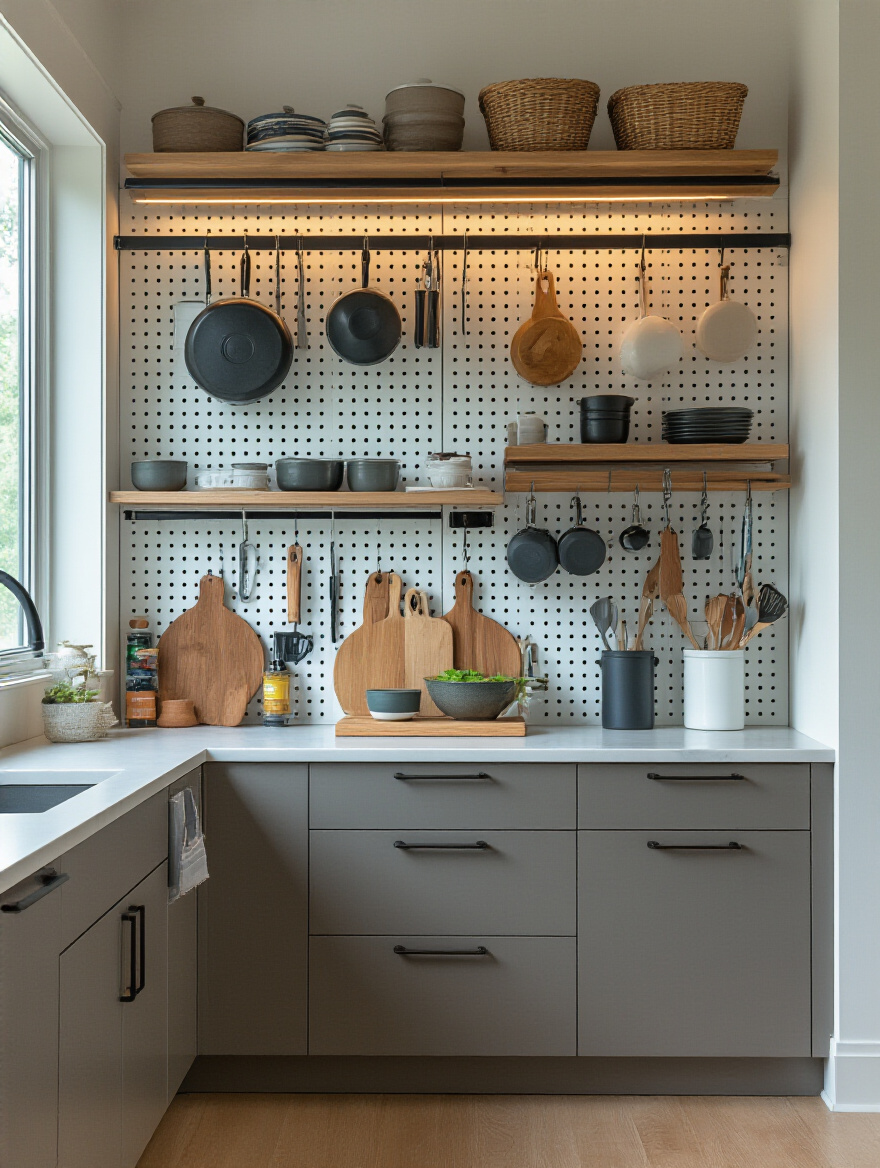
My favorite shortcut for this is to think aesthetically. Don’t just hang any old thing. Use it as an opportunity to display your beautiful copper pans or your favorite collection of mugs. I helped a friend in a tiny city apartment install two long, simple shelves above her counter. She used them for her everyday plates and bowls, mixed with a few small plants. It looked chic, kept her cabinets free for less-attractive stuff, and made setting the table a breeze.
Personalizing & Smart Finishing Touches
We’re in the home stretch! The foundation is laid, the workhorses are in place, and the organization is on point. This is the final layer—the little details that take your kitchen from “nice” to “uniquely yours.” This is where you infuse your personality, your style, and a little bit of modern magic to make the space truly sing.
18. Hardware Update: Change Knobs and Pulls for Affordable Style
Changing your cabinet hardware is like changing your earrings. It’s the fastest, most affordable way to completely change the vibe of an outfit—or a kitchen. You can take dated oak cabinets and make them feel instantly more modern with some sleek matte black or warm brass pulls. The whole project takes maybe an afternoon and a screwdriver, but the impact is enormous.
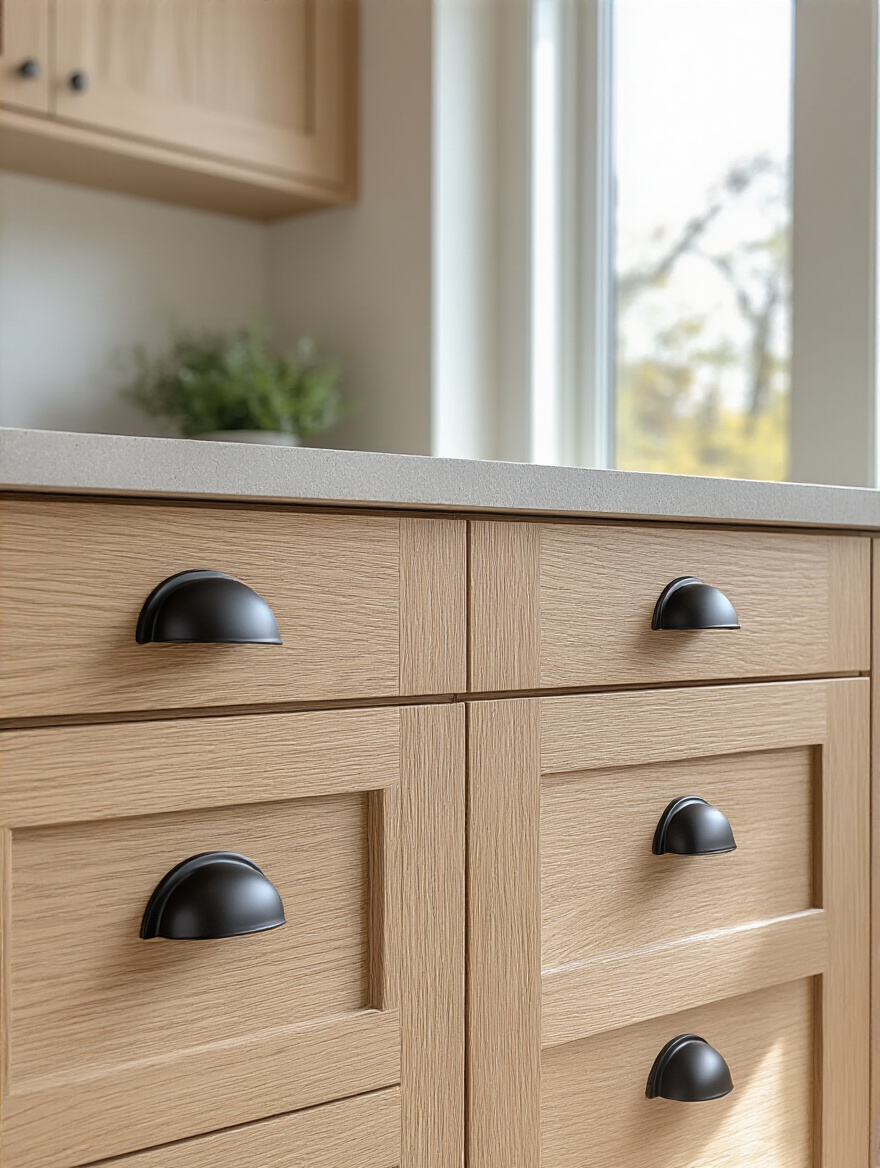
The shortcut here is to order samples first. Don’t just buy 30 handles online because they look good in a photo. Order one or two. Hold them up to your cabinets. See how they feel in your hand. Check the finish in your kitchen’s light. A client of mine almost bought a very trendy, thin pull, but when she got the sample, she realized it was uncomfortable to grip. A simple sample saved her from a small but constant daily annoyance.
With the “jewelry” updated, let’s talk about putting your favorite things on display.
19. Open Shelving Flair: Display Decorative Items for Personal Expression
There’s a fine line between curated open shelving and just… clutter. The secret is to edit. This isn’t the place for your mismatched Tupperware. This is a stage for your most beautiful things: that stack of handmade ceramic bowls, your collection of cookbooks, a small piece of art, a trailing plant. Think of it as creating a little still-life that tells a story about you.
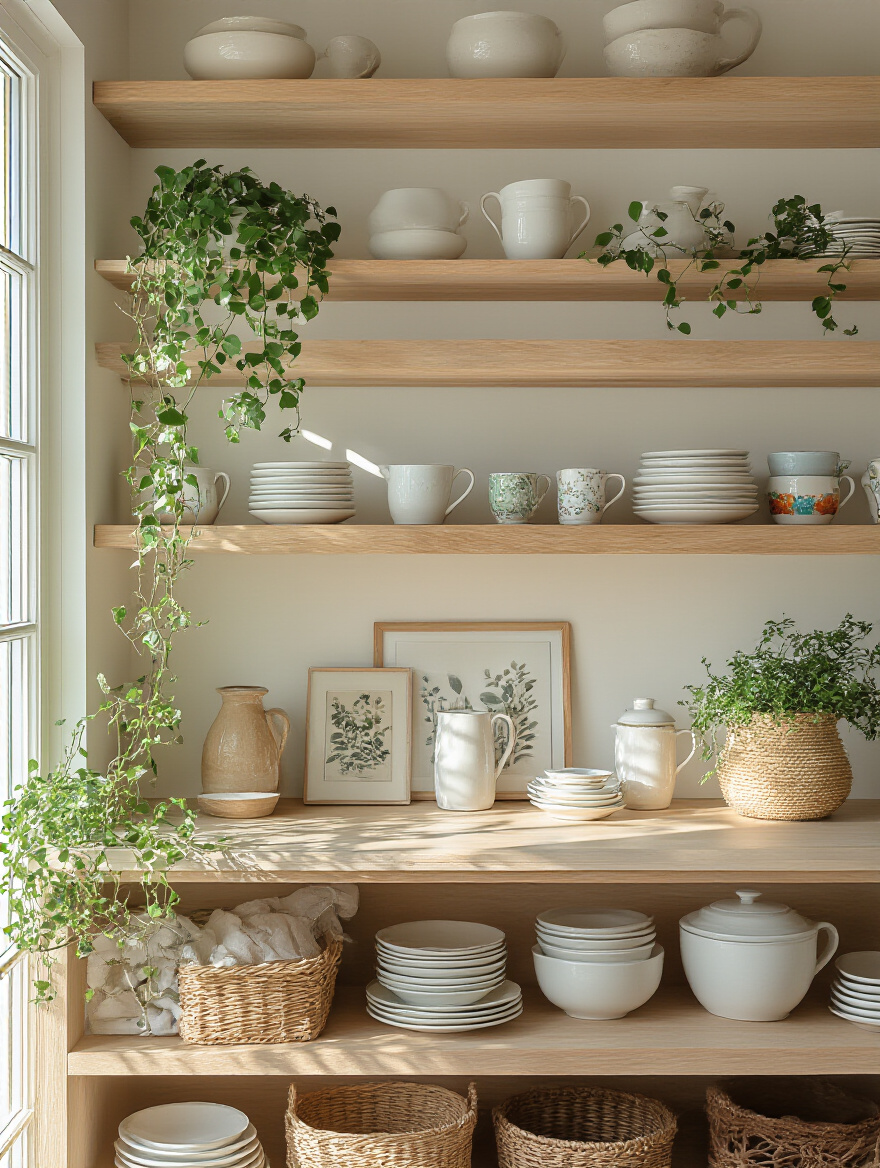
A trick I love is to stick to a simple color palette. For example, stack all your white dishes together, then add a pop of green from a plant and some warmth from a wooden cutting board. Another pro tip: leave some empty space! The negative space is just as important as the objects themselves. It gives your treasures room to breathe and keeps the look feeling light and airy, not messy.
Finally, let’s bring your kitchen into the 21st century.
20. Smart Technology: Integrate Gadgets for Convenient Kitchen Control
Okay, I know “smart kitchen” can sound intimidating and expensive, but you don’t need a refrigerator that talks to you to make your life easier. Smart tech can be as simple as smart plugs. For about $20, you can plug your coffee maker into a smart plug and have it turn on automatically at 7 AM every morning. It’s a tiny luxury that makes every day feel a little bit better.
Start with your pain points. Do you always forget things at the grocery store? A smart fridge with an internal camera that lets you peek inside from your phone might be worth it. Do you love to bake? A smart oven you can preheat on your way home is a game-changer. My advice is to start small. Pick one thing that would solve a daily annoyance, and go from there. Your kitchen should work for you, and a little bit of tech can go a long way.
Conclusion
So there you have it. A kitchen makeover isn’t this scary, all-or-nothing beast. It’s about a series of smart, thoughtful choices that add up to a space you absolutely love. It’s about the fresh pop of color from a new coat of paint, the satisfying click of a new cabinet pull, and the soft glow of under-cabinet lights as you unwind at the end of the day. It’s about creating a backdrop for your life—for a million messy, beautiful, delicious moments.
Don’t feel like you have to do all 20 of these things at once. Just pick one. What’s the one thing that’s bugging you the most? Start there. Whether it’s decluttering a single drawer or finally painting that wall, every small step builds momentum. Before you know it, you’ll have created a kitchen that not only looks stunning but feels perfectly, wonderfully like home.
