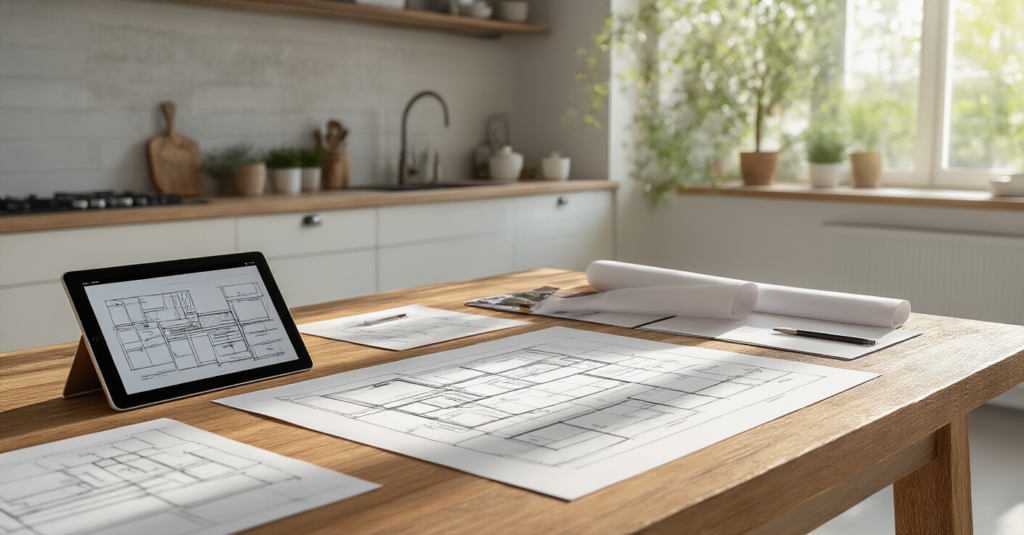
You know what people always ask me about historic kitchens? It’s usually some version of, “So, can we just tear down this wall?” They’re standing in a beautiful 1920s Tudor or a stately Victorian, pointing at the wall separating the tiny, dark kitchen from the formal dining room. Their eyes are gleaming with visions of a single, massive “great room” they saw on a flipping show.
And I get it. I truly do. Those old kitchens were built as utilitarian work zones, often for staff, and were never meant to be the social hubs they are today. But here’s the thing: bulldozing the history out of a house is a mistake. It’s a permanent solution to a temporary problem of imagination. The real art, the thing that makes a project truly special, is figuring out how to thread the needle—how to weave modern function into the historic fabric of a home without destroying its soul. It’s about respecting the story the house is trying to tell you, and then writing a new, beautiful chapter that feels like it belongs.
So, let’s talk about how to do this right. Forget the generic advice. This is the real story, based on decades of crawling through dusty attics and saving gorgeous, irreplaceable details. This is what actually matters.
Laying the Groundwork: Vision & Planning Essentials
Before you even think about calling a contractor, we need to talk. The most expensive mistakes happen on paper, or in your head, long before the first nail is pulled. This is where you separate fleeting trends from timeless design, saving yourself heartache and a whole lot of money.
1. Clearly Define Your Kitchen Remodel Goals & Needs
This isn’t just about a Pinterest board. This is about being brutally honest about how you live versus how you think you should live. The biggest mistake people make is designing a kitchen for a hypothetical life. They see a picture of a massive island and think “entertaining!” when in reality, it’s two of them and the dog eating takeout most nights. That island just becomes a giant, expensive mail-collector that you have to walk around.
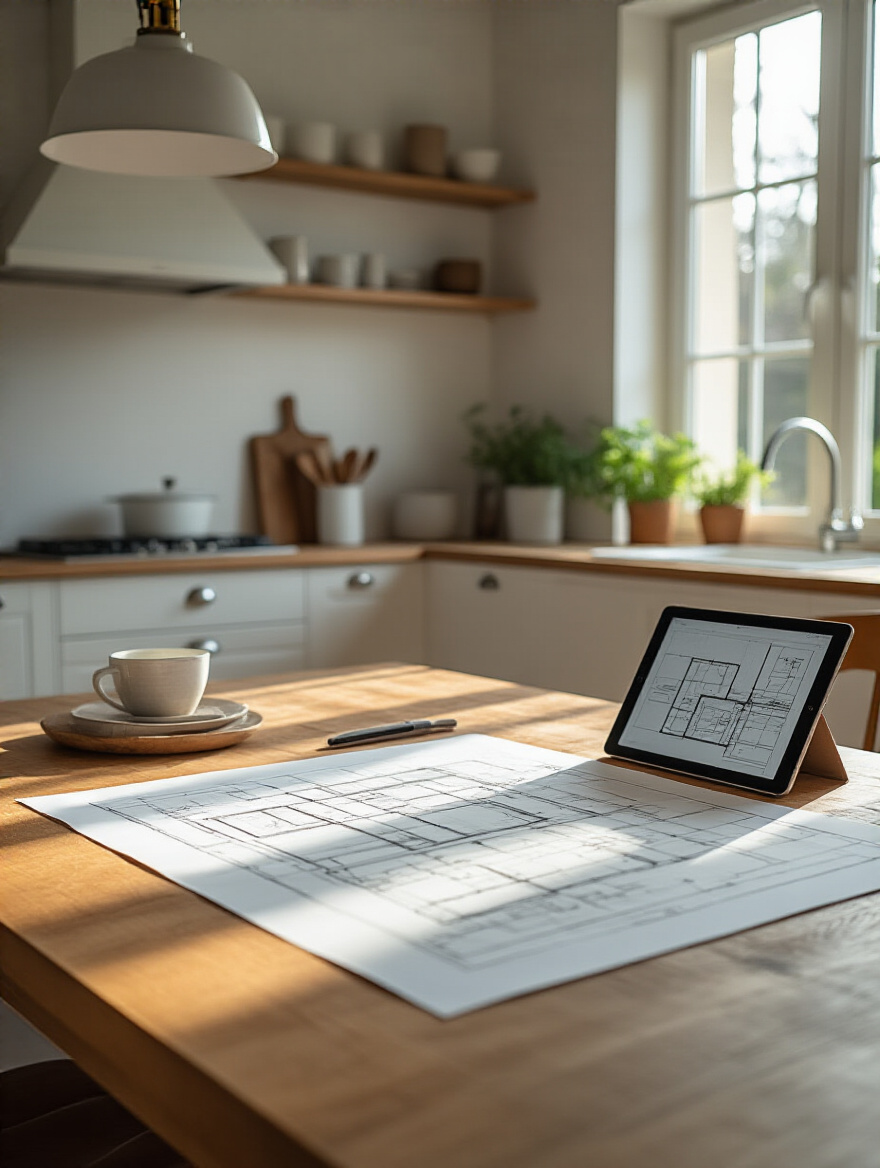
So, start by auditing your current kitchen’s failings. What drives you crazy every single day? Is it the refrigerator door blocking the main path when it’s open? The complete lack of counter space next to the stove? Write down every single pain point. Then, write down your “must-haves” for the new space. These should be functional verbs: “I need to be able to unload the dishwasher without blocking the whole kitchen.” “I need a place for the kids to do homework that isn’t under my feet while I’m cooking.” Be specific. The “nice-to-haves” can come later, but the must-haves are your North Star.
From this audit of frustrations and real needs, you can begin to shape a space that truly serves you, rather than just copying a popular photo.
2. Establish a Realistic Remodel Budget for Peace of Mind
Let’s have the money talk. In a historic home, your budget has to be different. Can we just be real about this? You are not just paying for new cabinets and countertops. You are paying for the unknowns lurking behind the walls. And in an old house, there are always unknowns. Last year, I watched a client’s budget vaporize when we opened a wall and found the plumbing stack had been leaking for 30 years, rotting out three floor joists. That’s an unsexy, invisible, and very expensive problem.
This is why the standard 10-20% contingency fund is not a suggestion; it is a commandment. For a house built before 1950, I’d lean closer to 20%, or even 25% if it’s been neglected. Your budget needs to account for the fun stuff (finishes, fixtures) and the not-so-fun but critical stuff: updating ancient knob-and-tube wiring, abating asbestos in old flooring or insulation, re-plumbing with modern materials, and dealing with plaster that might crumble at the slightest provocation. Getting multiple, line-item bids is crucial, and you need to ask every contractor, “What is NOT included in this price?”
Now you have a foundation of reality, you can start dreaming about the aesthetics that will bring this space to life.
3. Explore Diverse Design Styles to Pinpoint Your Aesthetic
Your house already has a design style. It’s a Craftsman, a Colonial Revival, a Mid-Century Modern. Your job isn’t to impose a foreign aesthetic on it; it’s to listen to what the house wants to be. Putting an ultra-sleek, minimalist kitchen in a 1910 foursquare is like putting racing stripes on a Clydesdale. It just looks wrong. The goal is coherence, a kitchen that feels like it could have always been there.
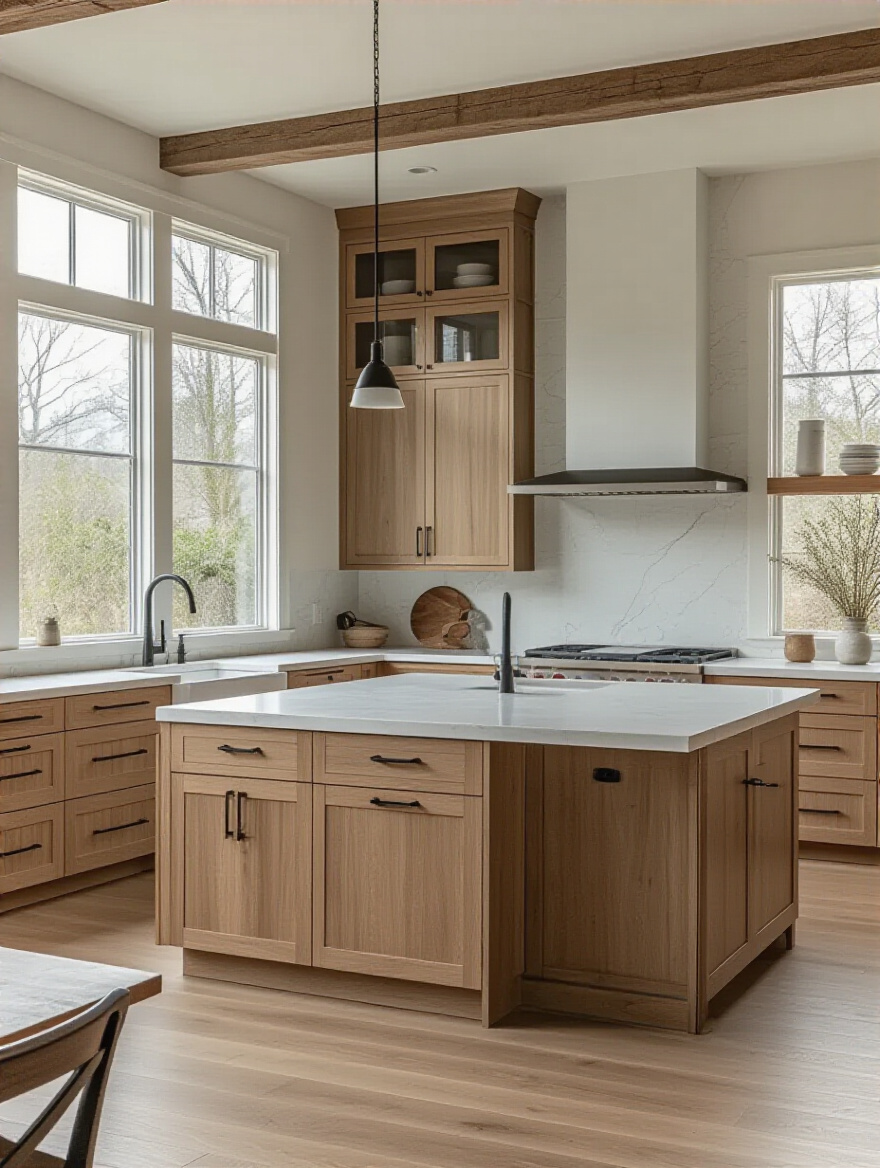
Look for clues in the rest of your home. What’s the trim profile in the dining room? The style of the staircase newel post? The pattern in the original tile in the vestibule? These are your cues. Research what a kitchen from your home’s era might have looked like, not to copy it slavishly, but to understand its language. Then, you can interpret that language for modern life. A Craftsman kitchen can be light and airy, but it should still value simplicity, natural materials, and visible joinery. An Art Deco kitchen can be functional, but it should embrace bold geometric patterns and sleek curves.
With a clear architectural direction, you’re not just picking things you like; you’re curating elements that belong together.
4. Create a Dynamic Inspiration Mood Board Digitally
Okay, now you can go to Pinterest. But with a mission. Your mood board isn’t just a scrapbook of pretty pictures. It is a visual argument for your design. For every image you pin, you must add a note explaining why you pinned it, specifically for your project. Is it the soapstone countertop? The color of the inset cabinets? The way the unlacquered brass hardware is aging? This forces you to move beyond a vague “I like this feeling” to a concrete “I want this specific element.”
Organize your board into categories: Cabinetry Style, Countertop Material, Flooring, Lighting, Hardware, Backsplash. As you fill it out, a clear vision will emerge. You’ll see patterns. You’ll notice that all the faucets you saved have a similar gooseneck shape, or that you’re consistently drawn to beadboard backsplashes. This board becomes an invaluable communication tool for your designer, your architect, and your contractor. It’s the visual blueprint that keeps everyone on the same page.
As your visual plan solidifies, it’s time to ensure the physical plan—the layout—is just as strong.
5. Evaluate Current Kitchen Layout for Future Flow
Before you take a sledgehammer to anything, take a week and live like an anthropologist in your own kitchen. Notice the paths you walk. Where are the traffic jams? The bottlenecks? Mentally trace your steps from the fridge to the sink to the stove. How many times do you backtrack? Use painter’s tape or cardboard boxes to mock up a new island or peninsula. See how it feels to walk around it. Is it a graceful dance or an awkward shuffle?
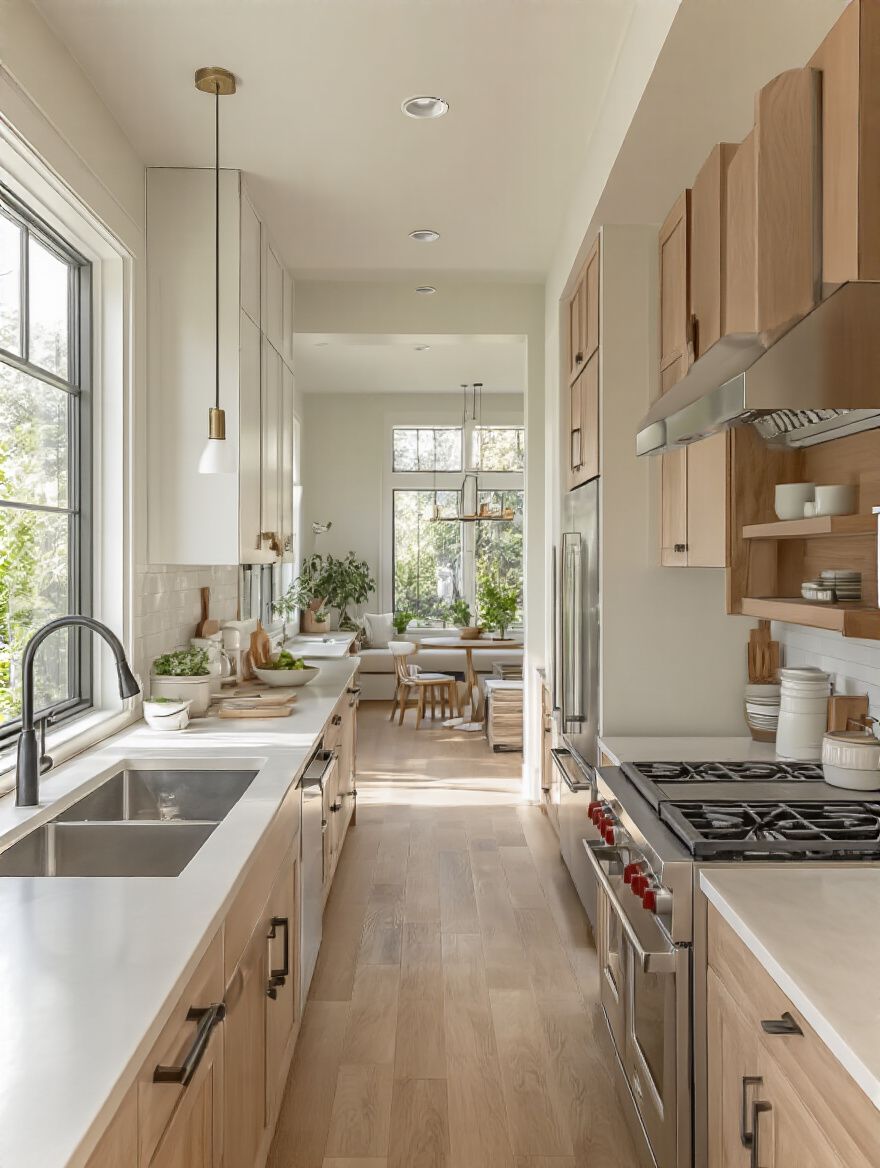
In historic homes, kitchens were often designed for one person, following a logic that has no bearing on how we live today. The goal isn’t always to achieve the perfect, textbook “work triangle.” Sometimes, a “work zone” approach is much more effective. A baking zone with a lower counter and nearby storage for flour and sugar. A coffee and breakfast zone out of the main traffic path. By analyzing your real-world flow, you can design a layout that makes your daily routines effortless, whether it fits a textbook diagram or not.
But if changing that layout involves moving a wall, you absolutely must call in the experts.
6. Consult Professionals Early for Structural Considerations
I’m going to say this as plainly as I can: never, ever assume a wall isn’t load-bearing. Knocking on it tells you nothing. I’ve seen people remove a “non-load-bearing” wall only to find their second-floor bedroom starting to sag a week later. In an older home, structural systems can be quirky and non-intuitive. That weird bump-out might be hiding a crucial chimney flue. That wall might be holding up not just the ceiling, but also acting as a brace against lateral movement for the entire floor.
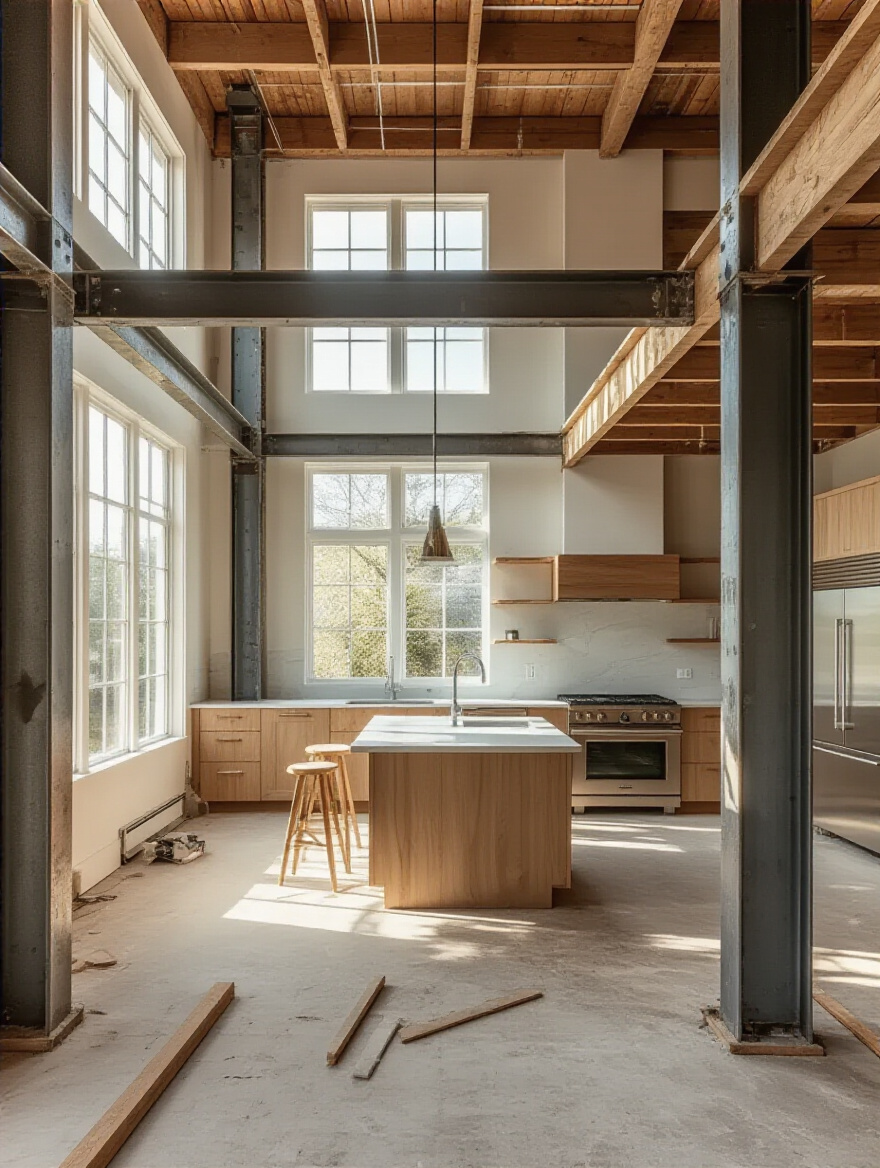
Before your plans get too far along, you need a professional—ideally a structural engineer or an architect who specializes in historic homes—to do an assessment. They can tell you what’s possible, what it will take to do it safely (like specifying the correct size for a laminated veneer lumber (LVL) beam), and how much that structural work is likely to cost. Paying for a few hours of their time upfront can save you from a five-figure—or even six-figure—catastrophic failure later. It’s the cheapest insurance you’ll ever buy.
Optimizing Functionality: Layout & Storage Innovations
Once you have a safe, smart, and historically sensitive plan, you can focus on making the space a joy to use. This is where modern ingenuity meets old-world charm, creating a kitchen that works as beautifully as it looks.
7. Master the Ergonomic Kitchen Work Triangle for Efficiency
The “kitchen work triangle”—that classic link between the fridge, sink, and stove—is a concept from the 1940s. It’s brilliant, but many historic kitchens predate it. So, trying to force a perfect triangle into a 1910 galley kitchen can be futile. Instead, think about the triangle as a principle of flow rather than a rigid geometric rule. The goal is to minimize wasted steps and prevent obstacles in your main work path.
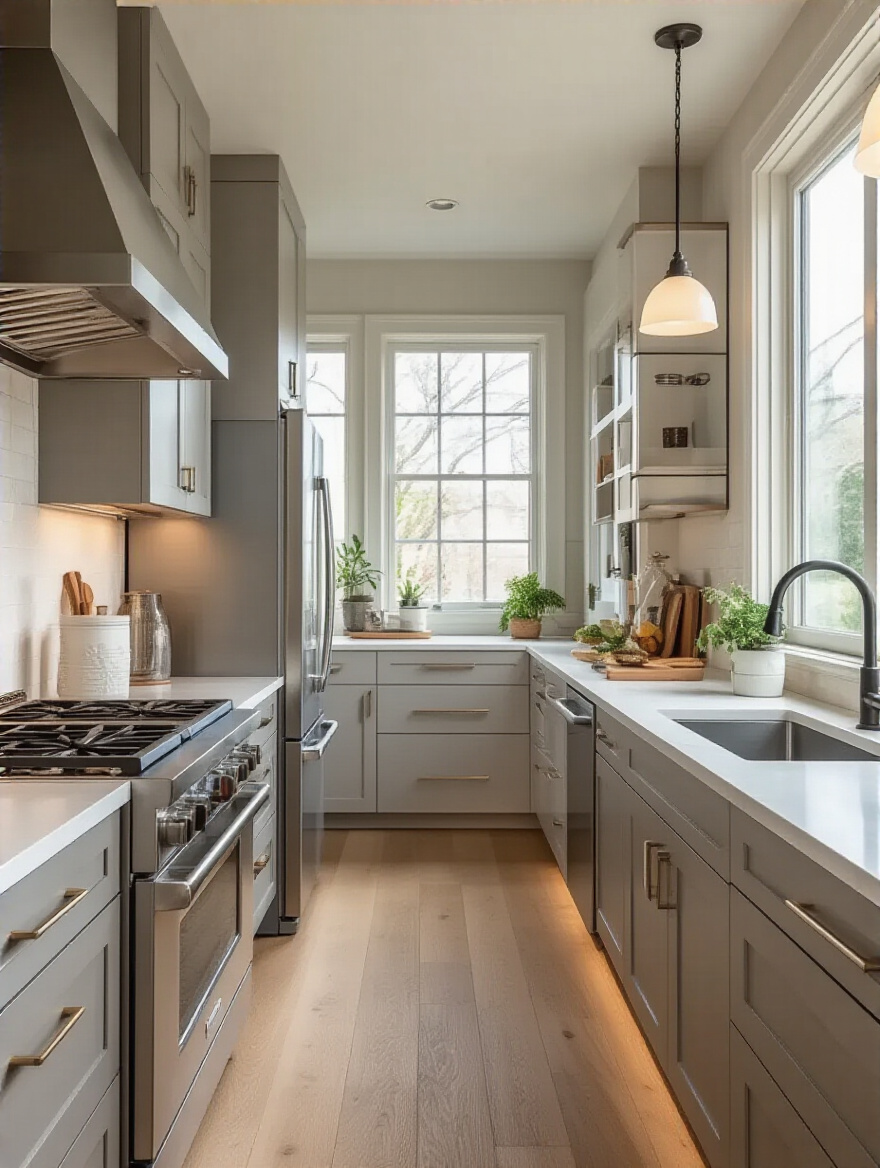
The National Kitchen & Bath Association (NKBA) has great guidelines, but here’s the real-world shortcut: can you get from your fridge to your sink to your stove without having to walk around an island or dodge an open dishwasher door? If so, you’re on the right track. In larger kitchens, it’s often more useful to think in “zones,” as I mentioned earlier. But in all cases, the path between the Big Three should be clear, direct, and sacred. Don’t let anything—especially a poorly placed island—cut through it.
Building on that flow, the exact placement of each appliance becomes the key to effortless daily use.
8. Strategize Appliance Placement for Seamless Workflow
Think about the a-to-b of making dinner. You take food out of the fridge (storage). You move to a counter next to the sink to wash and chop (prep). You move to the stove (cooking). Then you plate up, and eventually, dishes move back to the sink and dishwasher (cleanup). Your appliance layout should support this natural sequence. This means having “landing space”—a clear patch of counter—right next to each major appliance.
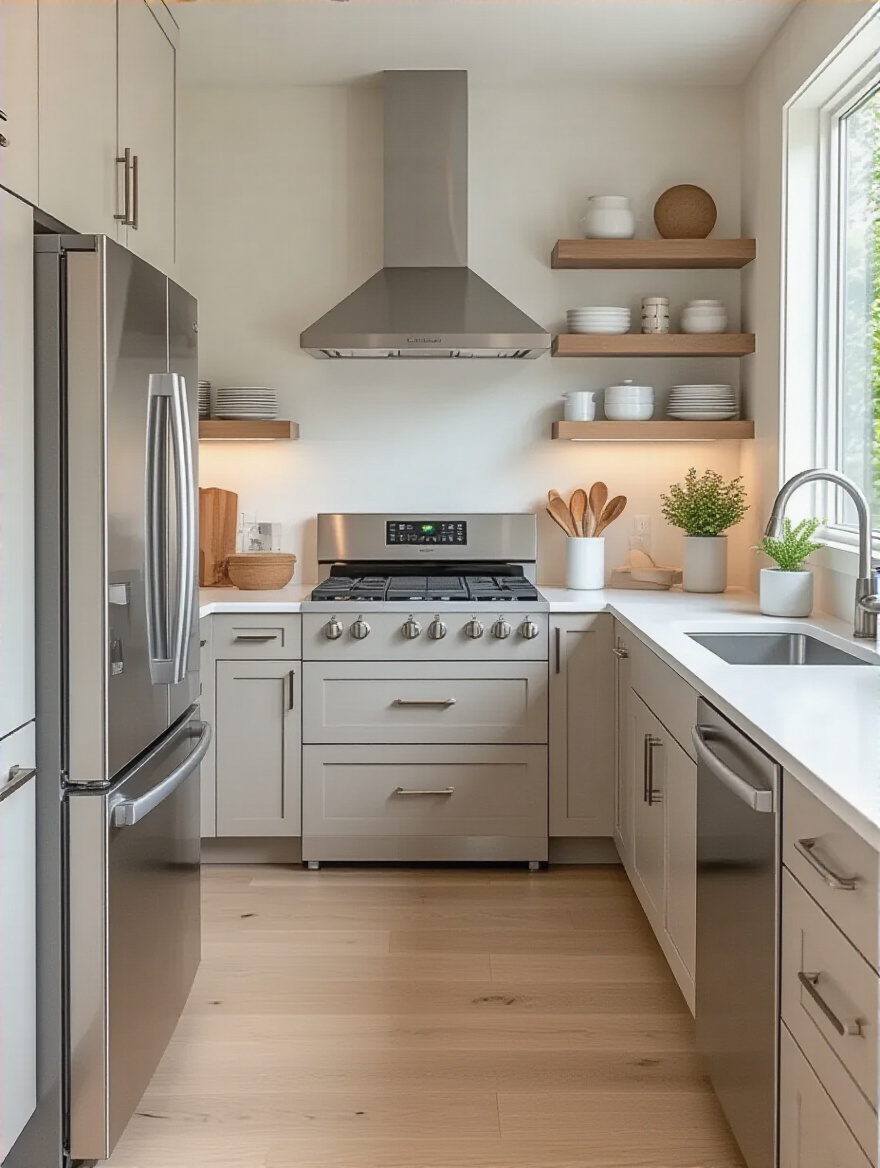
You need counter space next to the fridge to set down groceries. You need it on both sides of the sink for dirty and clean dishes. And you absolutely need it on both sides of the cooktop for ingredients and hot pans. A common mistake is placing a tall pantry cabinet right next to a stove, leaving you nowhere to put your hot pot. Another is putting the dishwasher on the opposite side of the kitchen from the cabinets where the dishes live, turning unloading into a full-body workout. Map your workflow, create your zones, and ensure you have landing space.
With the big pieces in place, the real magic happens inside the cabinets.
9. Maximize Storage Capacity with Smart Cabinet Organizers
The curse of old-house kitchens is often a lack of functional storage. You might have deep, cavernous cabinets, but they quickly become black holes where Tupperware lids go to die. This is where modern hardware is your best friend. Investing in high-quality cabinet organizers is a non-negotiable part of making a historic kitchen work for modern life.
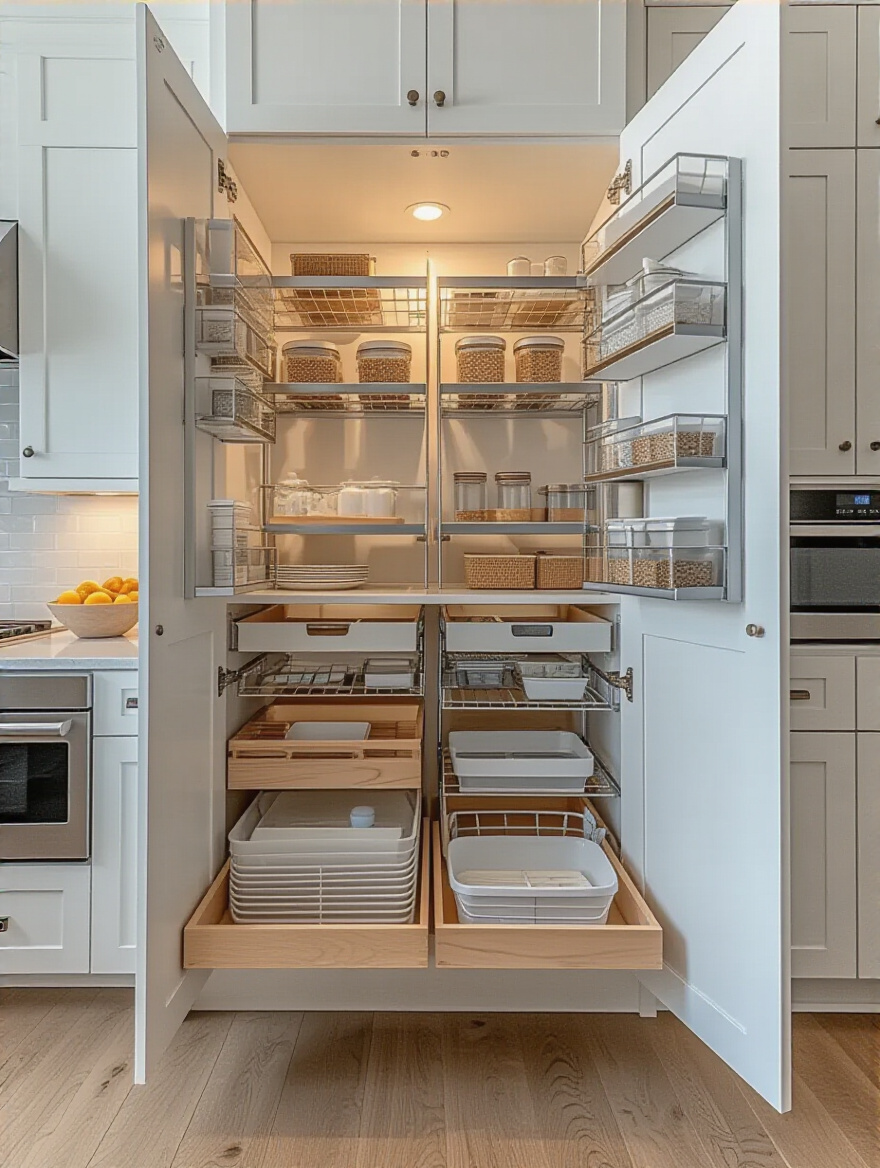
Don’t settle for fixed shelves in your base cabinets. Get full-extension pull-out shelves so you can see everything you own. Install a “Magic Corner” or a “Lazy Susan” to reclaim those awful blind corner cabinets. Use vertical dividers for baking sheets and cutting boards. And please, for the love of all that is holy, opt for deep drawers in your lower cabinets instead of doors wherever possible. It’s infinitely easier to see and access pots, pans, and stacks of plates in a drawer than it is to get on your hands and knees and dig into the back of a cabinet. This is the stuff that makes a kitchen truly functional every single day.
One of the most requested features to enhance this functionality is a central island. But does your historic kitchen really need one?
10. Incorporate a Multi-Purpose Kitchen Island or Peninsula
Here’s some heresy for you: not every kitchen needs a built-in island. In fact, in many historic homes, a permanent island is a terrible idea. They’re often too big for the space, creating awkward pinch points and destroying the historic sense of an open work area. A peninsula can be a great alternative, preserving more floor space while still adding counter area and seating.
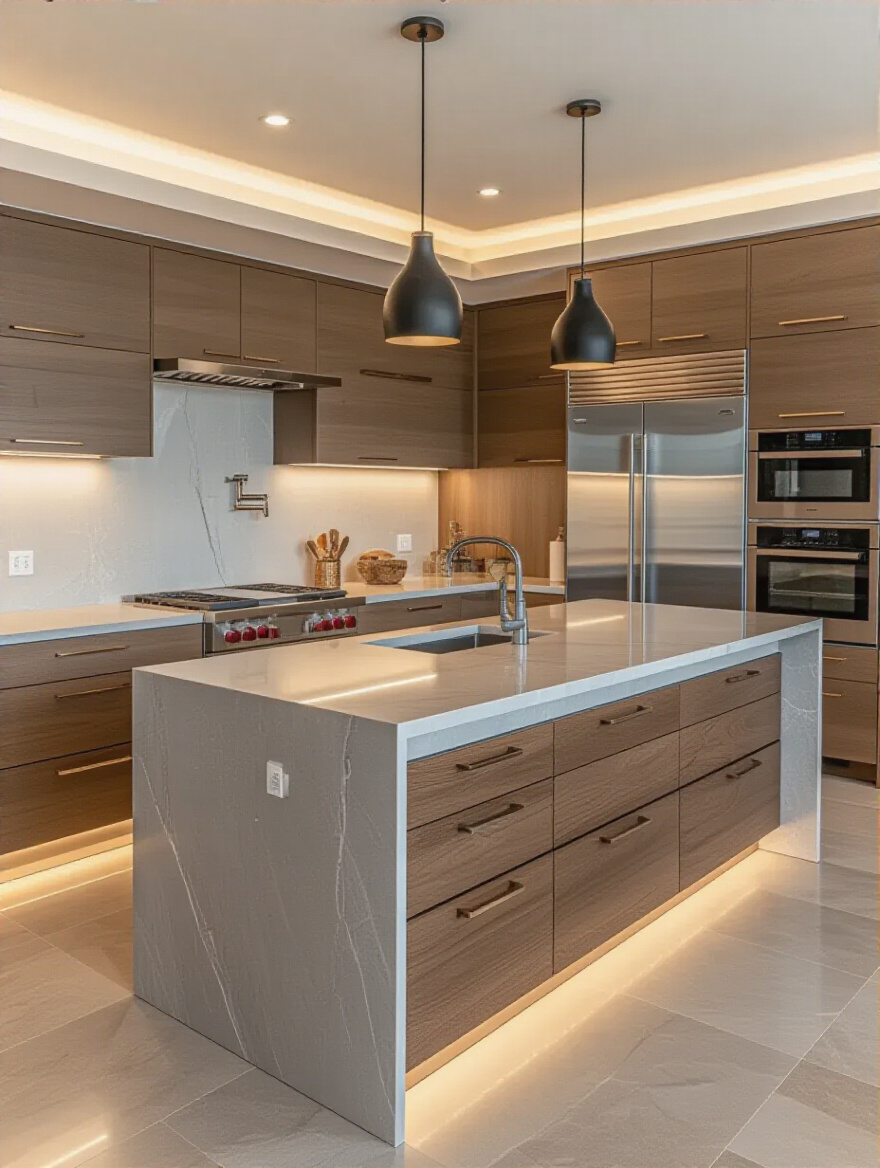
But my favorite solution for many period kitchens is a freestanding, furniture-style worktable. Think of a big, sturdy butcher block table on legs. It provides that central prep surface you crave, but because you can see under it, the room feels larger and more open. It feels more historically appropriate, evoking the utilitarian worktables of the past. And it’s flexible! If you’re having a party, you can push it against a wall to open up the floor. A built-in island is a permanent commitment; a worktable is a beautiful, functional piece of furniture.
Whether you have an island or not, creating a dedicated spot for your daily rituals can be a game-changer.
11. Design a Dedicated Beverage or Coffee Bar Zone
One of the best ways to improve the flow of a kitchen is to get the beverage-makers out of the main work triangle. A dedicated coffee bar or beverage station is a brilliant modern addition. In an older home, you often have the perfect spot for it already: a small butler’s pantry, a niche under a staircase, or a small section of countertop between the kitchen and dining room.
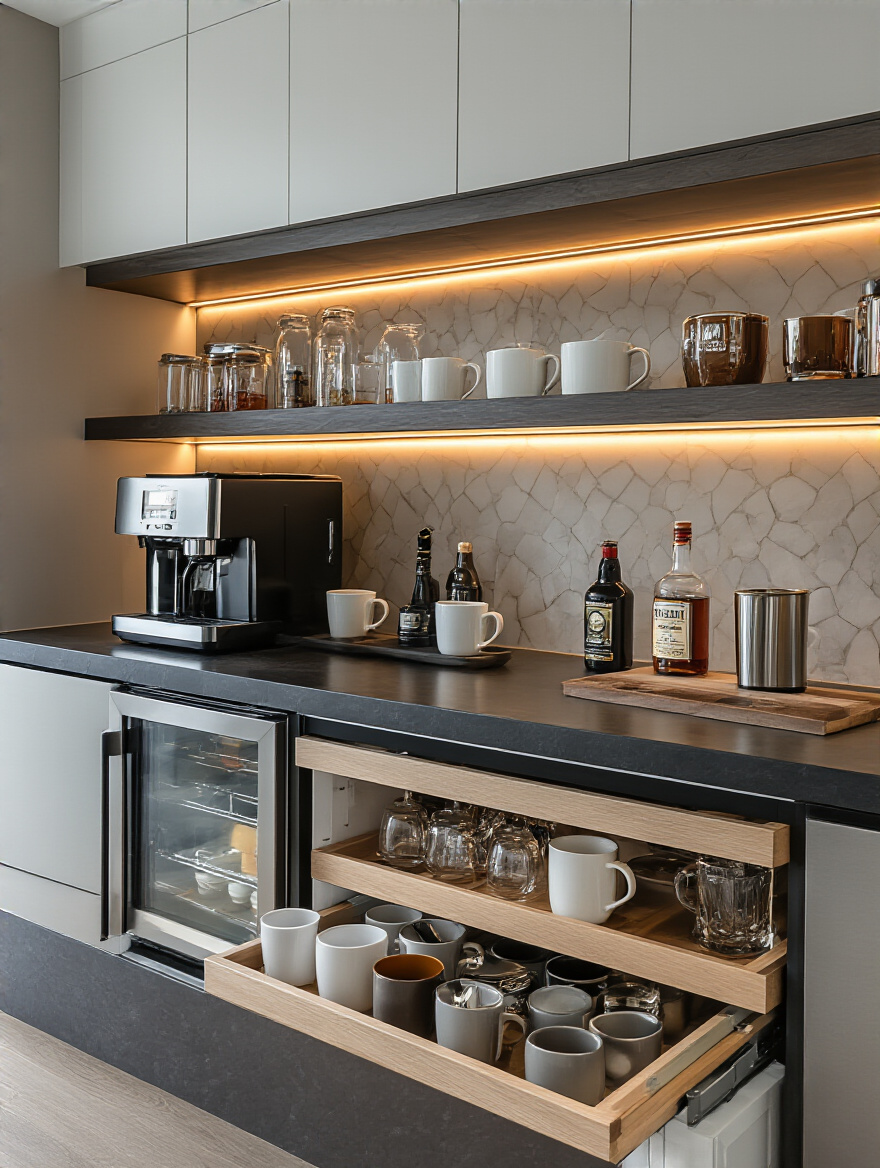
This small zone can house your coffee maker, electric kettle, mugs, tea, and maybe a small under-counter beverage fridge. It keeps the morning coffee-and-toast rush from interfering with someone trying to pack lunches. When you have guests, it becomes a self-serve bar, freeing you up to focus on cooking. It’s a small, dedicated zone that has an outsized impact on reducing kitchen congestion.
To keep that zone—and the rest of your kitchen—looking pristine, you need a plan for the appliance clutter.
12. Plan for Effective Hidden Appliance Garages
Modern life comes with an army of small appliances: toasters, blenders, stand mixers, air fryers. Left out on the counter, they create visual chaos that can ruin the charm of a historic kitchen. The solution is an “appliance garage”—a dedicated cabinet space designed to hide these items while keeping them accessible.
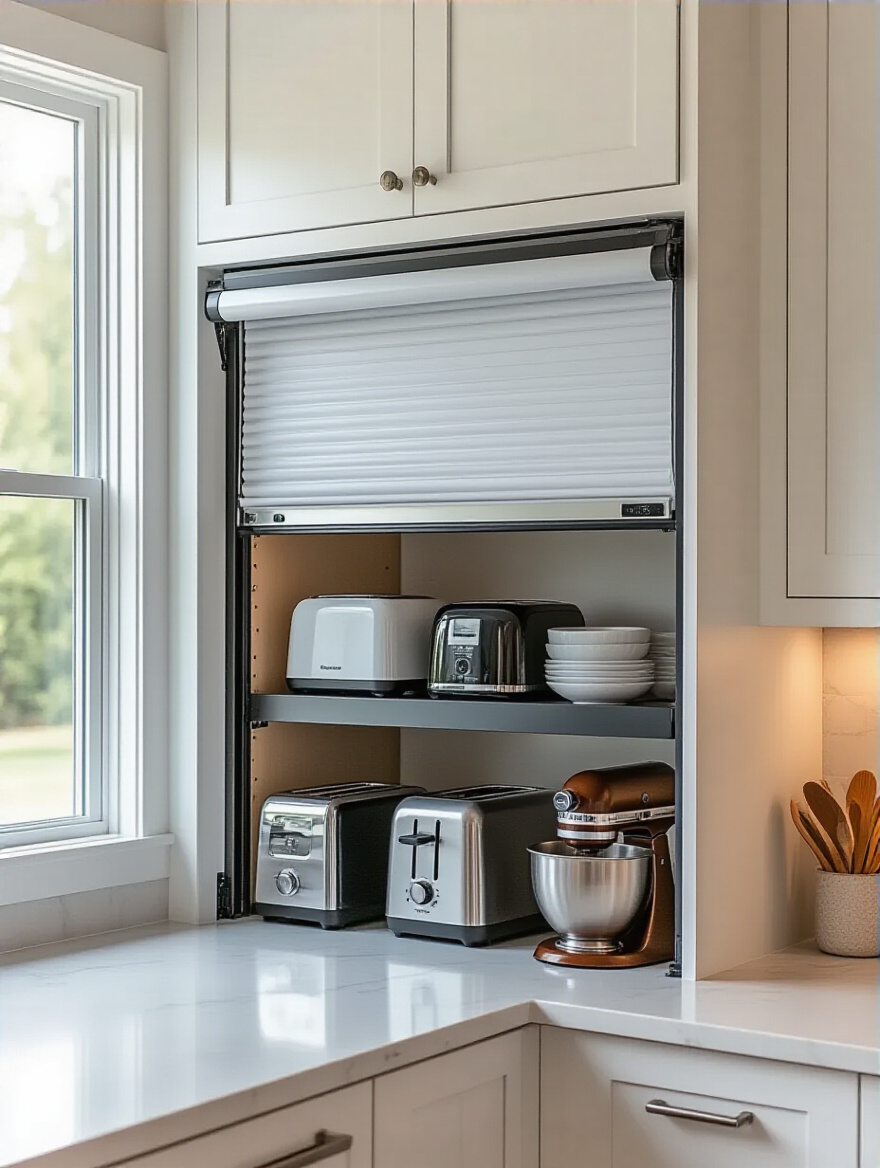
This can be a section of countertop enclosed by a door that lifts up or slides back into a pocket. The key is to have electrical outlets inside the garage, so the appliances are always plugged in and ready to go. For heavy items like a stand mixer, you can install a spring-loaded shelf that swings up to counter height. By hiding the machinery of modern life, you allow the timeless beauty of your cabinets and countertops to take center stage. It’s a key strategy for the “stealth modern” kitchen.
Crafting Ambiance: Surfaces, Lighting & Aesthetic Elements
With the functional bones in place, it’s time to give your kitchen its soul. The materials you choose to touch and see every day are what transform the space from a workroom into a warm, inviting heart of the home.
13. Select Durable, Stylish Countertop Materials Wisely
Your countertops are the primary work surface and a massive visual element. In a historic home, material choice matters immensely. While engineered quartz is the undisputed champion of modern durability and low maintenance, consider materials that have a history. Soapstone is a classic choice for period kitchens; it’s soft to the touch, darkens beautifully over time, and is virtually indestructible. Marble is the timeless, luxurious option, but be warned: it will stain, it will etch, it will scratch. You have to be willing to embrace that patina as part of its story.
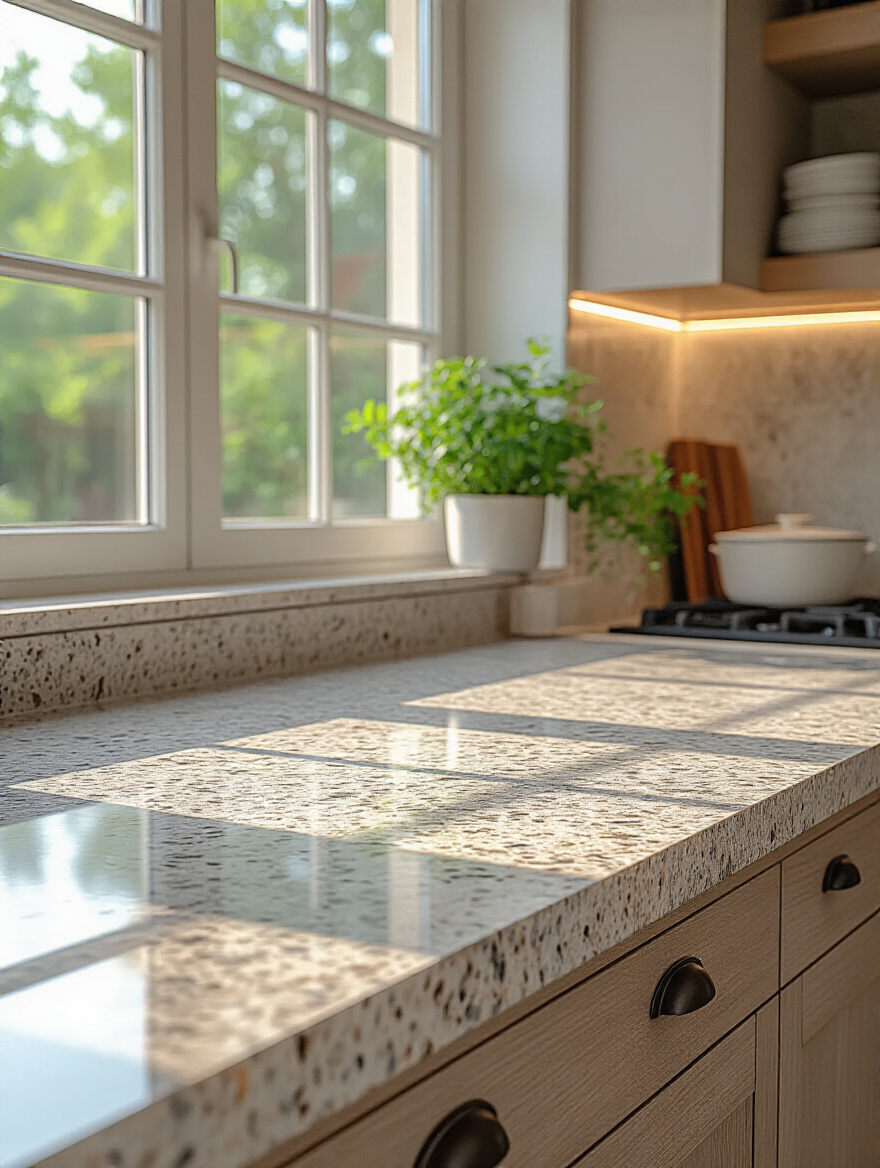
Butcher block adds warmth and is period-correct for many eras. If you do choose quartz, look for designs that mimic natural stones like marble or soapstone with subtle, organic veining, rather than a busy, glittery pattern that will scream “2024” in a few years. My pro tip? Run the countertop material up the wall a few inches to form a short, integrated backsplash. It’s a clean, classic look that works in almost any period home.
After countertops, the most dominant visual feature is your cabinetry.
14. Choose Cabinetry Styles that Reflect Your Personal Taste
Cabinetry sets the entire tone of your kitchen. Your number one job is to choose a style that is sympathetic to your home’s architecture. For most homes built before World War II, Shaker-style doors are a fantastic, versatile choice. Their simple, clean lines are timeless. For a more authentic, high-end look from that era, consider inset doors, where the door sits flush inside the cabinet frame. It’s a sign of quality craftsmanship that feels right at home in a pre-war house.
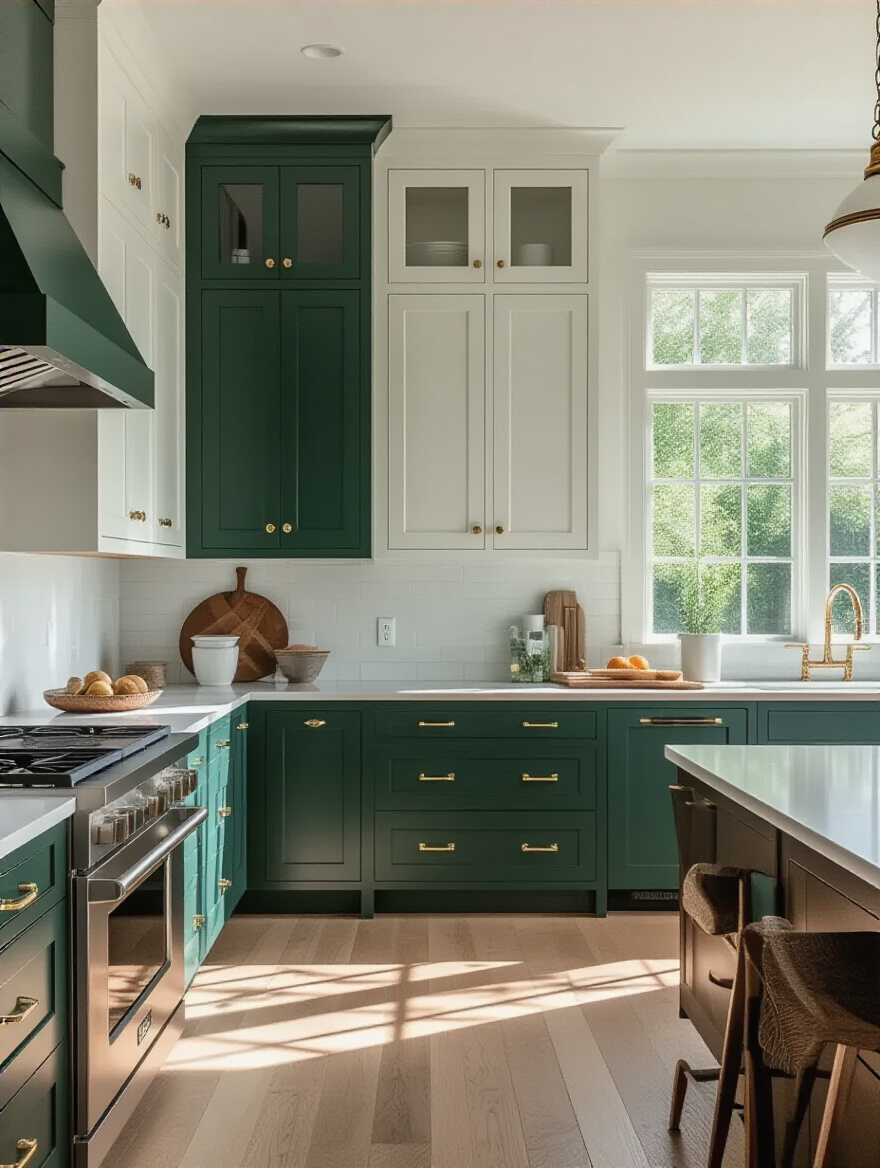
For a mid-century home, you’d want to look at flat-panel, or “slab,” doors, often in a warm wood like walnut or teak. Avoid overly ornate, rococo-style cabinets unless you live in an actual French palace. The finish is just as important. A simple, hand-brushed paint finish feels more authentic than a sprayed-on, plastic-y factory finish. And don’t be afraid of color! Historic kitchens were not always white. Deep greens, blues, and buttery yellows were common.
Once your cabinets are chosen, you need to illuminate them properly.
15. Illuminate Your Space with Layered Task and Accent Lighting
Historic kitchens were notoriously dark. One of the single most impactful changes you can make is a well-designed lighting plan. Forget the single, sad “boob light” in the center of the ceiling. You need layers.
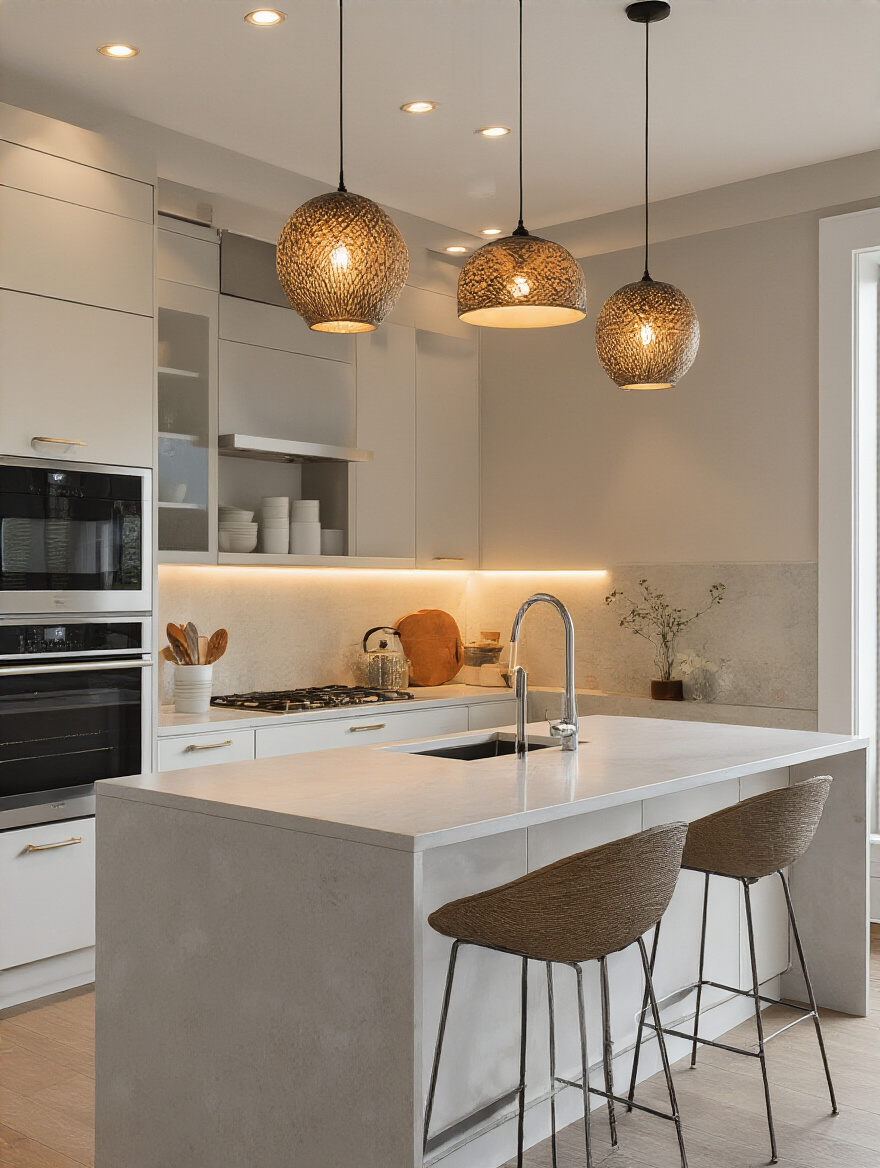
“A common mistake is thinking one central fixture can do all the work. It can’t. You’ll always be standing in your own shadow at the counter. Layered lighting isn’t a luxury; it’s a functional necessity.”
Here are your three layers:
- Ambient: General, overall light. This can come from a beautiful, period-appropriate central fixture (like a schoolhouse light or a simple drum pendant) and a few well-placed recessed lights.
- Task: This is the light you work by. It’s the most important layer. Put LED strip lighting under your upper cabinets to illuminate the countertops. It’s a game-changer. Add pendants over an island or sink.
- Accent: The “jewelry” lighting. This could be a small picture light over some open shelves or a lamp on the counter.
Crucially, put everything on a dimmer. This allows you to go from bright, full-bore “I’m cooking Thanksgiving dinner” mode to a soft, warm “let’s have a glass of wine” glow.
From the ceiling down to the floor, your choice of material is foundational.
16. Pick the Perfect Flooring for Kitchen Resilience and Comfort
The first rule of historic flooring is: save the original if you can! Old-growth heart pine or oak floors are irreplaceable treasures. Even if they look rough, they can often be refinished to stunning effect. If you can’t save them or need something new, choose a material that is both resilient and historically appropriate.
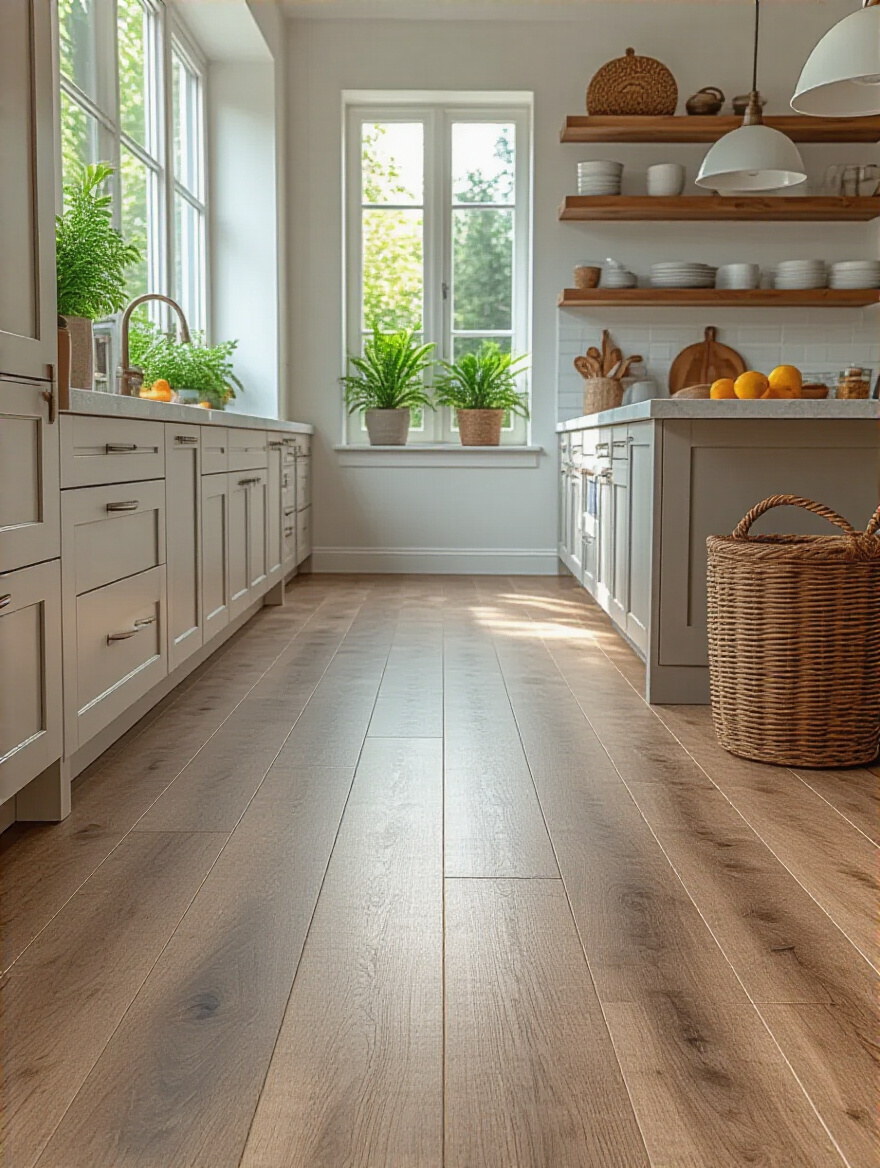
For many older homes, linoleum—the real stuff, now sold as Marmoleum—is a fantastic, durable, and period-correct choice. It’s warm underfoot and comes in a huge range of colors. Black-and-white checkerboard tile is another classic that never goes out of style. Wood is always a great option, but for a kitchen, engineered hardwood is often more stable than solid wood when it comes to moisture. Just please, avoid trendy, gray-toned LVT (luxury vinyl tile). It will date your kitchen faster than anything.
With the floor as your stage, the backsplash becomes your feature act.
17. Accent Your Walls with Unique Backsplash Designs
The backsplash is a place where you can add personality, but it’s also a place where you can go very wrong in a historic home. My advice is to resist the urge to use trendy, busy, patterned cement tiles unless they are truly appropriate for your home’s style (like in a Spanish Revival). Most of the time, simple is better.
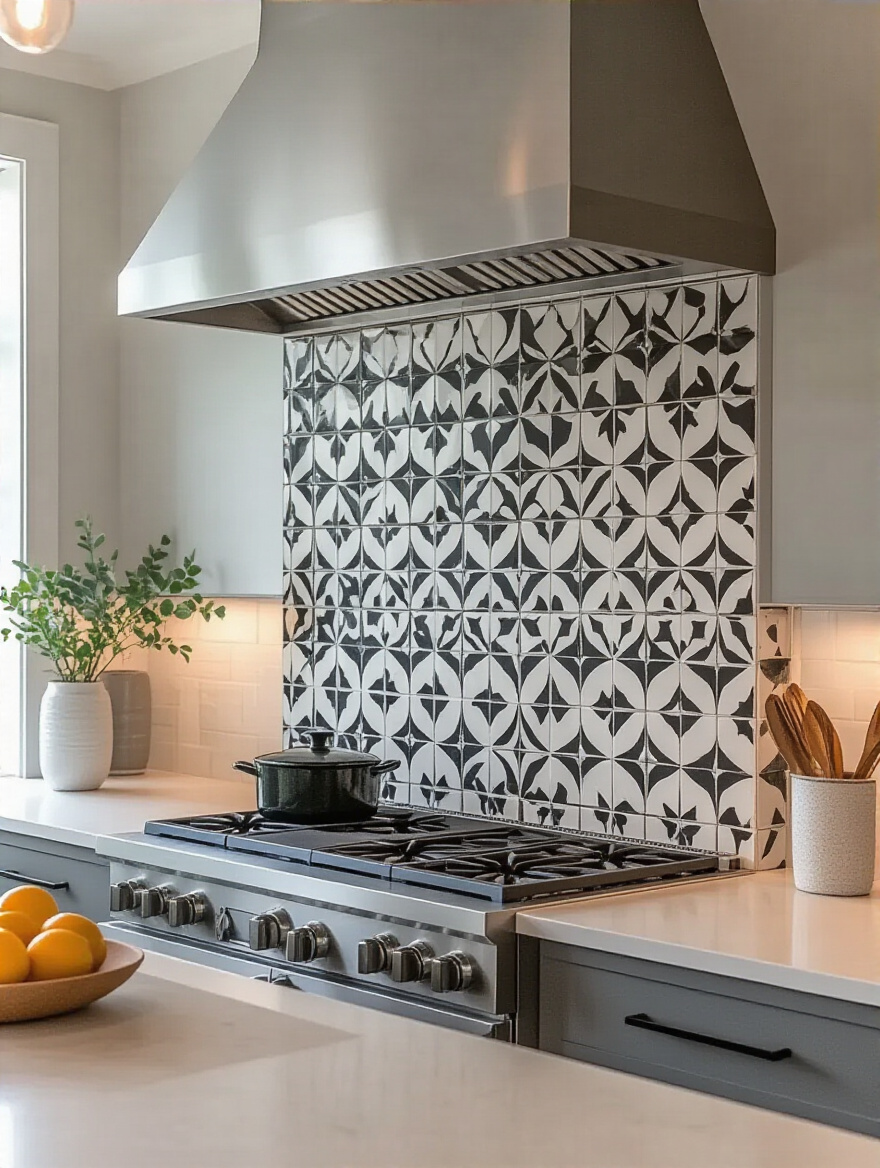
Subway tile is popular for a reason: it’s a timeless classic that has been used for over a century. It just works. For a more rustic, farmhouse, or cottage feel, simple beadboard is a wonderful and inexpensive option. A slab of the same material as your countertop—like soapstone or marble—is an elegant, seamless look. The idea is to let the backsplash be a beautiful, textural backdrop, not the screaming star of the show. Let the quality of the materials and the character of the architecture shine.
And the final touch that pulls it all together is the hardware.
18. Add Personality with Cohesive Hardware and Fixtures
Hardware is the jewelry of the kitchen. It’s the thing you touch every day, and getting it right makes a massive difference. First, choose a finish that fits the era. Unlacquered brass is my absolute favorite for pre-war homes; it ages to a beautiful, warm patina. Polished nickel is another classic. Matte black can work well for a more industrial or farmhouse look.
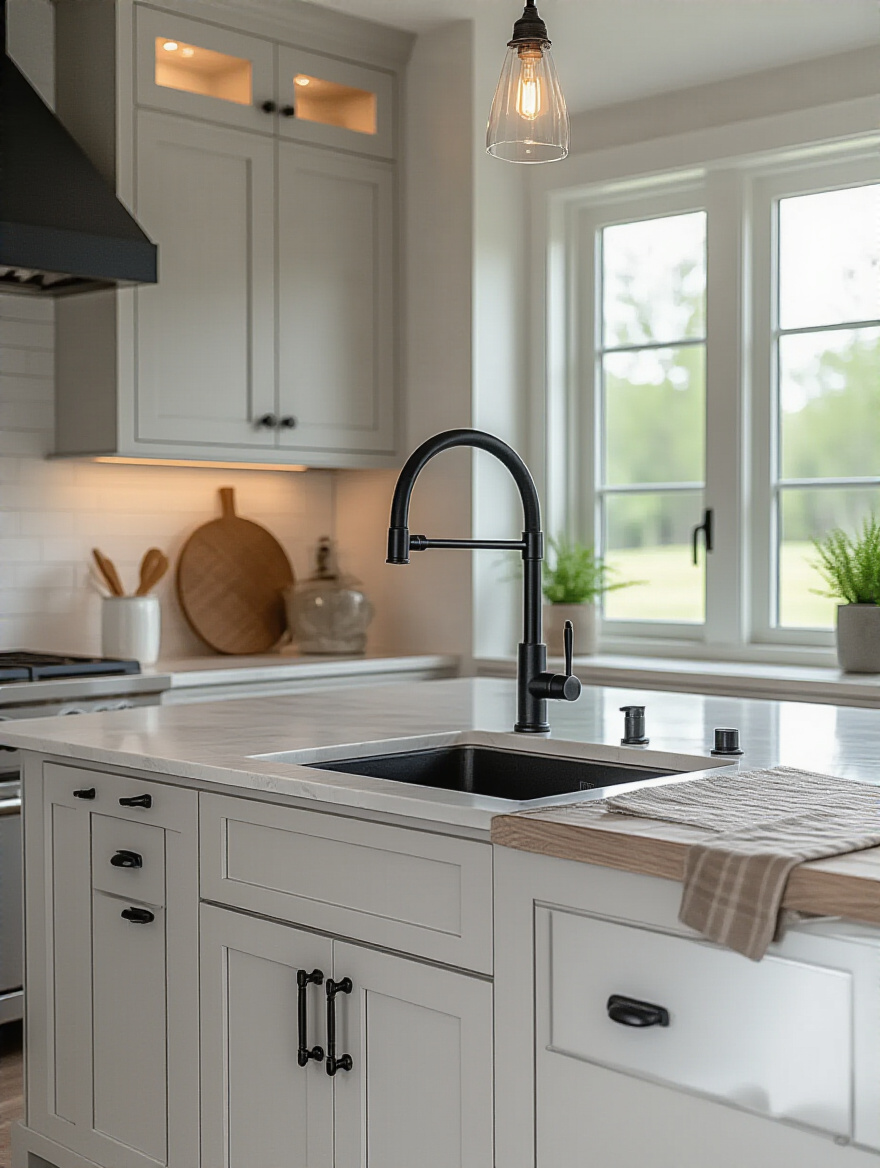
Then, think about style. Simple knobs and bin pulls for a Craftsman or farmhouse kitchen. Glass or porcelain knobs for a Victorian or Colonial Revival. Simple, sleek bar pulls for a mid-century space. The same goes for your faucet. A bridge faucet feels right in a traditional kitchen, while a simple gooseneck works well in a more modern or transitional space. Don’t be afraid to splurge a little here. High-quality, solid brass hardware feels substantial in your hand and will last a lifetime. Check out salvage yards or quality reproduction companies; it’s worth it.
Beyond Basics: Smart Integrations & Personalized Touches
This is where we add the final layers of modern convenience and personal expression, turning a great kitchen into an extraordinary one. These are the details that truly tailor the space to your life in the 21st century.
19. Integrate Smart Appliances for Enhanced Modern Living
You can have a kitchen that looks like it’s from 1920 but functions like it’s from 2040. This is the beauty of the “stealth modern” approach. You want the incredible performance of an induction cooktop? Great! They are sleek, efficient, and easy to clean. You want a smart refrigerator that can tell you when you’re out of milk? Go for it, but get a panel-ready model that can be faced with cabinetry to blend in seamlessly.
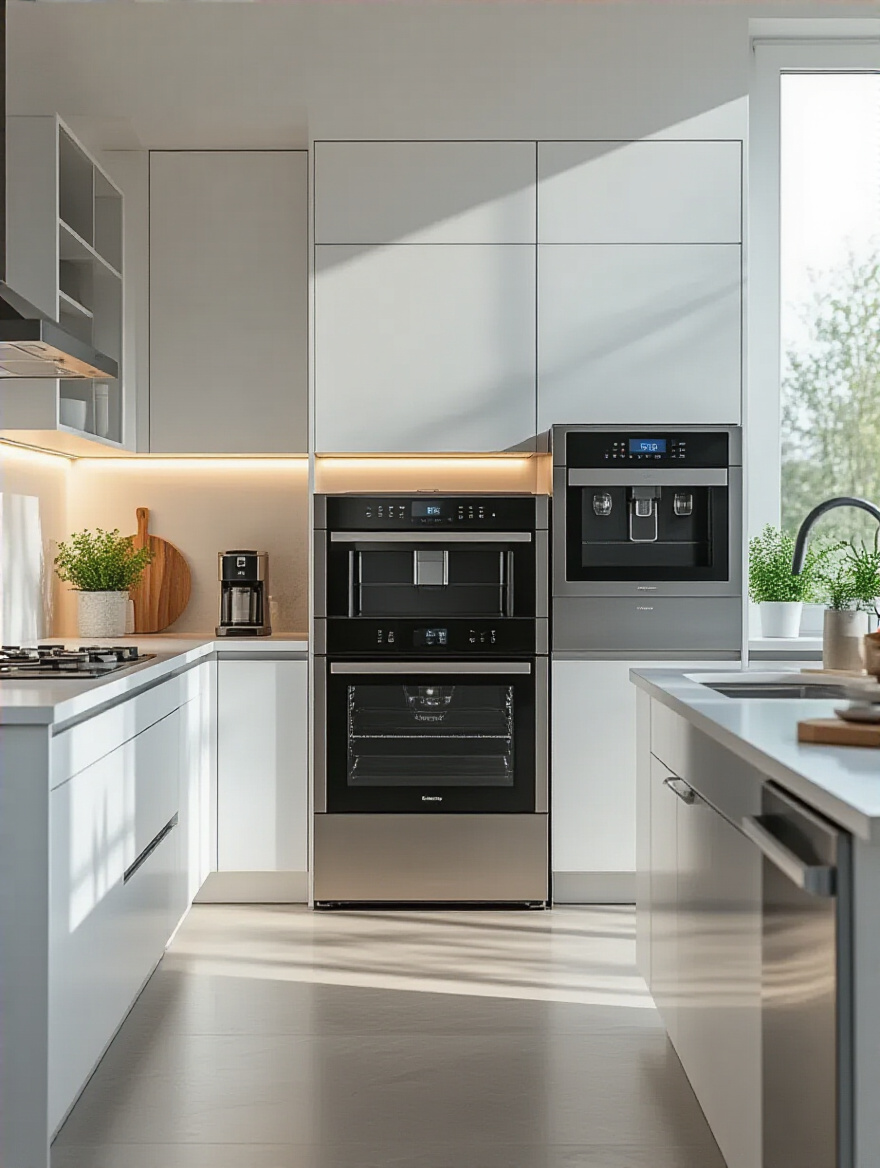
The goal is to integrate technology that makes your life easier without letting it visually dominate the space. Think about a quiet, high-performance dishwasher, a steam oven tucked away in a bank of cabinets, or a smart vent hood that turns on automatically. The technology should serve the historic aesthetic, not compete with it.
Just as you embrace modern technology, you can embrace modern environmental ethics.
20. Design for Eco-Friendly, Sustainable Material Choices
Preservation is, by its very nature, a sustainable act. When you choose to restore and reuse rather than demolish and replace, you are already making a green choice. Take that ethos and apply it to your new materials. This means choosing wood from FSC-certified forests, using low-VOC (volatile organic compound) paints and finishes to ensure healthy indoor air, and selecting durable materials that won’t need to be replaced in a decade.
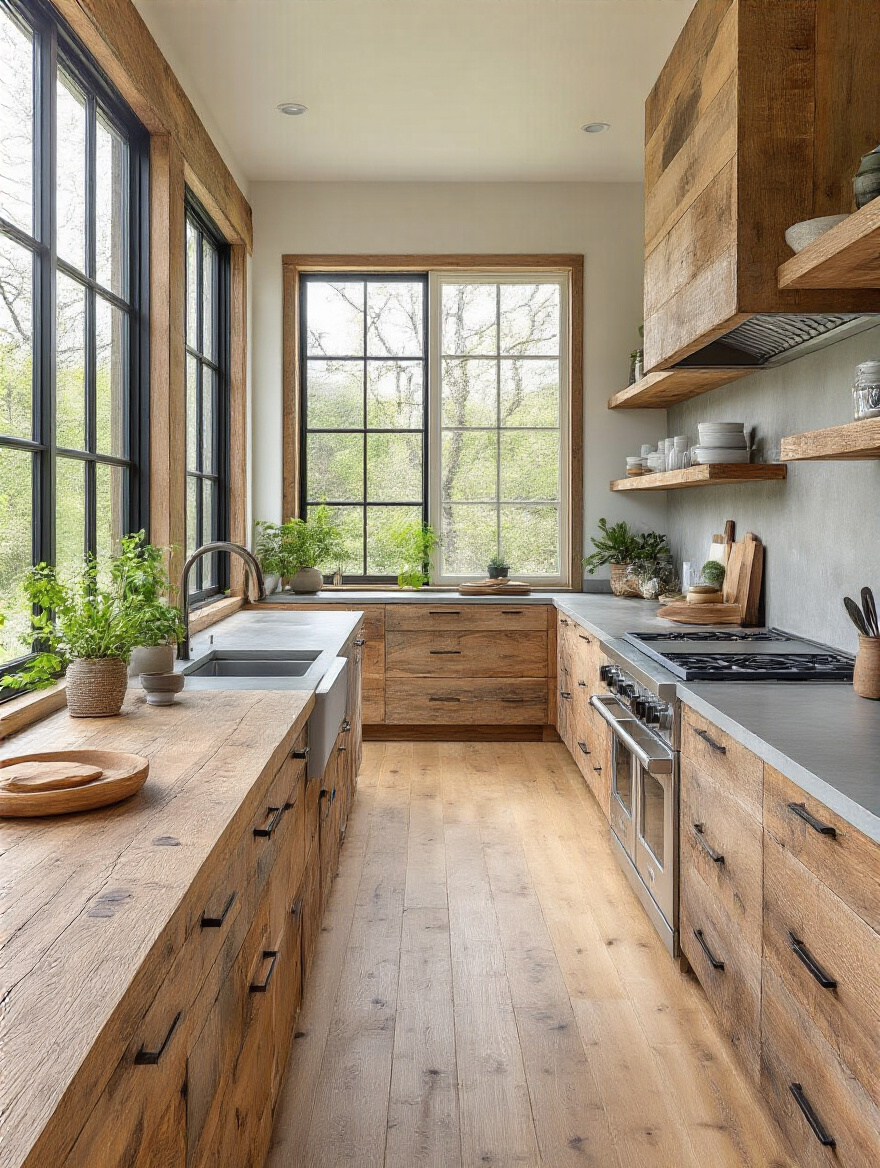
Think about reclamation. Can that old-growth Douglas fir from a demolished wall be milled into open shelving? Can you source countertops made from recycled glass or paper? Sustainability in a remodel isn’t just about buying new “green” products; it’s about a mindset of resourcefulness and longevity. Choose quality over quantity, and build things to last—just like the original builders of your home did.
Another part of modern life to integrate seamlessly is our collection of devices.
21. Incorporate Thoughtful Charging Stations Seamlessly
Nothing ruins a beautiful, timeless kitchen faster than a tangled mess of charging cords on the counter. Plan for this. The best solution is a dedicated charging drawer. A contractor can install an outlet in the back of a drawer, allowing you to create a hidden, centralized station for phones, tablets, and watches.
Other options include putting outlets with built-in USB ports on the side of an island, tucked away under the countertop overhang. Or integrating them into an appliance garage or a message center niche. The goal is to provide ample, convenient power for all your devices without ever having to see a single ugly power brick. It’s a small detail that has a massive impact on daily life and visual clutter.
Finally, think about extending your kitchen’s hospitality beyond its four walls.
22. Plan for Seamless Indoor-Outdoor Entertainment Zones
This can be a tricky one in a historic home, where the original walls and window patterns are part of its character. Tearing out a massive section of the back wall for a 20-foot bifold door system can completely destroy the home’s architectural integrity. A more sensitive approach is often to use a set of elegant French doors or a series of tall, paired windows that echo the home’s existing fenestration.
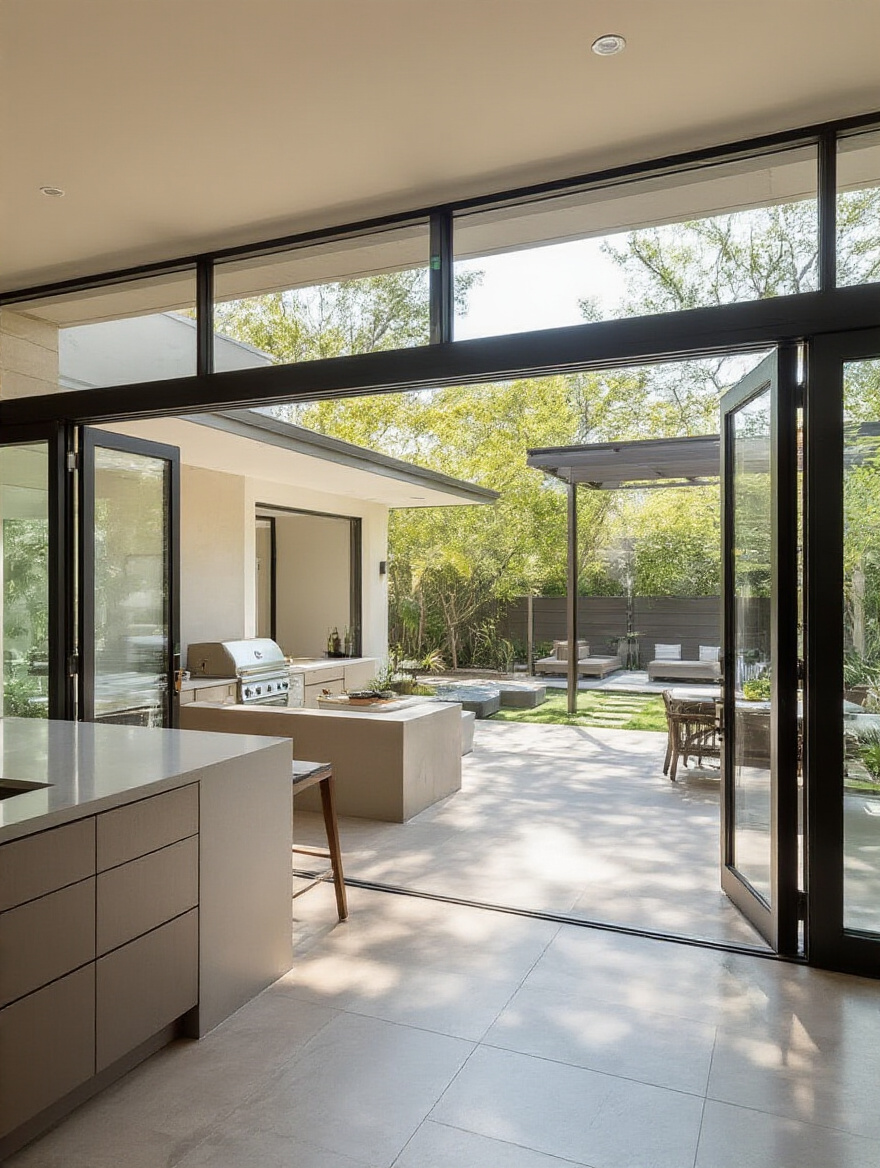
The goal is to create a strong visual and physical connection without sacrificing the historic fabric. Use the same or similar flooring material inside and out to create a sense of continuous space. Plan your patio or deck to function as an outdoor “room” that feels like a natural extension of the kitchen. You can achieve that wonderful indoor-outdoor feeling while still respecting the original architecture of the house.
Conclusion
Remodeling a kitchen in a historic home is a profound responsibility and an incredible opportunity. It’s a dialogue between the past and the present. You are not just a homeowner; you are the current steward of a piece of history. Your job is to add your chapter to the story in a way that honors all the chapters that came before.
Don’t be swayed by fleeting trends or the pressure to have what everyone else on TV has. Instead, listen to the house. Respect its bones, its proportions, and its character. By thoughtfully blending modern functionality with timeless, period-appropriate design, you can create a kitchen that is not only beautiful and efficient but also feels deeply and authentically right. It will be a space that serves your family for years to come and that the next generation of stewards will thank you for.
