I’ll confess something. I spend my days designing spaces that have to withstand everything nature throws at them—driving rain, baking sun, you name it. For a long time, I thought worrying about a little steam in a bathroom was overkill. Then I helped a friend tear out a bathroom floor and saw the black, spongy subfloor beneath. It was a costly lesson in just how destructive a poorly chosen floor can be in the one room of the house that has its own daily weather system.
Your bathroom is a microclimate. It’s got tropical humidity, flash floods from bath time, and constant temperature swings. So when people ask me for advice, I tell them to stop thinking about it as just another room. Think of it like a beautifully designed, covered outdoor patio. The floor is your foundation, and it has to be ready for the elements. Everything else is just noise. Forget the marketing fluff; what truly matters is creating a sealed, durable system that works with moisture, not against it.
Foundational Planning and Assessment (Part 1)
Before you even think about picking a tile, we have to talk about the groundwork. This is the part everyone wants to skip, and it’s the single biggest reason projects fail. Getting the foundation right—assessing the unique conditions of your bathroom—is the difference between a floor that lasts for decades and one that’s a spongy, moldy mess in five years.
1. Assess Moisture Levels for Optimal Subfloor Prep
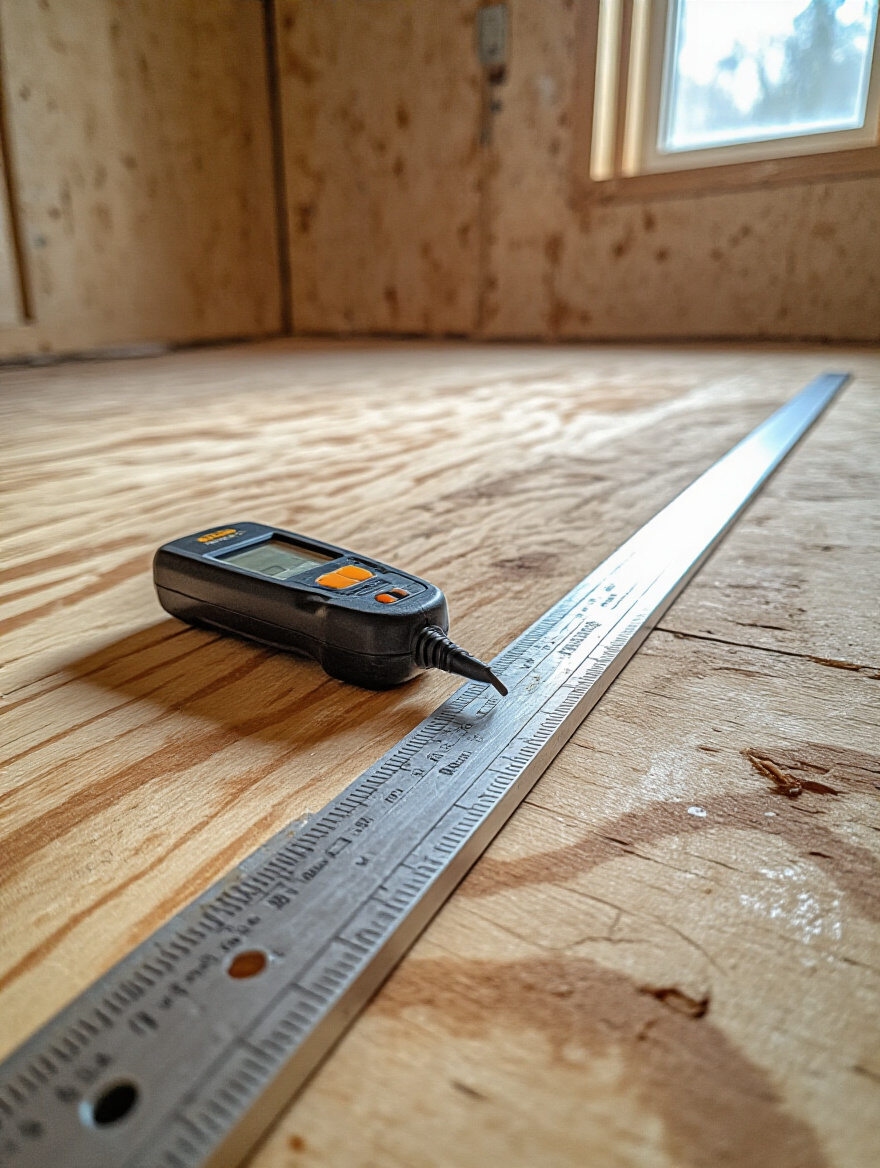
You wouldn’t build a deck on marshy ground, right? Same principle. Before you lay a single thing, you have to know what’s happening underneath. Your subfloor is the hidden story of the room, and if it’s holding onto moisture from a tiny, old leak or just ambient humidity, any new floor you put on top is doomed to warp, lift, or become a breeding ground for mold.
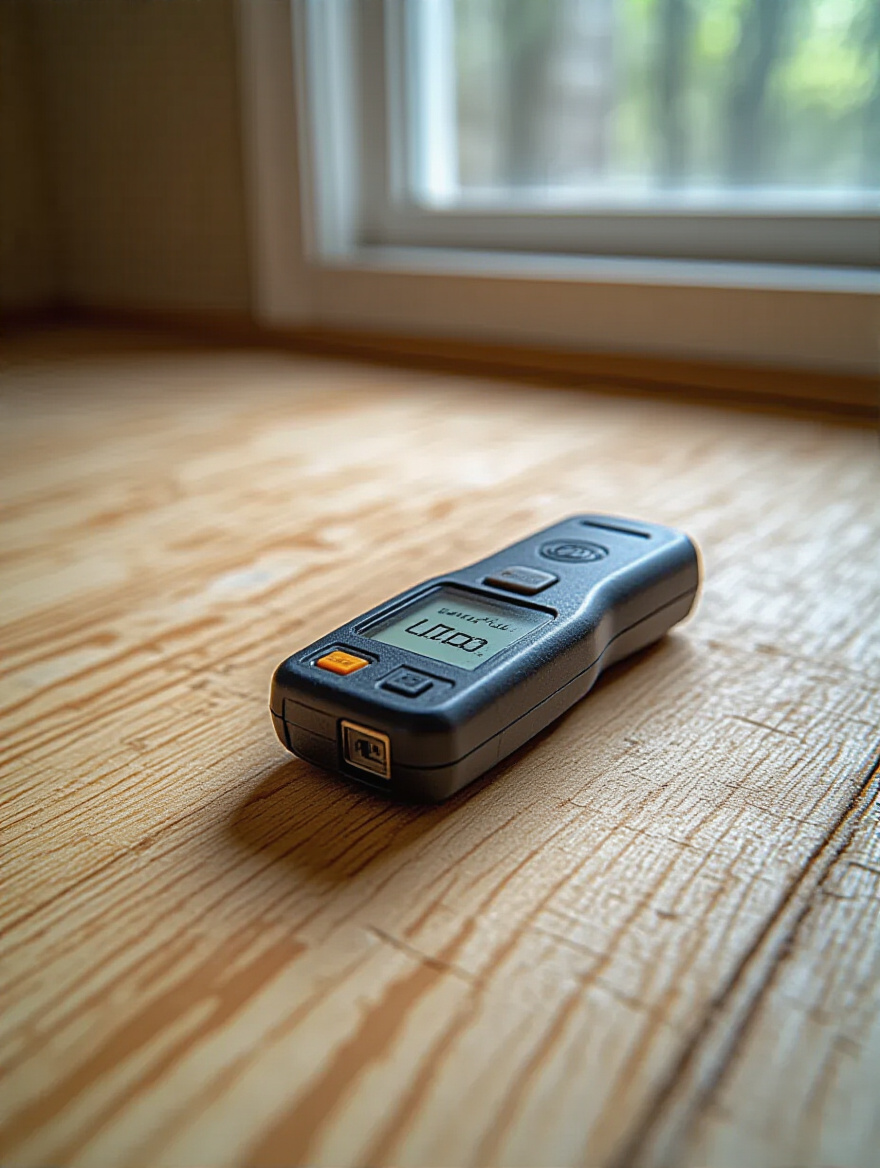
Ignoring this is like putting a fancy hat on a sick patient—it doesn’t fix the real problem. Get a simple moisture meter; they’re not expensive. Test in multiple spots, especially around the toilet and tub. If you have a concrete slab, that’s a different beast—it can hold and release moisture for years. The numbers don’t lie. And if they’re high, you have to address that with a vapor barrier or sealer before you do anything else. This single step will save you more money and heartache than any other.
Transitioning from what lies beneath to what you can afford, a clear budget is what keeps your project grounded and sustainable.
2. Define Your Budget for Sustainable Material Choices
Let’s get this out of the way: a budget isn’t a restriction; it’s a tool. It helps you focus on what provides real, lasting value instead of just what looks good in a showroom. It’s easy to get seduced by a high-end tile and then try to save money by skimping on the installation materials, but that’s completely backward. A well-installed, budget-friendly floor will outperform a poorly installed luxury floor every single time.
Your budget should account for the entire system: the subfloor prep, the underlayment, the flooring material, the right adhesive, the grout, the sealer, and the labor. I always tell clients to allocate a 15% contingency fund. Always. Because you might open up the floor and find that spongy, black subfloor I mentioned earlier. Planning for the unexpected is what separates a smooth project from a nightmare.
With your finances in order, you can begin to think about how the floor will contribute to the room’s overall character.
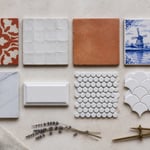
3. Match Flooring Style to Bathroom’s Overall Aesthetic
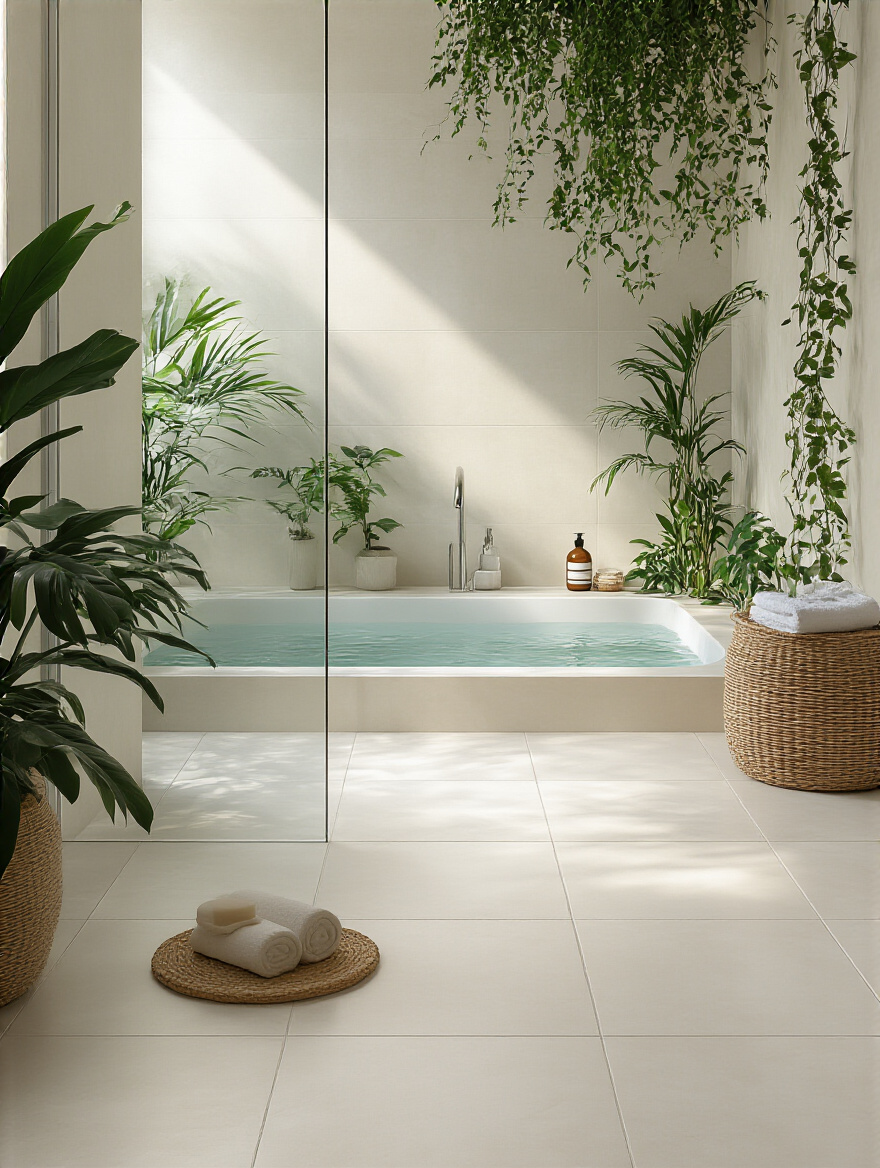
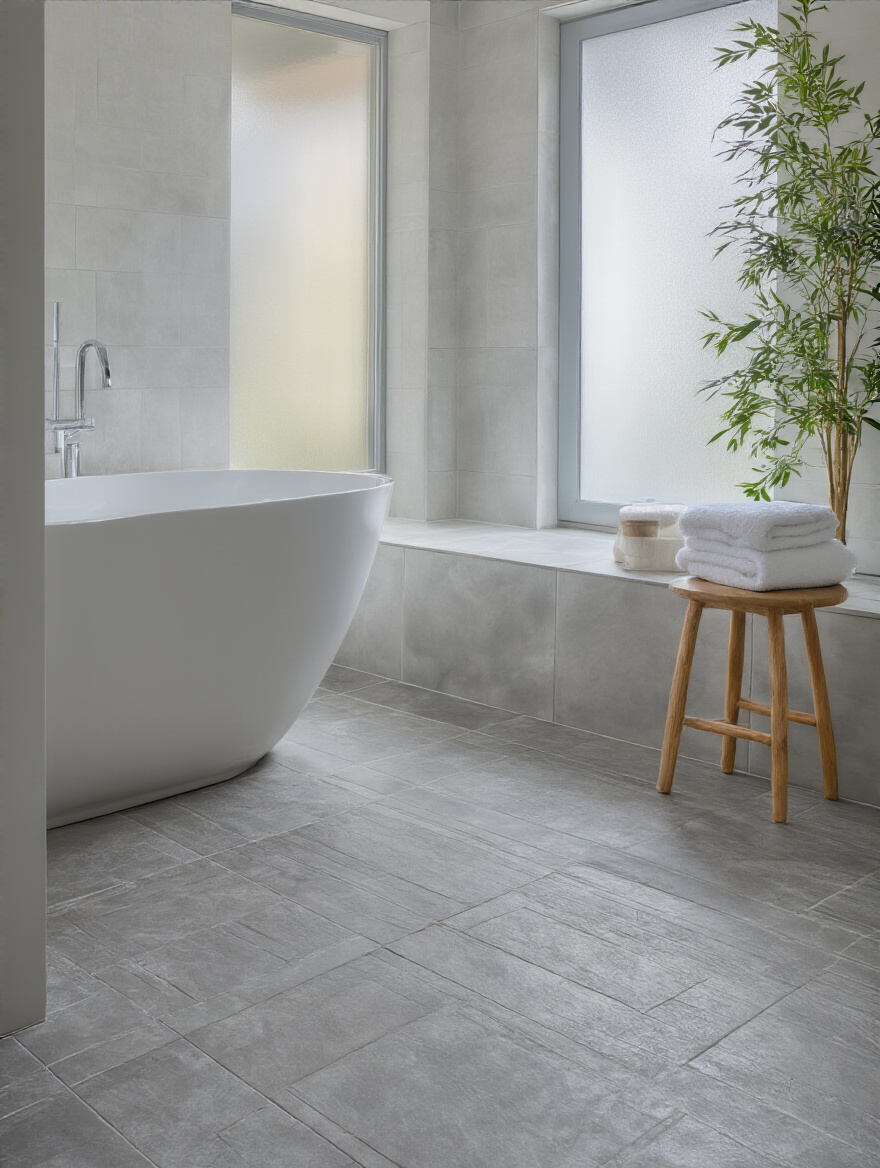
The floor is the canvas for the entire room. It grounds everything. You can have the most beautiful freestanding tub and vanity, but if the floor clashes, the whole space will feel off-kilter and cheap. Think about the feeling you want when you walk in. Is it a calm, spa-like sanctuary? A rustic, warm retreat? A clean, modern space? The flooring material, color, and pattern set that tone immediately.
I recommend creating a simple mood board. Don’t just rely on tiny samples. Get a few full-sized tiles or planks and lay them on the floor. See how they look next to your vanity and wall color. Look at them in the morning light and at night with the lights on. A material’s character can change dramatically. The goal is cohesion—making the floor feel like a natural, intentional extension of the home’s personality, not an afterthought.
As you harmonize the style, you must never lose sight of the floor’s most critical job: keeping you safe.
4. Prioritize Slip Resistance for Family Safety
This is non-negotiable, especially if you have kids or elderly family members. A bathroom floor is guaranteed to get wet, and a slick surface is an accident waiting to happen. The glossy, polished marble you see in magazines looks incredible, but it can be dangerously slippery when wet. The beauty of a space means nothing if it isn’t safe for the people living in it.
Look for tiles with a matte, honed, or textured finish. Smaller tiles can also improve grip because the extra grout lines act like treads on a tire. You’ll often see a “Coefficient of Friction” (COF) rating. The higher the number, the better the grip. You don’t need to get lost in the technical specs, but just asking your supplier about slip resistance will steer you in the right direction. Safety and style can, and must, go hand-in-hand.
Foundational Planning and Assessment (Part 2)
Okay, we’ve covered the core basics of planning. Now let’s dial in on two more elements that elevate a bathroom floor from merely functional to truly exceptional. These are the details that add a layer of comfort and guarantee your installation is built on a rock-solid base.
5. Consider Underfloor Heating for Enhanced Comfort
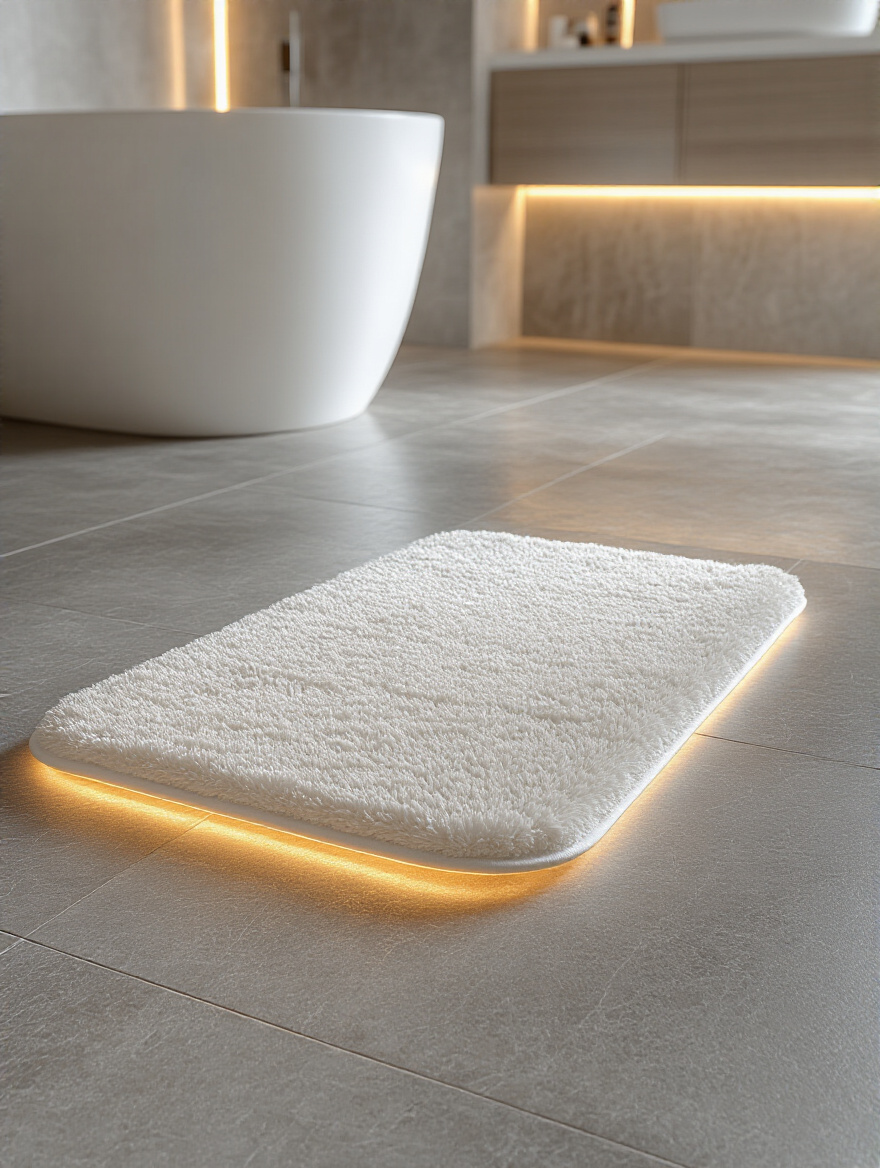
Here’s a shortcut to making your bathroom feel like a luxury spa: heated floors. Nothing, and I mean nothing, beats stepping out of a warm shower onto a gently heated floor, especially on a cold morning. It’s a touch of comfort that feels incredibly decadent but is surprisingly practical. Radiant heat is also more efficient than forced-air systems because it heats the objects in the room (including you) directly.
This is a decision you have to make before you install your floor, as the electric mats or hydronic tubes are installed right beneath it. It works best with materials that conduct heat well, like tile, stone, or concrete. While it adds to the upfront cost, it completely changes the daily experience of the room. It transforms the floor from a cold, hard surface into a source of creature comfort.
And that comforting surface needs an unwavering foundation beneath it to last.
6. Verify Subfloor Integrity Before Installation Begins
We touched on moisture, but this is about the physical structure. The subfloor needs to be solid, level, and clean. I once saw a gorgeous, expensive stone tile installation fail within a year because the contractor laid it over a slightly bouncy plywood subfloor. The tiny flex in the floor was enough to crack the grout and, eventually, the tiles themselves. A $10,000 job was ruined by a $500 problem that was ignored.
Walk every inch of your subfloor. Do you feel any soft spots or sponginess? Do you hear squeaks? If so, you need to screw down the plywood or reinforce the joists from below. Use a long level to check for dips and humps. Tile needs a perfectly flat surface. If it’s not, a self-leveling compound is your best friend. A rigid, flat subfloor is the only way to guarantee your beautiful new floor stays that way.
Core Material Selection and Installation Techniques (Part 1)
Now for the fun part: choosing the material. This is where your bathroom’s personality really starts to emerge. But remember, in a bathroom, beauty is tied directly to performance. We’re looking for options that can handle water with grace and durability.
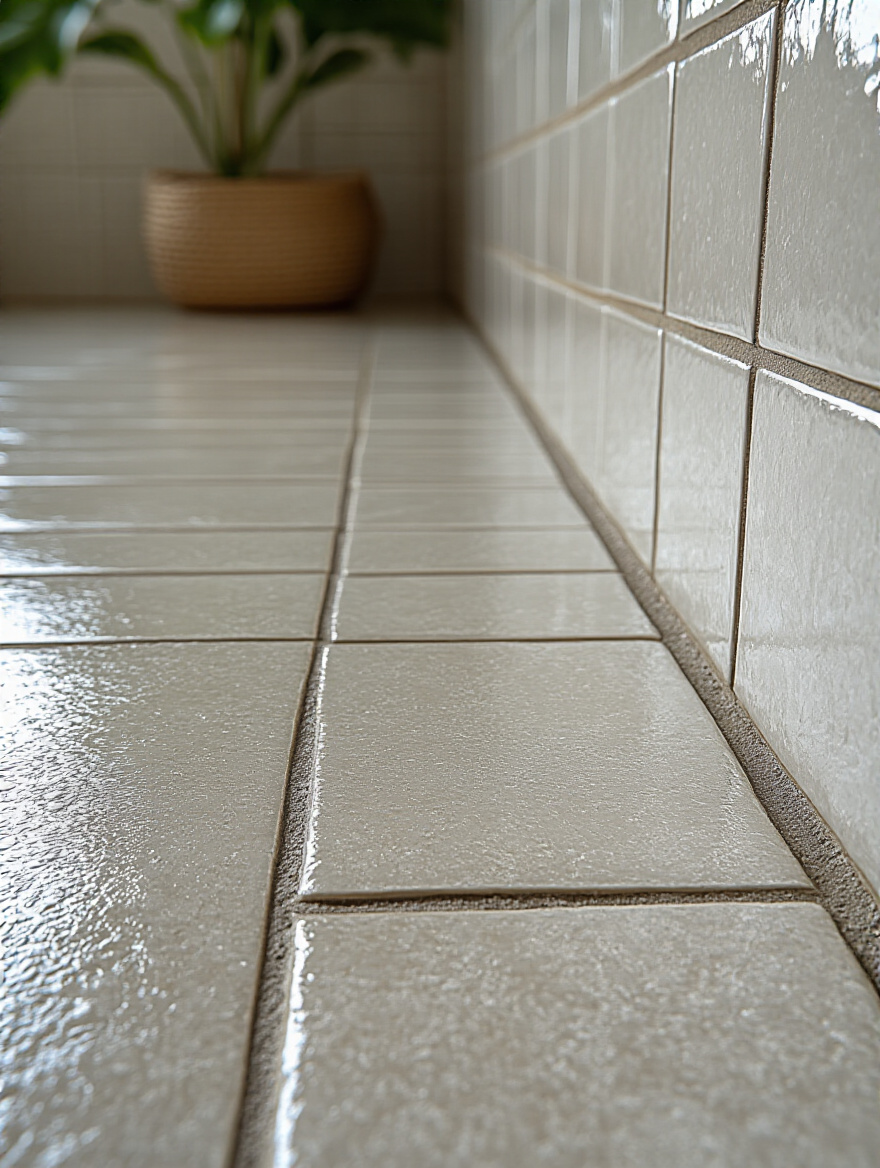
7. Embrace Porcelain or Ceramic Tiles for Superior Water Resistance
If you want a time-tested, virtually bulletproof option, this is it. Porcelain tile is the undisputed champion of wet environments. It’s a type of ceramic that’s fired at a higher temperature, making it denser and incredibly resistant to water absorption (less than 0.5%). This means water sits on top of it, waiting to be wiped away, instead of seeping into the tile and the subfloor below.
The design possibilities are endless, from tiles that look exactly like natural stone or wood to vibrant patterns and colors. And because they’re so durable, they’re perfect for high-traffic family bathrooms. A properly installed porcelain tile floor isn’t just a 20-year floor; it’s a “for the life of the house” floor. Just don’t skimp on the grout and sealer—that’s the weak link in the system if not done right.
While porcelain is a classic, newer materials offer a compelling wood look without wood’s vulnerabilities.
8. Explore Luxury Vinyl Plank (LVP) for Durable Faux Wood Looks
Everyone loves the warmth of wood, but solid hardwood has no business being in a full bathroom. It will warp and cup. This is where Luxury Vinyl Plank (LVP) comes in. The technology has gotten so good that it’s often hard to tell the difference between LVP and real wood. It has the texture, the grain, and the warmth underfoot, but with one massive advantage: it’s waterproof.
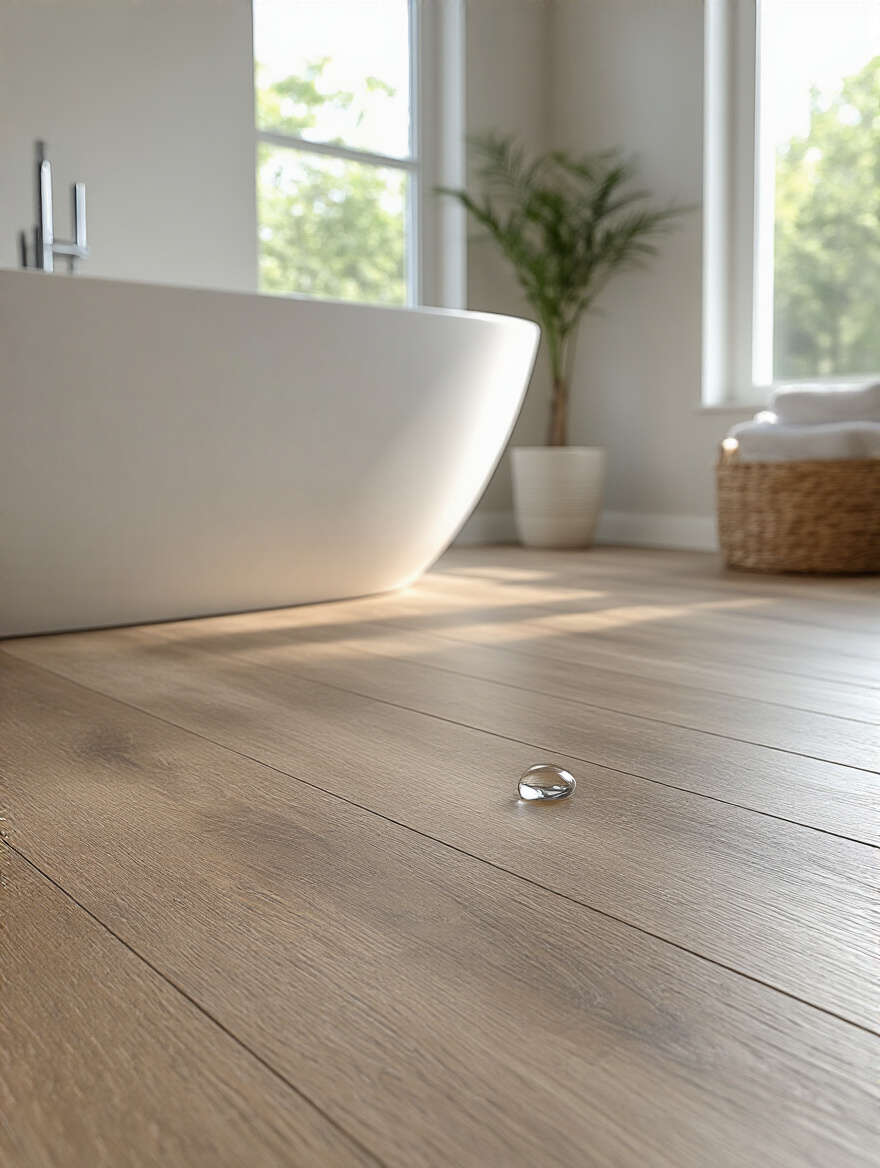
Now, here’s the BS everyone falls for: the box says “100% Waterproof,” and people think they’re invincible. The plank is waterproof, sure. But the seams between the planks are not hermetically sealed. If water sits on the floor long enough, it can and will find its way down through the click-lock joints. That’s why subfloor prep is still crucial, and you need to caulk around the perimeter. It’s a fantastic, durable option, just don’t believe the “invincible” marketing hype.
If LVP offers wood-look planks, its cousin, sheet vinyl, provides a seamless, budget-friendly alternative.
9. Choose Sheet Vinyl for Budget-Friendly, Seamless Protection
Sheet vinyl might make you think of your grandmother’s old kitchen, but it has come a long, long way. For a budget-conscious project, it’s one of the best choices for a bathroom because it often comes in rolls wide enough to cover the entire floor without any seams. No seams mean nowhere for water to seep through. It’s an almost foolproof waterproof barrier.
The designs today mimic everything from trendy patterned tiles to stone, and it’s soft and warm underfoot. It’s also incredibly easy to clean. The key to making sheet vinyl look great is, once again, the subfloor. Any little bump or nailhead underneath will eventually show through the vinyl, a phenomenon installers call “telegraphing.” A perfectly smooth subfloor will result in a perfectly smooth, durable, and completely waterproof floor.
From the practical and economical, let’s turn to the truly luxurious.
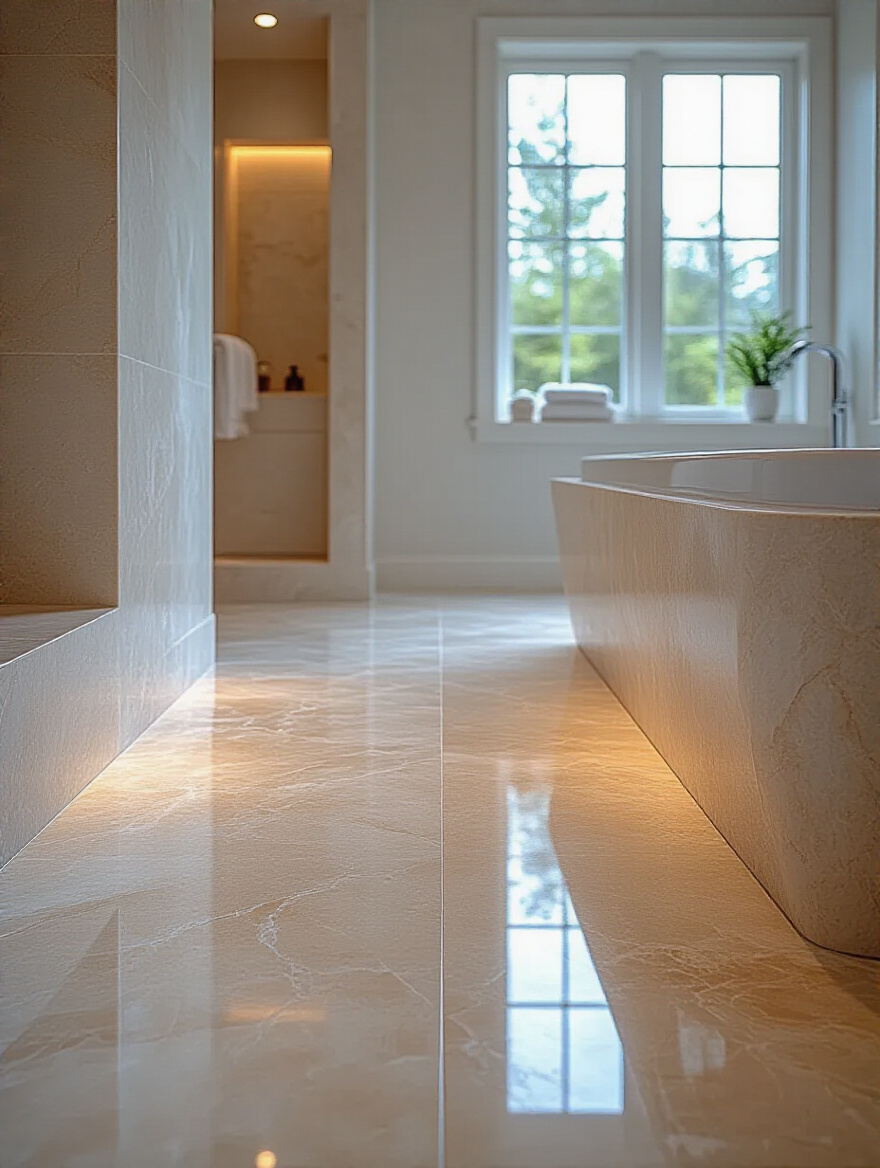
10. Select Natural Stone for Luxurious, High-End Appeal
There’s simply nothing that can replicate the feel and character of real stone. Each piece of marble, travertine, slate, or limestone is unique, carrying millions of years of geologic history. It brings an organic, foundational elegance to a space that connects it directly to the natural world. A stone floor makes a bathroom feel less like a room and more like a grotto—grounded, cool, and timeless.
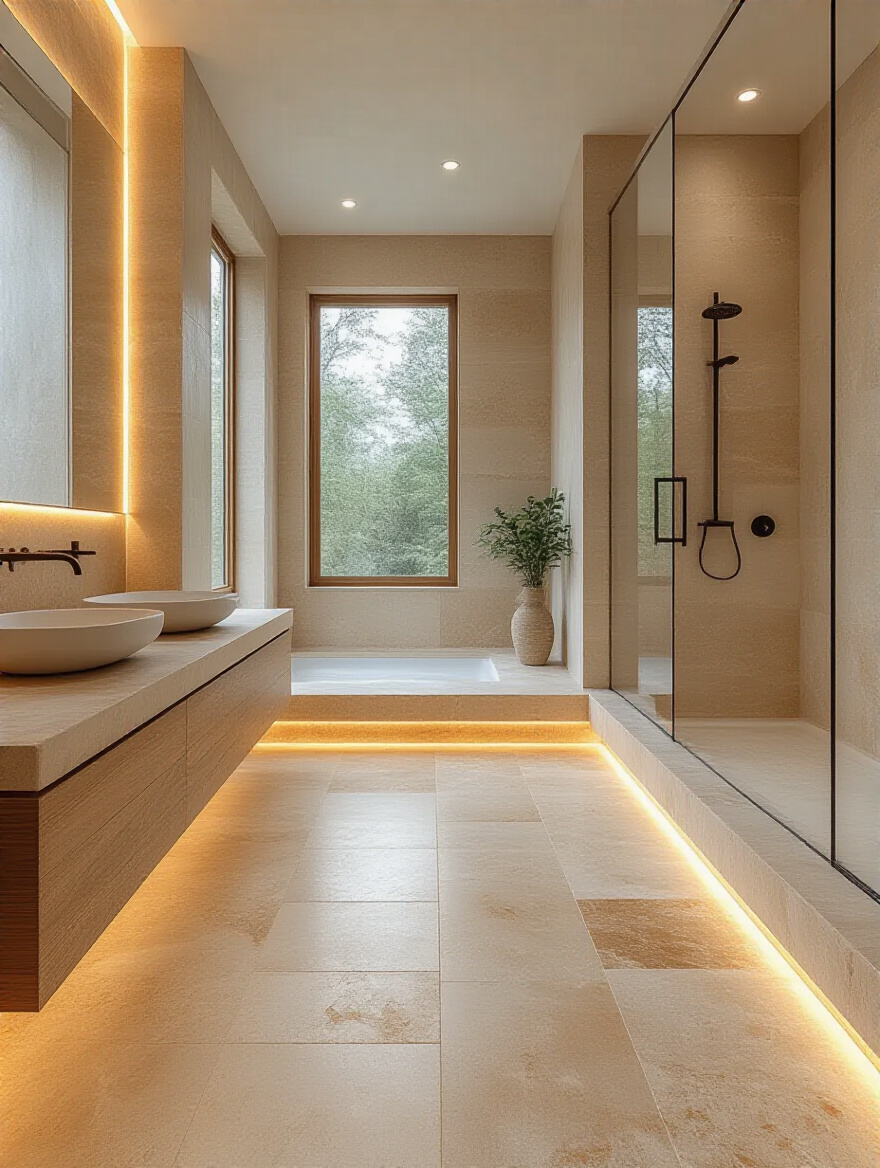
But this beauty comes with responsibility. Most natural stone is porous and needs to be sealed religiously—at least once a year in a bathroom. Sealing creates an invisible shield that repels water and prevents stains. If you skip this, your beautiful stone will quickly become stained and etched. And be mindful of the finish; a polished stone will be much slicker than a honed or tumbled one. It’s a high-maintenance relationship, but for some, the unparalleled beauty is worth it.
Core Material Selection and Installation Techniques (Part 2)
We’ve covered the most common materials, but let’s look at two more aspects of the core installation. One is an unconventional material choice that makes a powerful statement, and the other is a small detail that has a massive impact on the durability of any tile job.
11. Evaluate Concrete Flooring for Modern Industrial Vibes
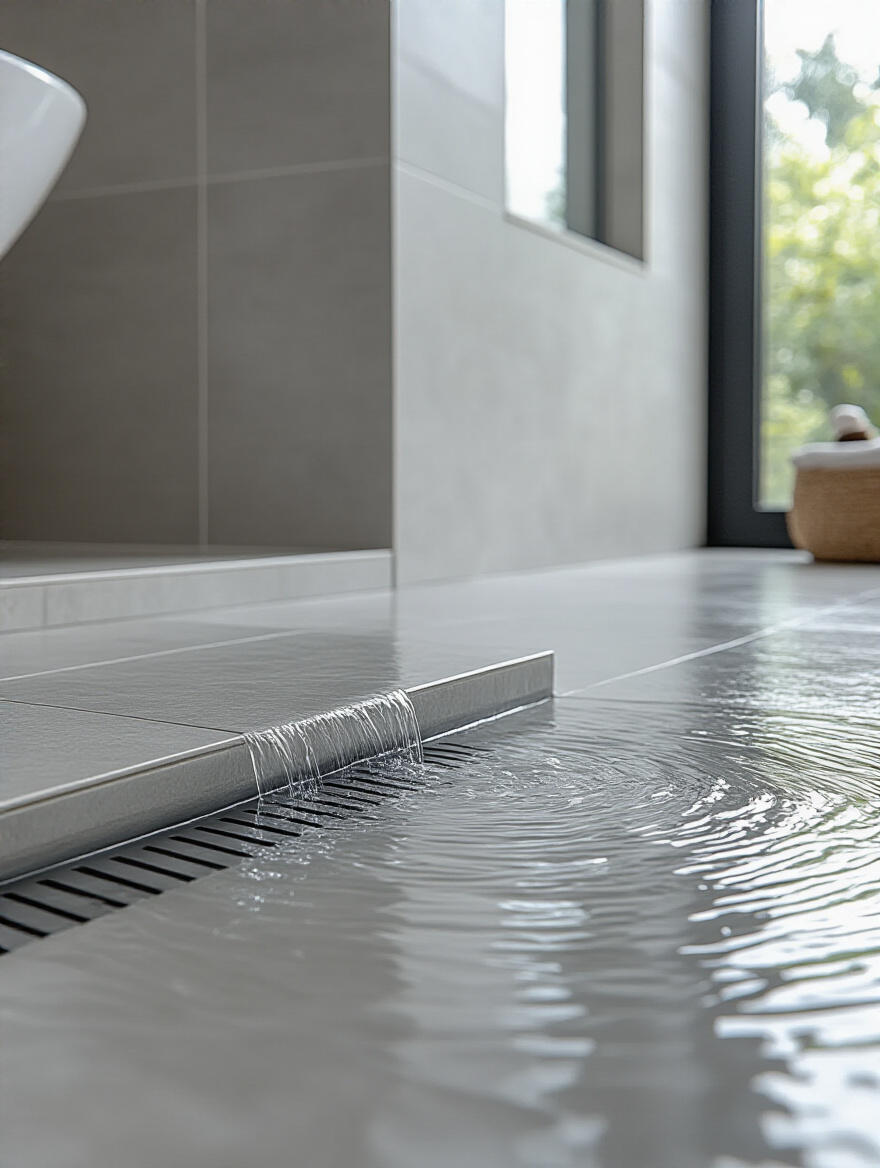
Polished concrete has moved from warehouses and lofts into high-end homes, and for good reason. It’s minimalist, seamless, and incredibly durable. For a bathroom, it can be poured and polished to create a single, continuous surface that flows right into a curbless shower. There are no grout lines to clean or worry about, making it supremely hygienic and waterproof when properly sealed.
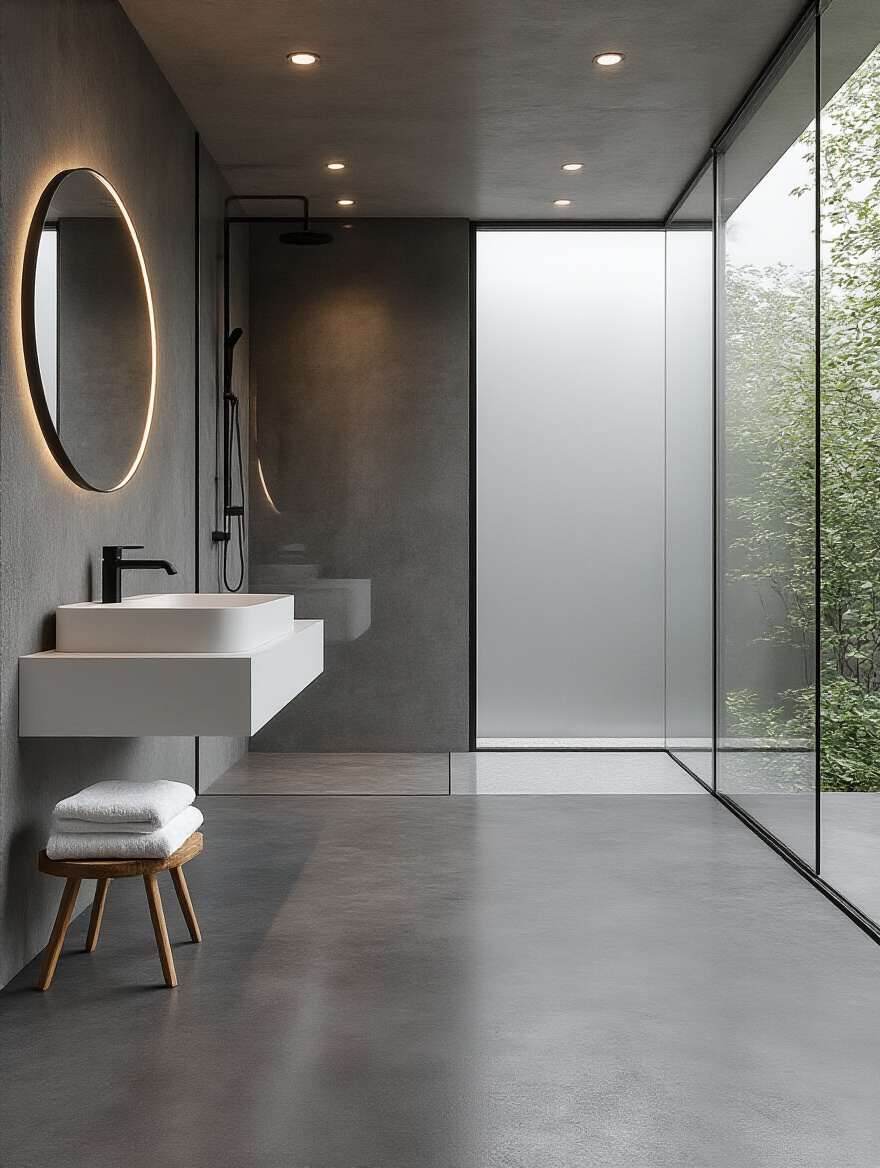
The beauty of concrete is its subtle, natural variation. You can add pigment to get nearly any color, from charcoal grey to a warm terra-cotta. It pairs beautifully with natural elements like wood vanities or lush plants. And it’s a perfect partner for radiant floor heating, as it holds and radiates warmth wonderfully. It’s a bold choice, but it creates a space that feels both industrial and deeply organic.
No matter your flooring choice, if it involves tiles, the next point is what separates a professional job from a failure.
12. Ensure Proper Grouting Techniques for Watertight Seals
Grout is the most important, and most often ignored, part of any tile installation. You can have the most expensive, waterproof porcelain tile in the world, but if the grout fails, your whole floor system is compromised. Grout is not just filler; it’s the flexible, waterproof mortar that locks the tiles together and seals the gaps between them.
The secret is to pack the joints completely full, leaving no air pockets, and then to use the right kind of grout. For a bathroom, I strongly recommend using an epoxy or high-performance urethane grout. Unlike traditional cement grout, these are non-porous and resistant to stains, chemicals, and cracking. They cost more, but they eliminate the need for sealing and are your best defense against moisture getting where it shouldn’t. It’s a small upgrade that provides massive peace of mind.
Enhancing Design and Aesthetic Appeal (Part 1)
With the technical decisions made, we can focus on artistry. The floor doesn’t have to be a boring grid. By playing with pattern, scale, and transitions, you can turn a functional surface into the most compelling design feature in the room.
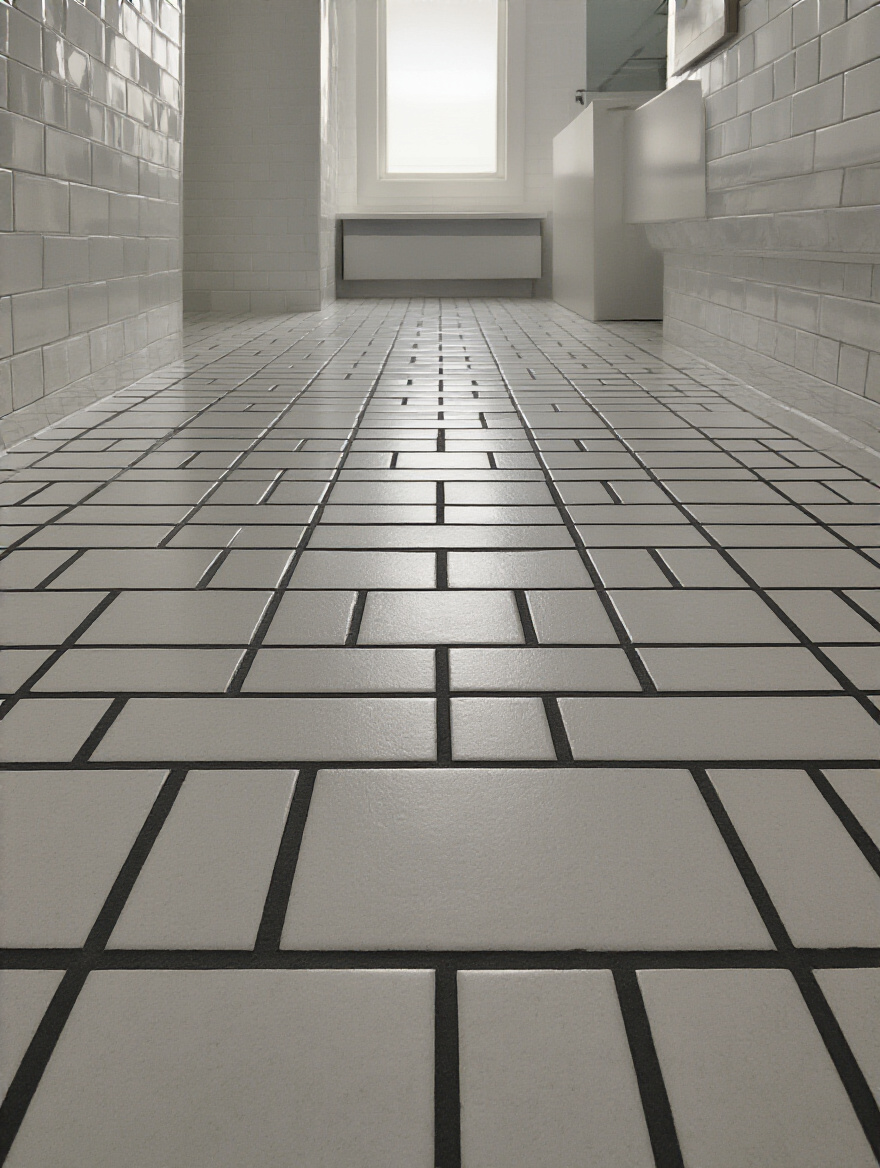
13. Experiment with Tile Patterns to Add Visual Interest
Laying tiles in a standard grid is fine, but it’s a missed opportunity. Turning a simple subway tile on its side and laying it in a herringbone pattern instantly adds a sense of sophistication and movement. A basketweave or chevron pattern can make a floor feel bespoke and custom. The pattern can even trick the eye. For example, laying rectangular tiles diagonally can make a narrow bathroom feel wider.
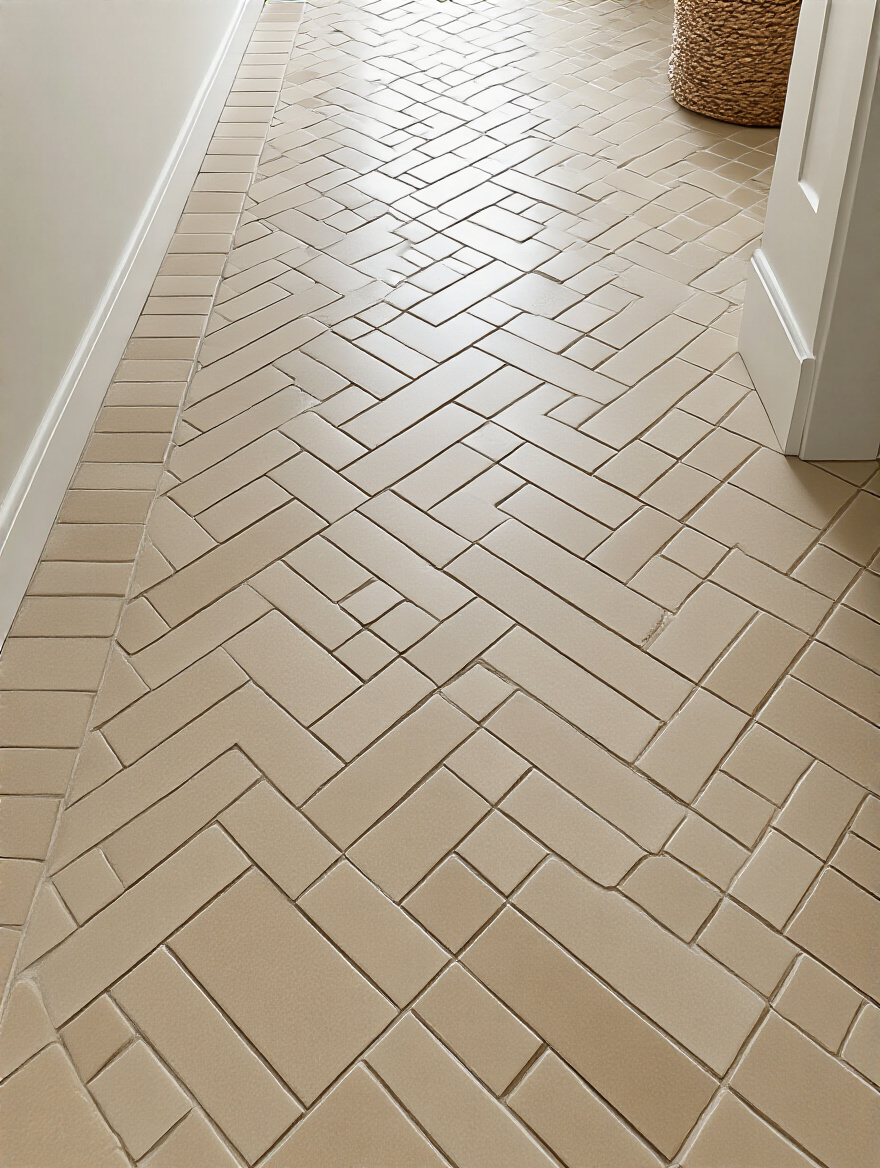
Don’t be afraid to play. Before the installer starts, do a “dry lay” on the floor to see how the pattern will look in the space. This is your chance to see if it feels too busy or if it achieves the effect you’re looking for. It’s a simple step that lets you be an active part of the design process and ensures you get a result you love.
One of the most effective ways to influence the feel of a space is by playing with the size of your materials.
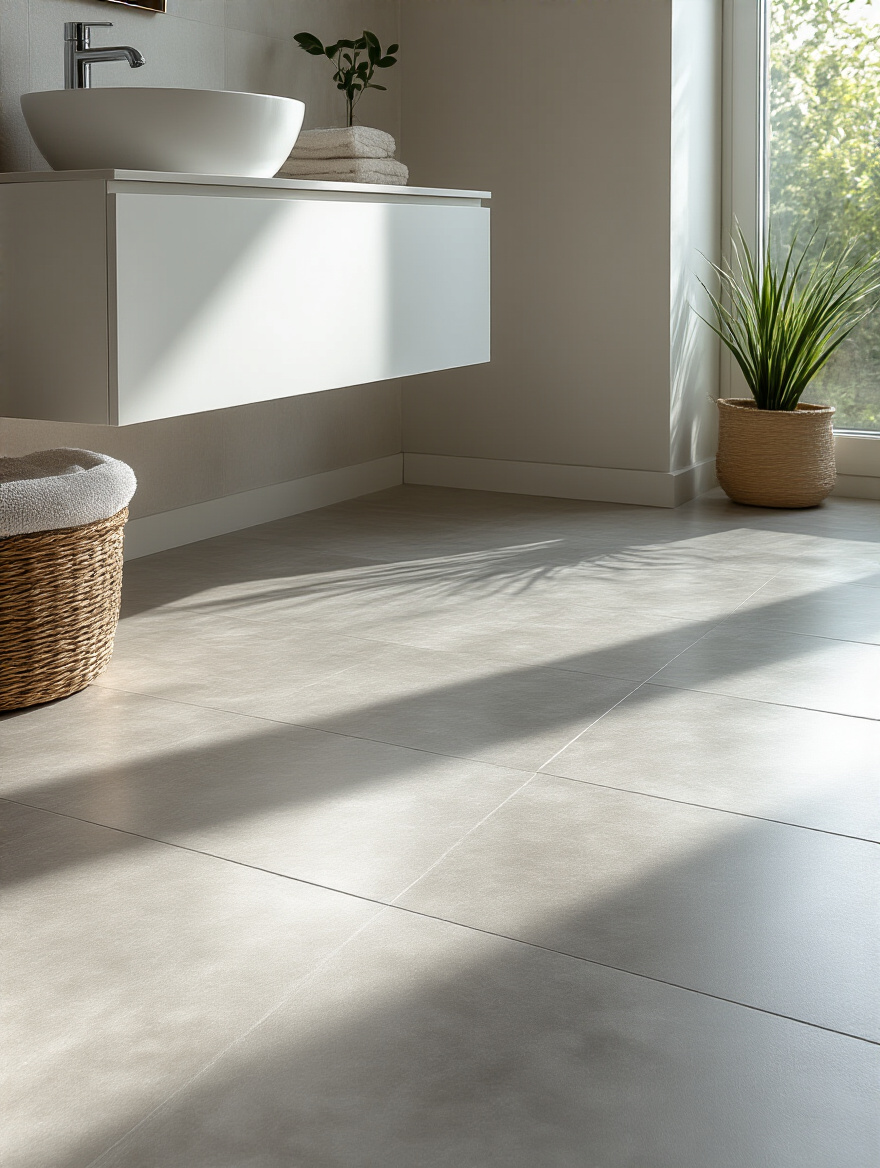
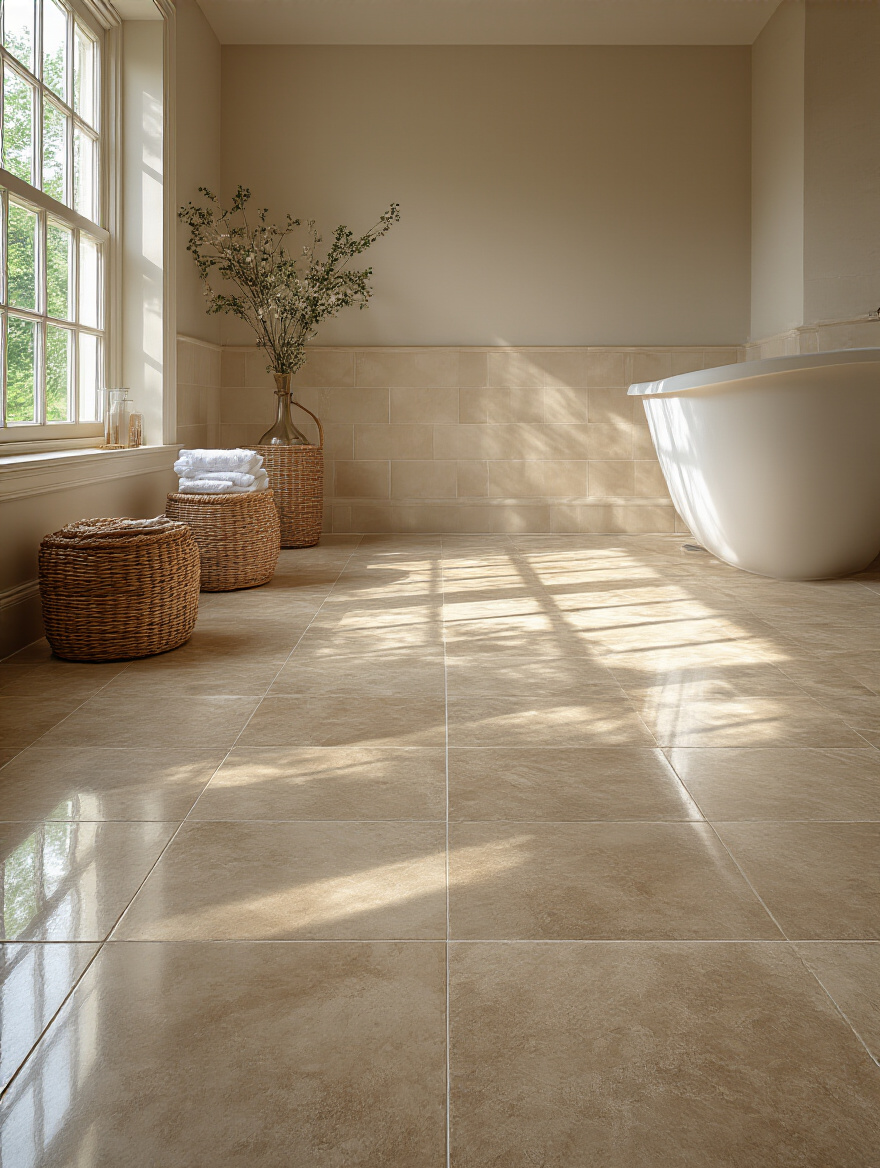
14. Use Large Format Tiles to Create a Sense of Spaciousness
If you want to make a small bathroom feel bigger, this is one of my favorite tricks. Using large format tiles—think 24×24 inches or even 24×48 inches—dramatically reduces the number of grout lines. Fewer grout lines create a more visually continuous, uninterrupted surface. Your eye reads it as a single, expansive plane, which makes the room feel much larger and less cluttered.
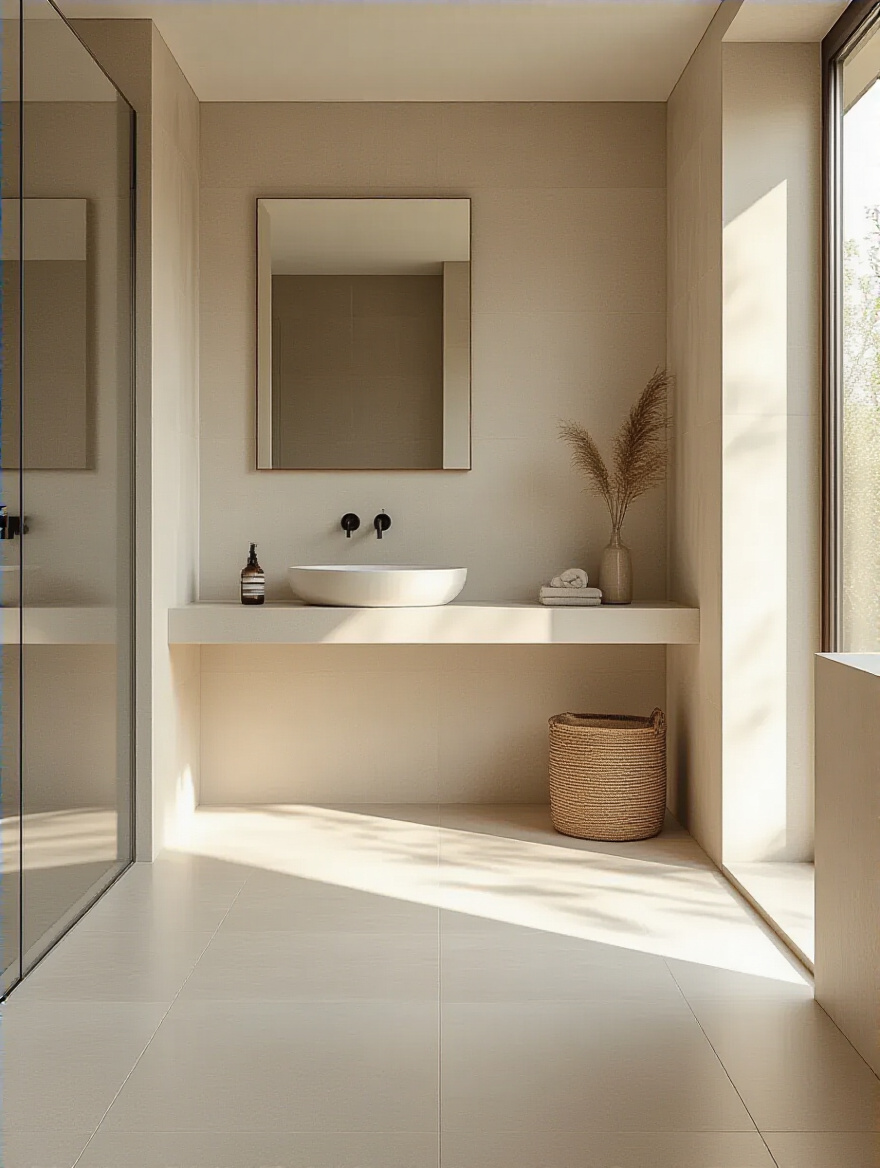
This isn’t just an aesthetic choice; it’s a practical one, too. Fewer grout lines mean less to scrub and less chance for mold and mildew to take hold. It gives the room a clean, modern, and high-end feel. Just make sure your subfloor is perfectly level, as large tiles are much less forgiving of any imperfections underneath.
When moving from one room to another, the transition is a critical design detail.
15. Integrate Transition Strips for Seamless Room Flow
The threshold between the bathroom and the hallway is a small detail that speaks volumes about the quality of the work. A clunky, cheap transition strip can undermine an otherwise beautiful flooring job. A well-chosen one, on the other hand, creates a seamless and elegant flow between the two spaces. It shows a commitment to craftsmanship.
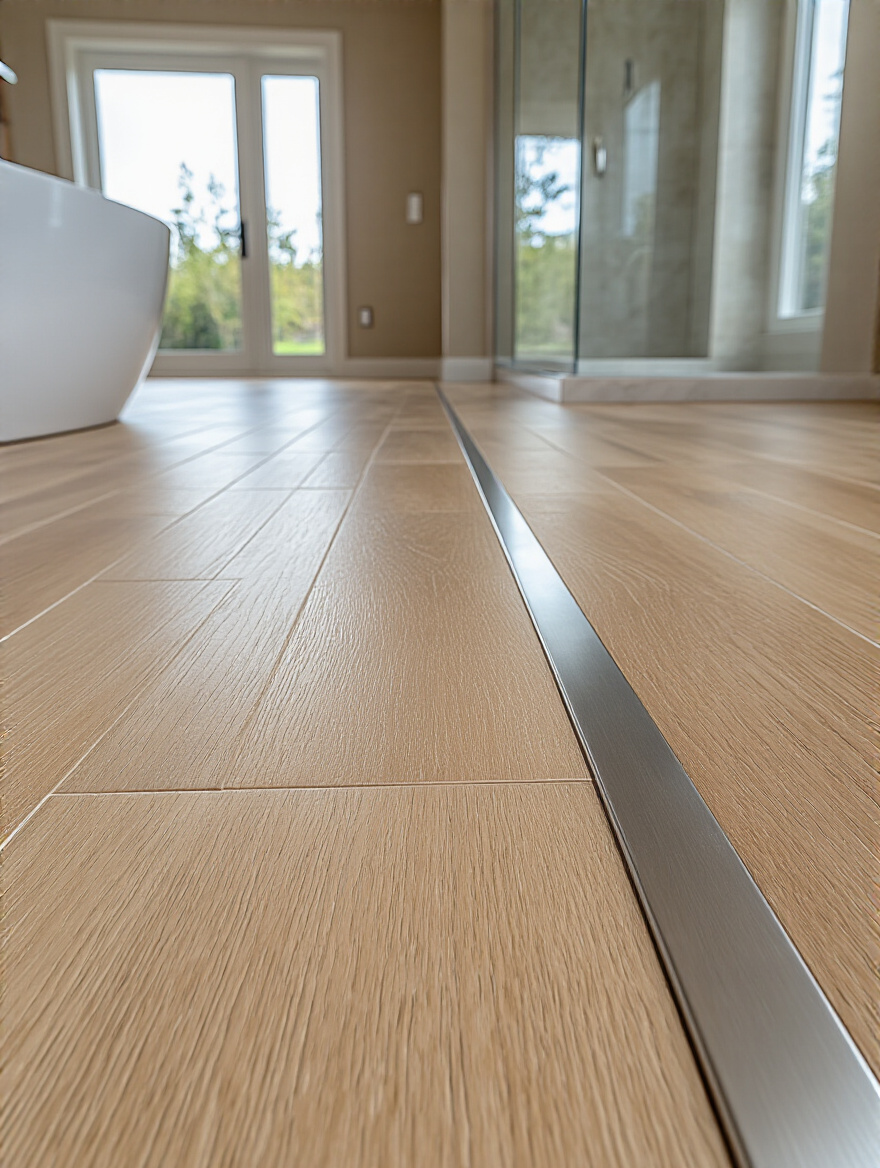
Your choice of transition strip should complement both flooring materials. A sleek metal profile can look great between tile and low-pile carpet, while a wood transition can beautifully bridge a gap between tile and hardwood floors. The goal is to make the transition feel intentional and graceful, not like an awkward afterthought. It’s a finishing touch that truly completes the space.
Just as important as the transition between rooms is the visual ‘transition’ between tiles themselves.
16. Leverage Grout Color to Enhance Tile Design
Grout color is a design tool, not just a building material. Do you want your tiles to blend together into a unified surface, or do you want each individual tile to stand out as part of a pattern? The grout color makes that decision. Matching the grout color to the tile will create a subtle, monolithic look, helping a small room feel bigger.
Conversely, using a contrasting color—like a dark grey grout with white subway tiles—highlights the shape of the tile and the pattern itself. This can create a bold, graphic look that turns the floor into a statement piece. Don’t just accept the standard gray or white. Ask to see a grout color chart and hold it up to your tile. This small choice can completely change the final look of your floor.
Enhancing Design and Aesthetic Appeal (Part 2)
Let’s push the design thinking a bit further. Great design isn’t just about a single choice; it’s about how different elements work together and the values that guide those choices. This is where we can add layers of personality and principle to the project.
17. Combine Different Materials for Zoned Visual Appeal
Just as you’d use different plants to create “rooms” in a garden, you can use different flooring materials to define zones in a bathroom. This is especially effective in larger bathrooms. You could have durable porcelain tiles in the “wet zone” around the shower and tub, then transition to warm wood-look vinyl planks in the drier vanity area. This adds incredible visual interest and also puts the best material right where it’s needed most.
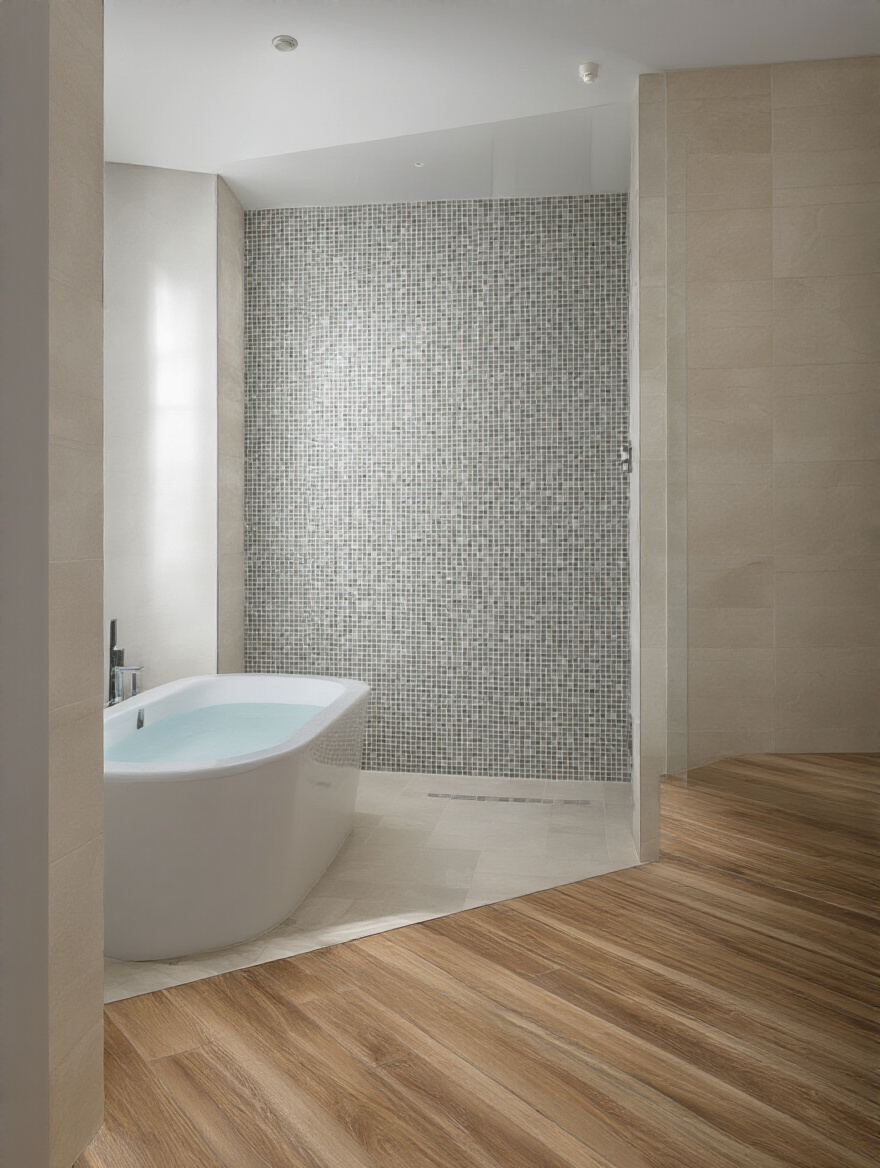
A popular execution of this is creating a “tile rug” effect, where a patch of decorative mosaic tile is set into the main field of a larger, simpler tile. It acts as a focal point, often placed in front of the vanity or a freestanding tub. This technique makes a space feel custom, thoughtful, and luxurious. The key is to ensure the transitions are flush and the materials complement each other in tone and texture.
As we choose these materials, it’s worth considering the impact they have beyond our four walls.
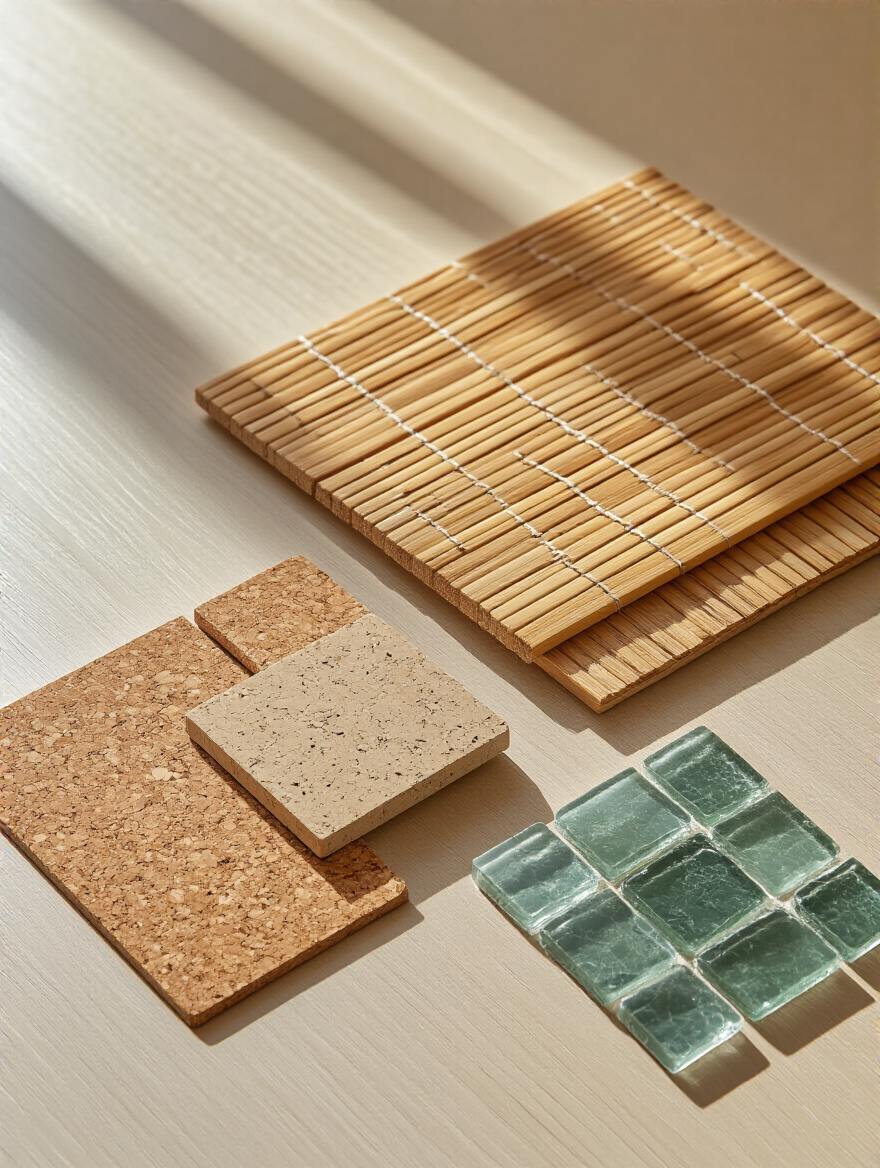
18. Select Eco-Friendly Options for Sustainable Style
Creating a beautiful, healthy home and being mindful of the planet are not mutually exclusive goals. There are fantastic flooring options that are sustainable and healthy for your indoor air quality. Cork, for example, is harvested from the bark of cork oak trees without harming them, and it’s naturally anti-microbial and soft underfoot. Bamboo is a rapidly renewable grass that, when sourced correctly, is a durable and beautiful option.
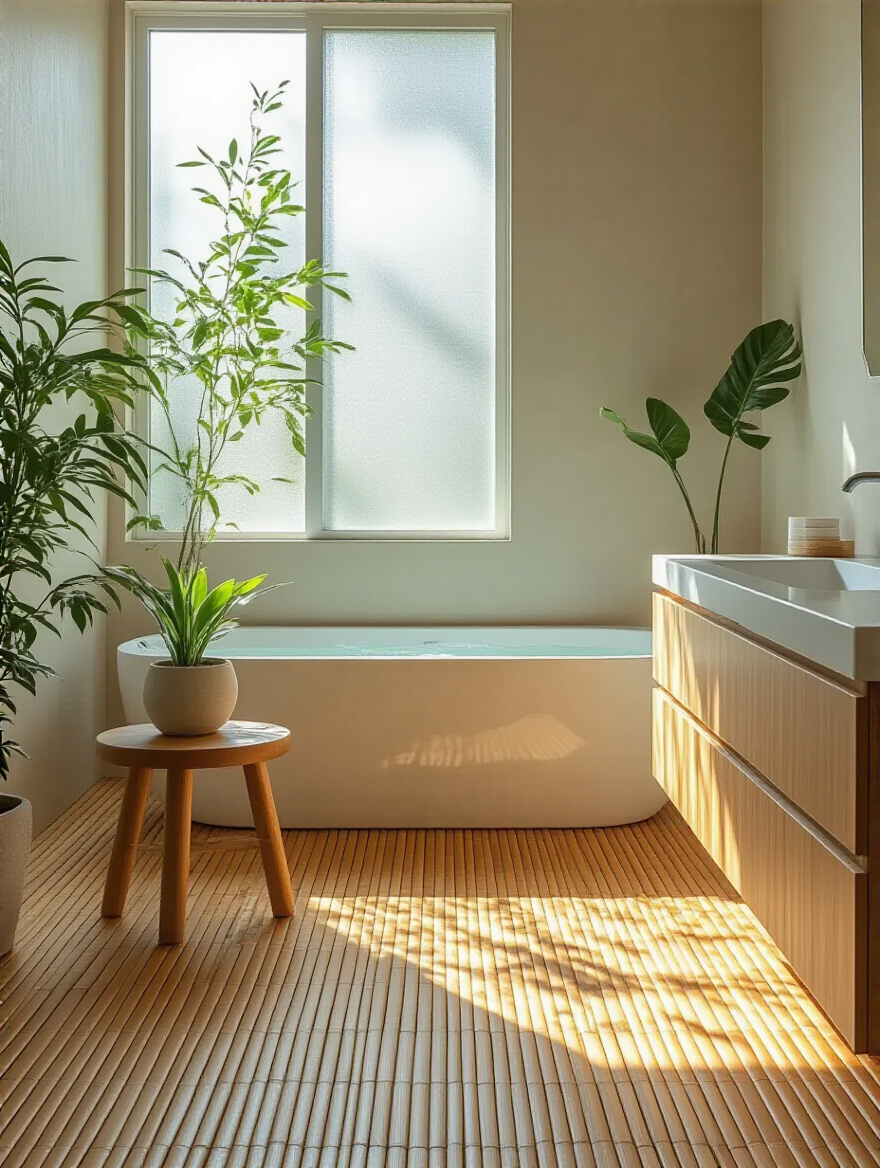
You can also find tiles made from a high percentage of recycled content. The key is to look beyond the material itself and check for certifications. Look for products with low or zero VOCs (Volatile Organic Compounds) to ensure you’re not bringing harmful chemicals into your home. A sustainable choice is often a healthier choice, creating a sanctuary that feels good in every sense of the word.
Advanced Durability and Long-Term Care (Part 1)
Your floor is in, and it looks amazing. Now, the work shifts from installation to preservation. A floor is a long-term investment, and like any good investment, it requires a little maintenance to perform at its best over time.
19. Apply Sealer to Natural Stone and Grout for Protection
If you have natural stone or cement-based grout, sealer is your floor’s raincoat. It’s an invisible barrier that soaks into the pores of the material and prevents water, soap scum, and grime from soaking in with it. Without sealer, that spilled drop of makeup or splash of bath oil can become a permanent stain.
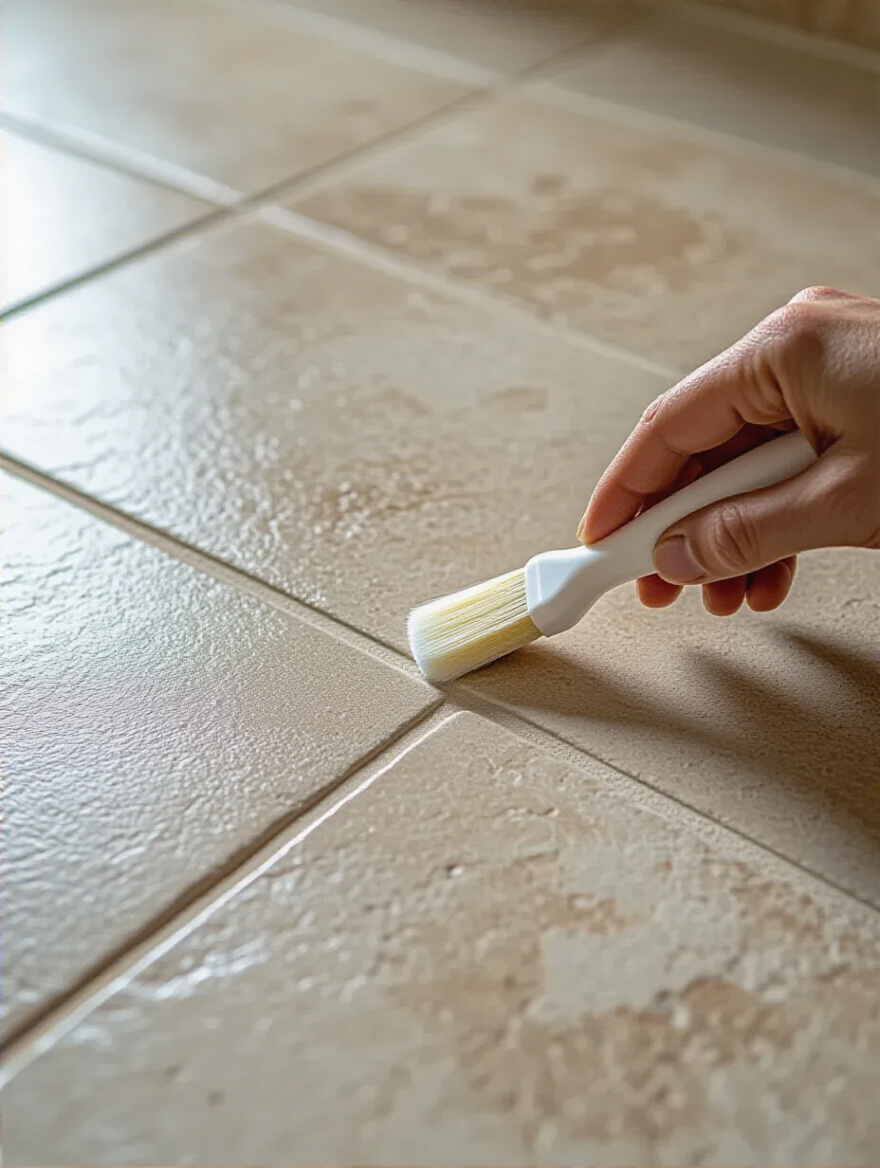
Sealing isn’t a one-and-done job. It needs to be reapplied periodically—typically once a year for a high-use bathroom. How do you know when it’s time? Simple. Drip a little water on the grout or stone. If it beads up like water on a freshly waxed car, your sealer is working. If it soaks in and darkens the material, it’s time to reseal. This five-minute test can save you from hundreds of dollars in restoration costs.
Beyond direct protection, managing the room’s overall environment is key to longevity.
20. Understand Ventilation’s Role in Preventing Moisture Damage
The number one enemy of every single material in your bathroom is lingering moisture. Your exhaust fan isn’t for smells; its primary job is to pull all that humid, steam-filled air out of the room before it has a chance to condense on your walls, ceiling, and floor. Letting that humidity hang around is an open invitation for mold and mildew.
Run your fan every time you shower, and leave it on for at least 20-30 minutes afterward. If your fan is old and noisy, replace it with a new, quiet, high-capacity model. You can even get one with a humidity sensor that turns on and off automatically. Proper ventilation protects not just your floor, but everything in the room, from your vanity to the paint on your walls. It is the single most effective tool for long-term durability.
Good ventilation makes your daily maintenance routine much more effective.
21. Implement Regular Cleaning Routines for Spotless Floors
This sounds obvious, but it’s about how you clean. Harsh, abrasive cleaners and acidic solutions like vinegar can destroy the sealants on your floor and even etch the surface of natural stone. The best approach is the gentlest one. Most of the time, all you need is a microfiber mop and a pH-neutral cleaner.
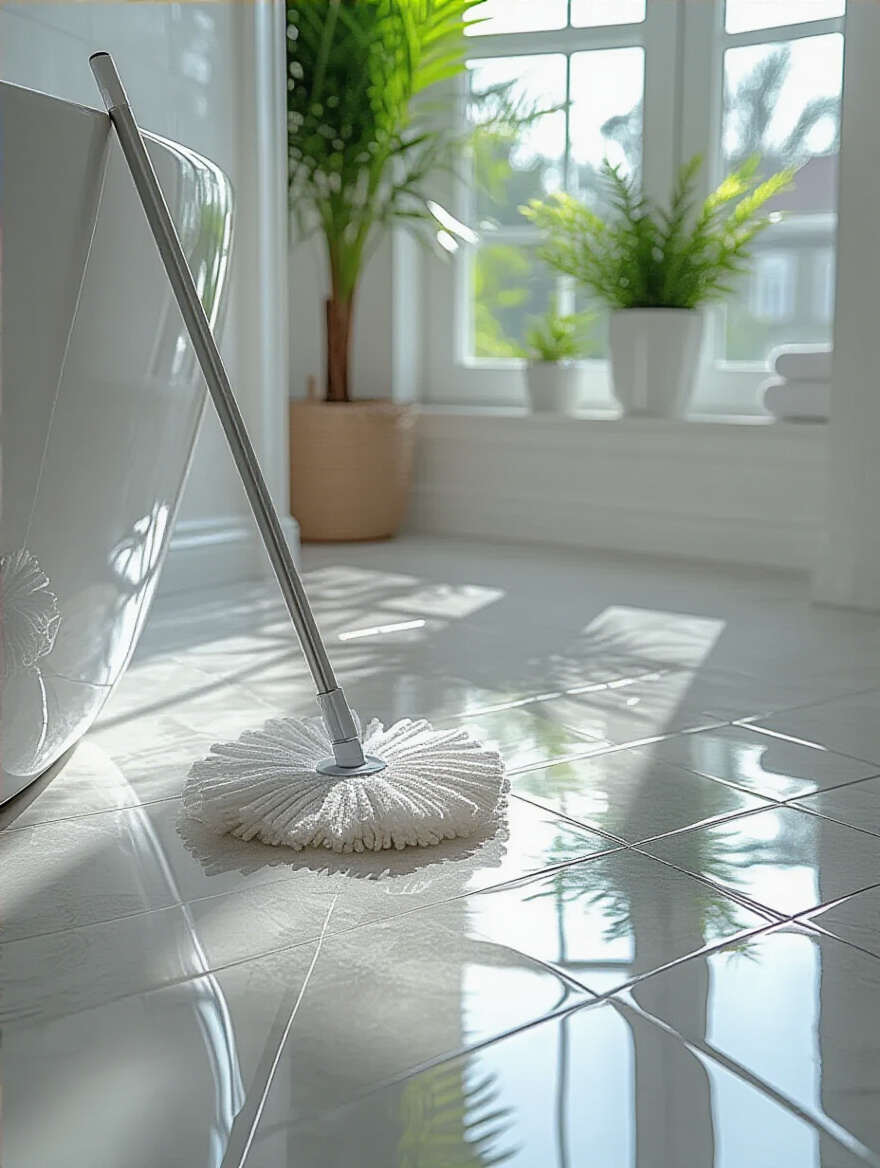
The goal is to prevent the buildup of soap scum and grime, which can break down surfaces over time. A quick wipe-down after showers and a weekly gentle mopping are all it takes. Think of it less as a chore and more as routine care, like watering a plant. Consistent, gentle care is far better than infrequent, aggressive scrubbing.
Even with the best care, small issues can arise, and how you respond makes all the difference.
22. Address Small Repairs Promptly to Prevent Escalation
A tiny crack in a grout line or a bit of peeling caulk around the tub might seem like no big deal. But in a bathroom, that small opening is a superhighway for water. Water will find its way in, get trapped in your subfloor, and start causing rot and mold you won’t see until the damage is extensive and expensive.
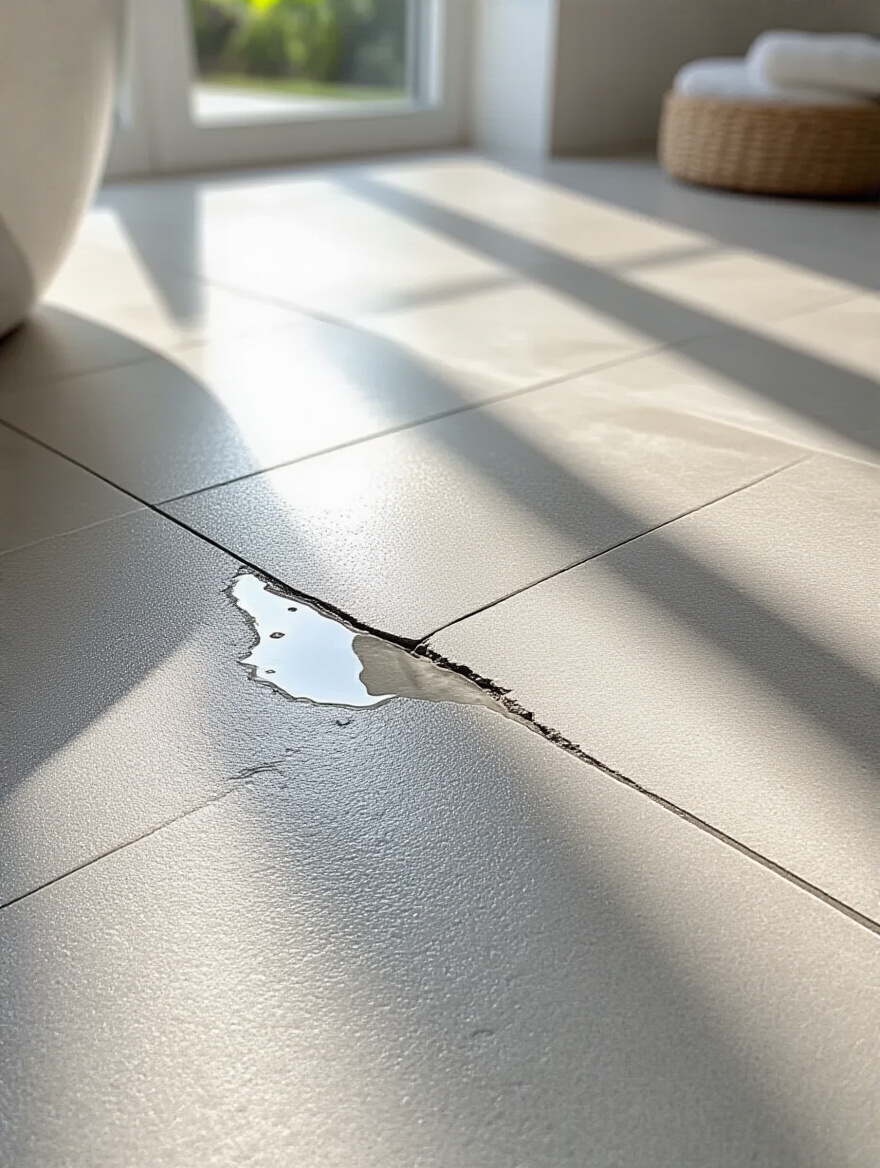
Make it a habit to inspect your grout and caulk lines every few months. Look for cracks, gaps, or any place where the seal looks compromised. If you find something, fix it immediately. A tube of caulk or a small tub of grout is cheap. Replacing a subfloor is not. This proactive vigilance is the secret to making a floor last a lifetime.
Advanced Durability and Long-Term Care (Part 2)
Finally, let’s talk about the safety nets. These are the last lines of defense that protect your investment and ensure that when you need expert help, you have a clear path forward.
23. Research Warranty Coverage for Long-Term Peace of Mind
A warranty is a promise from the manufacturer, but you need to read the fine print. Many warranties are voided if the flooring isn’t installed exactly according to their specifications. This is why hiring a good installer who knows the products is so important. They’ll know the specific requirements for subfloor flatness or which type of underlayment to use.
Keep all of your paperwork, including the product information and the installer’s receipt. Take photos of the project before, during, and after. If a problem does arise, this documentation will be your best asset in getting a claim approved. Think of a warranty less as a guarantee and more as an insurance policy that requires you to follow the rules.
For some high-end materials, the best insurance is professional care.
24. Consider Professional Maintenance for Specialized Floors
If you’ve invested in a beautiful natural stone or intricate mosaic floor, trying to maintain it yourself can sometimes do more harm than good. A professional stone care company has the right equipment and pH-balanced chemicals to deep clean, polish, and seal your floor without damaging it. They can remove etch marks from marble or bring back the luster to a floor that’s become dull over time.
Think of it like professional care for a classic car or a fine rug. For specialized materials, bringing in an expert once every year or two for a deep cleaning and sealing is a small price to pay to protect a major investment. It ensures your floor continues to look as stunning as the day it was installed.
Conclusion
So there you have it. Choosing the right bathroom floor comes down to seeing the room for what it is: a unique environment that demands a smart, cohesive system. It’s about respecting the power of water and designing a space that can live with it gracefully. By focusing on a solid foundation, choosing materials that are both beautiful and durable, and committing to simple, proactive care, you can create a floor that grounds your bathroom in both style and function.
Don’t let the options paralyze you. Start with the feeling you want, think about the practical needs of your family, and build from there. The perfect floor is out there, and it’s the one that will make you smile every time you step out of the shower, turning a simple daily routine into a small moment of comfort and peace. You’re not just building a bathroom; you’re cultivating a personal sanctuary, from the ground up.