I have a confession. I used to think a beautiful garden was all about buying the right plants. My background is in landscape architecture and design, so for years, my focus was on structure, color theory, and finding that one perfect specimen tree. Then I was hired to “fix” a garden for a client. On paper, it was flawless—perfectly manicured, expensive plants, stunning stonework. But it felt sterile, like a museum piece. The plants were struggling, everything required constant fussing, and no one ever actually used the space.
You’ve probably felt a version of this. You’ve got the nice patio set, the stylish planters, and you spend your weekends pulling weeds or wondering why your tomatoes look so sad. Your backyard feels less like a sanctuary and more like a second job. The secret isn’t having a “green thumb”—that’s a myth designed to sell you more stuff. The secret is to stop fighting nature and start designing a system that works with the little patch of earth you have. It’s about seeing your garden not as a collection of plants, but as an outdoor room that lives and breathes with you.
Forget the corporate blog posts and confusing advice. Here’s what actually matters.
Laying the Groundwork: Smart Planning for Your Garden Oasis (Part 1)
This is the phase everyone wants to skip. Don’t. A little thinking upfront saves you an entire season of frustration. This is where you listen to your space and let it tell you what it needs, setting you up for success before you ever pick up a shovel.
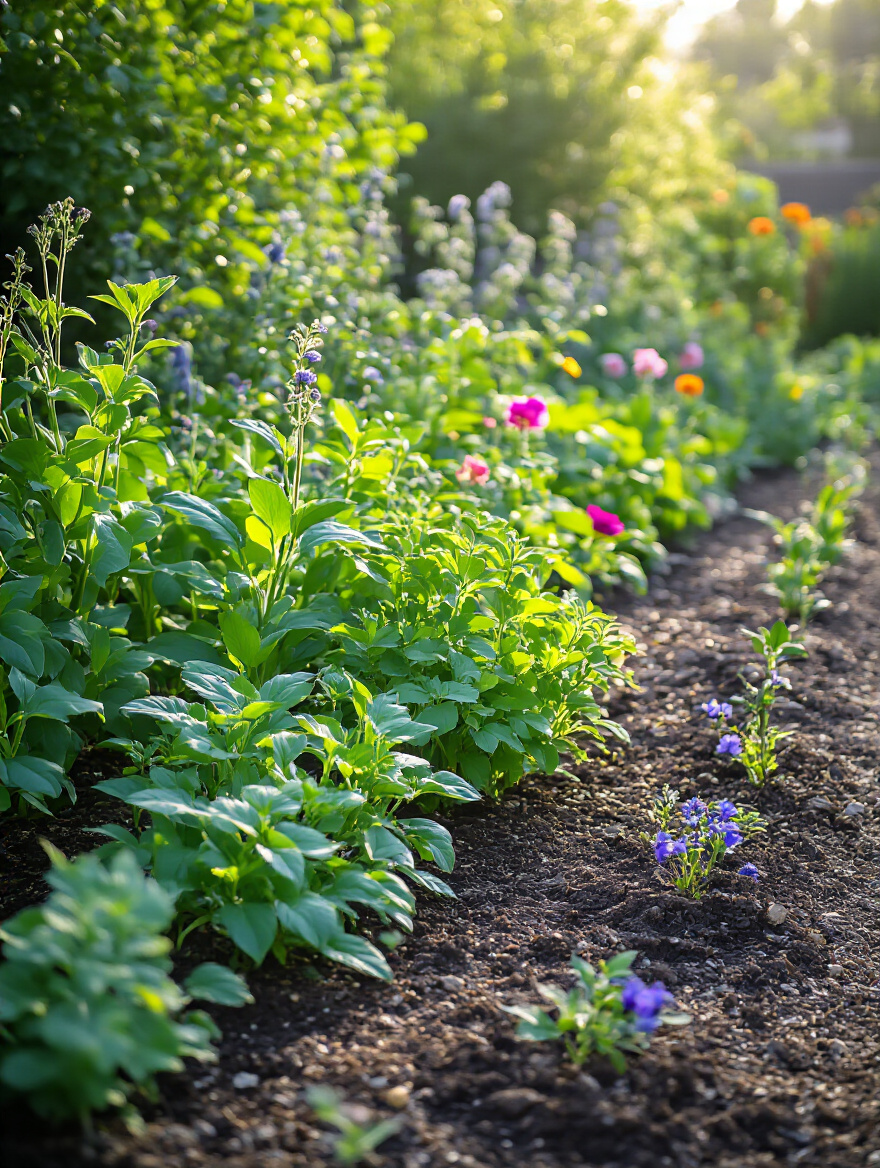
1. Precisely Map Your Backyard’s Sunlight Exposure Throughout the Day
You know what people always ask me? “Is this spot sunny?” My answer is always, “When?” Most people glance at their yard at noon, declare a spot “full sun,” and then wonder why their sun-loving peppers fail. They completely miss the four hours of shade cast by their neighbor’s garage every afternoon. The real story isn’t a snapshot; it’s a movie that plays out all day.
Take one Saturday. Go outside with a notebook and a cup of coffee every two hours, from sunup to sundown. Sketch a rough map of your yard and color in where the direct sun is hitting. You will be shocked by what you discover. That “shady” corner under the birch tree might actually get blasted with intense morning sun, making it perfect for hydrangeas that wilt in the afternoon. This isn’t just noise; it’s the single most important piece of data for your garden.
Mapping your sun exposure is the foundation. Without it, you’re just guessing, and your plants will pay the price.
2. Conduct a Simple Soil Test to Uncover Its Composition and Nutrient Deficiencies
Can we talk about why everyone gets soil wrong? They see dirt, and they either ignore it or dump a bag of all-purpose fertilizer on it. That’s like taking a random prescription without knowing what’s wrong with you. A soil test is your garden’s bloodwork. It tells you exactly what’s going on under the surface—is your soil acidic? Does it lack nitrogen? Is it just sand or dense clay?
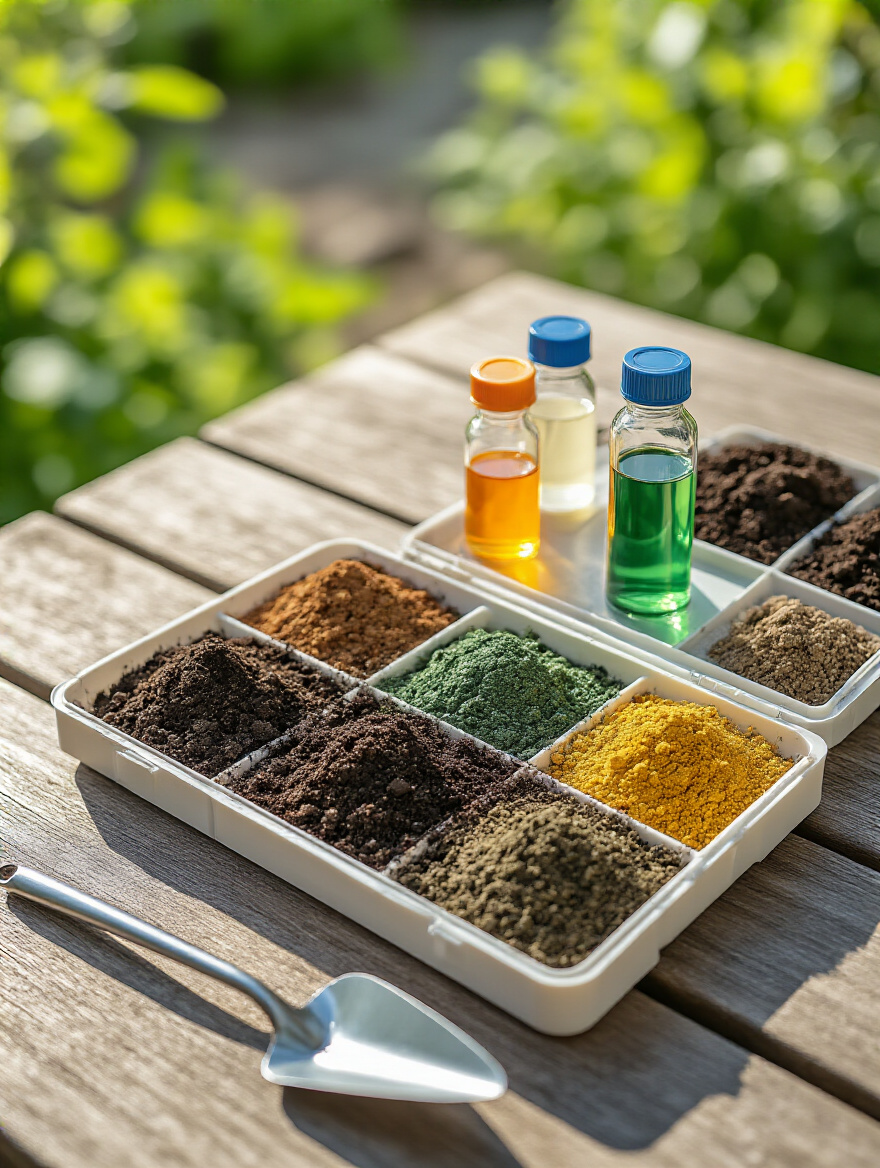
Here’s the shortcut you need to know: skip the cheap little kits from the hardware store. They’re notoriously inaccurate. Instead, find your local university’s cooperative extension office online. For about $15-$25, you can mail them a bag of dirt, and they will send you back a detailed, scientific report on your soil’s health and give you precise recommendations on how to fix it. This is the best money you will ever spend on your garden, period.
This simple test prevents you from wasting money on amendments you don’t need and tells you exactly what you do need for your plants to thrive.
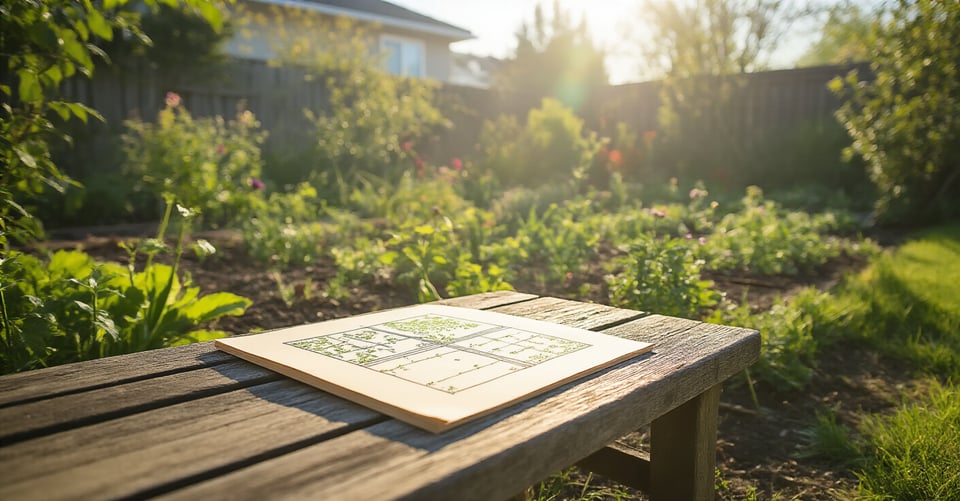
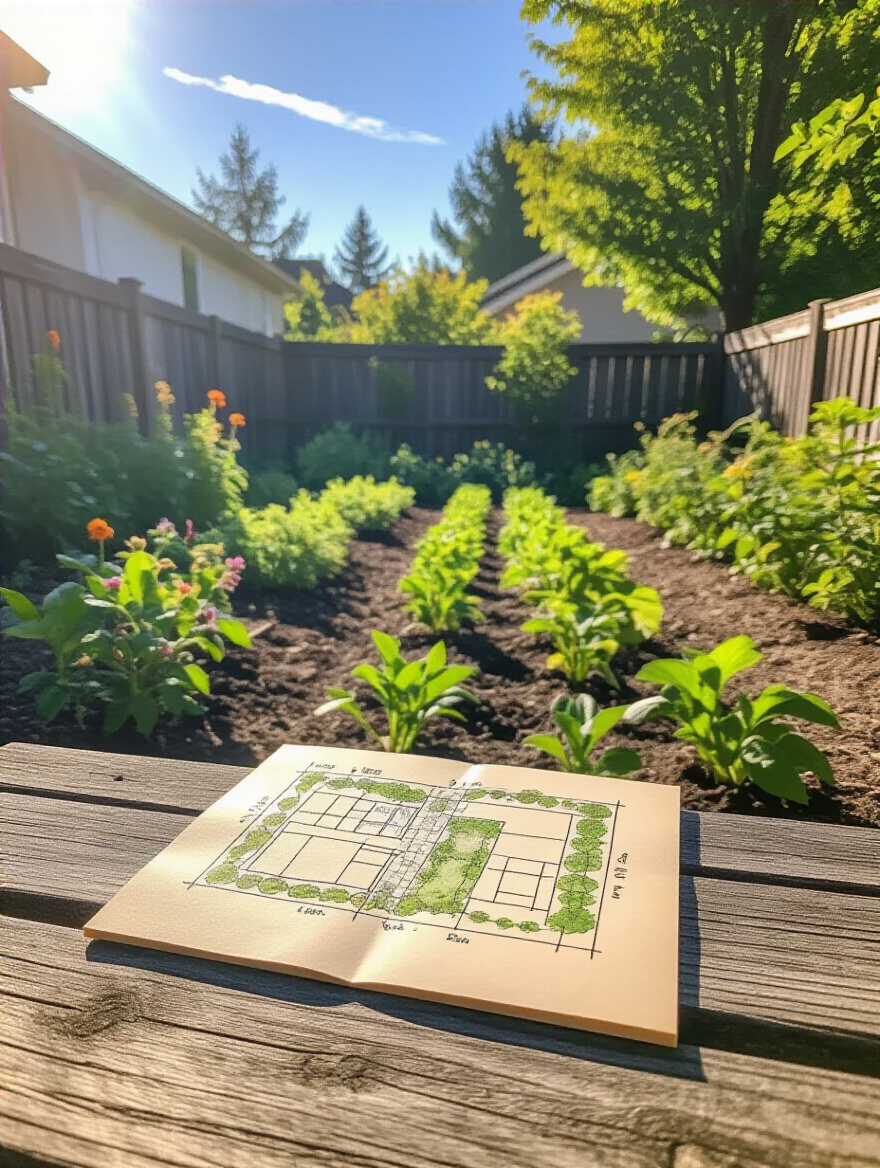
3. Design a Functional Garden Layout Optimizing Space and Accessibility for Specific Needs
As a designer, this is my pet peeve. People place their garden beds where it looks good from the kitchen window, but they never consider how they’ll actually use the space. They make paths too narrow for a wheelbarrow, or they put the vegetable patch so far from the house that it becomes a chore to water it or grab a few herbs for dinner. A garden should be an extension of your home, not a distant outpost.
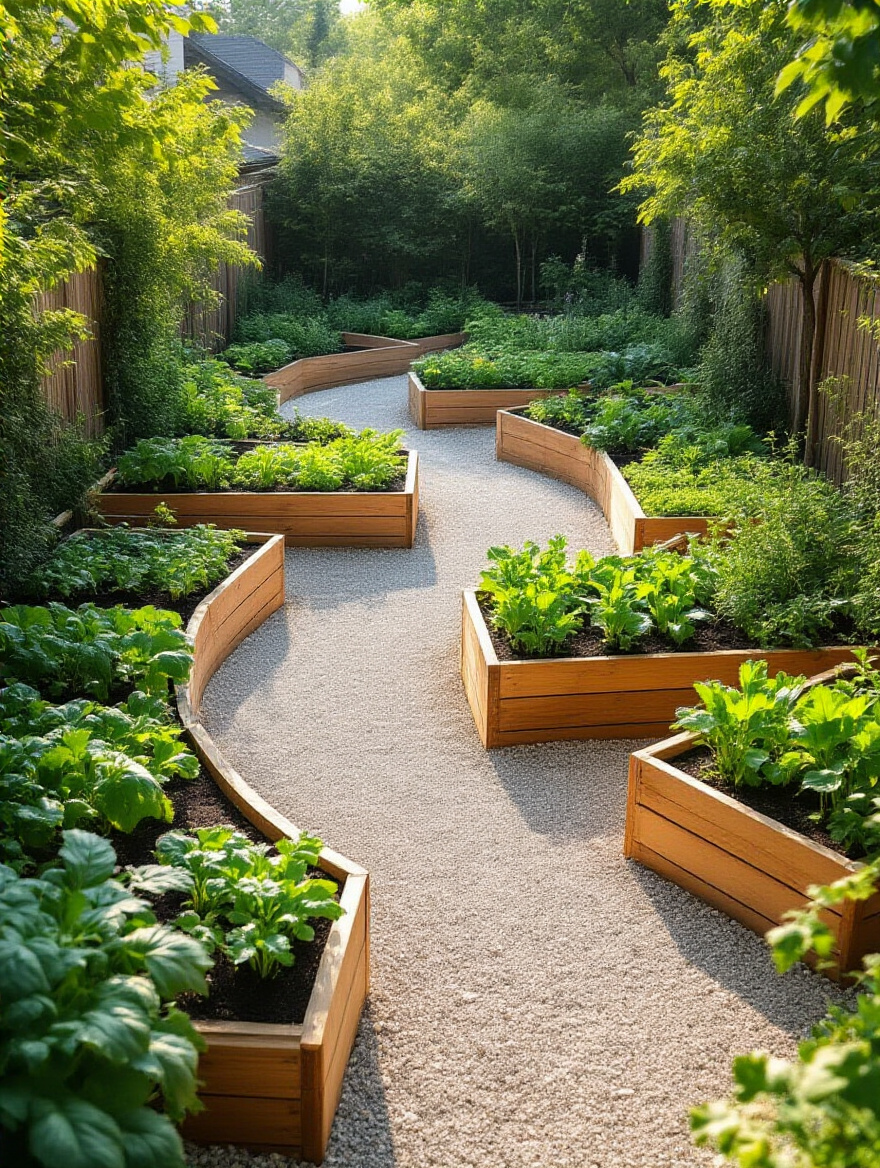
Before you dig, think about flow. Where will you keep your tools? Where will you put your compost? How wide do paths need to be for you to move comfortably? Last year, I designed a garden for a client in her late 60s who loved gardening but was struggling with bending. We designed the entire space around waist-high raised beds with wide, stable paths between them. It completely revitalized her passion for gardening because the space was designed for her, not just for the plants.
Think like an architect designing a room. Function comes first, then beauty. In a garden, when you get the function right, the beauty naturally follows.
4. Research and Select Plants Perfectly Suited for Your USDA Hardiness Zone and Microclimate
Everyone gets hung up on the USDA Hardiness Zone, but here’s the real story: it’s an incredibly blunt instrument. All it tells you is the average coldest temperature in winter. What it doesn’t tell you about is summer heat, humidity, rainfall, or—most importantly—the microclimates in your own yard.
A microclimate is a small area with conditions that differ from the surrounding landscape. That brick wall on the south side of your house? It absorbs and radiates heat, creating a pocket of warmth that might be a full zone warmer than the rest of your yard. That low spot at the bottom of a hill? Cold air settles there, making it more prone to frost. Learning to see these microclimates is the difference between a novice and an expert gardener. It allows you to push the boundaries and grow things you otherwise couldn’t.
So yes, start with your hardiness zone. But then, pay attention to the little pockets of your yard. That’s where the real magic, and success, happens.
5. Develop a Thoughtful Crop Rotation Schedule to Boost Soil Health and Deter Pests
I know “crop rotation” sounds like something for a thousand-acre farm, but it’s one of the simplest and most powerful tools for a backyard garden. Think of it this way: different plants take different things from the soil and are vulnerable to different pests. If you plant tomatoes in the exact same spot year after year, they’ll deplete the soil of specific nutrients and create a permanent home for tomato-loving diseases and pests.
The solution is simple: don’t plant the same thing (or things from the same family) in the same spot for at least three years. I learned this the hard way with my potatoes. One year I got a terrible scab problem. The next year, I stubbornly planted them in the same bed again. The scab was even worse. The solution wasn’t a chemical spray; it was to simply plant my potatoes somewhere else and put beans (which add nitrogen back to the soil) in the old spot. It broke the disease cycle, and the soil got healthier.
It just takes a simple notebook to keep track. A little planning here prevents a lot of heartache later.
6. Plan for an Efficient and Accessible Water Source for Seamless Irrigation
Nothing will make you hate your beautiful garden faster than having to drag 150 feet of kinking, heavy hose across it every day in July. An accessible water source is non-negotiable. This is another area where a bit of design thinking at the start saves you from a world of physical effort.
When you’re planning your layout, think about where your spigots are. Can you run a simple drip line or soaker hose from one of them? Even just installing another spigot closer to your main planting area can be a game-changer. Water is life for your garden, and if watering is a pain, you’ll find excuses not to do it. Making it easy and efficient is key to consistency, and consistency is what keeps plants alive and thriving.
This is about creating a functional outdoor room. You wouldn’t design a kitchen without a sink, so don’t design a garden without a practical plan for water.
Bringing Your Vision to Life: Installation and Early Care (Part 1)
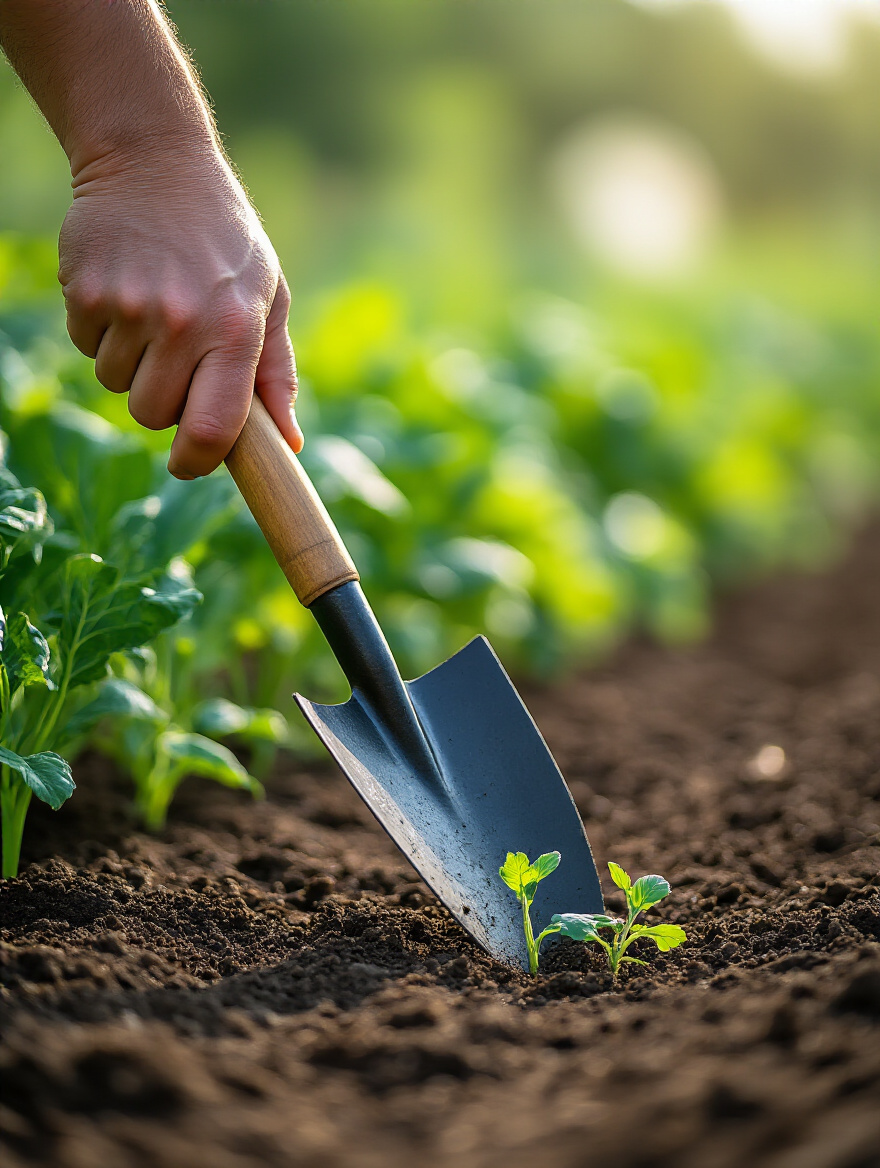
Alright, the planning is done. Now for the fun part: getting your hands dirty. How you start is everything. Getting these next few steps right is like giving your garden a head start in a marathon.
7. Source High-Quality, Disease-Free Seeds or Robust Nursery Seedlings
I used to be cheap about seeds. I’d buy the 20-cent packets from the discount rack and feel like I got a deal. Then I’d get 30% germination rates and weak, spindly plants. It’s a classic case of being penny-wise and pound-foolish. The genetics contained in a high-quality seed or the healthy root system of a well-cared-for seedling are the foundation of your plant’s entire life.
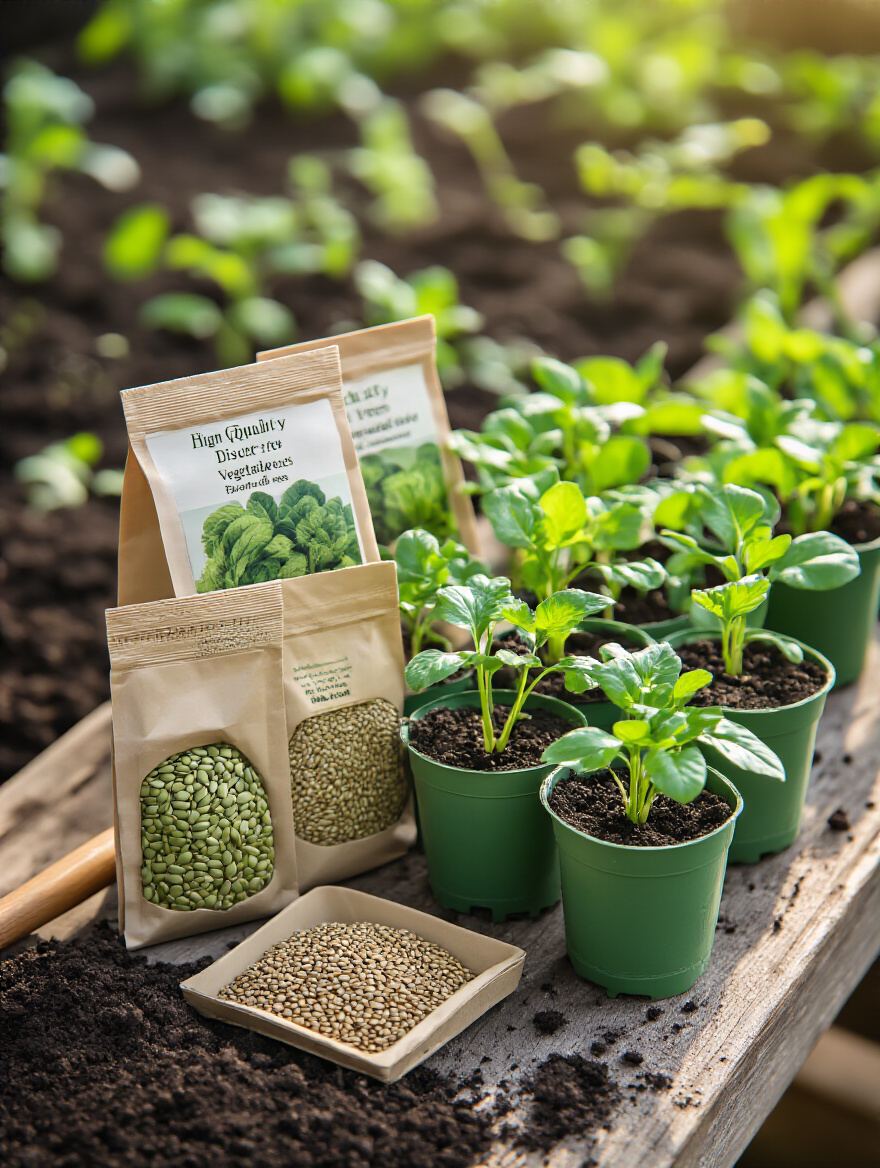
You want to buy from companies that are passionate about what they do—look for seed packets that list germination rates and packed-for dates. When you’re at the nursery, be picky. Don’t grab the first six-pack you see. Look for plants with strong stems, deep green leaves, and no signs of pests or yellowing. Turn the container over and check the roots—you want to see healthy white roots, not a brown, tangled mess. Starting with a robust plant saves you so much work trying to rescue a weak one.
It’s simple: quality in, quality out. Your harvest will thank you.
8. Amend Garden Beds with Nutrient-Rich Compost and Organic Matter Before Planting
Compost isn’t fertilizer. Let me say that again. Compost isn’t fertilizer. Everyone thinks it’s just plant food, but it’s so much more. Compost is the lifeblood of your soil. It’s a living ecosystem of billions of beneficial bacteria, fungi, and microorganisms that build soil structure, help roots access nutrients, and retain moisture. Adding compost is like renovating your soil’s entire internal architecture.

A client of mine had this awful, dense clay where water would just pool on the surface. For two seasons, we did nothing but work a few inches of high-quality compost into the top layer of his beds. By the third season, the soil was dark, crumbly, and teeming with earthworms. It had been completely transformed. All the fancy fertilizers in the world couldn’t have accomplished that.
Whether you make it yourself or buy it by the bag, don’t skip this step. Working a 2-4 inch layer of compost into your beds before planting is the best investment you can make in your garden’s future.
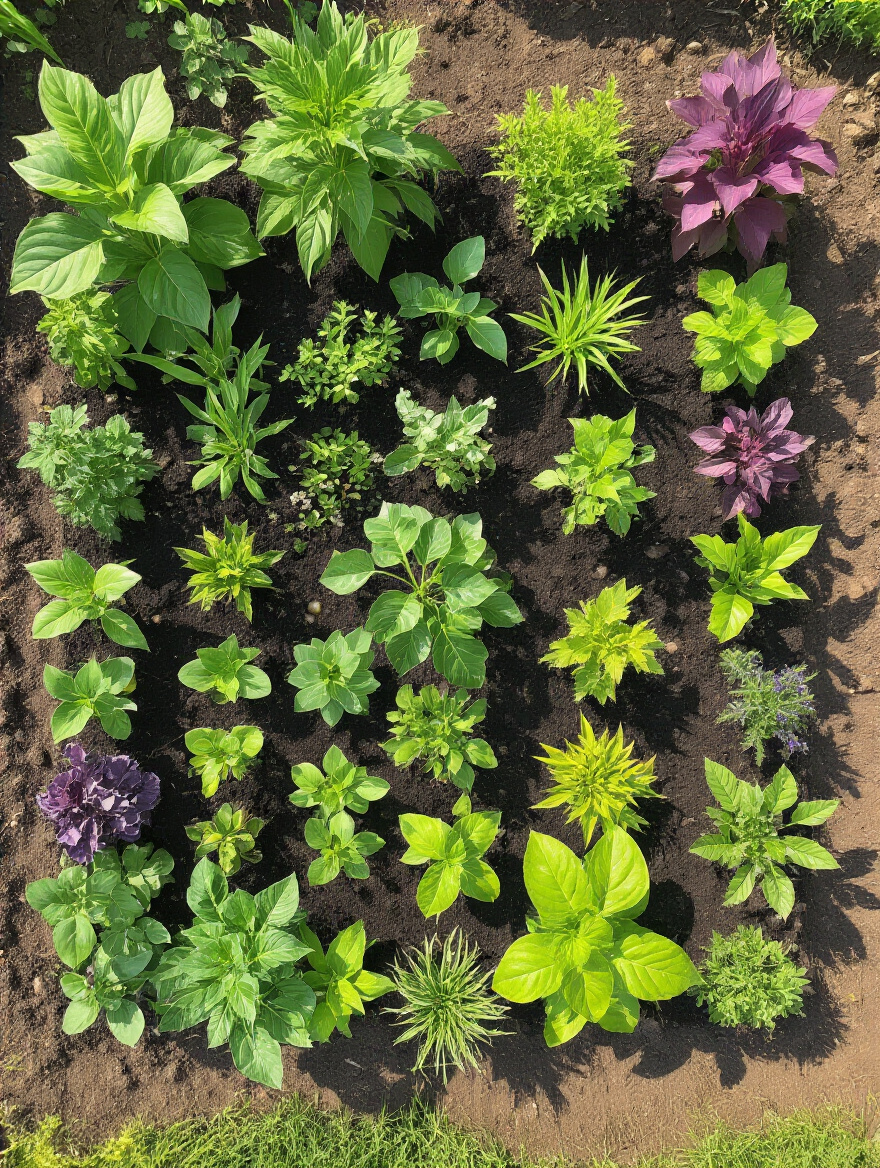
9. Strategically Incorporate Companion Planting to Enhance Growth and Natural Pest Control
Nature doesn’t grow plants in neat, single-file rows of one species. It grows in diverse, chaotic, mutually supportive communities. Companion planting is our small way of mimicking that wisdom. It’s about strategic matchmaking—placing plants together that help each other out.
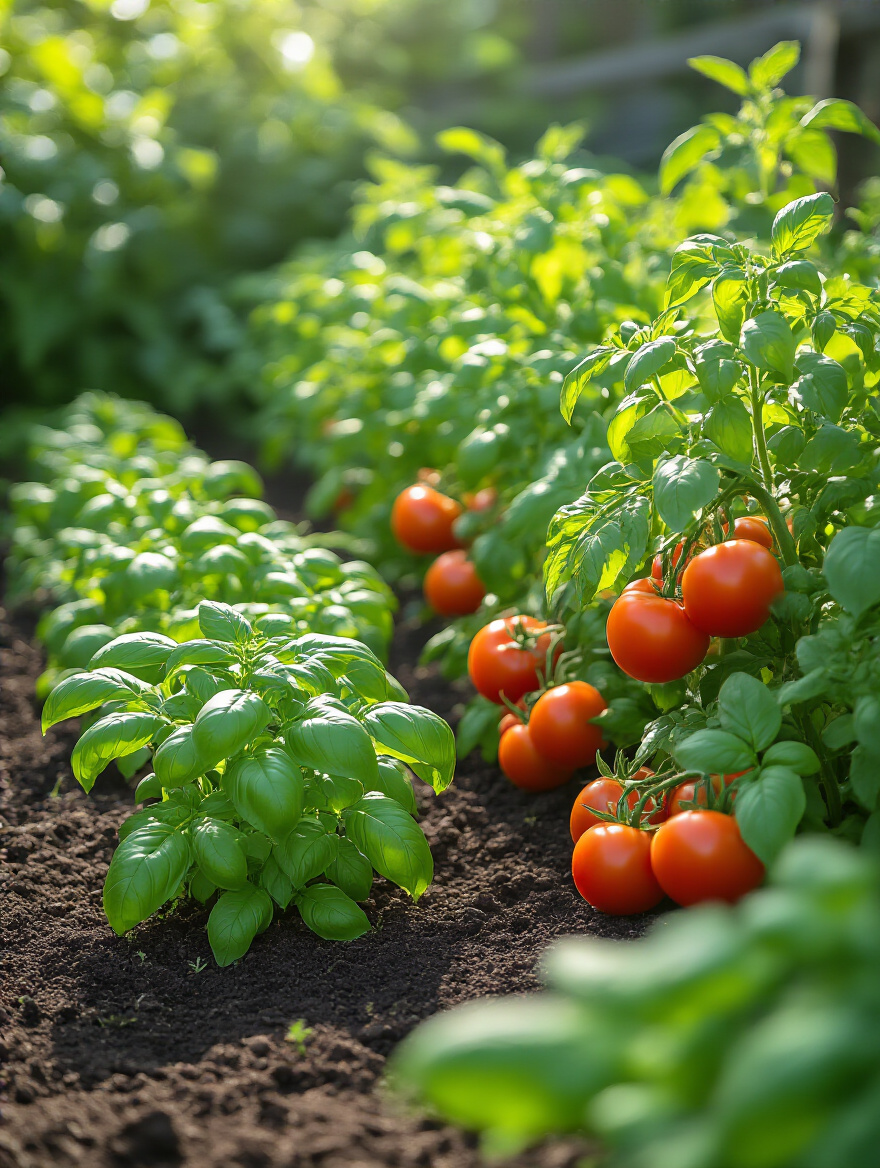
The most famous example, and for good reason, is planting basil around your tomatoes. The strong aroma of the basil helps to confuse pests like the tomato hornworm. Aromatic herbs are fantastic for this. But it goes deeper. Planting marigolds can help deter root-knot nematodes in the soil, and planting nasturtiums can act as a “trap crop,” luring aphids away from your more valuable vegetables. It’s an elegant, living pest control system that works with nature.
You don’t need to memorize a giant chart. Just start with a few classic pairings. It makes your garden more resilient, more beautiful, and far more interesting.
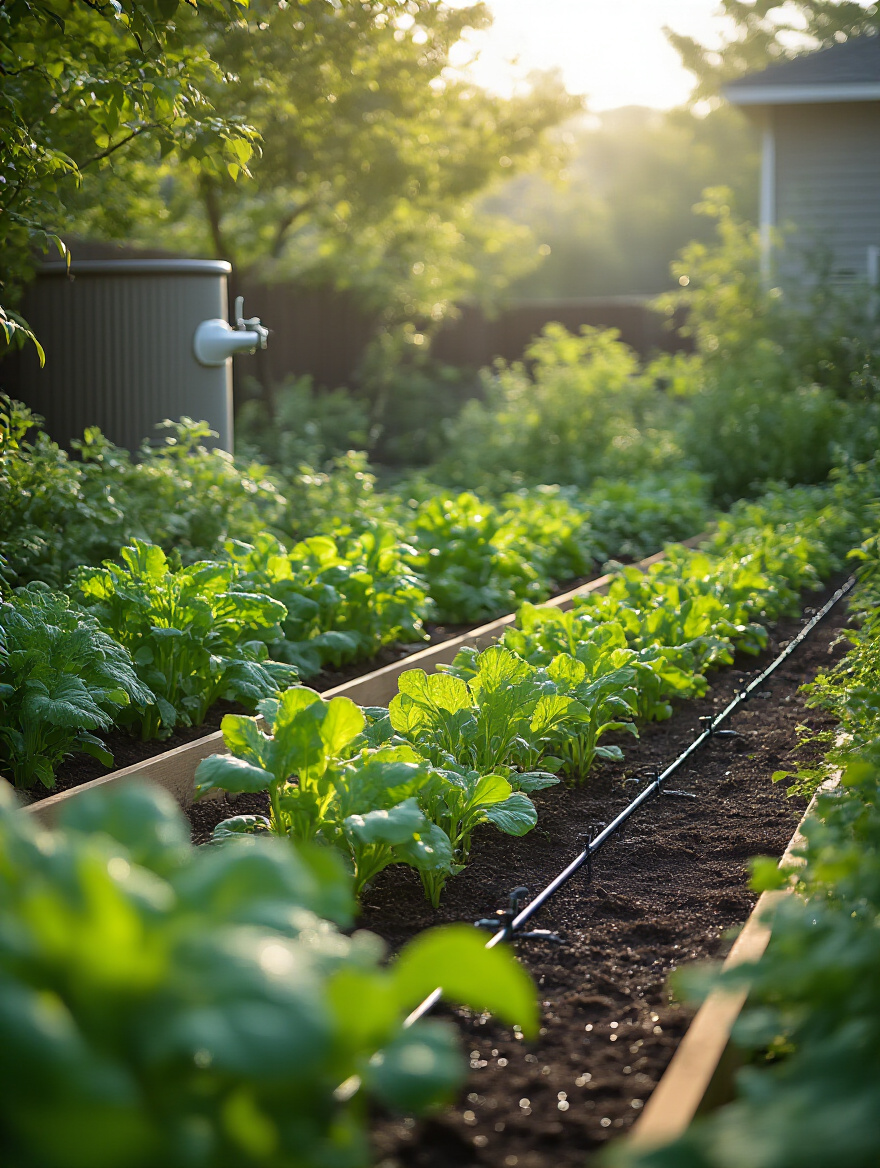
10. Install a Targeted Drip Irrigation or Soaker Hose System for Water Conservation
Overhead sprinklers are one of the worst ways to water a garden. You lose a ton of water to evaporation before it even hits the ground, and you drench the plant’s leaves, which is an open invitation for fungal diseases like powdery mildew. The best way to water is low and slow, directly at the root zone.
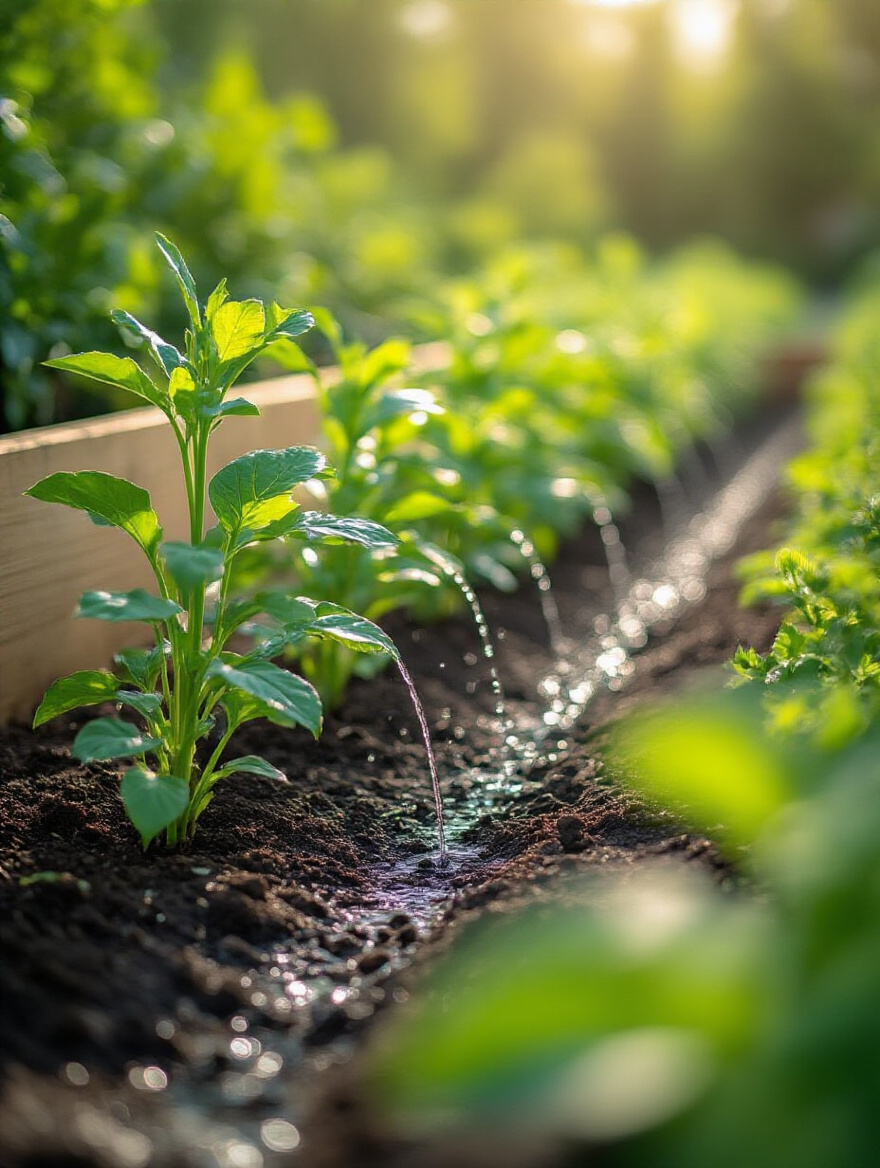
This is where drip irrigation or soaker hoses come in. They deliver water precisely where it’s needed, with almost no waste. I was skeptical at first, thinking it would be complicated and expensive. Then I installed a simple soaker hose system in my own raised beds, connected to a cheap battery-powered timer. It was a revelation. My plants were healthier because their leaves stayed dry, and my water bill went down. Plus, I didn’t have to think about it.
Setting this up takes an afternoon. It will save you dozens of hours and countless gallons of water over the course of a season. It’s one of the biggest upgrades you can make to your garden system.
Bringing Your Vision to Life: Installation and Early Care (Part 2)
We’re in the thick of it now. The garden is installed, but the work isn’t over. This early care phase is where you build the habits that will carry you through the season, establishing a resilient and self-sustaining space.
11. Erect Sturdy Support Structures (Stakes, Trellises) for Climbing Vegetables and Flowers
Picture this: You’ve nurtured your tomato plants all season. They’re huge, green, and loaded with fruit. Then a summer thunderstorm rolls through, and you wake up to find them snapped in half on the ground, a tangled, muddy mess. This is the fate of an unsupported plant. Providing support isn’t just about being tidy; it’s about providing the essential architecture your vining plants need to thrive.
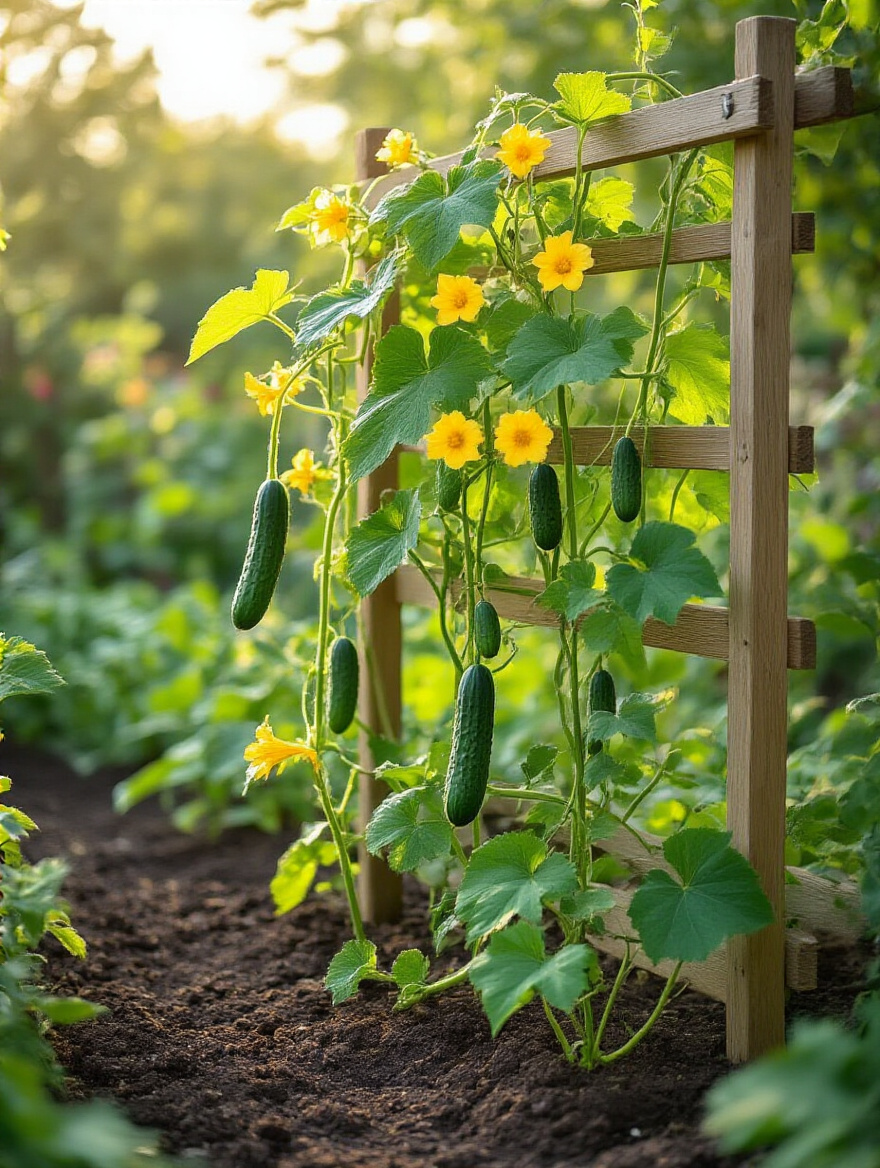
The biggest mistake people make is waiting too long. Put your stakes and trellises in when you plant. If you wait until the plant is big, you risk damaging the root system when you try to jam a support structure into the ground next to it. And please, use something sturdy. Those flimsy, cone-shaped tomato cages are a joke for an indeterminate tomato variety that can easily grow over six feet tall. A simple cattle panel or a tall, sturdy stake is a far better investment.
Good structure allows for better air circulation, which means less disease. It keeps fruit off the ground, which means less rot and pest damage. It’s a simple step with a huge payoff.
12. Establish a Small Composting Bin to Convert Kitchen Scraps into Garden Gold
I know we already talked about adding compost, but setting up your own system is the next level. This is where your garden truly becomes a closed-loop system, a living extension of your home. The scraps from your kitchen feed the compost, which feeds the soil, which feeds the plants, which in turn feed you. It’s a beautiful cycle.
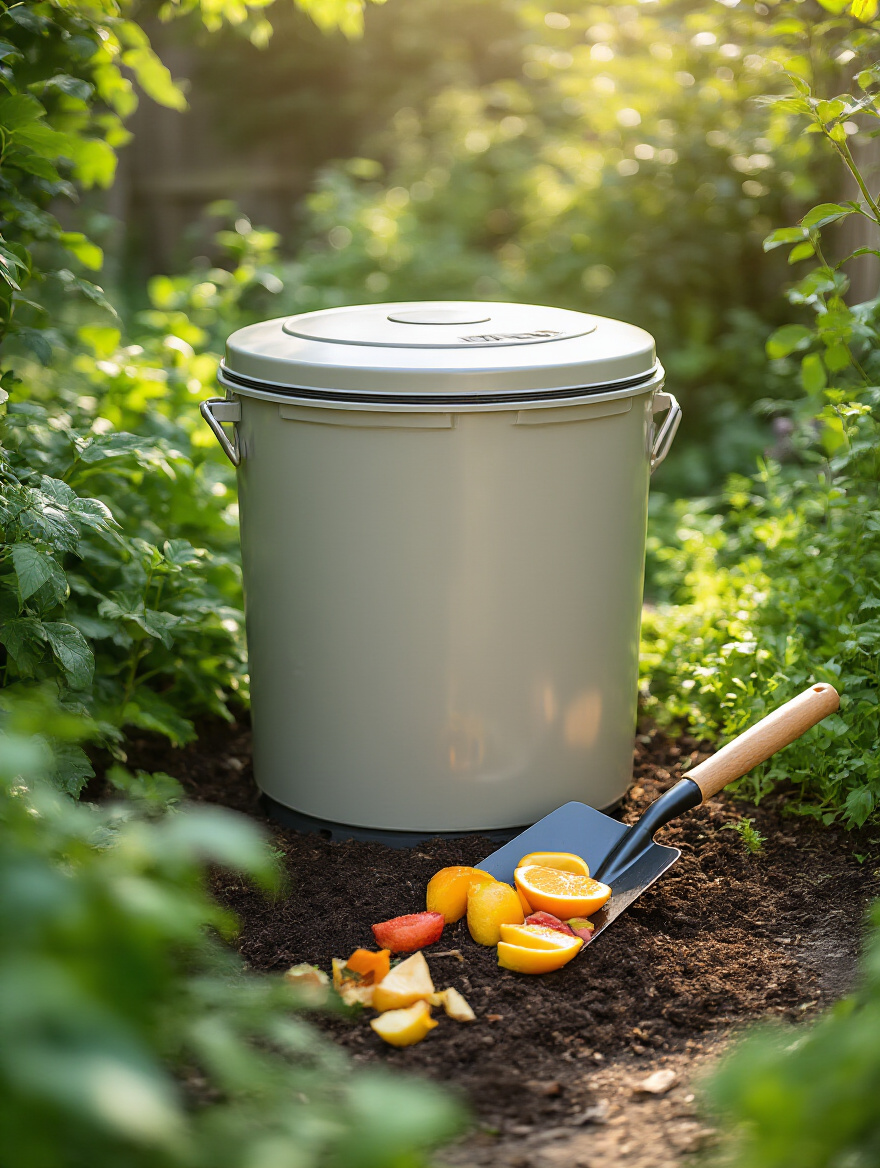
Everyone overcomplicates composting. They worry about ratios and temperatures. Here’s the simple version: get a container. Fill it with a mix of “greens” (kitchen scraps, fresh grass clippings) and “browns” (dried leaves, shredded cardboard). Keep it about as damp as a wrung-out sponge. Turn it every week or two. That’s it. Nature will do the rest. My compost bin is just a simple wire ring in a corner of my yard, and it produces phenomenal “garden gold” every year.
Starting a compost pile is one of the most powerful things you can do to reduce your household waste and create the best possible amendment for your garden, for free.
13. Learn to Identify Common Garden Pests and Diseases Early for Organic Management
The goal here is to be a detective, not an exterminator. Waging all-out war with chemical sprays the second you see a bug is a losing battle. You’ll kill the good bugs along with the bad, disrupt the entire ecosystem, and end up with even bigger problems down the road. The real skill is observation.
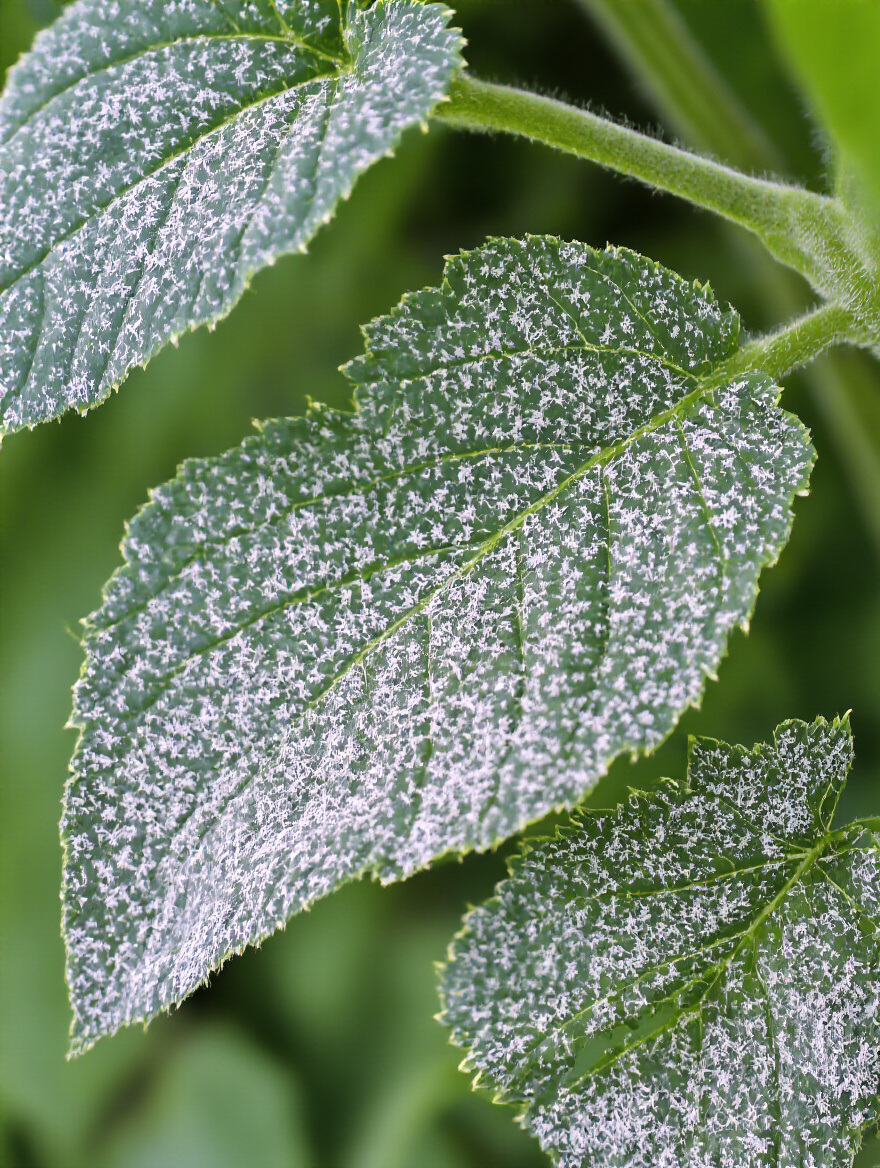
Take five minutes every morning to just walk through your garden and look at your plants. Turn over some leaves. Notice that weird spot or that tiny cluster of eggs. Most problems start small. A few aphids can be wiped off with your fingers or blasted with a hose. A single hornworm can be picked off and dropped in a bucket of soapy water. A little powdery mildew can be treated with a simple spray of milk and water. It’s only when you ignore the small signs that problems explode.
I once saw a client about to spray his entire dill plant because it was covered in “weird caterpillars.” I stopped him just in time—they were Black Swallowtail butterfly caterpillars, beautiful pollinators you want in your garden. Know your enemy, but also know your friends.
Sustaining Growth: Nurturing, Optimization, and Bountiful Harvesting (Part 1)
Your garden is growing and alive. Now your job is to guide that energy, to protect your investment, and to set the stage for an incredible harvest. Think of yourself as a gentle editor, helping your garden become the best version of itself.
14. Practice Regular and Appropriate Pruning to Stimulate Healthier Plant Vigor and Fruit Production
Cutting parts off a healthy-looking plant feels wrong, I get it. It seems counterintuitive. But proper pruning is one of the most effective ways to channel a plant’s energy exactly where you want it to go. For fruiting plants like tomatoes or apples, it’s about striking a balance between growing leaves (vegetative growth) and growing fruit (reproductive growth).
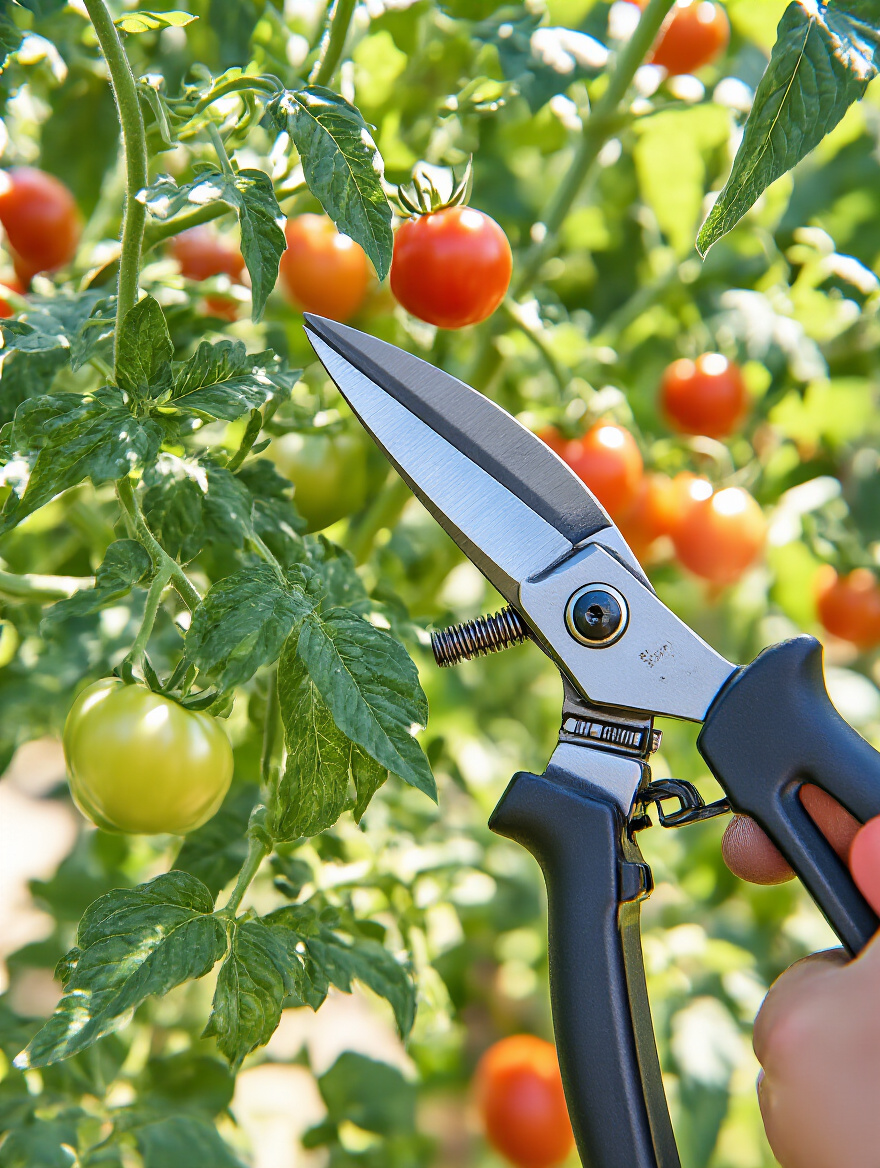
Take tomatoes, for example. Those little “suckers” that pop up in the crook between the main stem and a branch? If you let them grow, they’ll turn into a whole new main stem, sucking energy from the plant and creating a dense, tangled mess with poor air circulation. Pinching them off when they’re small focuses all that energy into the existing stems and, ultimately, into producing bigger, better-tasting tomatoes. It’s not about being cruel; it’s about smart energy management.
Every plant is different, so a little research goes a long way. But the principle is the same: you’re making strategic cuts to encourage health, airflow, and a more abundant harvest.
15. Apply a Thick Layer of Organic Mulch to Conserve Moisture and Suppress Weeds Effectively
If I could only give one piece of advice for a low-maintenance, healthy garden, it would be this: mulch everything. Mulch is the garden’s blanket. A 2-4 inch layer of straw, shredded leaves, or wood chips is a triple-threat powerhouse that will fundamentally change your gardening experience.
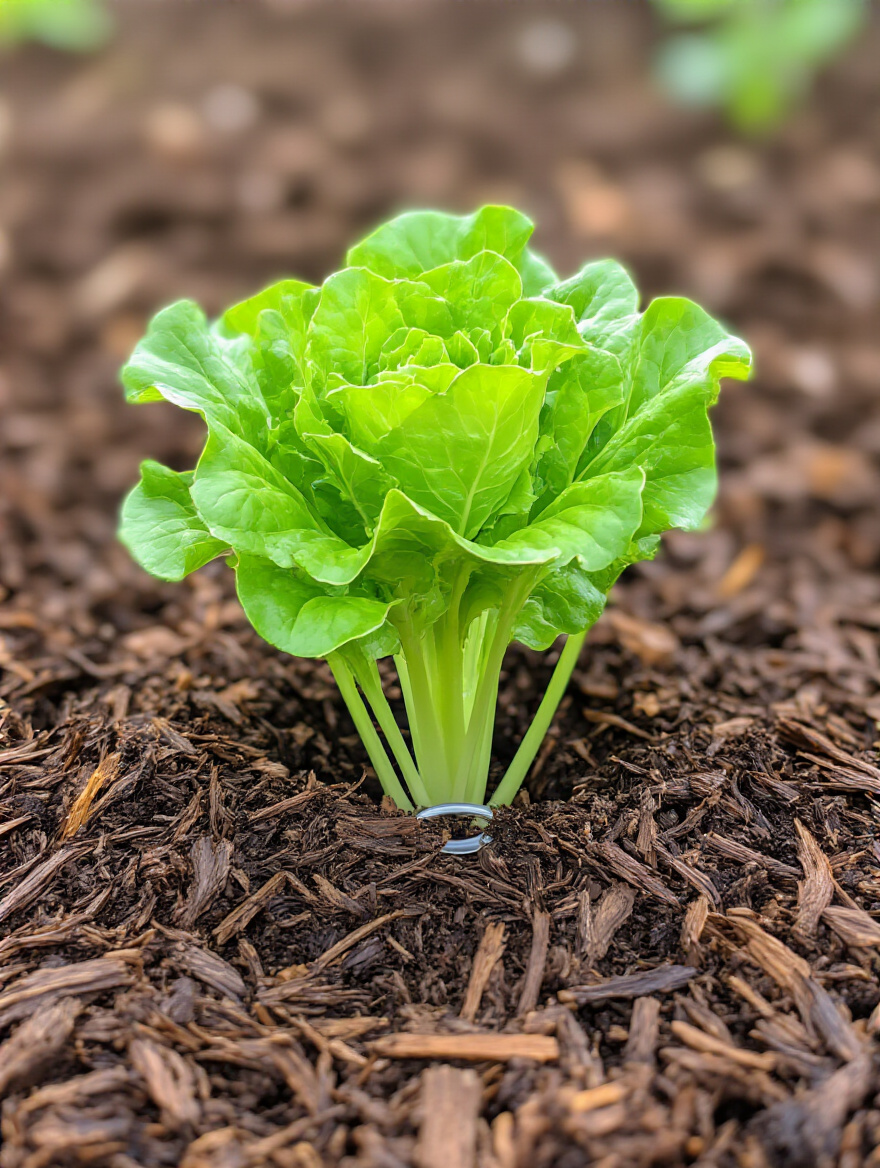
First, it shades the soil, preventing weed seeds from germinating. This alone will cut your weeding time by 80% or more. Second, it insulates the soil, keeping it cooler in the summer and warmer in the winter, which reduces stress on your plants’ roots. Third, and most importantly, it acts like a sponge, dramatically reducing water evaporation from the soil surface. This means you water far less often, and your plants have a more consistent supply of moisture. As it breaks down, it also feeds the soil. It’s a win-win-win-win.
The one mistake to avoid is “volcano mulching”—piling mulch right up against the stem of a plant. Always leave a small, mulch-free ring around the base to prevent rot.
16. Implement Succession Planting for a Continuous Harvest of Vegetables Throughout the Growing Season
The classic beginner mistake is planting everything all at once in May. Then, in July, you have 50 heads of lettuce that are all ready at the same time, and you can’t possibly eat them all before they bolt. This is the “feast or famine” cycle. Succession planting is the cure. It’s the art of creating a continuous, manageable harvest all season long.
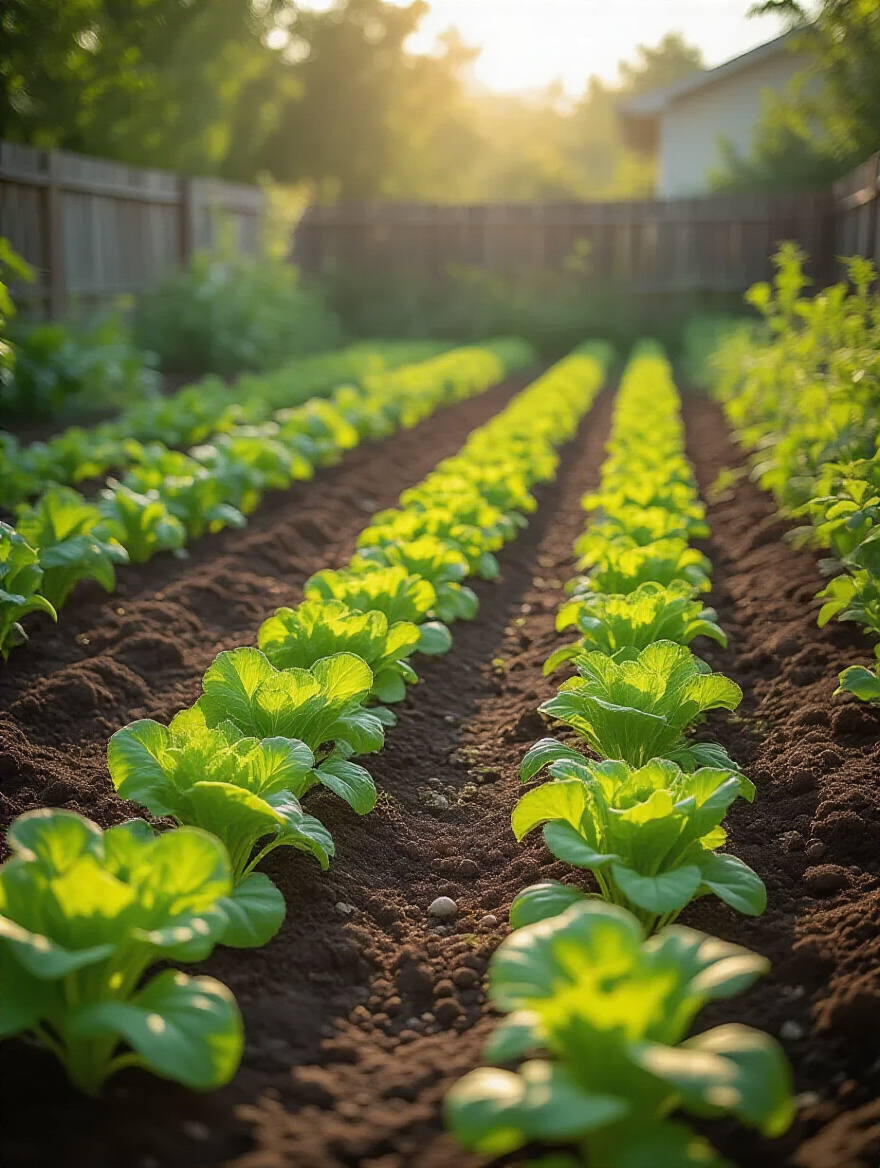
It works in two ways. For fast-growing crops like radishes, lettuce, or bush beans, you simply plant a short new row every two weeks. As one row is finishing up, the next is ready to harvest. The other method is to follow one crop with another. As soon as your spring peas are done, pull them out, amend the soil with some compost, and plant a crop of heat-loving bush beans in their place. After those are done, you might have time for a quick fall crop of spinach.
This way, your garden beds are never empty. They are constantly productive, giving you a steady supply of fresh food instead of one overwhelming glut.
17. Protect Delicate Plants from Unexpected Frost, Heatwaves, and Severe Weather Events
Nature is unpredictable. A late spring frost or a brutal summer heatwave can wipe out your hard work in a single day. But having a simple plan and the right materials on hand can make all the difference. This isn’t about building a fortress; it’s about having an umbrella ready for a surprise storm.
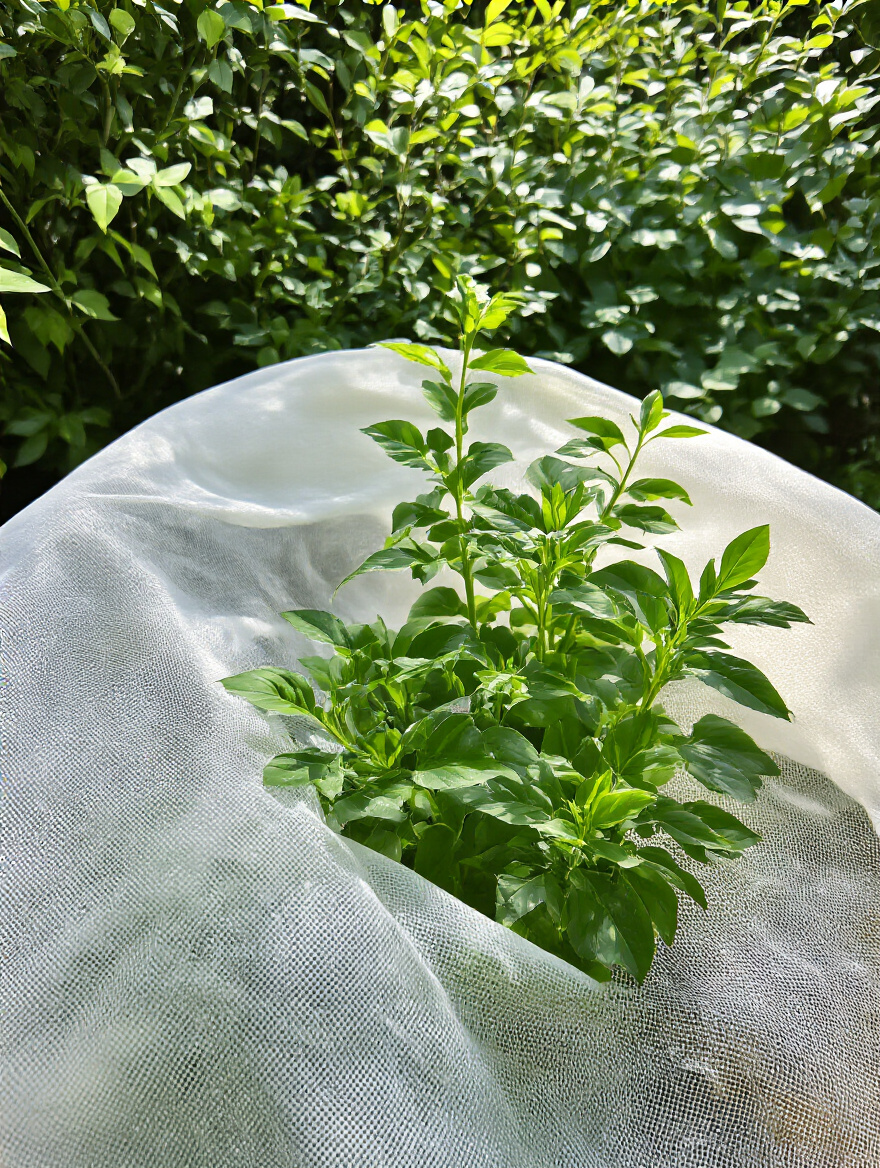
For frost, old bedsheets or towels work wonders. Drape them over your plants before sunset to trap the radiant heat from the ground, and be sure they reach all the way to the soil. For intense heat, a “shade cloth” (which you can buy at any garden center) can lower the temperature on your plants’ leaves by 10-15 degrees, preventing scorching and stress. I have a client in Texas who uses a simple 40% shade cloth to keep her salad greens producing well into the sweltering summer.
It’s all about watching the weather forecast and being ready to act. A little protection goes a very long way.
Sustaining Growth: Nurturing, Optimization, and Bountiful Harvesting (Part 2)
We’re rounding the home stretch. These final habits are about maintaining the healthy system you’ve built and, most importantly, enjoying the rewards. The harvest is the entire point, and knowing how and when to do it makes all the difference.
18. Master Chemical-Free Weed Management Through Timely Hand-Weeding and Hoeing
Weeds are just plants growing where you don’t want them. Their goal is the same as your vegetables’: to get ahold of water, sunlight, and nutrients. The best way to manage them without chemicals is to be persistent and work smart, not hard. Don’t let a weeding session turn into a 4-hour weekend battle.
The secret is to get them when they’re young. A tiny weed seedling has barely any roots and can be plucked out with two fingers or sliced off with a hoe in a second. If you let it grow for a month, it develops a deep taproot and becomes a major wrestling match. I spend about 10 minutes every other day just walking through my garden with a hoe, scuffling the surface and uprooting any new intruders. It’s a peaceful, almost meditative task, and it prevents any major takeover.
And remember mulch? Your best defense against weeds is to not let them see the sunlight in the first place. A thick layer of mulch combined with consistent, light weeding is an unbeatable strategy.
19. Understand the Optimal Ripeness Indicators for Each Crop to Harvest at Peak Flavor
This is it. This is the payoff. And all your hard work can be wasted if you harvest at the wrong time. A tomato picked a week too early will be bland and acidic. A zucchini left on the vine a day too long becomes a watery, flavorless baseball bat. Knowing when to pick is just as important as knowing how to grow.
Each crop has its own secret signals, and they’re rarely just about size. A truly ripe tomato will have deep, uniform color and will release from the vine with a gentle tug. The perfect summer squash will have glossy skin, while an overripe one turns dull. The tendril closest to a watermelon will turn brown and dry up when it’s perfectly sweet inside. These are the details you learn by spending time in your garden and paying attention.
Don’t be afraid to experiment. Pick one bean when it’s slender and another when it’s plump and see which one you like better. Keep a small notebook to jot down your observations. This is how you develop that “gardener’s instinct” and ensure that every single thing you bring into your kitchen is bursting with peak flavor.
Conclusion
There you have it. This isn’t a rigid rulebook; it’s a framework for thinking differently about your outdoor space. It’s about designing a living system that works with you, not against you. From listening to your soil and sun to creating cycles of growth and renewal with compost, these tips are all interconnected. They help you cultivate not just a collection of plants, but a resilient and beautiful outdoor room—a place for relaxing, entertaining, and connecting with nature.
The best part? You don’t have to do it all at once. Pick one or two of these ideas that resonate with you and start there. Map your sun. Get a soil test. Build one good raised bed. The simple act of starting will teach you more than any article ever could. Get your hands dirty, pay attention to what your little piece of land is telling you, and enjoy the process. Your thriving green oasis is waiting for you.