Can we talk about my biggest pet peeve? It’s seeing a beautiful, soulful historic house—a Craftsman bungalow, a Victorian grande dame—with a bathroom that looks like it was beamed in from a generic new-build condo. All gray vinyl plank flooring, sterile fixtures, and zero character. It’s a gut punch. It tells me the owner sees the house as a collection of rooms, not as a piece of history they have the privilege of stewarding.
You know what people always ask me? “Mark, can I have a modern, functional bathroom in my old house without ruining its character?” And the answer is a resounding yes. It’s not about creating a museum piece you can’t touch. It’s about a thoughtful conversation between the past and the present. You can have heated floors and great water pressure while honoring the soul of the home. Forget the noise about fleeting trends. What actually matters is quality, authenticity, and a design that feels like it belongs. I’ve learned that the hard way, and I’m here to give you the shortcuts.
Laying the Foundation: Smart Planning & Space Assessment (Part 1)
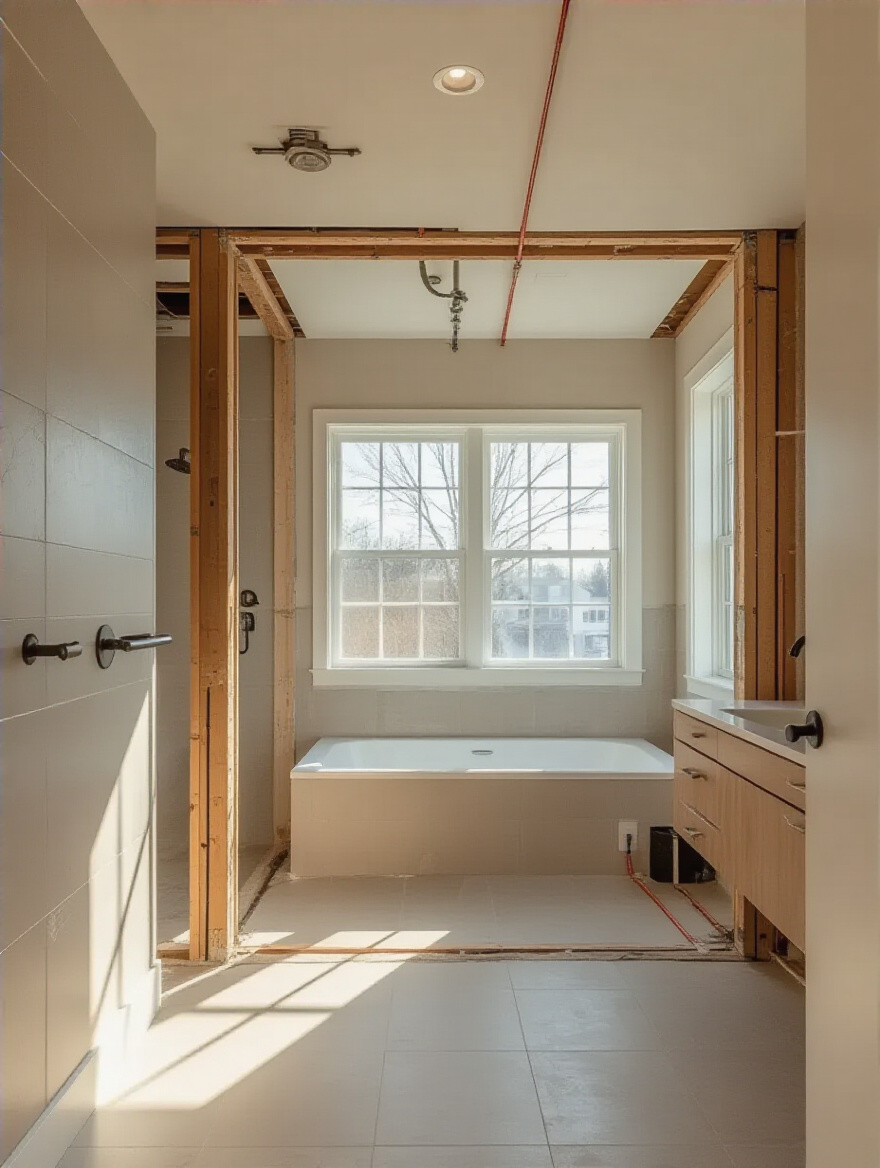
Before you so much as look at a tile sample, we need to talk strategy. This is where most renovations go wrong. People jump to the fun, shiny stuff and completely ignore the bones of the space. In a historic home, the bones are everything. They have a story to tell, and if you listen, they’ll guide you to a design that feels right and avoids catastrophic—and expensive—mistakes. This is about respectful investigation, not just measuring.
1. Define Your Bathroom’s Core Functionality and User Needs
First things first: who is this bathroom really for? Is this the only full bath in a 1920s bungalow, needing to serve a family of four? Or is it a new master ensuite we’re carving out of an unused dressing room in a Victorian? The answer dictates every single choice. A family bathroom needs durable surfaces, ample storage, and a tub. A jewel-box powder room can handle a delicate wallpaper and a precious pedestal sink because it isn’t a workhorse.
Don’t just think about today. Think about who will be using this space in five or ten years. I once worked with a couple in their late 50s who insisted on a deep, freestanding clawfoot tub. It was stunning, but I had to ask them to literally practice getting in and out of it in the showroom. They realized it wasn’t a long-term solution. We found a beautiful cast-iron alcove tub that was safer for them to age with, without sacrificing that classic feel. Being honest about your needs is the foundation of a successful design that lasts.
Thinking through function first ensures your beautiful new bathroom doesn’t become a daily frustration. Now, let’s talk about the less-than-glamorous but absolutely essential topic of money.
2. Establish a Realistic Budget and Stick to It Diligently
Let’s be honest. Renovating an old house always costs more and takes longer than you think. I call it the “old house tax.” That’s why establishing a realistic budget isn’t just a good idea; it’s your lifeline. The national averages you see online are a decent starting point, but they don’t account for the delightful surprises lurking behind your lath and plaster walls—like crumbling plumbing stacks or wiring from the Calvin Coolidge administration.
The most critical part of your budget is the contingency fund. Don’t even think about starting without at least 20% of your total budget set aside in a “do not touch unless the floor is collapsing” fund. I watched a client burn through their entire tile budget because we opened a wall and found the main joist had been notched to oblivion by a plumber in 1948. Their contingency fund saved the project. Track every penny in a spreadsheet. It keeps you honest and forces you to decide what’s a “must-have” (a new toilet) versus a “nice-to-have” (that handmade tile from England).
With your financial roadmap in hand, it’s time to get intimately familiar with the space you already have, uncovering its secrets and its limitations.
3. Analyze the Existing Layout for Structural Opportunities and Constraints
This is the archeological dig phase, and it’s my favorite part. Before you dream of moving walls, you must understand what you’re working with. In older homes, walls aren’t just drywall and 2x4s; they can be solid timber, brick, or load-bearing structures that hold up your entire second floor. Your number one goal is to locate the “wet wall”—the wall containing the main plumbing stack for drainage. Moving a toilet is one of the single most expensive things you can do in a renovation. Working with the existing plumbing layout will save you thousands and a world of headaches.
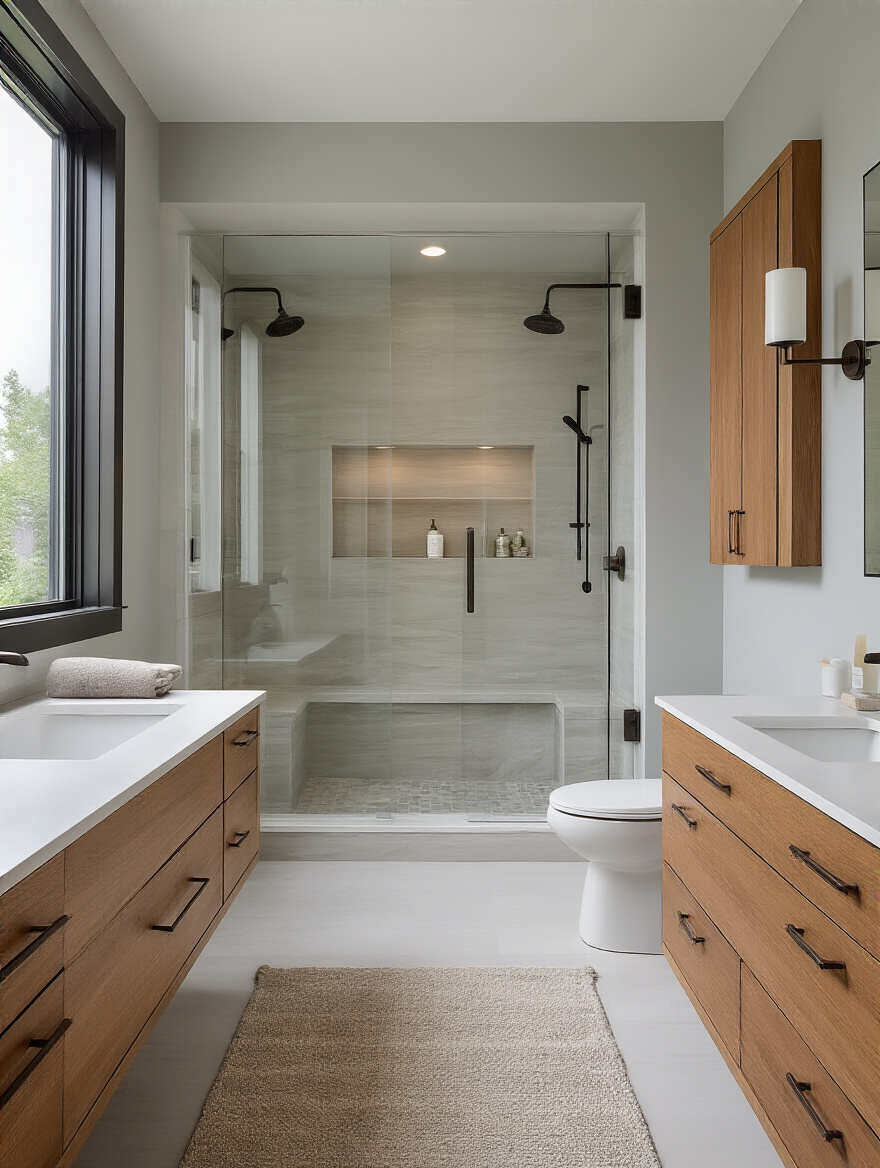
Get a good contractor in early to help you identify which walls are load-bearing. I had a client who was ready to sledgehammer a wall between two tiny bathrooms to create a large master suite. A quick look in the crawl space revealed it was supporting the entire upstairs bedroom. We pivoted the design to keep the wall, creating a “his and hers” vanity area on either side. It ended up being a much more charming and practical solution that respected the home’s original structure—and saved them about $15,000 in structural work. Always listen to the house.
Understanding these structural bones is especially critical when dealing with the often-quirky dimensions of older bathrooms.
4. Optimize Small Bathroom Layouts for Maximum Perceived Space
Many historic homes have bathrooms that are, by modern standards, tiny. They were often retrofitted into closets or small bedrooms long after the house was built. But small doesn’t have to mean cramped. The key is to lean into period-appropriate solutions for maximizing space. The modern obsession with massive double vanities just won’t work here, and that’s a good thing. A classic pedestal sink, for example, is a miracle worker. It exposes more floor and wall, making the entire room feel larger and more open.
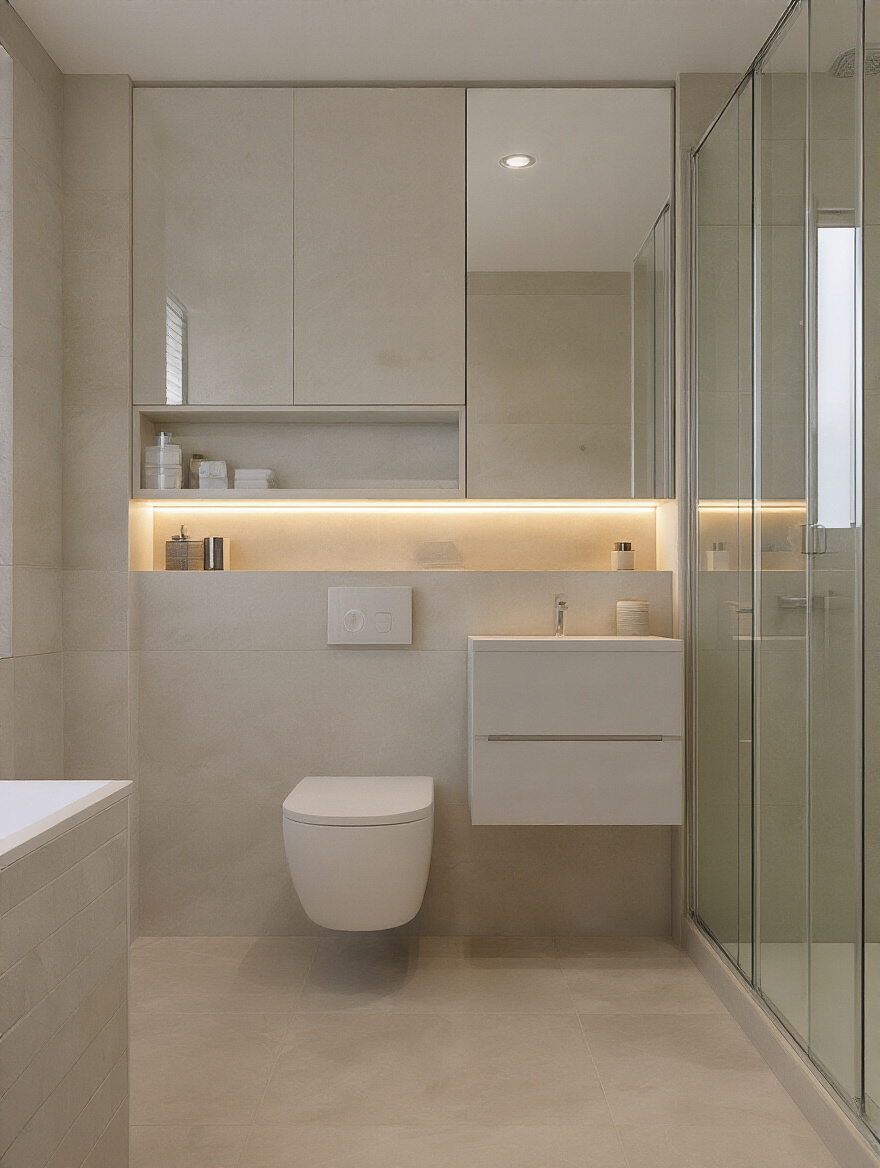
Think vertically. Instead of a bulky vanity, use a recessed medicine cabinet—a feature that’s been common for over a century for a reason. They offer incredible storage without taking up any visual or physical space in the room. If possible, a pocket door is a historic home renovator’s best friend, instantly freeing up the 9 square feet of floor space a standard swing door requires. Use a large, simple mirror to bounce light and a consistent tile on the floor and halfway up the wall to create an unbroken visual line that expands the space.
Once you’ve got a handle on the layout, it’s time to define the soul of the room—its overarching style.
Laying the Foundation: Smart Planning & Space Assessment (Part 2)
We’ve assessed the physical space, but now we need to define its spirit. This next phase is about creating a clear design compass. Without a cohesive vision, your bathroom will become a collection of nice-but-disconnected things. By honoring your home’s history and focusing on materials built to last, you ensure the final result feels intentional, harmonious, and timeless.
5. Develop a Cohesive Design Style to Guide All Material Choices
Your home’s architectural style is your North Star. You wouldn’t put ultra-modern Italian furniture in a rustic log cabin, right? The same logic applies to your bathroom. Take the time to understand your home’s era. Is it an Arts & Crafts home that calls for quarter-sawn oak, earthy green tiles, and hammered copper finishes? A prim Victorian that would shine with an ornate vanity, polished nickel, and encaustic tile? A Colonial Revival that wants simple, clean lines, polished chrome, and classic wainscoting?
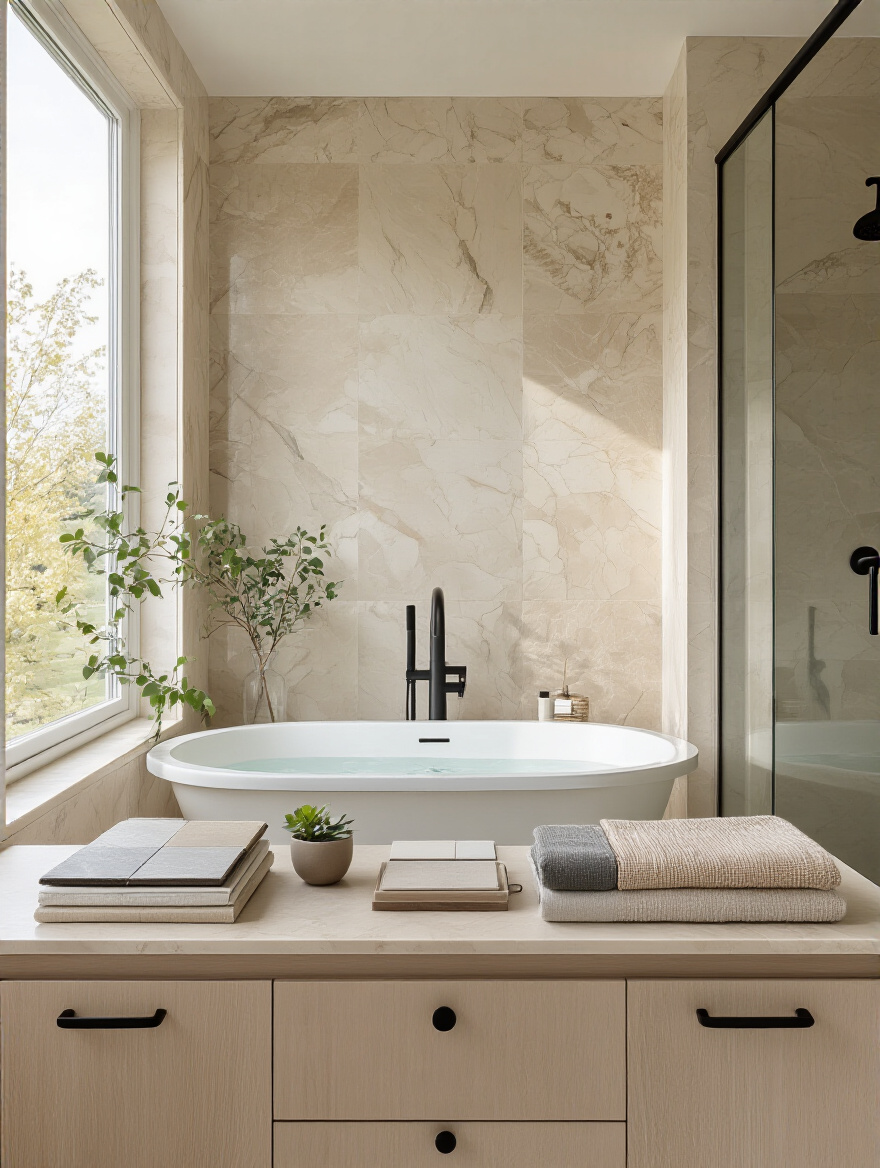
Creating a mood board is essential. Collect images of bathrooms from homes of a similar vintage. Gather physical samples of tile, paint chips, and metal finishes. This isn’t just about picking things you like; it’s about making sure they all speak the same language. This style guide will become your best defense against impulse buys and decision fatigue. When you’re staring at a wall of 500 faucets, you can simply ask, “Which one belongs in a 1930s Tudor bathroom?” and the choice becomes instantly clearer.
This clear style direction will naturally lead you to consider materials that not only look right but are also built for the long haul.
6. Consider Long-Term Durability and Maintenance Requirements
Everyone falls for the pretty face, but you have to marry the personality. That gorgeous, deeply veined marble countertop? It’s soft, porous, and will etch if you so much as look at it with a lemon. In a busy family bathroom, that’s a recipe for heartbreak. Durability and maintenance should be just as important as aesthetics. Materials used in old homes were chosen because they were built to last—cast iron tubs, porcelain tile, solid brass fixtures. We should take a lesson from that.
Porcelain tile is a fantastic choice; it’s tougher, less porous, and more durable than ceramic. For countertops, quartz is a modern marvel that can mimic the look of marble without the maintenance nightmare. And when it comes to metals, solid, unlacquered brass is a personal favorite. It’s a living finish that will develop a beautiful patina over time, perfectly in step with an aging house. Just be honest with yourself about how much time you’re willing to spend on upkeep. Choosing materials that can withstand the rigors of daily life ensures your bathroom will look brilliant for decades, not just on reveal day.
With our plan and style in place, we can finally start selecting the core components that will bring the room to life.
Core Elements: Smart Material & Fixture Choices (Part 1)
This is where the vision starts becoming a reality. The materials and fixtures you choose are the building blocks of your bathroom’s character. They are the elements you’ll touch and interact with every single day, so they need to feel as good as they look. We’ll focus on choices that are not only period-appropriate but also ready to stand up to the unique challenges of a bathroom environment.
7. Select Water-Resistant Flooring Materials for Safety and Longevity
The single biggest mistake I see in historic bathroom renovations is inappropriate flooring. Please, I beg you, do not put wood-look vinyl plank in a 1910 foursquare. It’s a dead giveaway that the renovation was done without thought. The go-to choice for a reason is tile. Classic one-inch hexagonal tiles, penny rounds, or basketweave patterns are timeless and absolutely correct for almost any home built before 1940. They provide excellent grip and have been proving their water resistance for over a century.
When choosing tile, go with porcelain. It has an incredibly low water absorption rate (less than 0.5%), making it nearly waterproof. And don’t forget the grout! Forgo standard cement grout and invest in an epoxy or high-performance grout. It’s more stain- and mold-resistant and will save you hours of scrubbing for years to come. I once restored a 1920s bathroom where the original hex tile was still in perfect condition. We just had it professionally cleaned and re-grouted. You can’t argue with a 100-year track record.
The flooring sets the stage, and the walls provide the backdrop for the entire design.
8. Choose Durable and Easy-to-Clean Wall Finishes
For the walls, you have a few classic, durable options that are both beautiful and practical. The most iconic is, of course, classic white subway tile. Introduced in the New York City subways in 1904, it was adopted in bathrooms and kitchens for its clean, “sanitary” look. Installed in a running bond pattern with a dark gray grout, it’s a timeless look that works in almost any historic home. For a softer look, especially in Craftsman or farmhouse-style homes, you can’t beat beadboard wainscoting. Just be sure to use wood rated for moist environments or a modern composite version and paint it with a high-quality semi-gloss or satin paint for easy cleaning.
In areas outside the direct splash zones, don’t be afraid of wallpaper. Companies like Bradbury & Bradbury specialize in stunning, historically accurate wallpaper patterns that can transform a powder room into a work of art. In the main bathroom, you can use wallpaper above a tiled or beadboard wainscot. For paint, choose a modern formulation specifically designed for bathrooms; it will have mildewcide mixed in to combat mold growth, a must in older homes that may have less-than-perfect ventilation.
With the room’s surfaces defined, we need practical solutions for keeping them clear and uncluttered.
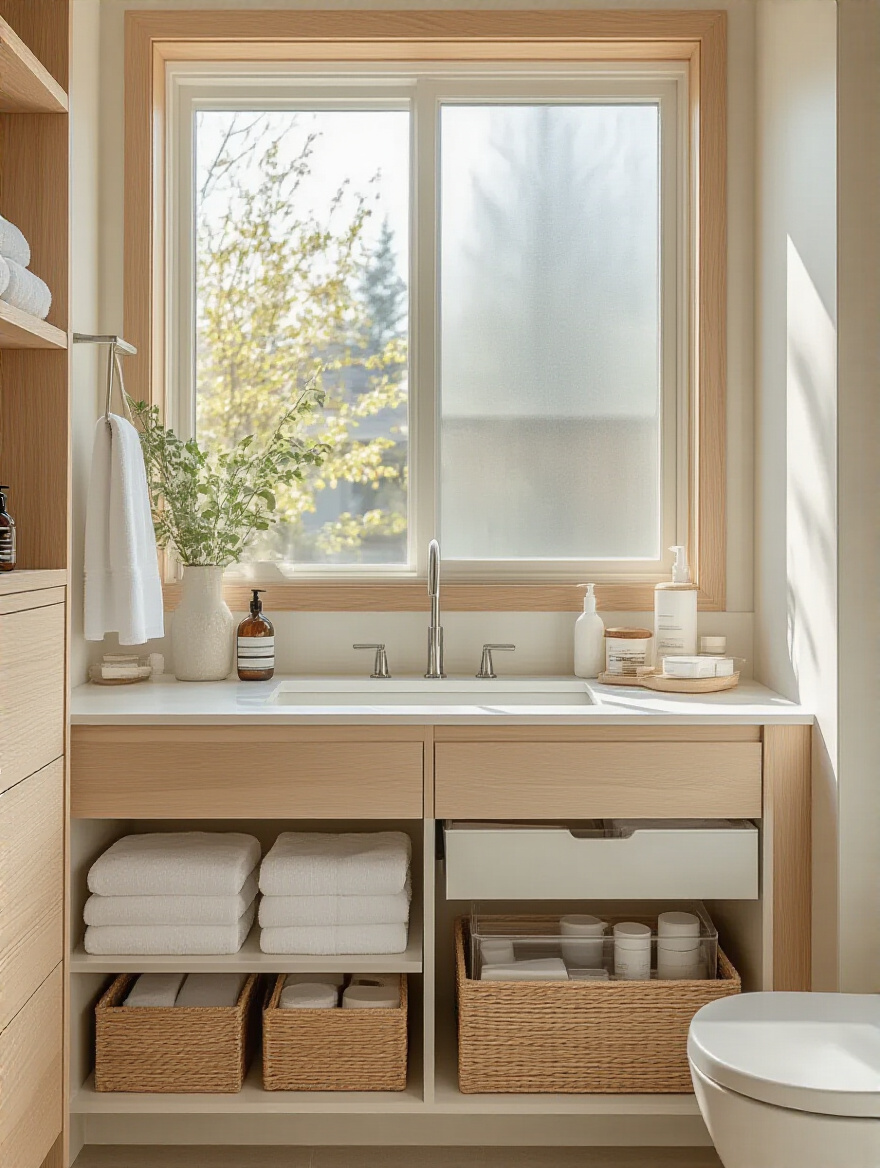
9. Incorporate Smart Storage Solutions for Decluttered Countertops
Older bathrooms were not built for our modern arsenal of products. Counter space is often minimal, so smart storage is non-negotiable. The number one solution is a recessed medicine cabinet. This isn’t a new invention; they were common in the early 20th century. Find a beautiful wood-framed or beveled-edge model that looks original to the house. It’s the perfect place for all the small bottles and jars that would otherwise clutter the vanity.
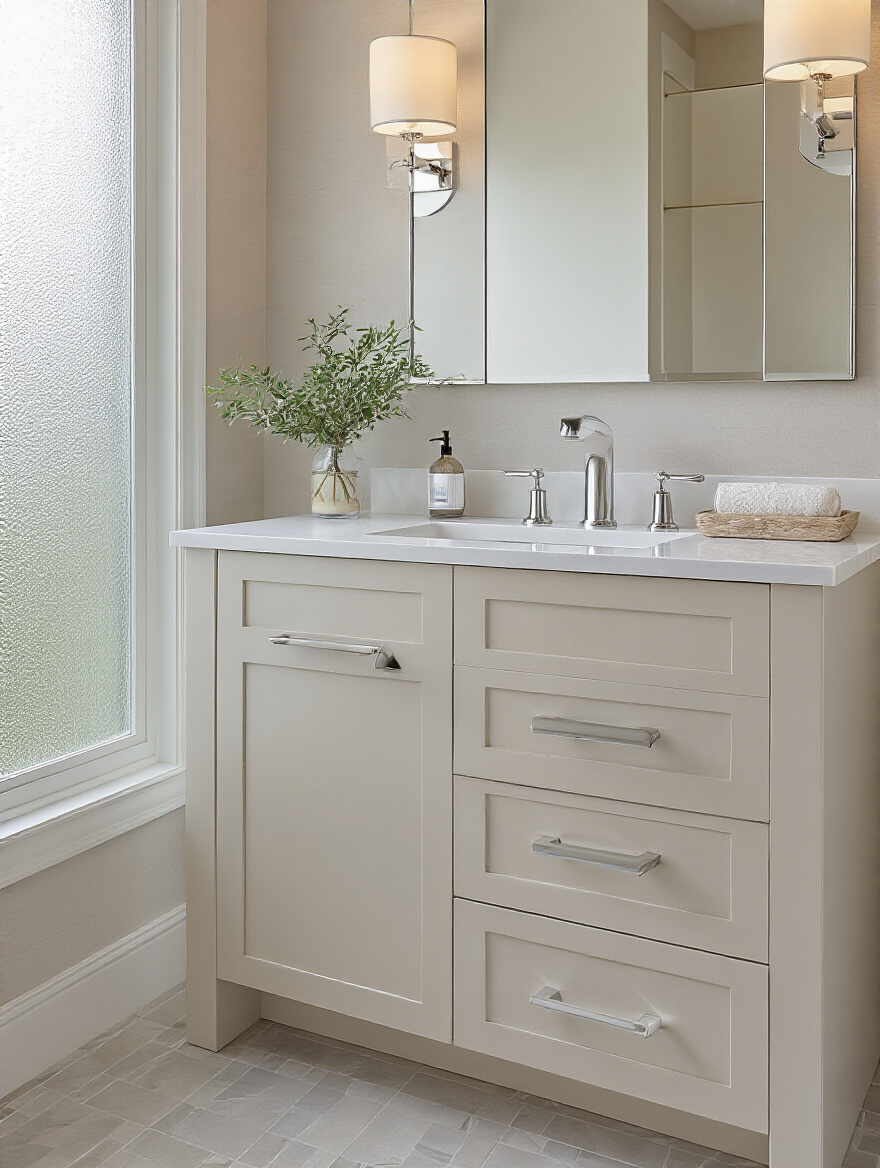
Beyond the medicine cabinet, think built-ins. If you have a non-structural interior wall, you can often build a shallow storage cabinet between the studs. It’s an incredibly efficient use of space for towels and toiletries. If you’re using a vanity, look for one that looks more like a piece of furniture than a built-in cabinet. A repurposed antique dresser fitted with a sink and stone top can provide tons of character and drawer storage. The goal is to have a dedicated home for everything, so your precious counter space can stay clear.
Now for my favorite part—the “jewelry” of the bathroom.
10. Invest in Quality Faucets and Shower Fixtures for Style and Function
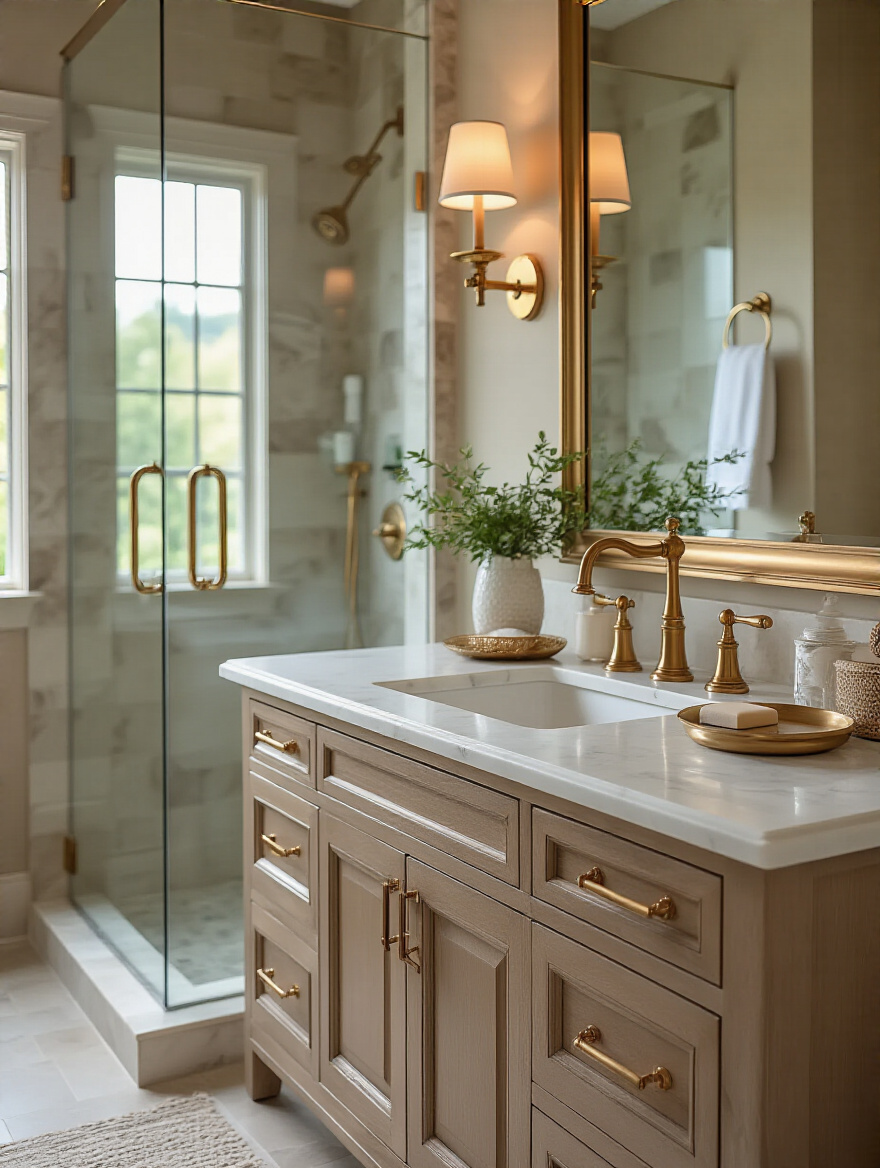
Fixtures are where you can truly express your home’s personality. They are tactile, functional sculptures you use every day, so this is not the place to skimp. Invest in solid brass construction. A cheap, plastic-bodied faucet from a big box store will fail in a few years, but a quality faucet from a brand like Rohl, Waterworks, or Newport Brass will last a lifetime. For the finish, consider the era. Polished nickel was huge in the late 19th and early 20th centuries. Chrome came into vogue in the 1920s and ’30s.
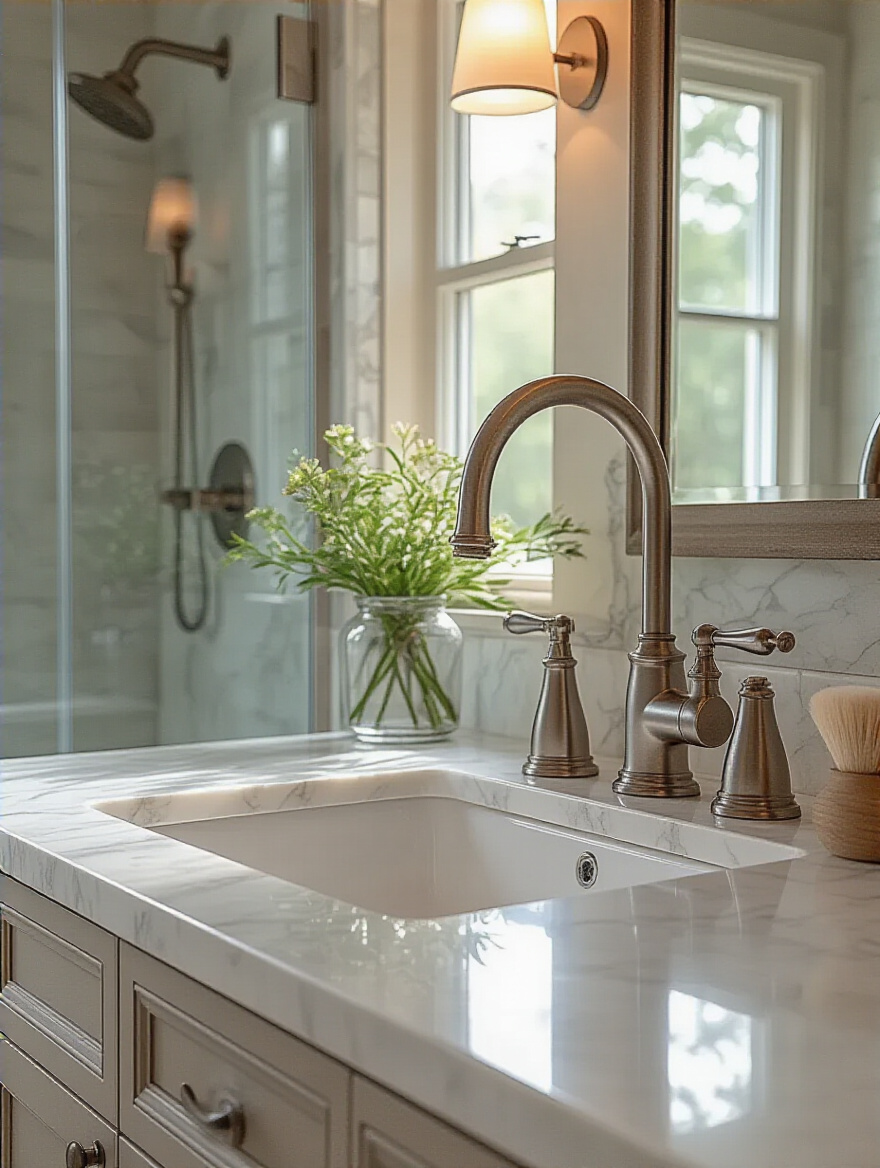
And I have to mention my absolute favorite: unlacquered brass. It arrives shiny and new but, over time, will develop a rich, warm patina that is simply impossible to replicate with a factory finish. It ages with the house. Look for classic shapes: cross handles, porcelain inserts, gooseneck spouts. A salvaged, refinished clawfoot tub can be the stunning centerpiece of a Victorian bathroom, while a sturdy wall-mounted sink with exposed plumbing is perfect for a more utilitarian, pre-war aesthetic.
These gleaming fixtures need the right light to truly shine, which brings us to the crucial element of illumination.
Core Elements: Smart Material & Fixture Choices (Part 2)
We’ve covered the tangible elements, but now we must sculpt the atmosphere. Lighting is the most powerful and often most overlooked tool in a designer’s arsenal. In a bathroom, it needs to be both flattering and functional, beautiful and bright. A layered approach ensures your bathroom can be a functional grooming space in the morning and a serene retreat at night.
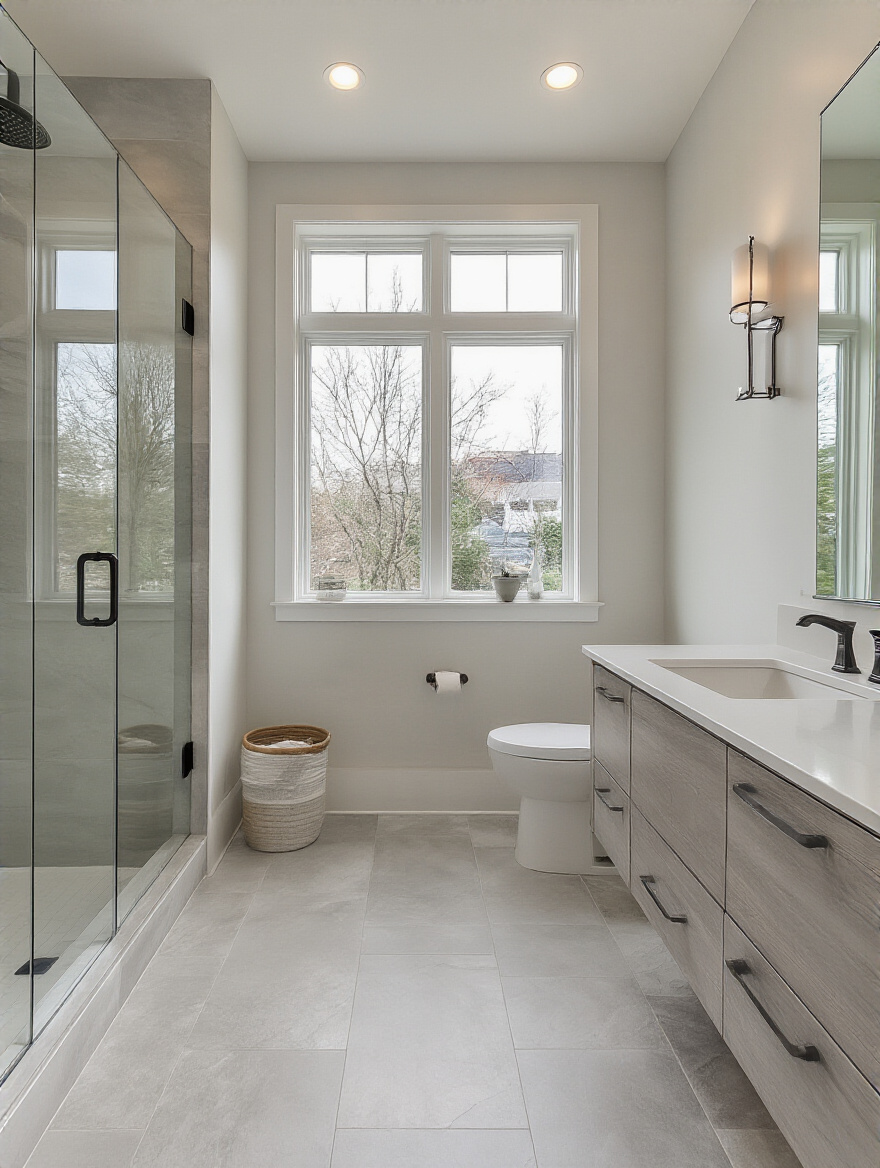
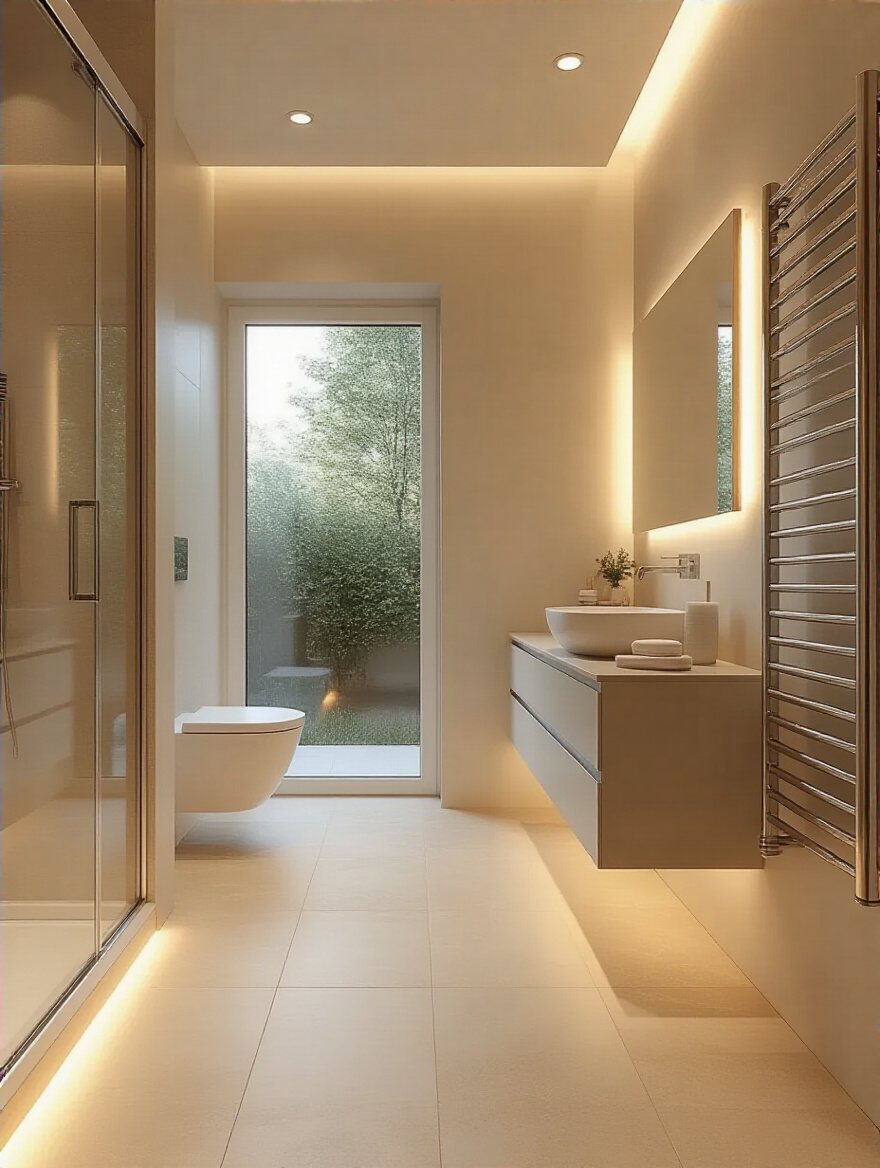
11. Maximize Natural Light with Strategic Window Treatments and Mirror Placement
Old homes often have wonderful, original wood windows in the bathroom. Cherish them. Don’t you dare replace them with vinyl unless they are rotted beyond repair. Your goal is to celebrate that natural light while maintaining privacy. For a double-hung window, a simple cafe curtain on the bottom sash is a classic solution. Top-down/bottom-up shades are a fantastic modern invention that gives you ultimate flexibility—cover the bottom for privacy while letting light pour in from the top.
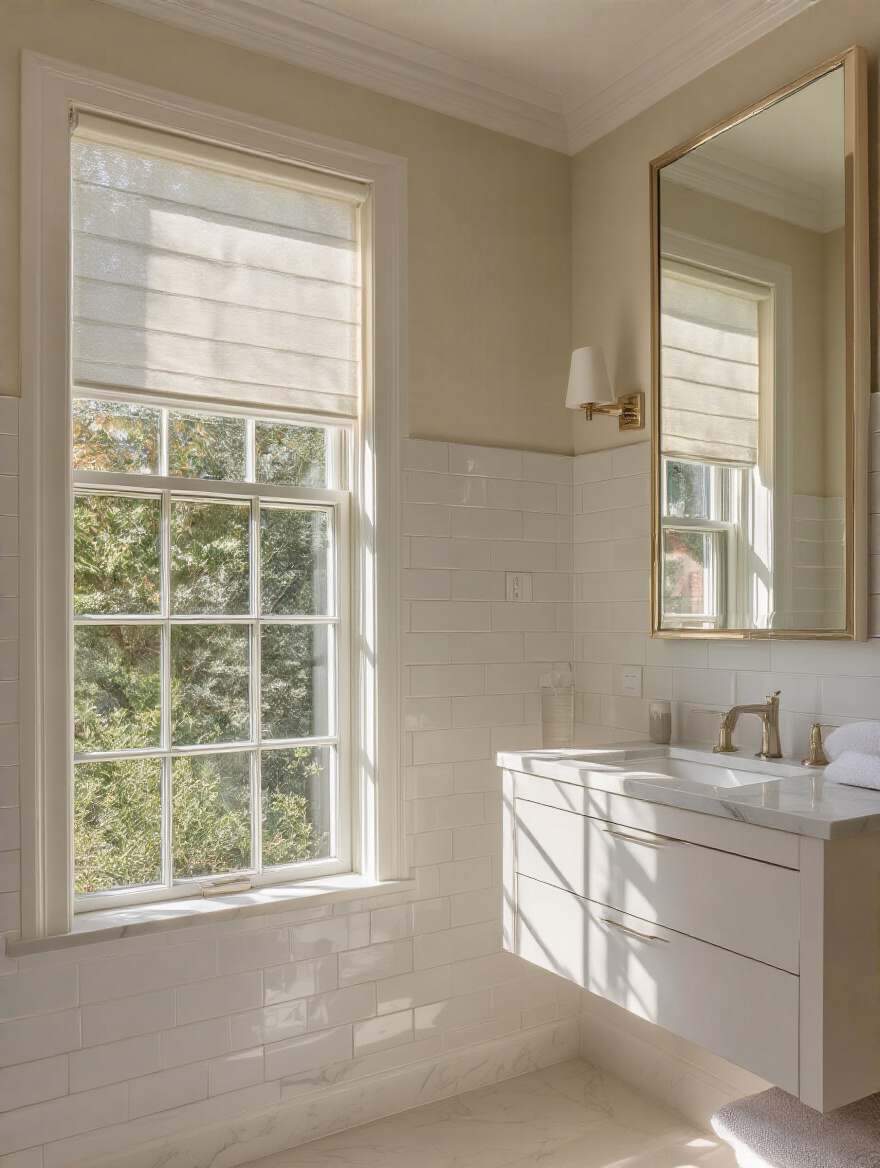
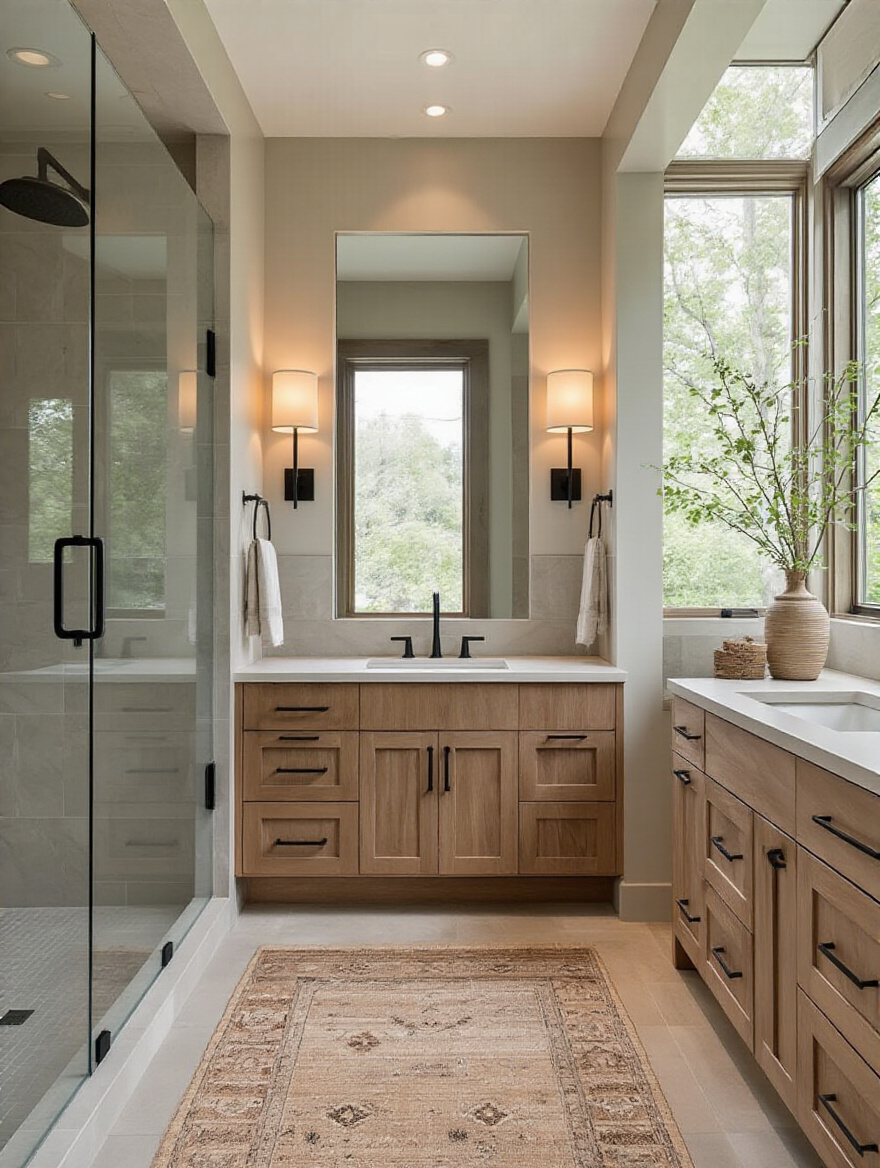
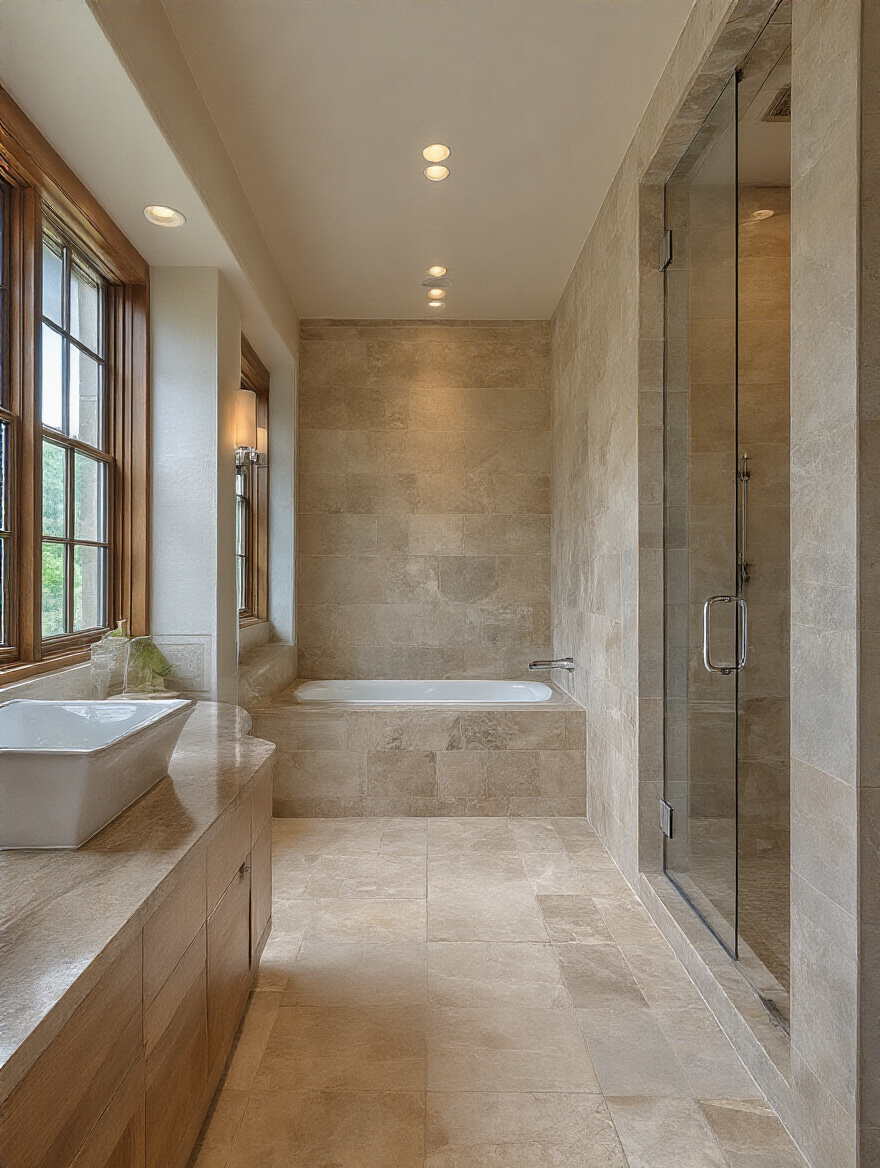
A large, beautifully framed mirror is your best friend for amplifying light. Place it directly opposite the window if you can, to bounce light all around the room. I once worked on a narrow bathroom in a row house with only one small window at the far end. We installed a wall-to-wall mirror above the long vanity, which effectively doubled the perceived width of the room and threw the limited natural light into every corner. It completely transformed the space from a cave into a bright, pleasant room.
Of course, natural light isn’t always available, which is why a thoughtful artificial lighting plan is essential.
12. Plan Layered Artificial Lighting for Ambiance and Task Efficacy
Please, step away from the recessed “can” lights. While useful in some modern applications, a grid of them in a historic ceiling is an architectural crime. It creates unflattering, shadowy light and looks completely out of place. The most effective and period-appropriate lighting comes from sconces. Placing a pair of sconces on either side of the mirror at roughly eye level provides beautiful, even, cross-illumination that eliminates shadows—perfect for shaving or applying makeup.
In addition to task lighting at the mirror, you’ll need a central ambient fixture. This is a great place to make a style statement. A simple schoolhouse-style semi-flush mount is perfect for a 1920s or ’30s bathroom. An ornate chandelier can add a touch of drama to a Victorian space. The key is to put everything on a dimmer switch. This is a non-negotiable, modern upgrade. It allows you to have bright, functional light when you need it and soft, ambient light when you want to relax in the tub.
With the functional core of the room designed, it’s time to add the layers that truly make it sing.
Elevating Aesthetics: Styling, Color & Personal Touches (Part 1)
This is where we infuse the room with personality and warmth. A well-designed bathroom should feel like a personal retreat, not a sterile utility room. We’ll accomplish this through a thoughtful application of color, a mix of textures, and carefully chosen details that transform the space from merely functional to truly special.
13. Implement a Calming Color Palette for a Serene Atmosphere
While Victorians loved their deep jewel tones, for most of us, the bathroom is a place for serenity. The color palettes of the early 20th century Arts & Crafts and Colonial Revival movements are a wonderful source of inspiration. Think soft, muted colors drawn from nature: pale greens, soft blues, creamy whites, and warm grays. These colors create a calming backdrop that feels both clean and relaxing.
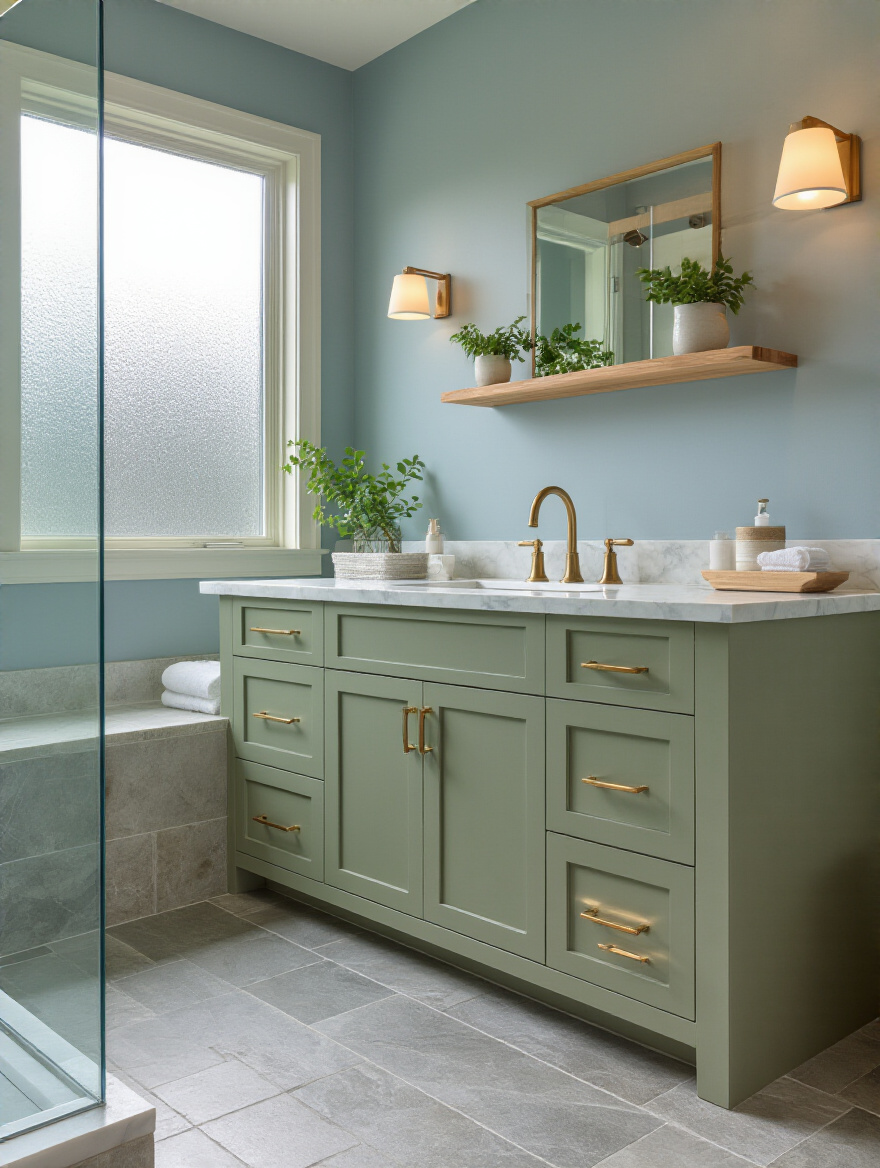
Before you commit, get paint samples and put them up on the walls. Live with them for a few days. The light in a bathroom changes dramatically throughout the day, and a color you love in the morning might look completely different at night under artificial light. And remember, the color of your fixtures matters. That classic white subway tile isn’t a pure, stark white; it has a warmth to it. Make sure your wall color has a compatible undertone to avoid a jarring contrast.
Color provides the mood, but texture provides the soul. Let’s talk about adding depth.
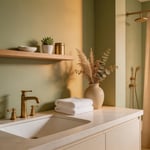
14. Integrate Textured Materials to Add Depth and Visual Interest
A bathroom designed with only smooth, glossy surfaces can feel cold and one-dimensional. Introducing a variety of textures is what makes a space feel rich and layered. This is easy to do in a historically-inspired design. Think about the subtle texture of a beadboard wainscot, the grainy warmth of a reclaimed wood vanity, or the beautiful imperfections of a hand-made tile. Even the fixtures contribute—the cool smoothness of porcelain handles against the warm grain of unlacquered brass.
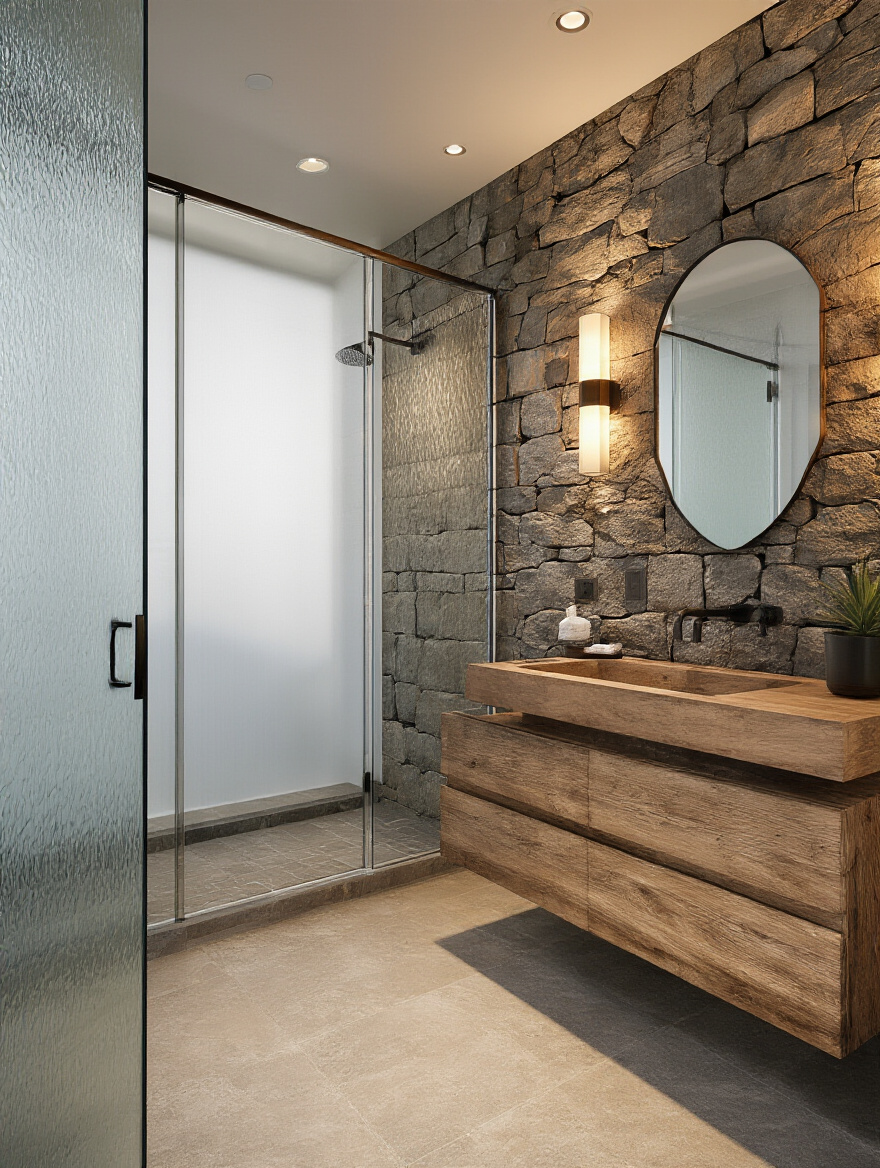
Don’t forget textiles. A simple linen shower curtain adds a soft, organic feel that a vinyl liner never could. A beautiful Turkish cotton rug underfoot is far more luxurious than a synthetic bath mat. In a powder room, grasscloth wallpaper can add incredible warmth and texture. These are the details that engage the senses and elevate the room from a simple box to an inviting, tactile space. It’s the difference between a house and a home.
One of the best ways to add texture, light, and a powerful design statement is with your choice of mirror.
15. Choose Statement Mirrors to Amplify Light and Design Appeal
The mirror isn’t just a place to check your reflection; it’s a major decorative element. Ditch the boring, frameless plate glass that the contractor glues to the wall. Instead, think of the mirror as a piece of art. Scour antique shops and flea markets for a mirror with a beautiful, ornate gilded frame for a Victorian or Beaux-Arts look. Or find a simple, sturdy oak-framed mirror for a Craftsman bathroom.
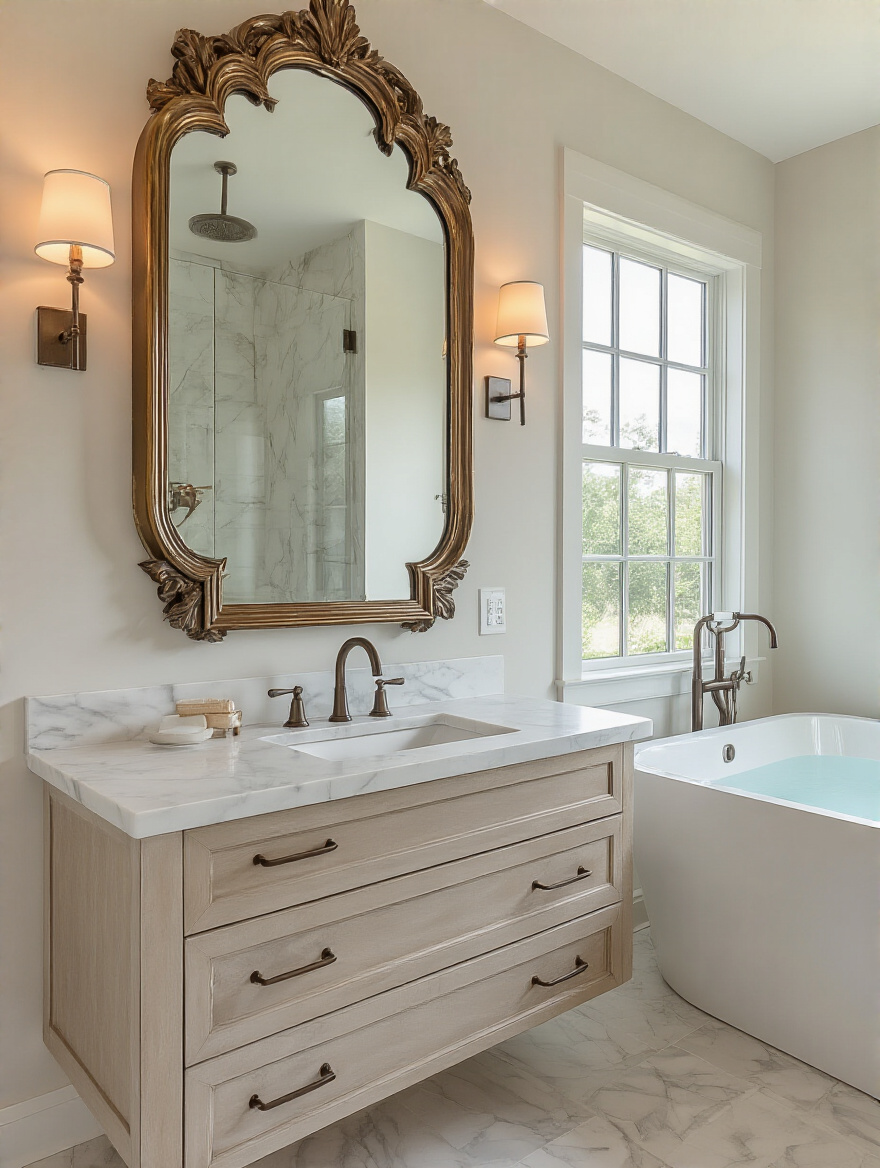
The shape can also make a statement. An arched mirror can soften the hard lines of a tiled bathroom. A pair of tall, rectangular mirrors above a double vanity adds a sense of height and grandeur. Don’t be afraid to go big. A larger-than-expected mirror can become a stunning focal point, making the whole room feel grander and more intentional. It’s one of the easiest ways to add a huge dose of personality.
Now, let’s zoom in on the smaller details that pack a powerful punch.
16. Select Artistic Hardware and Accessories for Cohesive Styling
If fixtures are the jewelry of the bathroom, then hardware and accessories are the cufflinks and silk pocket square—the finishing touches that show you care. This includes cabinet pulls, towel bars, toilet paper holders, and robe hooks. Consistency is key here. Make sure all these pieces come from the same collection or at least share the same finish and design language. Mixing polished chrome with brushed nickel and oil-rubbed bronze is a recipe for visual chaos.
This is a great place to invest in quality. You’ll be touching these items every day. Solid brass or bronze hardware feels substantial and satisfying in your hand in a way that cheap, hollow zinc never will. Look for details that echo your home’s era. Octagonal backplates feel very 1920s Art Deco. Simple, hefty forged iron works beautifully in a more rustic or Tudor-style home. This level of detail is what separates a good renovation from a truly great one.
These visible details are crucial, but some of the most impactful aesthetic choices involve bringing the outdoors in.
Elevating Aesthetics: Styling, Color & Personal Touches (Part 2)
We’ve styled the man-made elements, but no room is complete without a touch of nature and a dose of humanity. In this section, we’ll explore how to bring life into the space and how to design it inclusively, ensuring it’s not just beautiful today but safe, comfortable, and welcoming for everyone for years to come.
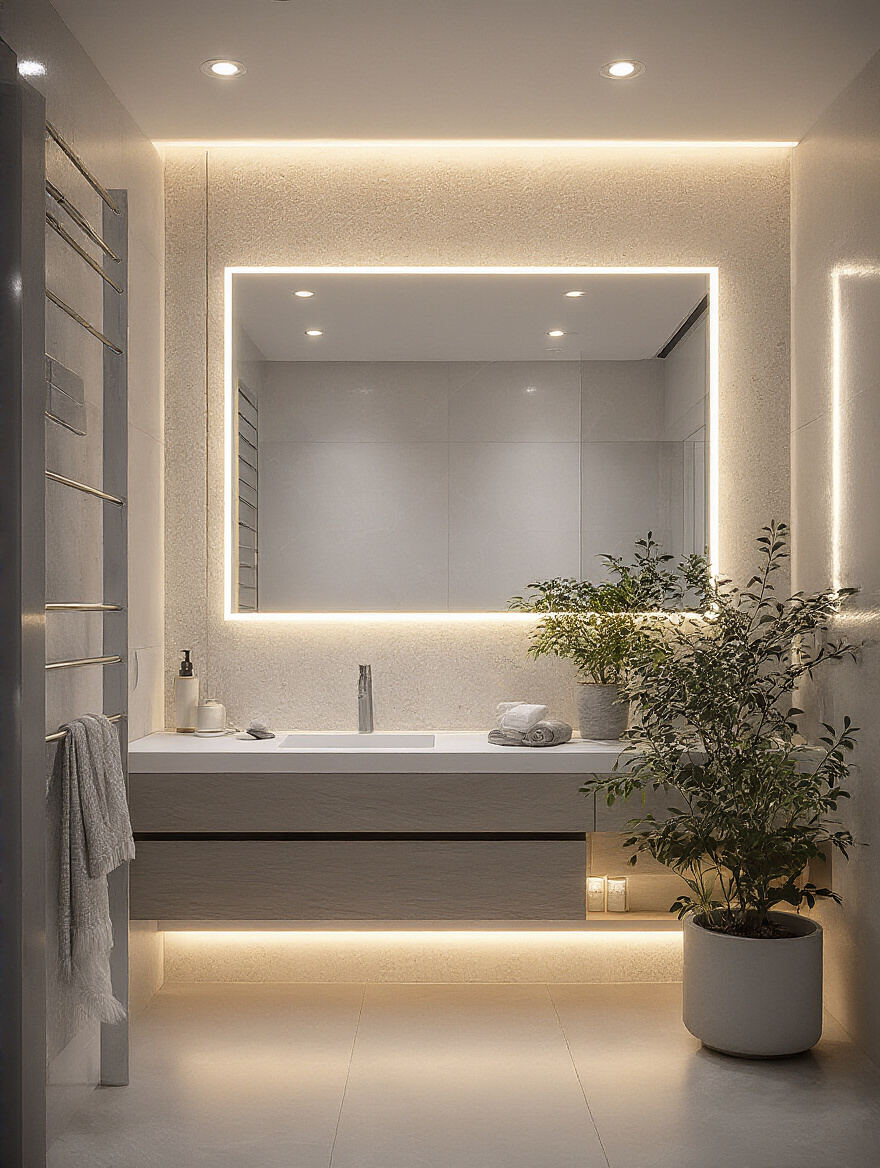
17. Introduce Greenery and Natural Elements for a Refreshing Touch
There isn’t a single room in any house that can’t be improved with a plant. In a bathroom, with its hard surfaces of tile and porcelain, the organic shape and vibrant color of a plant provide a much-needed touch of life and softness. The high humidity of a bathroom is also the perfect environment for many types of houseplants that would struggle elsewhere. Ferns, orchids, and snake plants all thrive in these conditions.
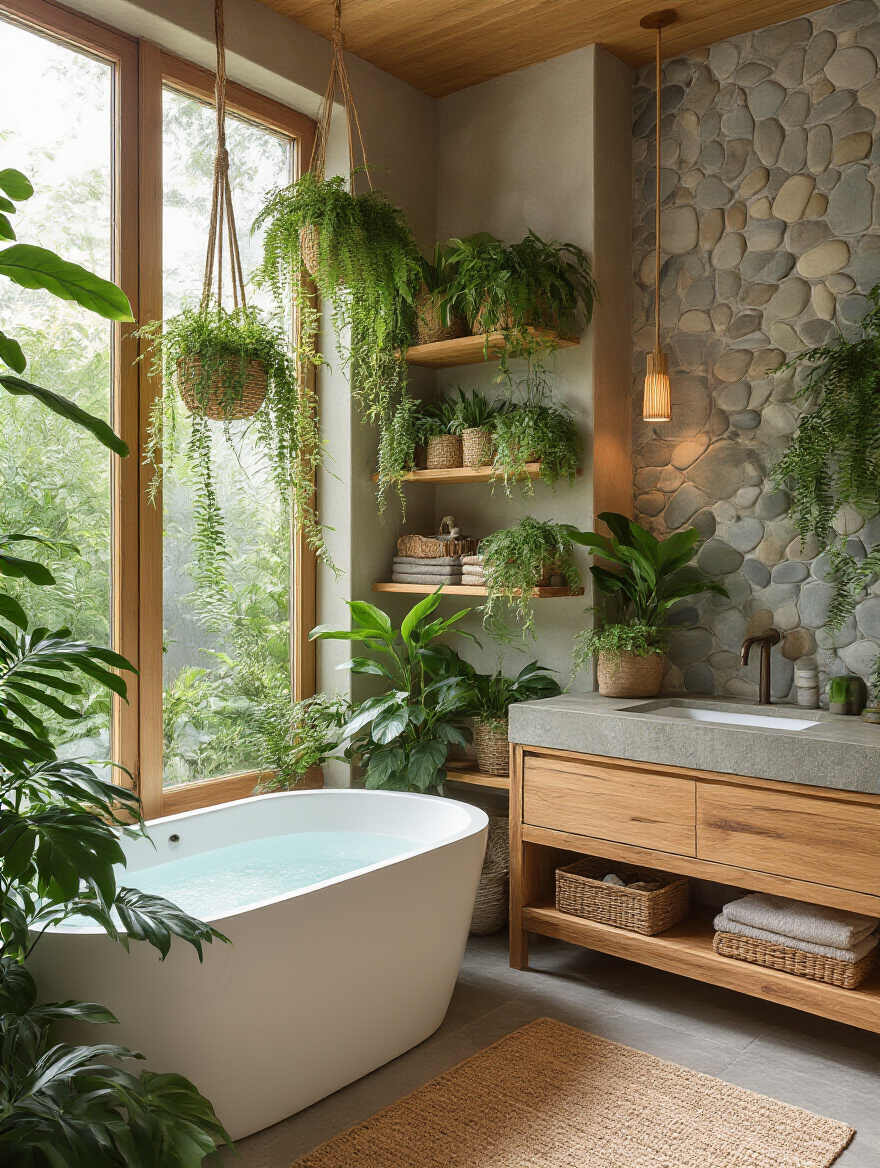
If your bathroom lacks natural light, don’t despair. A simple, high-quality faux plant is better than a sad, dying real one. Beyond plants, think about other natural materials. A small teak stool in the shower adds a warm, spa-like element and is naturally water-resistant. A collection of river stones in a glass vase or a natural sea sponge can add subtle, organic texture. These small touches connect the space to the natural world and enhance that feeling of a serene retreat.
Making a space feel serene also means making it feel safe and effortless to use, which leads to one of the most important design philosophies of all.
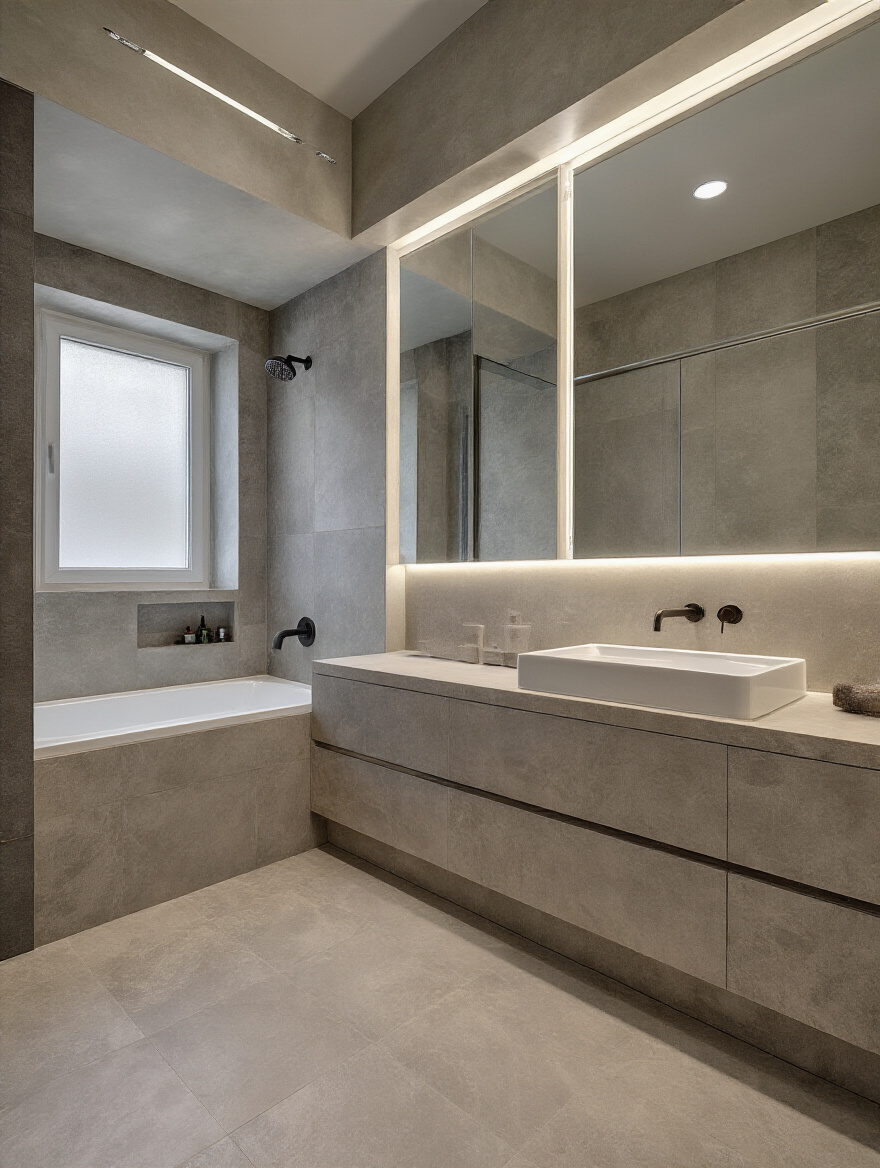
18. Design for Accessibility Without Sacrificing Style (Universal Design)
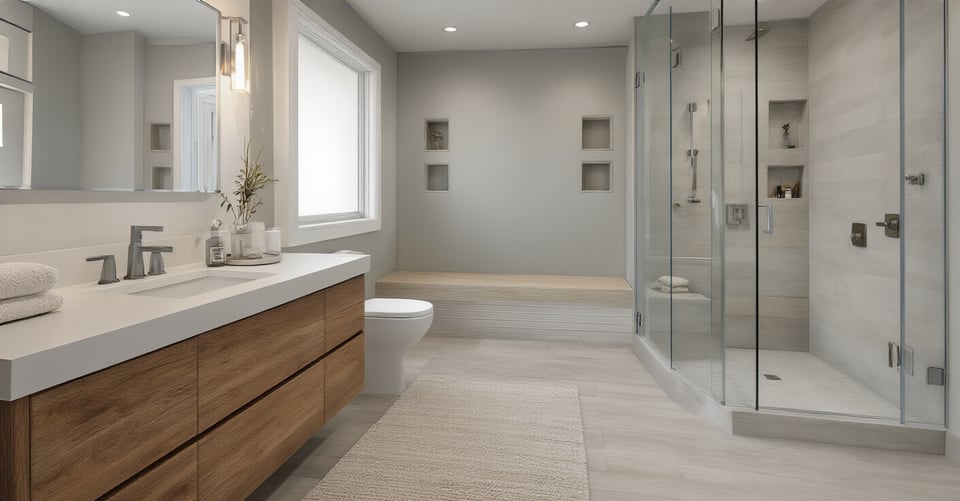
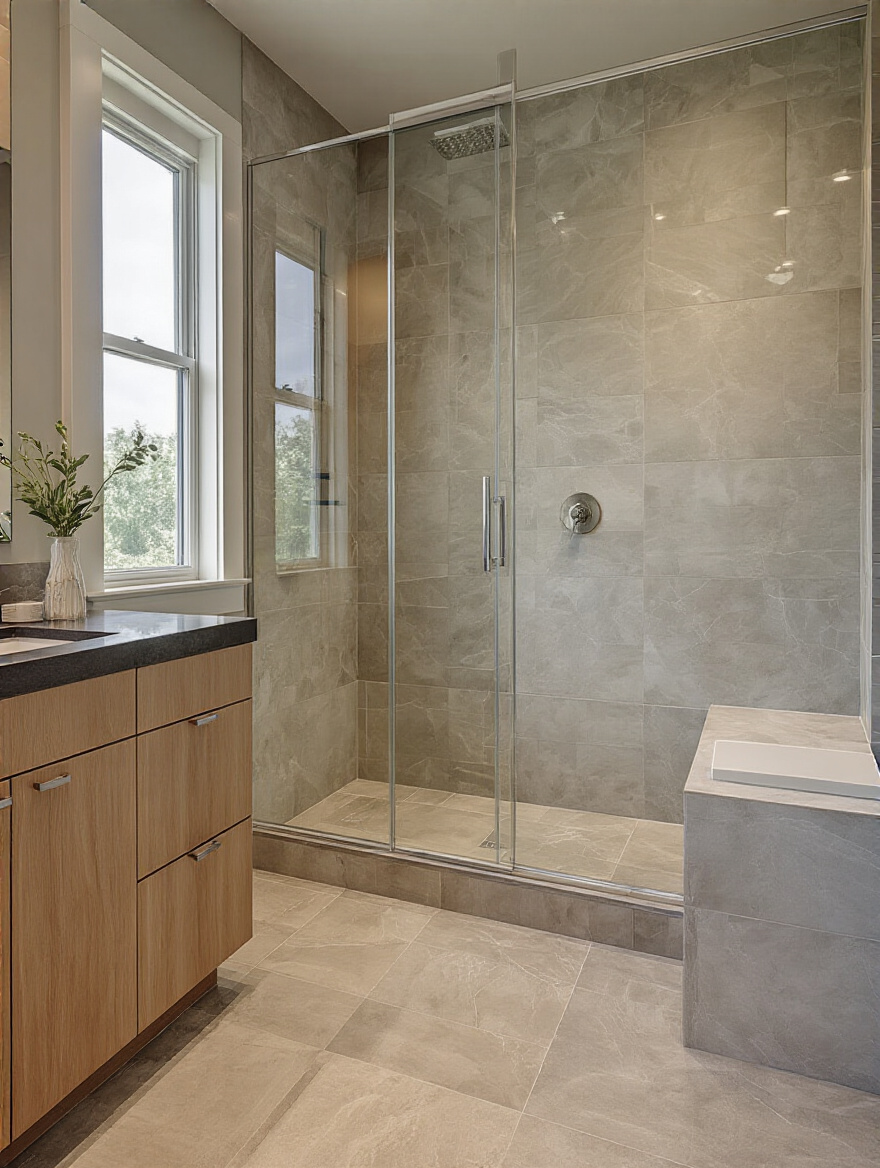
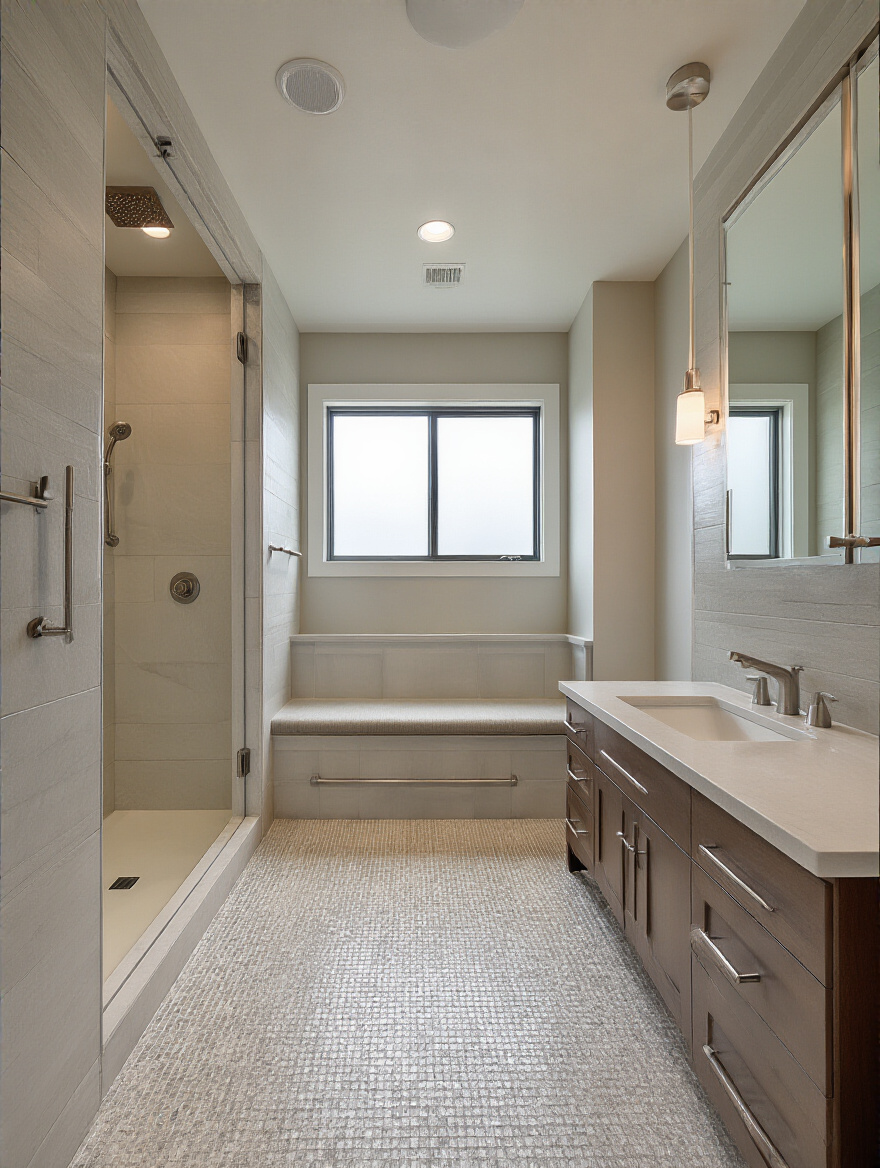
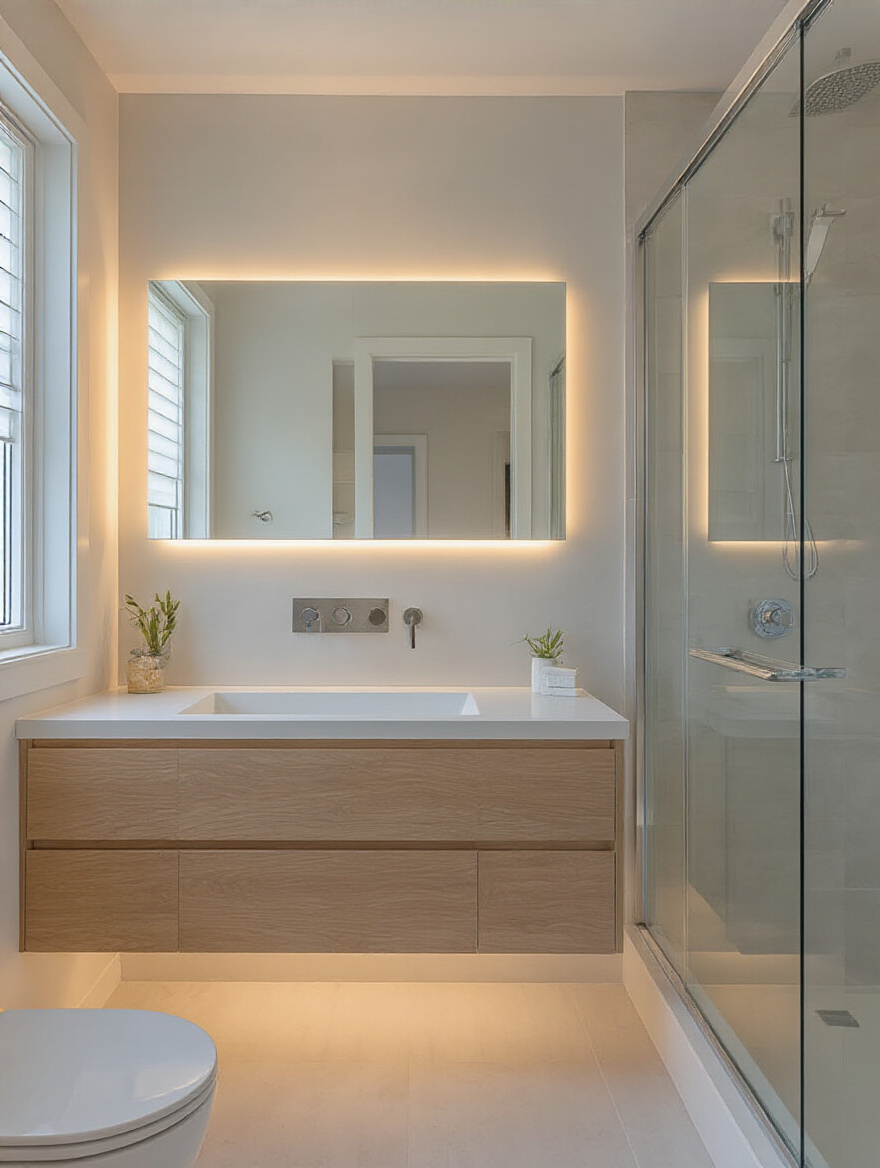
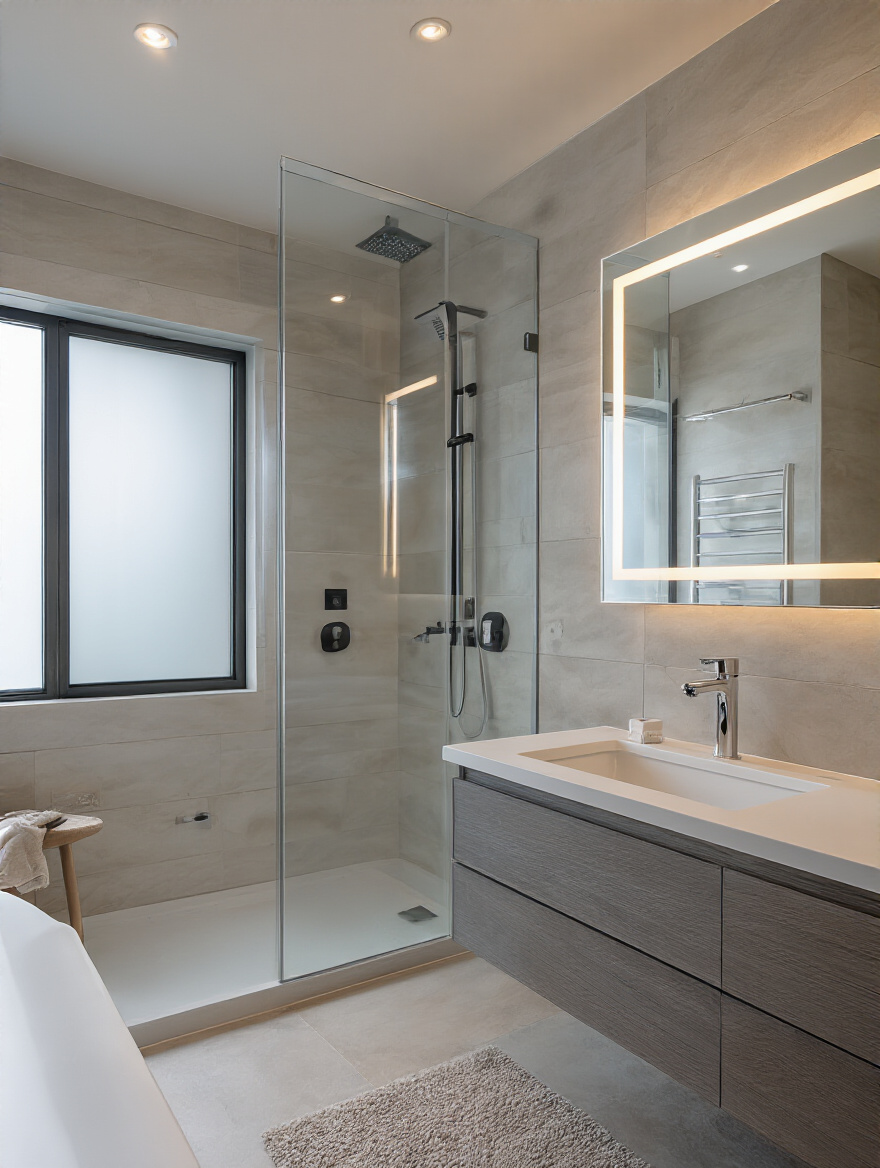
This is something I am incredibly passionate about. Universal design isn’t about making your bathroom look like a hospital. It’s about making smart, beautiful choices that make the space safer and more comfortable for everyone, regardless of age or ability. The best part is that good universal design is often just good design, period. A curbless, walk-in shower, for example, is fantastic for someone with mobility challenges, but it also looks sleek, modern, and makes a small bathroom feel much larger.
Think about planning for the future. While you have the walls open, add solid wood blocking where a grab bar might one day be needed next to the toilet or in the shower. You don’t have to install the bar now, but the support will be there if you ever need it. Today, there are stunningly beautiful grab bars that look like high-end towel bars. Choose lever-style faucet handles over round knobs—they are easier for anyone with arthritis to use, but they also look elegant. A “comfort height” toilet is a few inches taller and more comfortable for most adults. These are small, invisible upgrades that make a world of difference.
This kind of forward-thinking is the essence of a truly brilliant, lasting design. Let’s carry that philosophy into the practical realities of living with and maintaining the space.
Sustained Brilliance: Practicality & Future-Proofing (Part 1)
A successful renovation isn’t finished on the day the contractor leaves. A truly brilliant bathroom is one that is easy to maintain, efficient to run, and healthy to live in. This is about protecting your investment for the long term through smart systems and thoughtful technologies that work behind the scenes to keep your bathroom functioning beautifully.
19. Adopt Smart Cleaning Practices to Preserve Material Integrity
You’ve just invested in beautiful, high-quality materials. The worst thing you can do is ruin them with harsh, inappropriate cleaners. Never use an all-purpose acidic or abrasive cleaner on natural stone like marble or on unlacquered brass. It will permanently etch the surface. The same goes for old porcelain; abrasive powders can dull the original finish over time.
Develop a simple, gentle cleaning routine. For most surfaces, a pH-neutral cleaner and a soft microfiber cloth are all you need. For glass shower doors, a small squeegee used after every shower will prevent hard water spots from ever forming and dramatically reduce cleaning time. For unlacquered brass, if you want to maintain the patina, just use soap and water. If you want to bring back the shine, a specialized brass polish will do the trick. Taking five minutes to research the proper care for each material you choose will add years to its life.
Protecting your materials is key, and so is protecting your wallet and the planet through efficient resource use.
20. Install Energy-Efficient Lighting and Water-Saving Fixtures
You can absolutely have modern efficiency without sacrificing historic style. When selecting your light fixtures, use LED bulbs. They use a fraction of the energy of incandescent bulbs and last for years. Pay attention to the “color temperature.” A warm white bulb (around 2700K) will mimic the soft glow of an old-fashioned incandescent bulb, preserving that vintage ambiance without the vintage energy bill.
The same principle applies to plumbing. The Environmental Protection Agency’s WaterSense label is your guide. You can find beautiful, classically styled toilets and showerheads that meet these high-efficiency standards. A WaterSense toilet uses significantly less water per flush, and a low-flow showerhead provides a great shower experience while conserving a surprising amount of hot water. These choices are good for the environment and will noticeably lower your utility bills over time.
One of the most important modern systems to integrate, however, has nothing to do with saving water or electricity.
21. Prevent Mold and Mildew with Proper Ventilation Systems
Older homes are often not well-ventilated, which can be a huge problem in a bathroom. All the steam from your shower creates the perfect breeding ground for mold and mildew, which can destroy your new paint job and even cause health problems. A high-quality, properly-sized exhaust fan is not optional—it is absolutely mandatory.
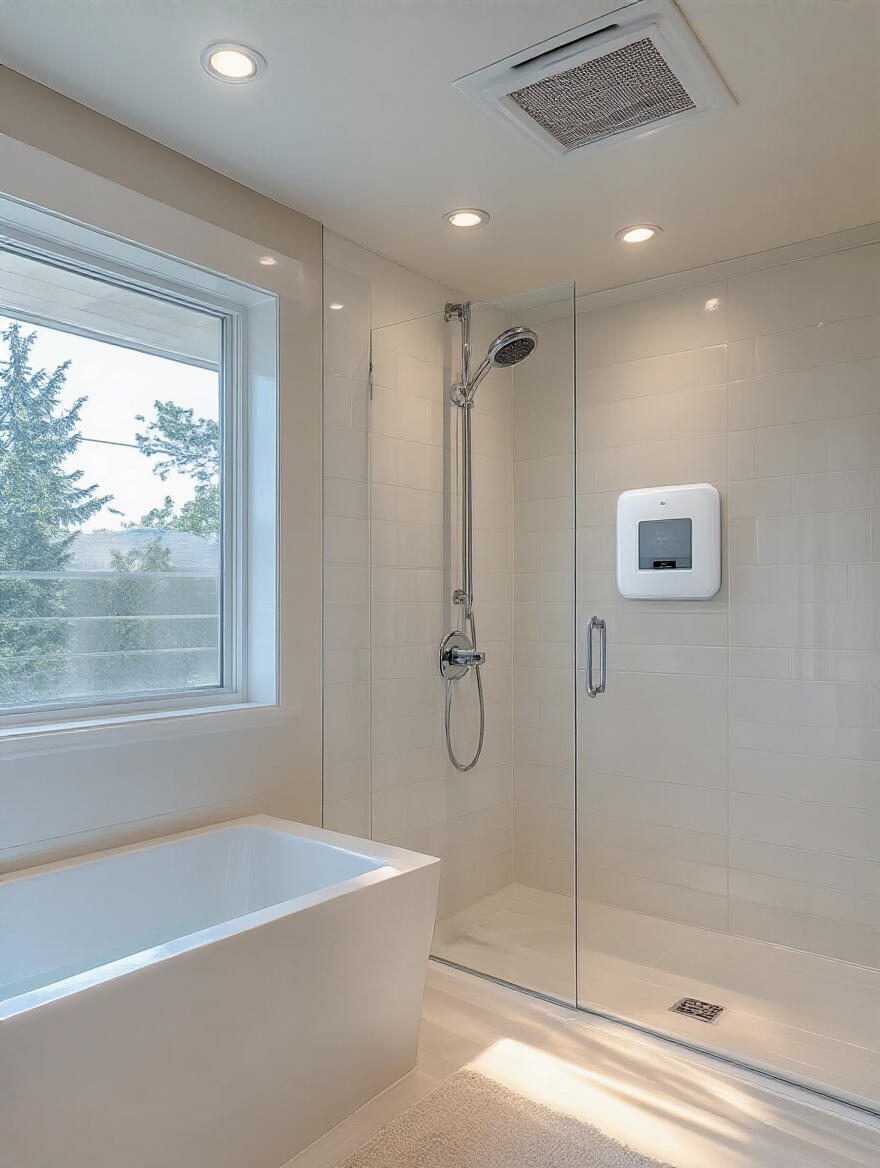
The key is to get one that is powerful but quiet. You want a fan rated by its CFM (cubic feet per minute); a good rule of thumb is to have at least 1 CFM for every square foot of the bathroom. Have it wired to a timer switch so you can let it run for 20-30 minutes after you shower to fully vent all the moist air. There are now very sleek, quiet models that can be seamlessly integrated into the ceiling, or even models that look like decorative light fixtures, so you don’t have to ruin your historic aesthetic.
Just as ventilation is a critical modern upgrade, smart technology can also be thoughtfully woven into your design.
22. Upgrade to Smart Home Technologies for Convenience and Control
The idea of a “smart” historic bathroom might seem like a contradiction, but it doesn’t have to be. The best smart technology is invisible, working behind the scenes to make your life easier. This isn’t about putting a television in your mirror. It’s about subtle, useful integrations. For example, a smart dimmer switch can be programmed to slowly brighten the lights in the morning or automatically dim them late at night. A hidden Bluetooth speaker connected to your phone can let you listen to music or a podcast while you get ready.
You can also integrate a smart thermostat for your heated floors, allowing you to have them turn on automatically before you wake up. Smart leak detectors are another fantastic piece of technology—small sensors you can place under the sink or behind the toilet that will send an alert to your phone if they detect moisture, potentially saving you from a catastrophic flood. The key is to add technology that serves a real purpose, not just for the sake of having a gadget.
These hidden technologies add comfort and convenience, but some of the best modern comforts are the ones you can feel every day.
Sustained Brilliance: Practicality & Future-Proofing (Part 2)
We’re in the home stretch. These final touches are about locking in long-term comfort and creating systems to maintain the serene, organized space you’ve worked so hard to create. Think of this as the insurance policy on your design—the simple additions and routines that ensure your bathroom remains a brilliant sanctuary for years to come.
23. Consider Heated Flooring or Towel Rails for Added Comfort
This is the ultimate “invisible luxury.” There are few things in life better than stepping out of a warm shower onto a heated tile floor on a cold winter morning. Radiant floor heating is a wonderful modern amenity that can be installed under your new tile without affecting the historic look of the room at all. It provides a gentle, consistent heat that is incredibly comfortable and energy-efficient.
A heated towel rail is another fantastic addition. Not only does it provide the simple joy of a warm towel, but it also helps dry your towels out completely between uses, preventing them from getting musty and reducing the growth of bacteria. You can find them in beautiful, classic designs with polished nickel or chrome finishes that will blend seamlessly with your other period-appropriate fixtures. These are the kinds of details that transform a bathroom from a place you have to be into a place you want to be.
But all the luxury in the world won’t matter if the space is a mess. That brings us to our final, crucial point.
24. Implement a Routine for Decluttering and Organization Maintenance
You’ve designed beautiful, smart storage solutions. Now you have to use them. The most perfectly designed bathroom can be ruined by clutter in a matter of weeks. The secret to maintaining that day-one serenity is to create a simple, sustainable routine. Adopt the “one in, one out” rule: every time you buy a new product, an old one has to go. This single rule will prevent the slow creep of accumulation.
Schedule a quick “5-Minute Tidy” at the end of each day. Put things back in their drawers, wipe down the counter, and hang the towels. Once a month, take 15 minutes to go through your medicine cabinet and drawers and purge anything that’s empty, expired, or unused. This isn’t about massive, soul-crushing organization projects. It’s about small, consistent habits that prevent clutter from ever getting a foothold. It’s the daily stewardship that keeps your sanctuary serene.
Conclusion
There you have it. Creating a bathroom in a historic home is a delicate dance between preservation and modernization. It’s about listening to the story the house wants to tell and adding a new chapter that is respectful, functional, and beautiful. It’s not about trends or what you see on a home makeover show; it’s about making choices that feel authentic to the home’s character and right for your life.
Your home is more than just an asset; it’s a piece of history entrusted to your care. By making thoughtful, informed choices, you’re not just renovating a room—you’re honoring a legacy. You’re proving that modern comfort and historic soul can not only coexist but can actually enrich each other. Now go create a space that will make you happy every single day, a space that feels like it has always been there, just waiting for you.