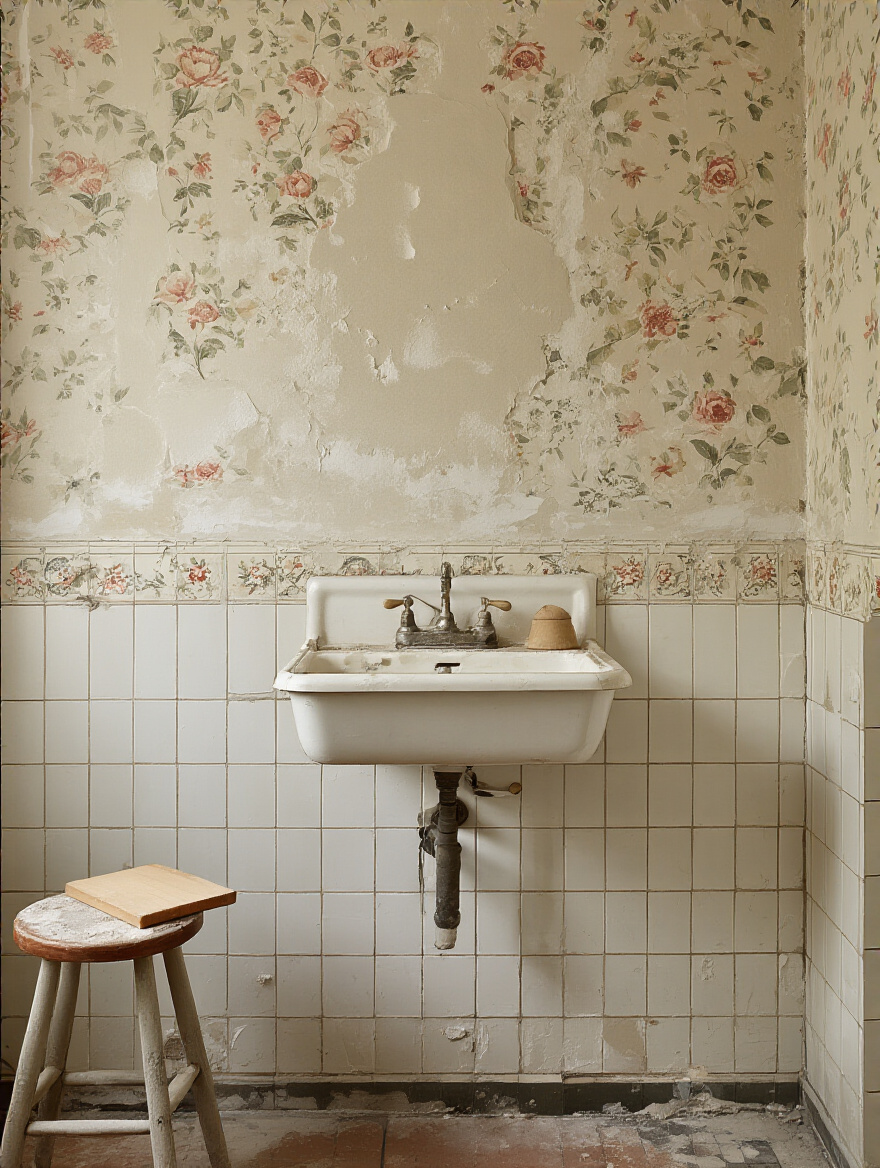
Can we talk about why so many people get vintage bathrooms wrong? I’ve walked into countless historic homes where the owner has found the most exquisite, period-perfect wallpaper, only to see it peeling away from the wall a year later, betrayed by steam and humidity. They thought a pretty pattern was enough. It’s not.
What everyone seems to forget is that a bathroom is a machine for living—and a particularly brutal one at that. It’s a battleground of moisture, temperature swings, and daily use. Applying delicate, historic design to that environment isn’t just decoration; it’s a technical challenge. Get it right, and you create a breathtaking sanctuary that feels like a step back in time. Get it wrong, and you’ve just invested in expensive, mold-prone confetti. So let’s talk about how to get it right.
Laying the Foundation: Vintage Wallpaper Planning & Preparation
This is the phase everyone wants to rush through to get to the fun part, and it’s precisely why most projects fail. The choices you make before you even think about unrolling that beautiful paper will determine whether it lasts for two years or twenty. Think of it as restoring a classic car—you don’t put a new paint job on a rusty frame.
1. Assessing Bathroom Humidity Levels to Preserve Wallpaper Lifespan
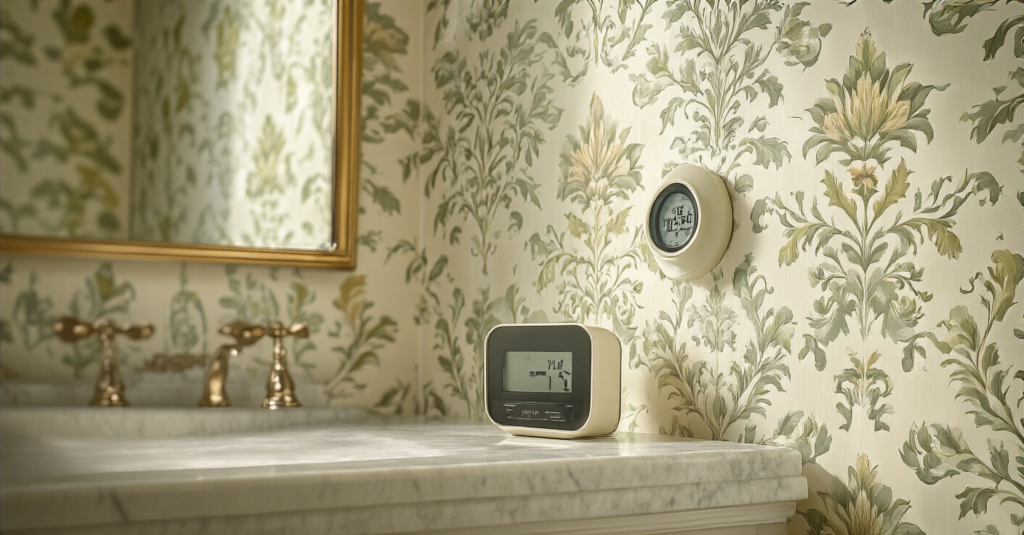
You know what people always ask me? “My bathroom has a fan, is that enough?” Probably not. An undersized, poorly vented, or infrequently used fan is just noise. The real story is what’s happening in the air long after you’ve toweled off. High humidity is the silent killer of wallpaper. It reactivates paste, invites mold, and makes the paper swell and shrink.
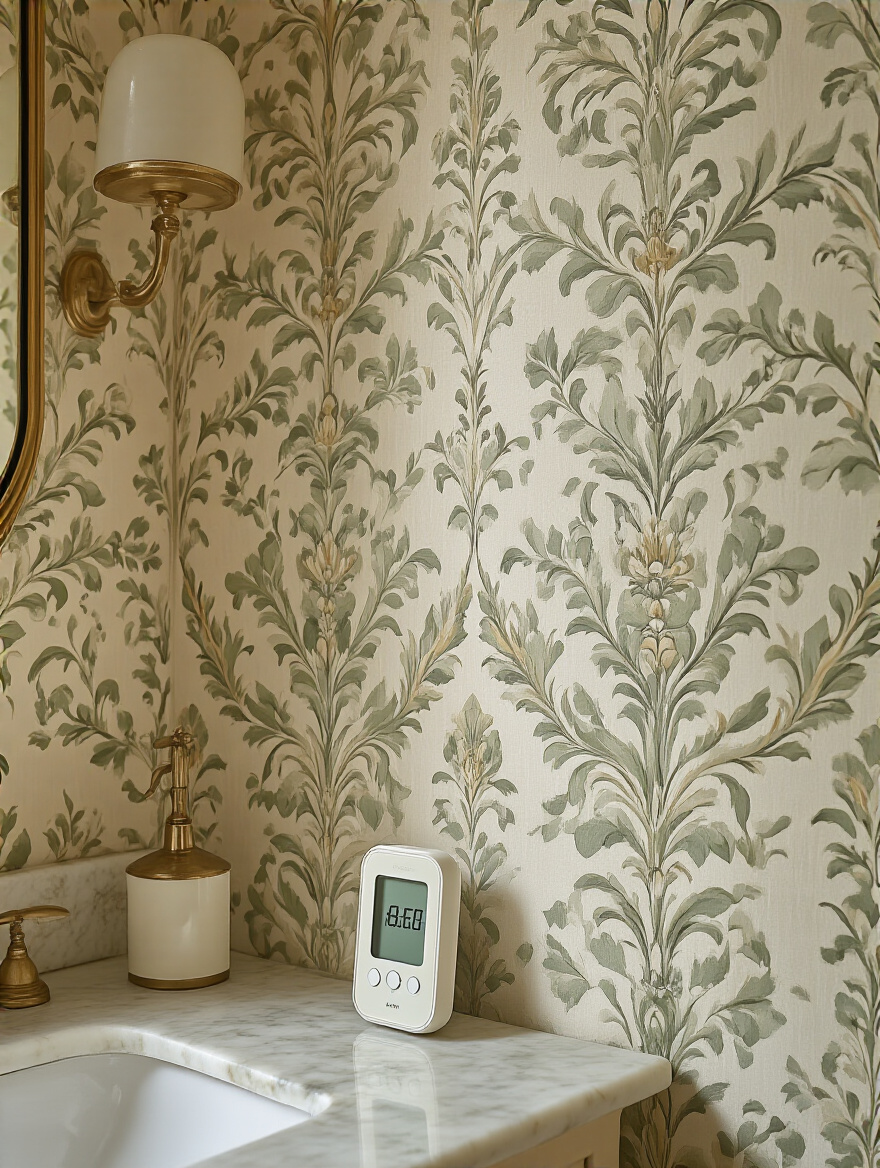
To get a real sense of your room’s environment, buy a cheap digital hygrometer and stick it on a shelf. You might be shocked to see it spike to 90% during a shower and linger above 60% for an hour after. The goal is to get it back under 50% as quickly as possible. This isn’t just a suggestion; it is the fundamental requirement for making your wallpaper last.
2. Defining Your Desired Vintage Era for Authentic Bathroom Ambiance
Choosing a vintage wallpaper without considering your home’s era is like putting tail fins on a Ford Model T. It just doesn’t compute. Your home has a story, an architectural language. Your job is to listen to it. A 1920s Arts and Crafts bungalow will sing with a William Morris-style botanical, while a 1950s ranch begs for a playful geometric or an atomic-era abstract.
Don’t just search for “vintage.” Search for “Art Deco patterns,” “Victorian damask,” or “Mid-Century Modern geometrics.” This focus doesn’t limit you; it liberates you from a world of infinite, disjointed choices. It helps you create a space that feels authentic and intentional, not like a costume party. Your fixtures, your tile, and your wallpaper should all be in conversation with each other.
3. Measuring Your Bathroom Accurately for Efficient Wallpaper Quantity Estimation
Here’s the shortcut I wish someone had told me when I started out: The number that matters most isn’t the square footage of your wall, it’s the “pattern repeat.” You’ll find this number on the wallpaper label, and it tells you how far down the paper you have to go before the pattern starts over. A large repeat (say, 24 inches) means you will waste a lot of paper to make sure every strip lines up perfectly.

Don’t just measure your walls and divide by the roll size. That’s amateur hour. Use an online wallpaper calculator that specifically asks for the pattern repeat. Then, after all that, add 15-20% to your final number. Trust me. There is nothing more soul-crushing than being one strip short on a dye lot that’s no longer produced. That extra roll is the cheapest insurance policy you’ll ever buy.
4. Preparing Wall Surfaces: Achieving a Smooth Base for Flawless Application
I can’t stress this enough: wallpaper will not hide your wall’s imperfections. In fact, its smooth, uniform surface will highlight every single bump, crack, and dip. The preparation you do here is 90% of the job. You need to spackle every hole, sand it perfectly smooth, wipe it down, and then—this is the part people skip—you must prime it.
And not with leftover paint primer. You need a dedicated wallpaper primer, often called a “sizer.” This does two critical things. First, it seals the wall so the paste doesn’t just soak into the drywall, creating a stronger bond. Second, and just as important, it creates a barrier that allows the wallpaper to be removed someday without destroying your walls. It’s a courtesy to your future self, or the next steward of your historic home.
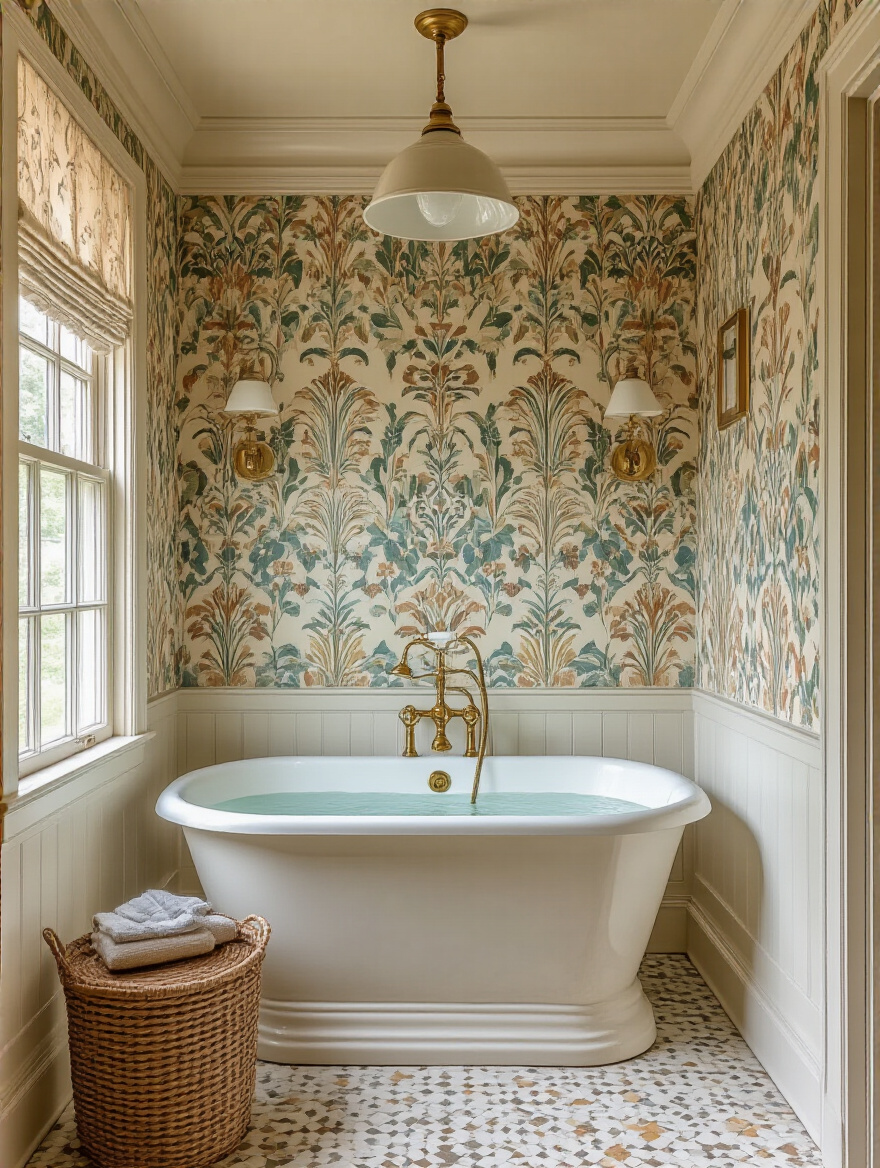
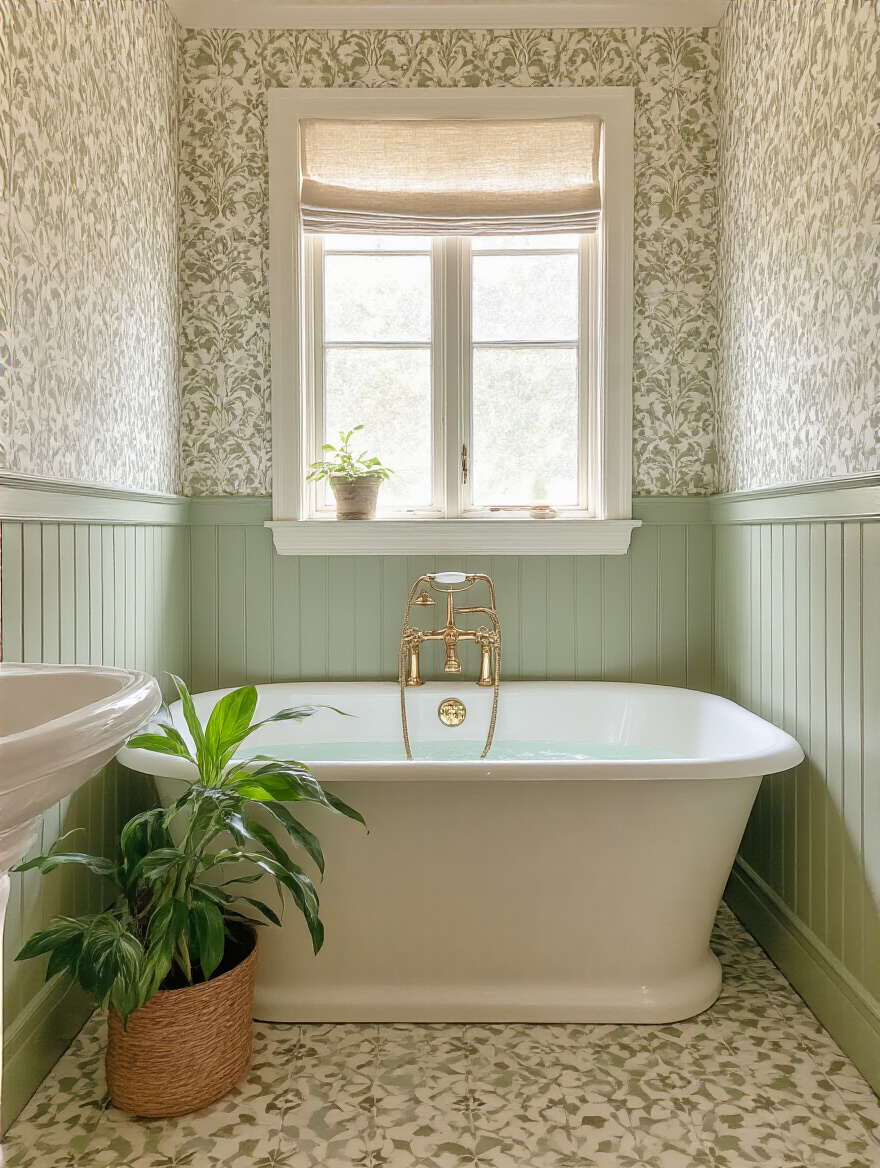
5. Considering Existing Bathroom Fixtures to Complement Vintage Patterns
I once saw a client install a stunning, bold Art Deco wallpaper behind a delicate, country-style pedestal sink from a completely different era. They fought each other for attention, and the whole room felt chaotic. The wallpaper isn’t the only star of the show; it’s part of an ensemble cast. Your sink, toilet, tub, and faucets have a voice, and the wallpaper should harmonize with them.
Before you fall in love with a pattern, take pictures of your existing fixtures. Look at their lines. Are they sharp and geometric, or soft and curving? What metal are the finishes—polished chrome, warm brass, matte black? Find a wallpaper that picks up on those shapes and colors. A geometric pattern can beautifully echo hexagonal floor tile, while a floral can soften the hard lines of a square vanity.
6. Setting a Realistic Budget for Quality Vintage Wallpaper and Installation
Everyone focuses on the cost per roll of the wallpaper, but that’s only part of the equation. Your true budget needs to account for the hidden costs: high-quality primer, specialized heavy-duty paste, new razor blades (you’ll need more than you think), and potentially, the cost of a professional installer.
If you’re working with genuine vintage paper or a high-end reproduction that costs $200 a roll, is your amateur hanging skill really the place you want to save money? A professional paperhanger is an artist. They can navigate crooked walls in old houses, match complex patterns flawlessly, and deliver a result that elevates your expensive material. Skimping on installation is like buying a Savile Row suit and hemming it yourself with a glue gun.
Choosing & Applying Your Timeless Bathroom Wallpaper
Alright, your walls are prepped and your plan is solid. Now comes the moment of truth: choosing the right paper and getting it on the wall in a way that will survive the steamy, tough environment of a real bathroom. This is where modern materials science meets historic aesthetics.
7. Identifying Moisture-Resistant Wallpaper Materials Suitable for Bathrooms
This is the big one. Not all wallpaper is created equal. Using traditional, uncoated paper in a full bathroom is malpractice. It will absorb moisture, stain, and eventually fail. What you need is a paper with a defensive shield. Your best bet is solid vinyl, which is essentially waterproof and scrubbable, making it perfect for high-moisture zones.
Vinyl-coated paper is a good second choice; it has a protective layer over a paper backing and can handle moderate humidity, making it suitable for a well-ventilated bathroom or a powder room. Read the product description carefully. If it doesn’t explicitly say “suitable for bathrooms,” “scrubbable,” or “moisture-resistant,” walk away. Don’t let a beautiful pattern seduce you into making a poor technical choice.
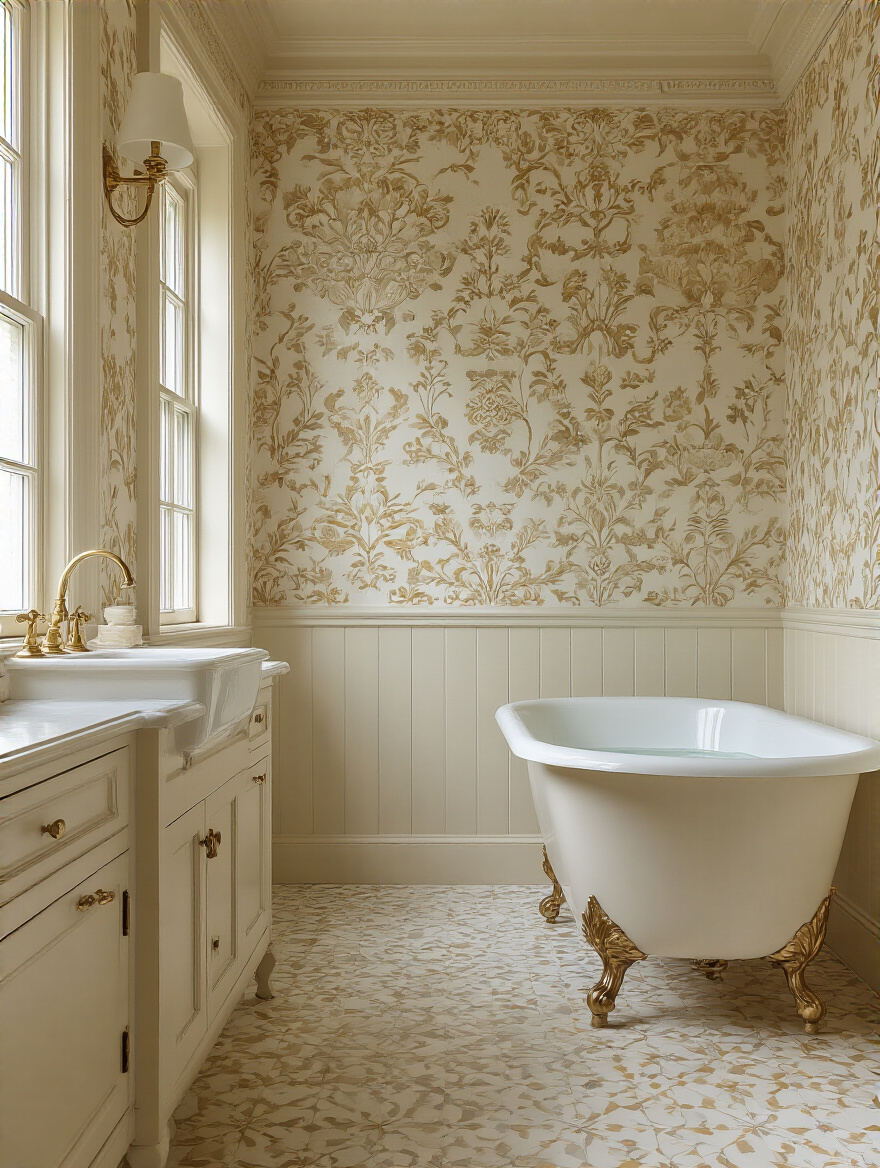
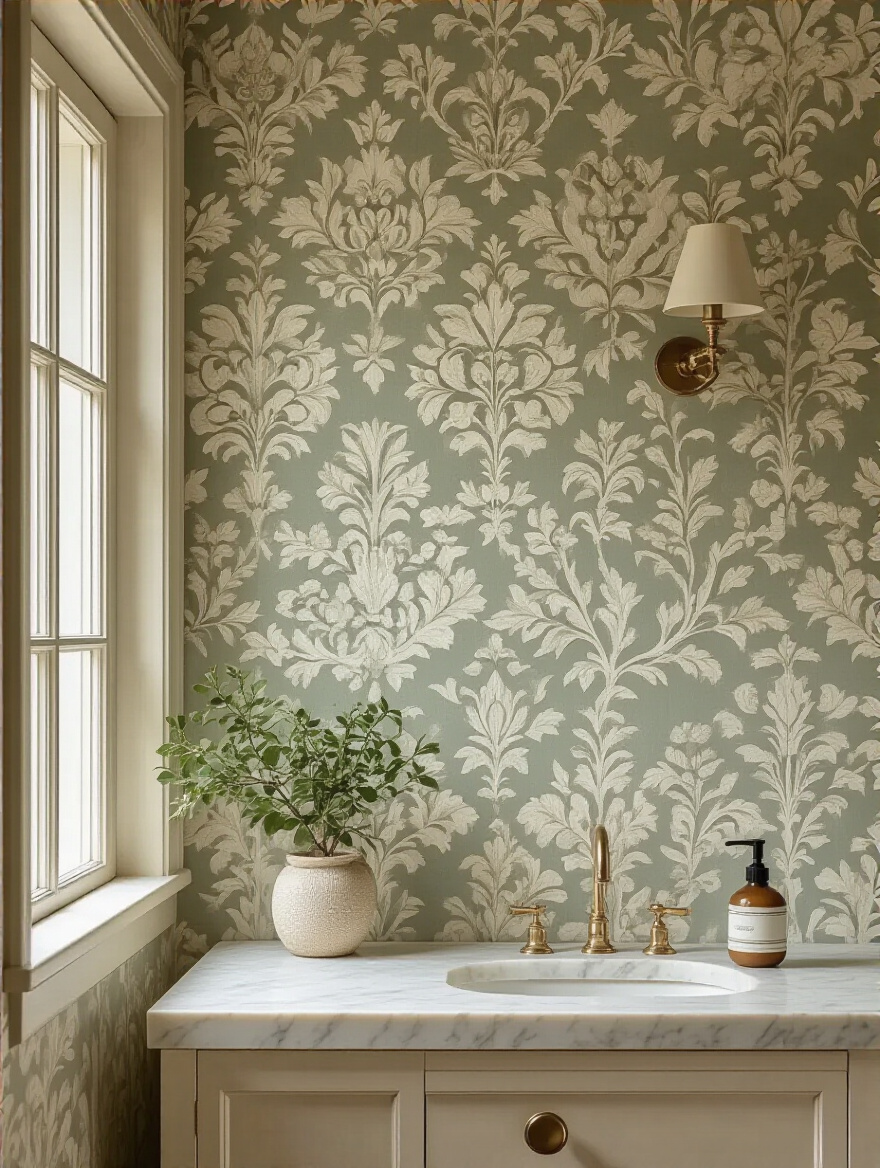
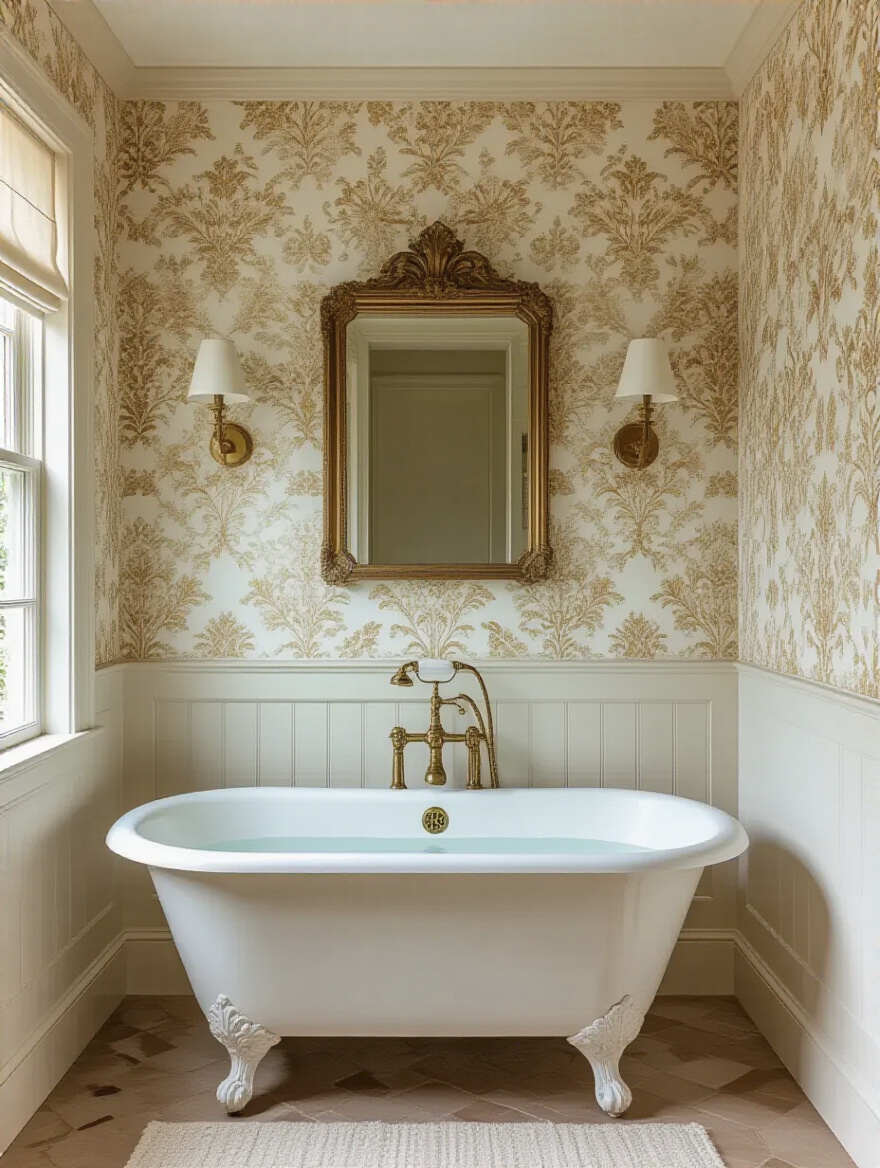
8. Exploring Classic Vintage Wallpaper Patterns: Damask, Floral, Geometric
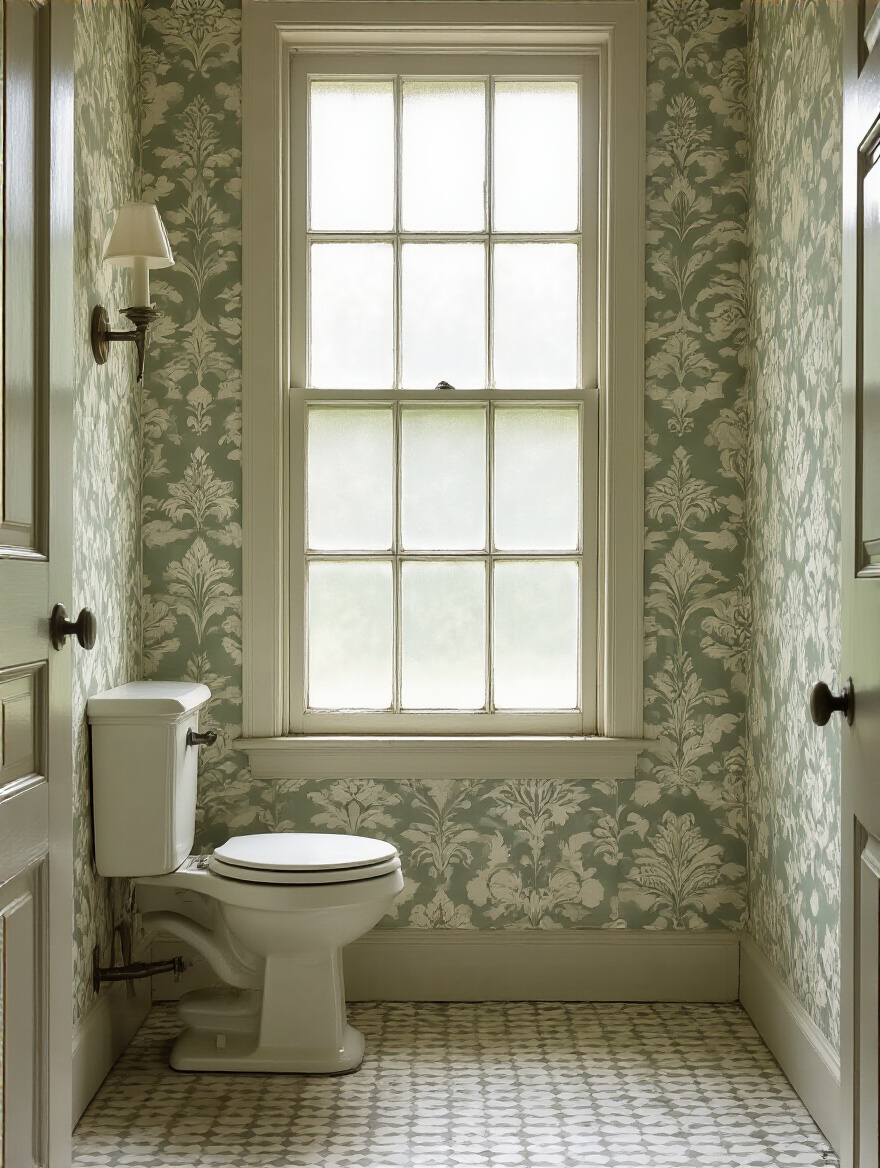
Let’s quickly translate the language of vintage patterns so you can find what speaks to you. Damask patterns are those elegant, tone-on-tone woven designs you associate with formal, historic interiors like Victorian or Neoclassical homes. They add texture and sophistication without screaming for attention.
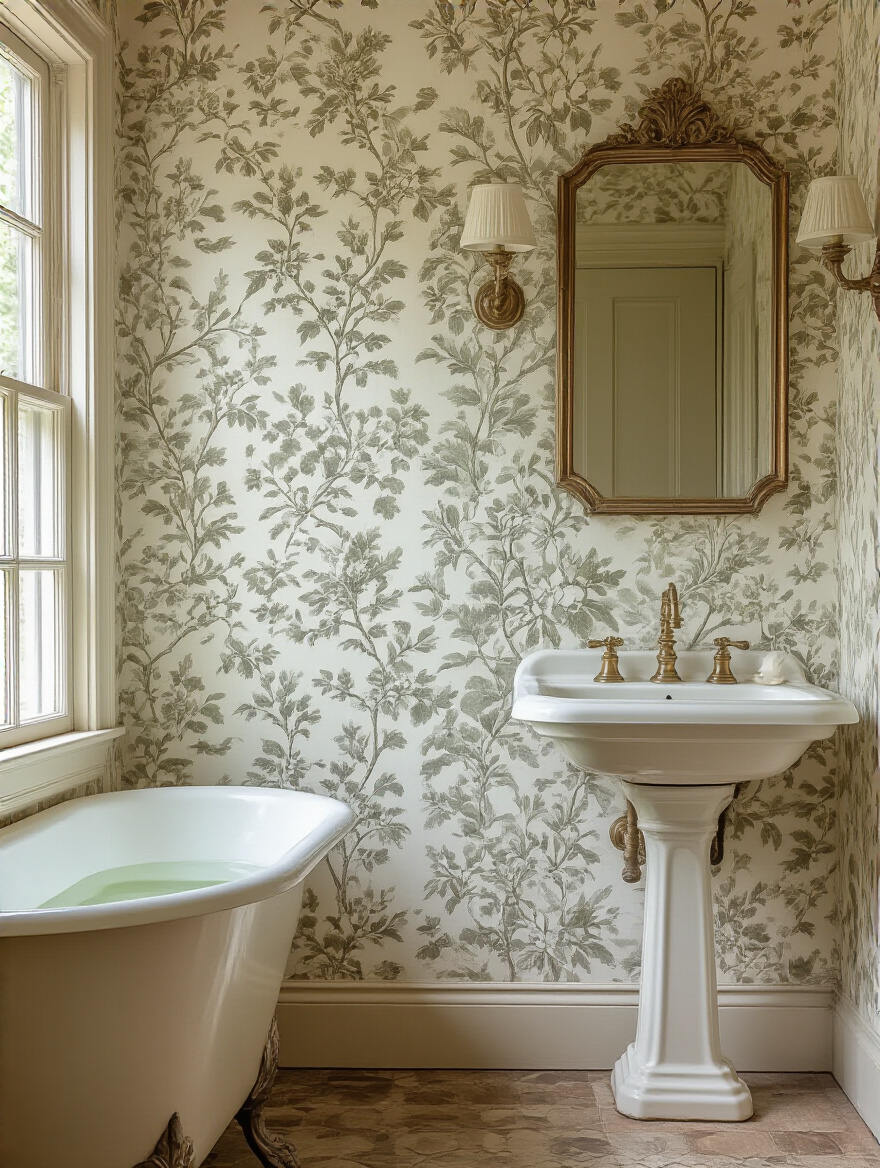
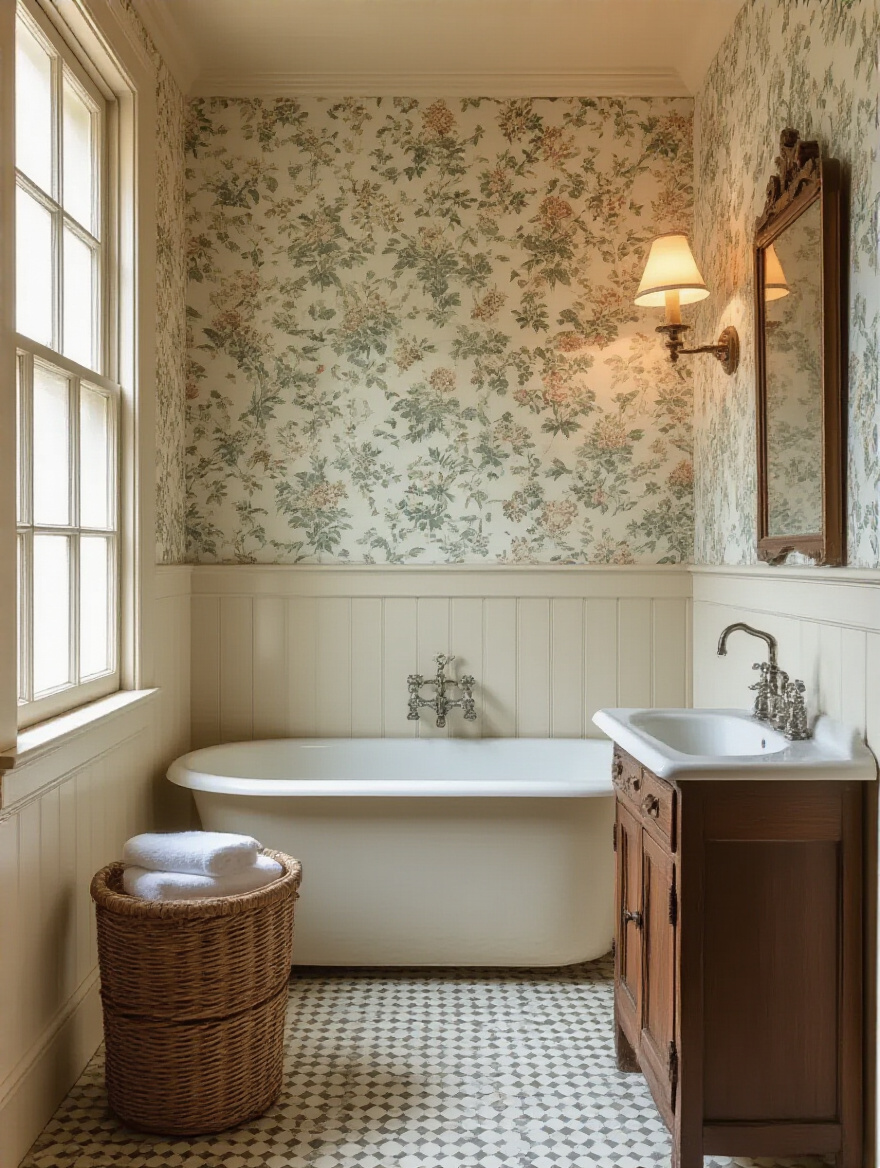
Florals are incredibly diverse. You have the dense, romantic botanicals of the Victorian era, the sinuous, flowing lines of Art Nouveau, and the charmingly simple florals of the 1930s and ’40s. Geometrics are the bold, confident patterns of the Art Deco and Mid-Century Modern periods. Think sharp angles, repeating fans, sunbursts, and interlocking shapes. Each one evokes a very specific feeling and time period.
9. Sourcing Authentic Reproduction or Genuine Vintage Wallpaper Designs
You have two main paths here. The first is sourcing high-quality reproductions from companies that specialize in historical patterns. This is often the safest bet for a bathroom. The paper is new, durable, you can order as much as you need, and it often comes in moisture-resistant materials. You get the vintage look with modern performance.
The second path is the thrill of the hunt: finding genuine vintage wallpaper. This stuff has a soul you can’t replicate—the colors have a unique depth, and the texture is authentic. But it’s a gamble. It can be brittle, there’s a finite supply (so no mistakes allowed!), and it’s almost never moisture-resistant. My advice? Reserve true vintage finds for a low-traffic powder room and use a fantastic reproduction for the main, steamy family bathroom.
10. Mastering Wallpaper Adhesion Techniques for High-Humidity Environments
The adhesive you use is just as important as the wallpaper itself. Do not, under any circumstances, use a standard, all-purpose wallpaper paste. It’s simply not formulated to withstand constant moisture assault. You need to go to a specialty paint or wallpaper store and ask for a heavy-duty, mold- and mildew-resistant adhesive.
When you hang the paper, pay special attention to the seams. Use a seam roller to press them down firmly, creating a tight seal that steam can’t penetrate. Some pros even run a tiny, invisible bead of clear decorator’s caulk along the top edge where the paper meets the ceiling or shower tile for an extra layer of protection. This is how you build a defense system, not just a decoration.
11. Professional vs. DIY: Deciding Your Vintage Wallpaper Installation Approach
Be honest with yourself. Have you ever hung wallpaper before? Is your bathroom a perfect square, or is it full of weird angles, windows, and built-ins? Is your chosen pattern a simple stripe or an incredibly complex half-drop repeat that requires monk-like focus? Answering these questions will tell you whether to DIY or hire a pro.
A client once tried to hang a very expensive, delicate 1940s floral paper themselves. They ruined two rolls before calling me in a panic. The cost of hiring me, plus the cost of replacing the ruined paper, was double what it would have cost to just hire me from the start. A professional isn’t a luxury; for a high-stakes project in an old home, they are an essential part of the investment.
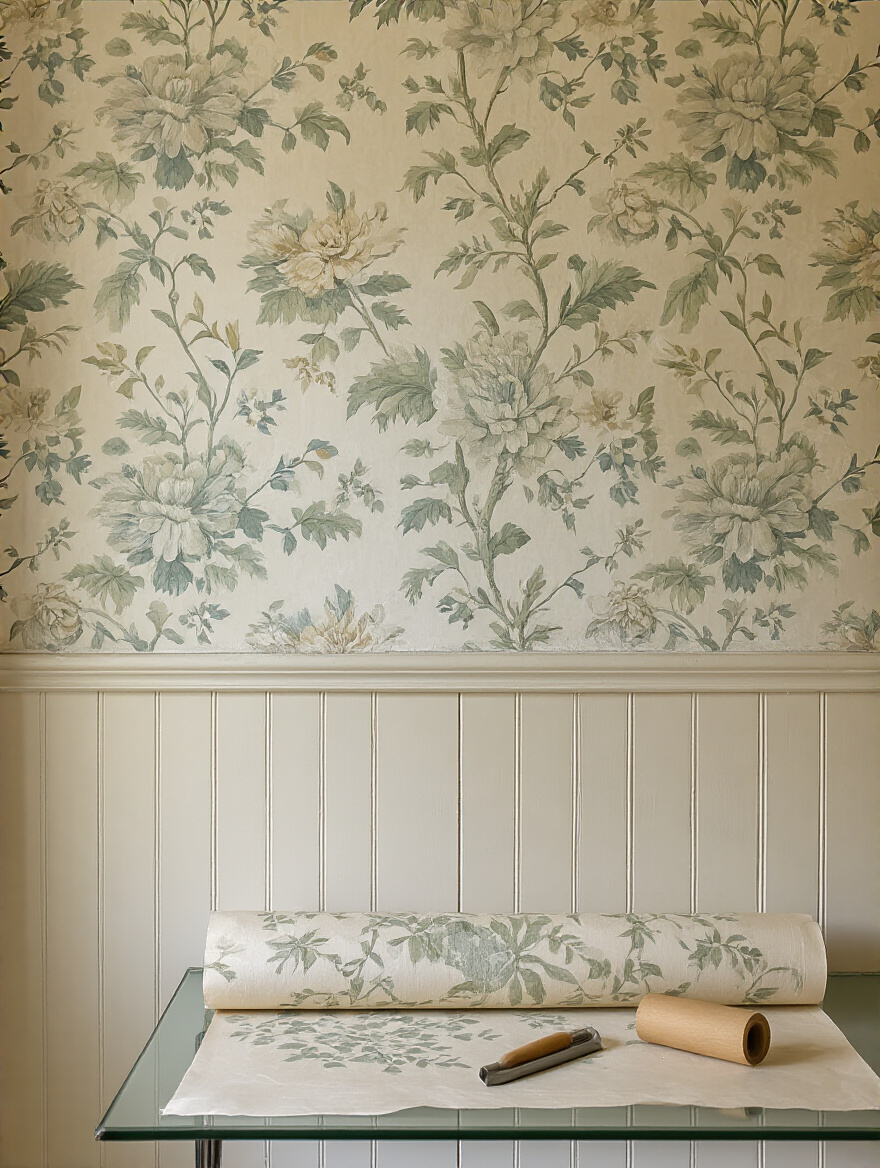
12. Matching Patterns Seamlessly: Achieving an Uninterrupted Vintage Look
The secret to making wallpaper look like a seamless, continuous mural is starting with a perfectly vertical line. Don’t trust your corner, your door frame, or your ceiling. They are all lying to you in an old house. Use a plumb line or a long level to draw a dead-straight vertical line for your first strip. If that first piece is perfect, every subsequent piece has a fighting chance.
And when you cut your strips, lay them out on the floor side-by-side to ensure the pattern flows correctly before you apply any paste. Number the back of each strip in pencil so you don’t get them out of order. This meticulous prep work on the ground saves you from utter heartbreak on the wall. This is a game of inches, and patience is your greatest tool.
Conclusion
Bringing vintage wallpaper into your bathroom is more than just a design choice; it’s an act of stewardship. You are curating a piece of history and blending it with the demands of modern life. It requires diligence, a respect for materials, and an understanding that the most important work happens before the beautiful pattern ever touches the wall. From humidity checks to the final seam roll, every step is a commitment to creating something not just beautiful, but enduring.
So embrace the process. Do the research, honor your home’s architecture, and invest in the right materials and expertise. When you step into that finished room—a jewel box of color and pattern that perfectly balances historic charm with modern resilience—you’ll know it was worth every bit of the effort. You haven’t just decorated a room; you’ve given it back its soul.