Picture this: You’re standing at your bedroom window, looking out at the garden you’ve so carefully cultivated. The morning light is hitting that one bare wall behind your bed, and it just feels… empty. As someone who spends his days designing spaces that flow from the inside out, I can tell you that a disconnect like that can throw off the entire feel of your home. The link between your personal sanctuary inside and the natural one outside feels broken. And that’s what we’re here to fix.
You asked me about creating an accent wall, and honestly, it’s one of the best ways to bring life, texture, and a sense of place into a room. It’s like planting a magnificent specimen tree in your garden; it becomes the anchor, the focal point that everything else relates to. But it’s also where people make a lot of mistakes. So let’s skip the corporate speak and talk about how to do this right, making that wall an extension of your style, not just a trendy afterthought.
Foundation: Smart Planning for Your Accent Wall (Part 1)
This is the part everyone wants to rush through, but it’s just like planning a garden—get the foundation wrong, and nothing will thrive. You wouldn’t plant a sun-loving perennial in deep shade, and you can’t just slap wallpaper on any old wall and expect magic. A little bit of thoughtful planning now saves a world of headache later.
1. Analyze Room Dimensions & Natural Light Exposure
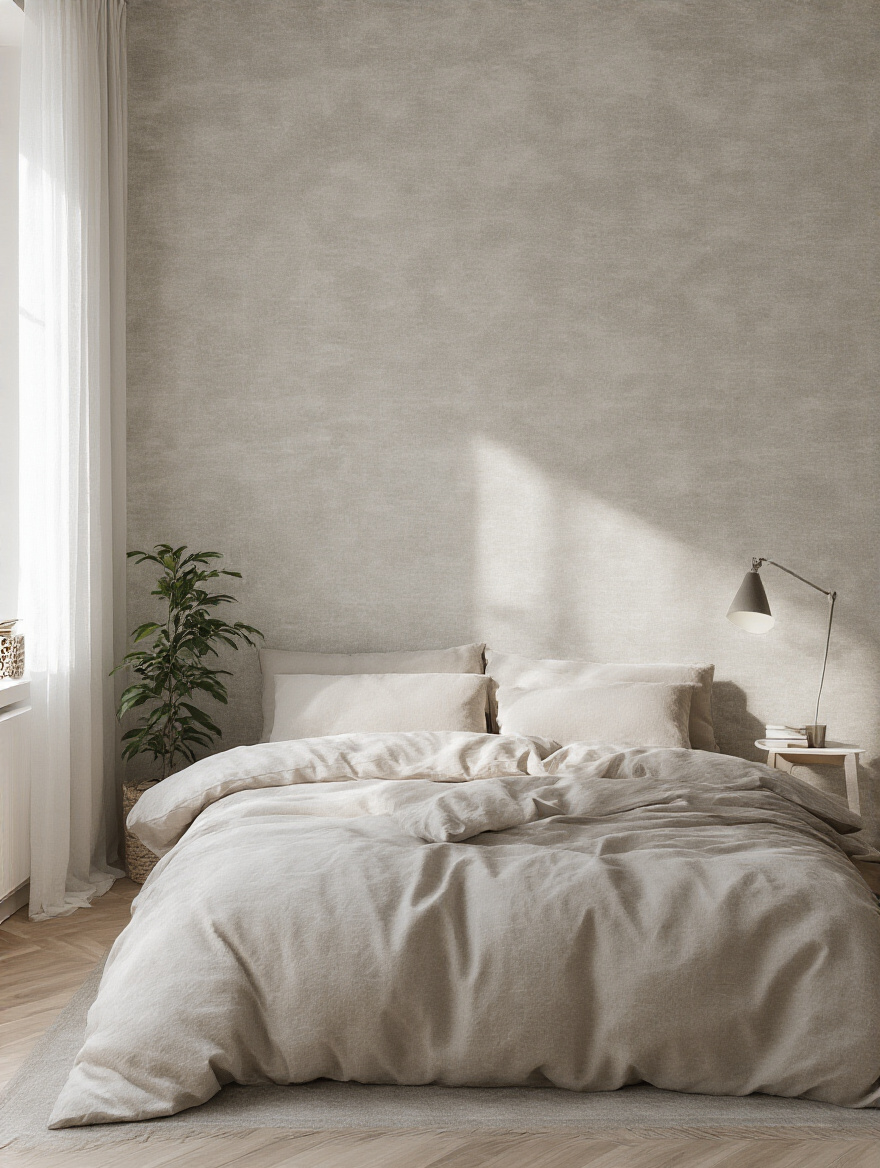
Think of your wallpaper like a plant. It needs the right conditions to look its best. Before you fall in love with a pattern, spend a day just watching the light in your bedroom. Where does it fall in the morning? How does it change in the afternoon? That light is going to be the lifeblood of your accent wall, and it can dramatically change how colors and textures appear. A gorgeous, moody botanical print might look stunning online, but in a small, north-facing room, it can quickly turn into a dark, energy-sucking void.
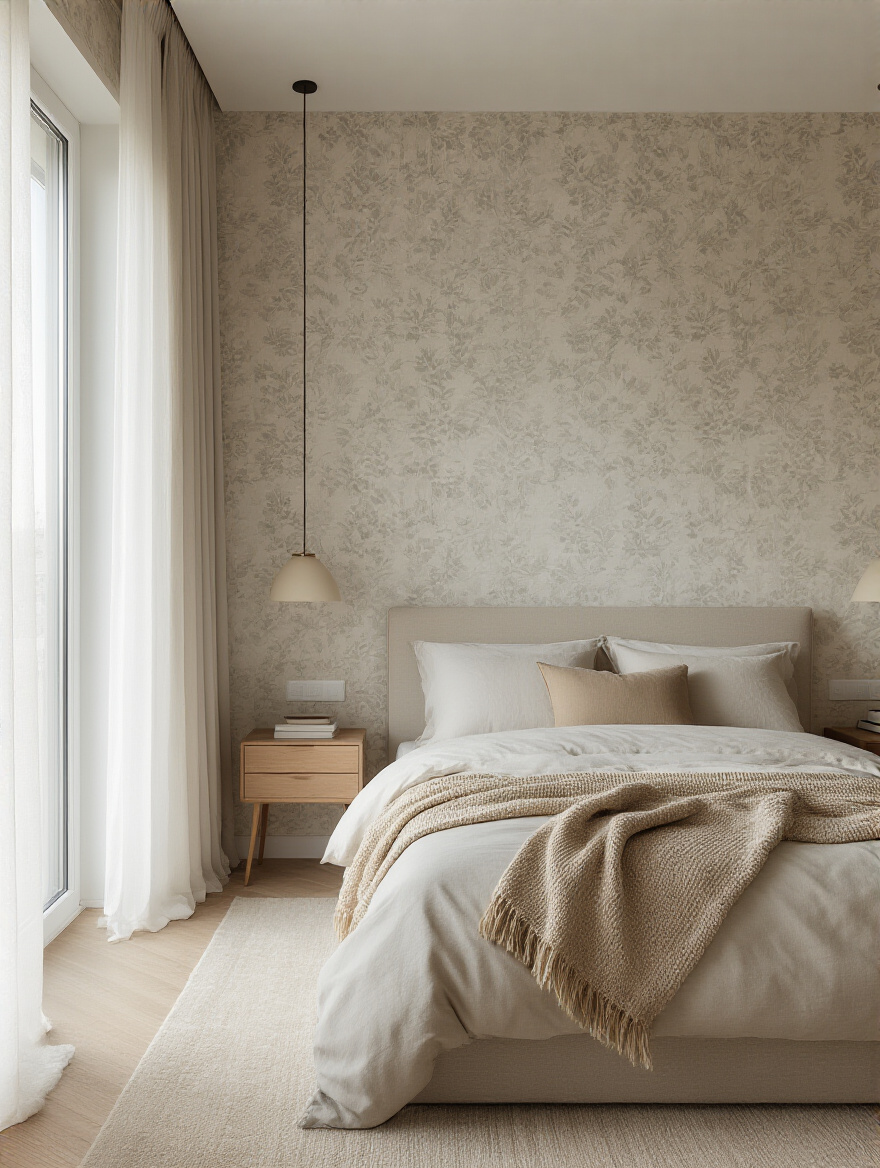
So, the first thing you do is map your room’s climate. Measure the wall, of course, but more importantly, understand its light. Rooms with abundant sun can handle bold patterns and deep, saturated colors. They thrive in the light. For rooms with less natural light, you want to work with it, not against it. Consider wallpapers with a bit of a sheen—a subtle metallic or pearlescent finish—to catch and reflect what little light you have, making the whole space feel brighter and more alive.
This little bit of observation is the single most important step you can take.
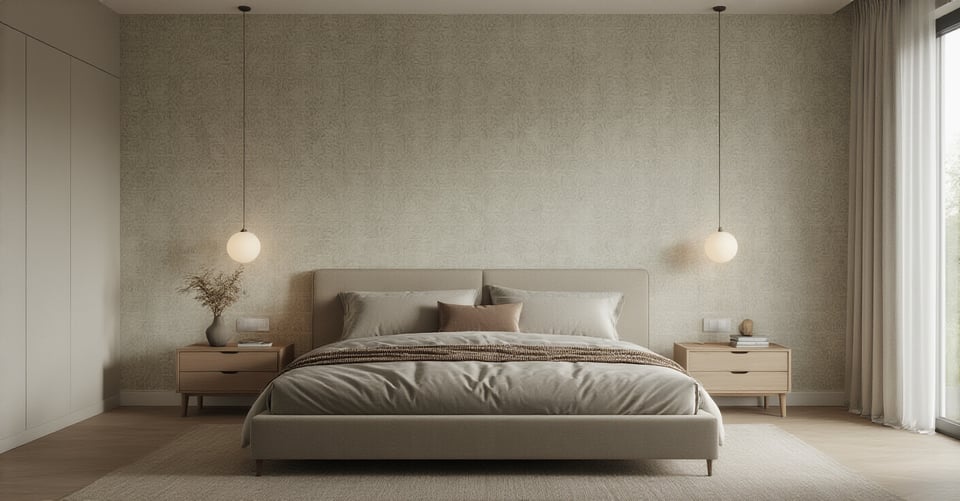
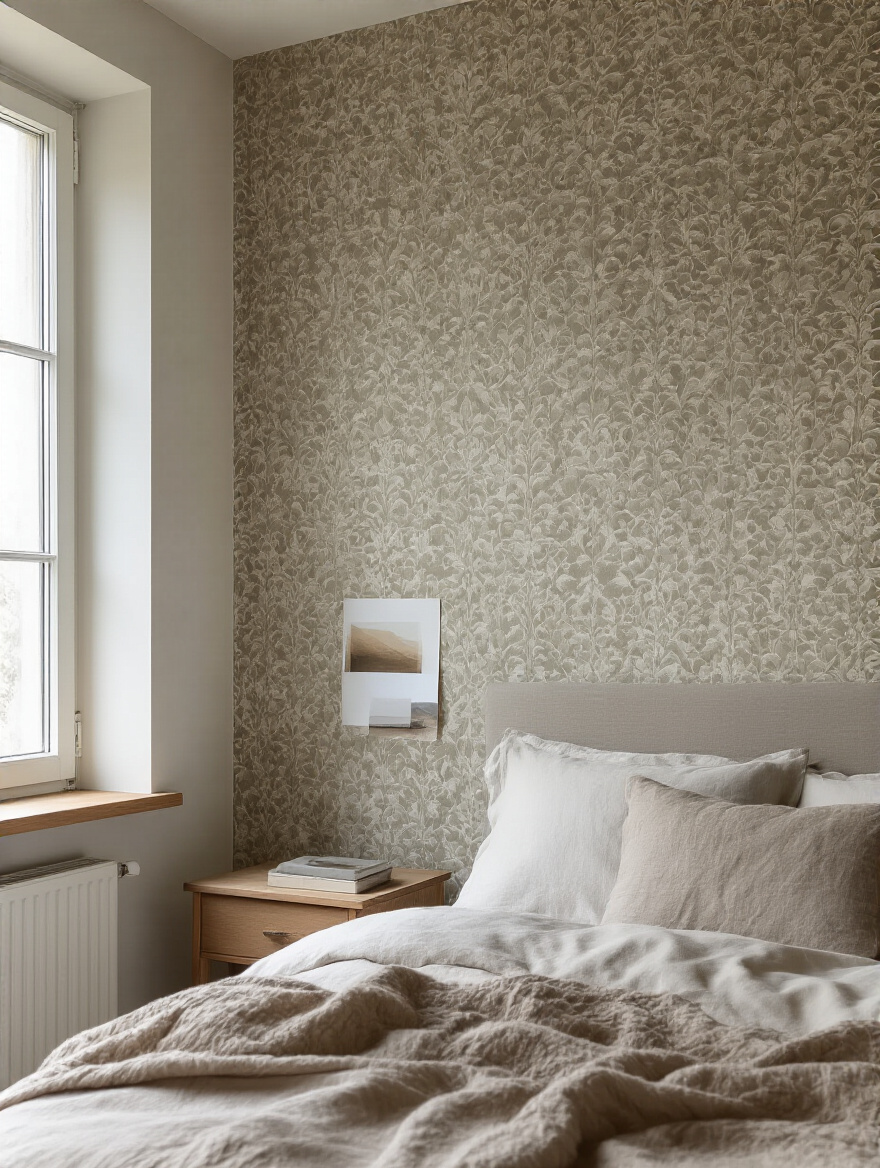
2. Pinpoint the Optimal Wall for Maximum Visual Impact
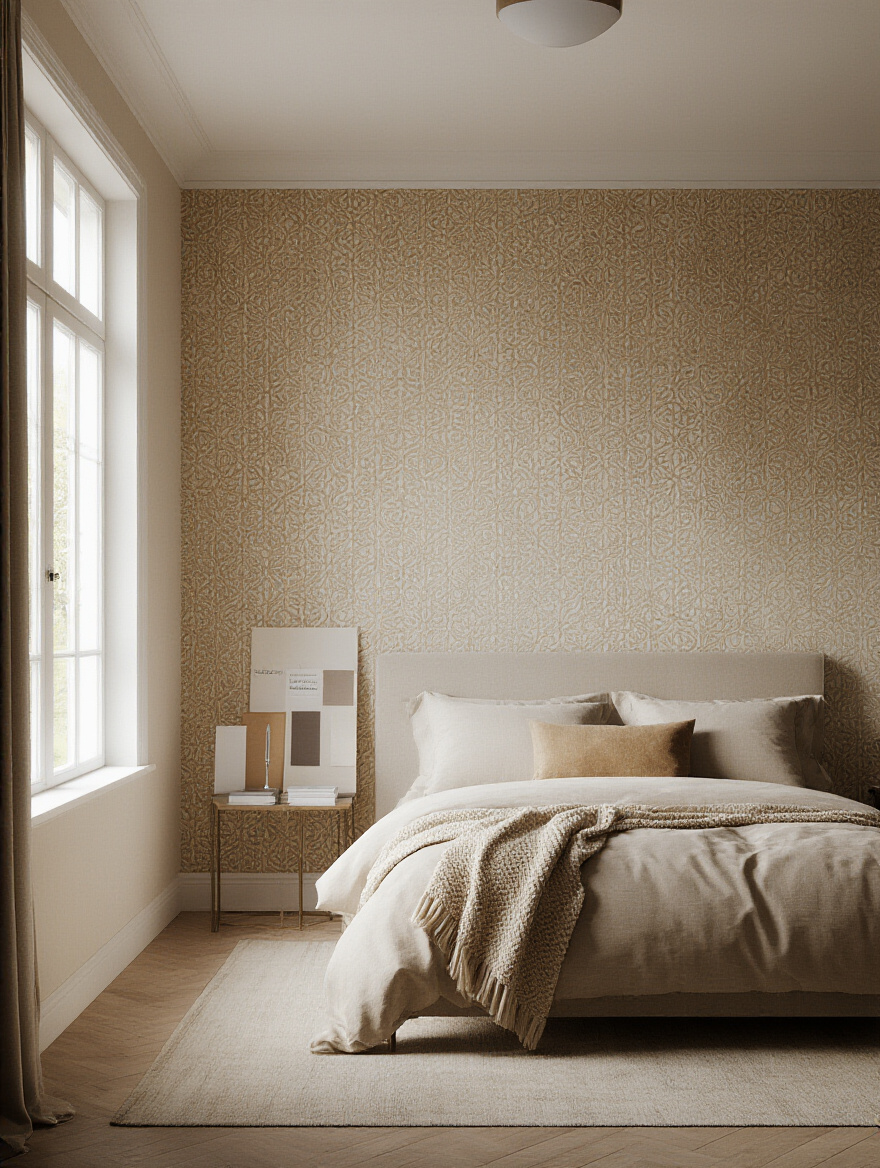
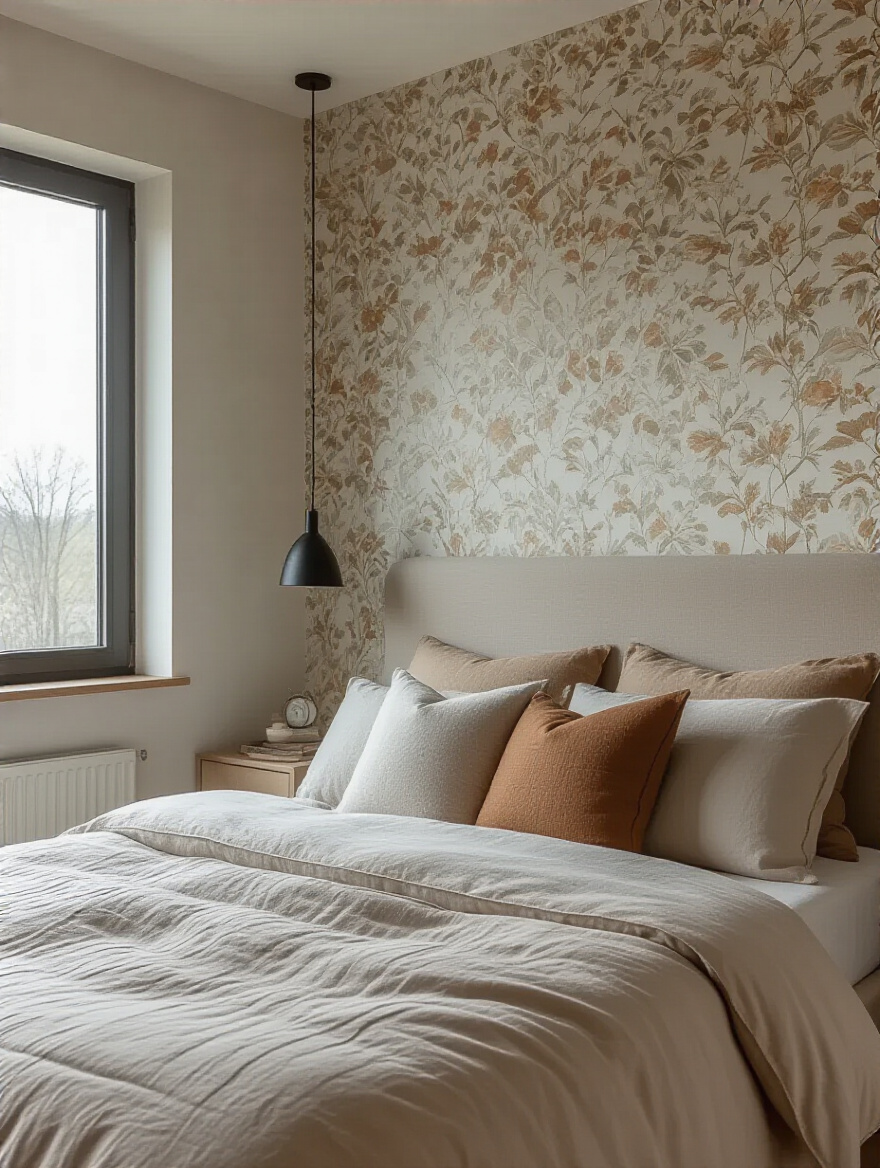
People always ask me, “Which wall should it be?” And 99% of the time, the answer is the one your bed is on. It’s the natural focal point of the room. When you walk in, your eye is drawn to the bed, and wallpapering that wall creates a beautiful, intentional backdrop that grounds the entire space. It’s like creating a beautiful stone wall as a backdrop for a prized garden sculpture; it just makes sense.
Avoid walls that are chopped up by lots of windows or doors. You want a solid canvas to let the wallpaper’s pattern breathe. A wall that’s directly opposite the door can also work because it gives you that instant “wow” factor the moment you enter. Just be careful not to pick a wall that’s mostly hidden behind a huge armoire or other tall furniture. The whole point is to make an impact, not play peek-a-boo with an expensive pattern.
Take some time to just sit in your room and feel which wall commands the most attention naturally.
3. Define Your Bedroom’s Style & Complementary Color Palette
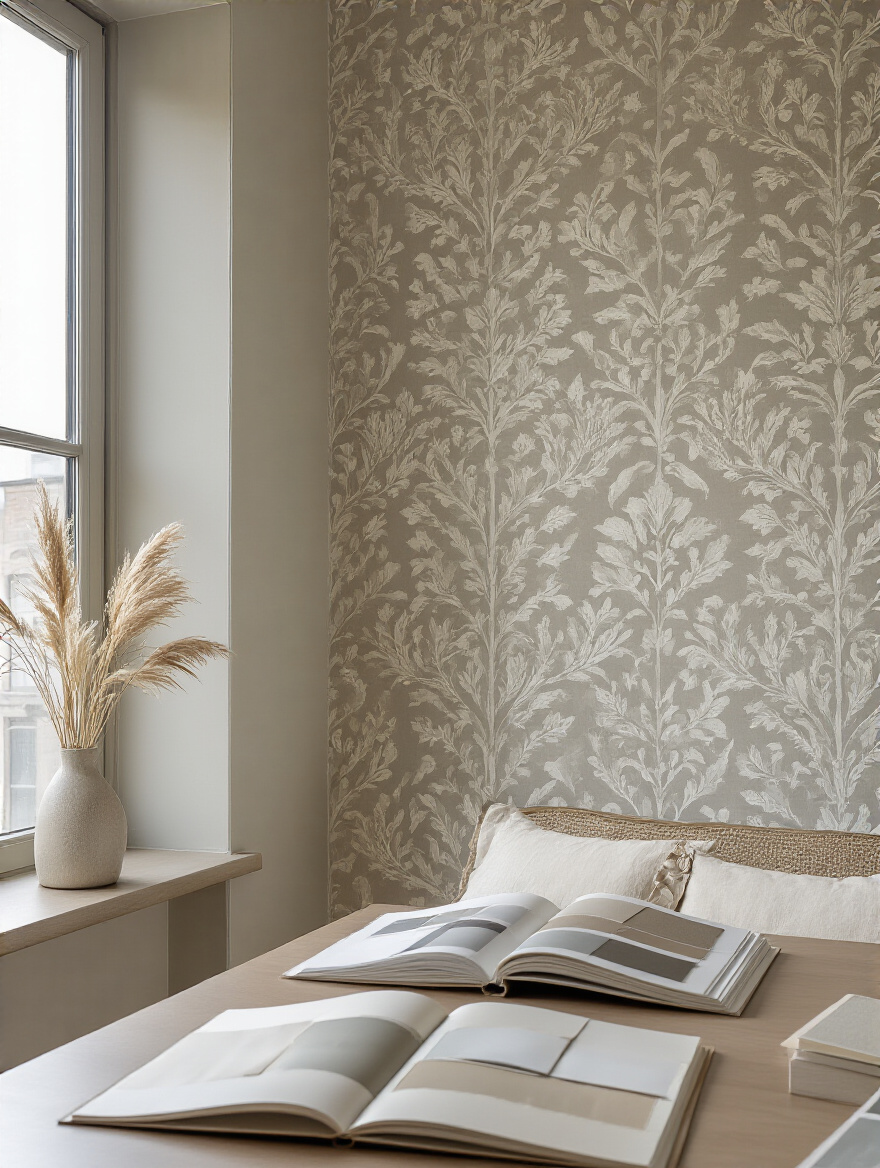
Here’s the biggest piece of BS everyone falls for: choosing a wallpaper in total isolation because they saw it on Pinterest. You can’t do that. Your accent wall has to have a conversation with the rest of the room. Look around. What’s the story your furniture, your bedding, your art is already telling? Is it clean and modern? Warm and bohemian? Your wallpaper needs to speak the same language.

Before you even start looking at samples, pull out the key colors already in your room. That little bit of sage green in your duvet, the warm oak of your dresser, the cool gray of your carpet. Your wallpaper should either pick up on one of those colors or offer a deliberate, complementary contrast. A mood board—even a quick digital one—is your best friend here. Drop in a photo of your room and then start placing wallpaper swatches next to it. You’ll know almost instantly what works and what doesn’t.
This isn’t about matching everything perfectly; it’s about creating a sense of harmony.
4. Accurately Measure Your Wall & Calculate Wallpaper Rolls Needed
This sounds boring, but getting it wrong is incredibly frustrating. I once had a client who eyeballed it, ran out of wallpaper mid-project, and the new roll she ordered was from a different dye lot. The color was off by just a hair, but it was enough to make the entire wall look patched together. A tiny bit of math up front prevents that kind of expensive mistake.
Measure the wall’s height and width. Then, look for something called the “pattern repeat” on the wallpaper specs. This is the secret number that trips everyone up. A large pattern repeat means you’ll waste more paper to get everything to line up perfectly, so you need to order more. The rule of thumb is to calculate your square footage, figure out how many rolls you need, and then always add at least 15% extra. Trust me on this. That extra bit covers mistakes, tricky cuts, and gives you a small piece for future repairs.
Buying that one extra roll from the same batch is the cheapest insurance policy you’ll ever purchase.
Foundation: Smart Planning for Your Accent Wall (Part 2)
Okay, we’ve covered the creative planning. Now we get into the nitty-gritty logistics. This part is less glamorous, but it’s what separates a project that looks amazing for a year from one that looks amazing for a decade. It’s about being smart with your resources and your time.
5. Budget Wisely and Source Reputable Wallpaper Suppliers
“I found this amazing wallpaper online for super cheap!” That sentence gives me chills. Look, you often get what you pay for. Heavily discounted wallpaper is frequently what they call “seconds,” meaning there are printing errors or inconsistencies. You might save a few bucks on the roll, but you’ll pay for it with frustration when patterns don’t align or the colors are off.
The best shortcut I can give you is this: order samples. Always. From multiple places. A computer screen can’t show you texture or how a metallic finish catches the light. Tape those samples to the wall and live with them for a few days. See how they look in morning light, in lamplight. This step costs you a little time and a few dollars, but it prevents you from making a multi-hundred-dollar mistake. Stick with well-known brands or smaller, reputable designers. Their quality control is just better, and the paper itself is often easier to work with.
It’s better to get a quality paper you love than a bargain paper you have to fight with every step of the way.
Choosing & Preparing: Sealing Your Wallpaper Fate (Part 1)
Now we’re getting to the hands-on part. You’ve planned, you’ve budgeted, and you’ve picked your champion. This next phase is all about preparation, and it’s where the final quality of your project is decided. Rushing this is like building a beautiful deck on a rotten foundation. It just won’t last.
6. Select the Ideal Wallpaper Type for Your Project (Peel & Stick vs. Traditional)
The big debate: peel-and-stick versus traditional paste. Everyone online seems to push peel-and-stick as the foolproof option for DIYers. And it can be great, especially for renters or people who love to change their decor often. It’s forgiving, you can reposition it, and there’s no messy paste. But here’s the reality check: it’s only easy on perfectly smooth walls. If you have any texture, it will show through, and you might get bubbles or have adhesion problems down the road.
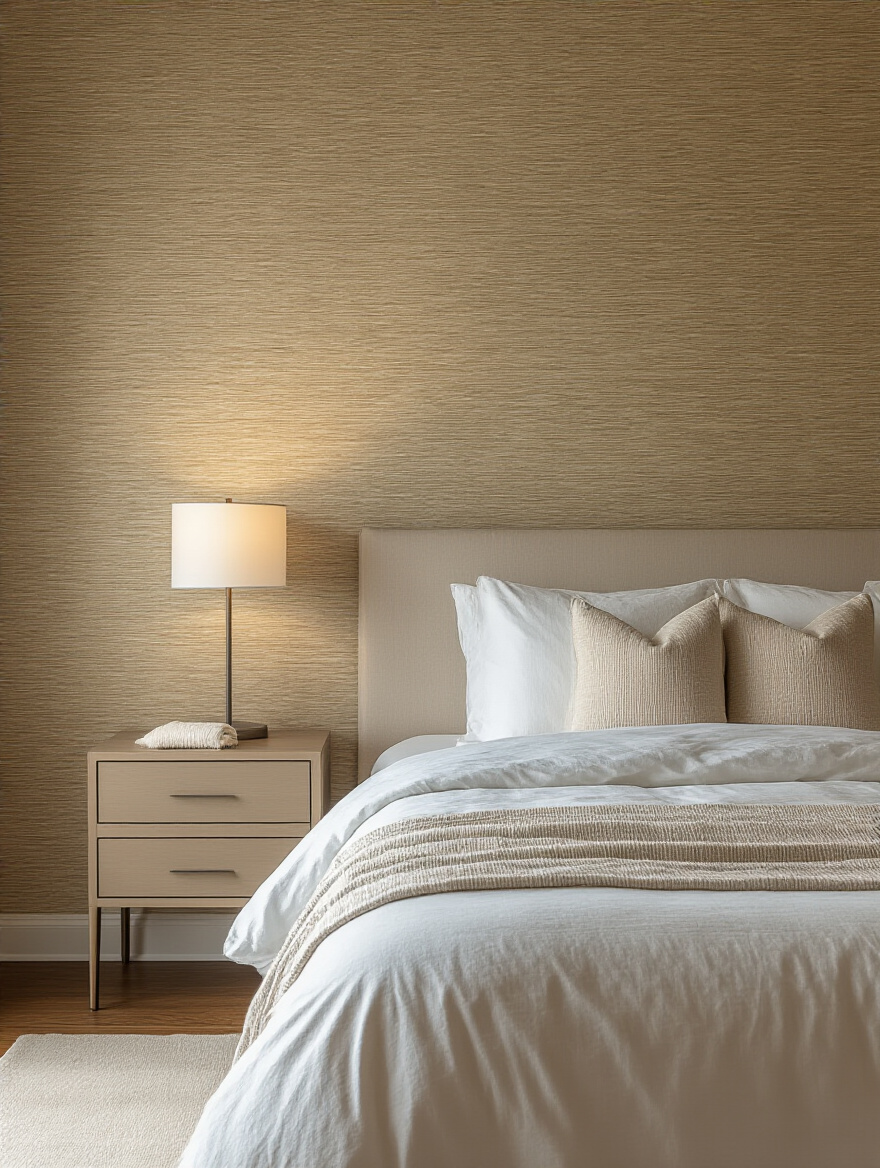
Traditional wallpaper, on the other hand, is a longer-term commitment. It requires paste and more patience, but the result is a richer, more seamless, and far more durable finish. It just looks more professional. Plus, the variety of textures—grasscloth, silk, linen—is vastly superior in the traditional world. My advice? Be honest about your skill level and your walls. If you have perfectly smooth drywall and want flexibility, peel-and-stick is your friend. If you want a truly high-end, long-lasting look and are willing to put in the work, traditional is the way to go.
There’s no wrong answer, just the right answer for your specific situation.
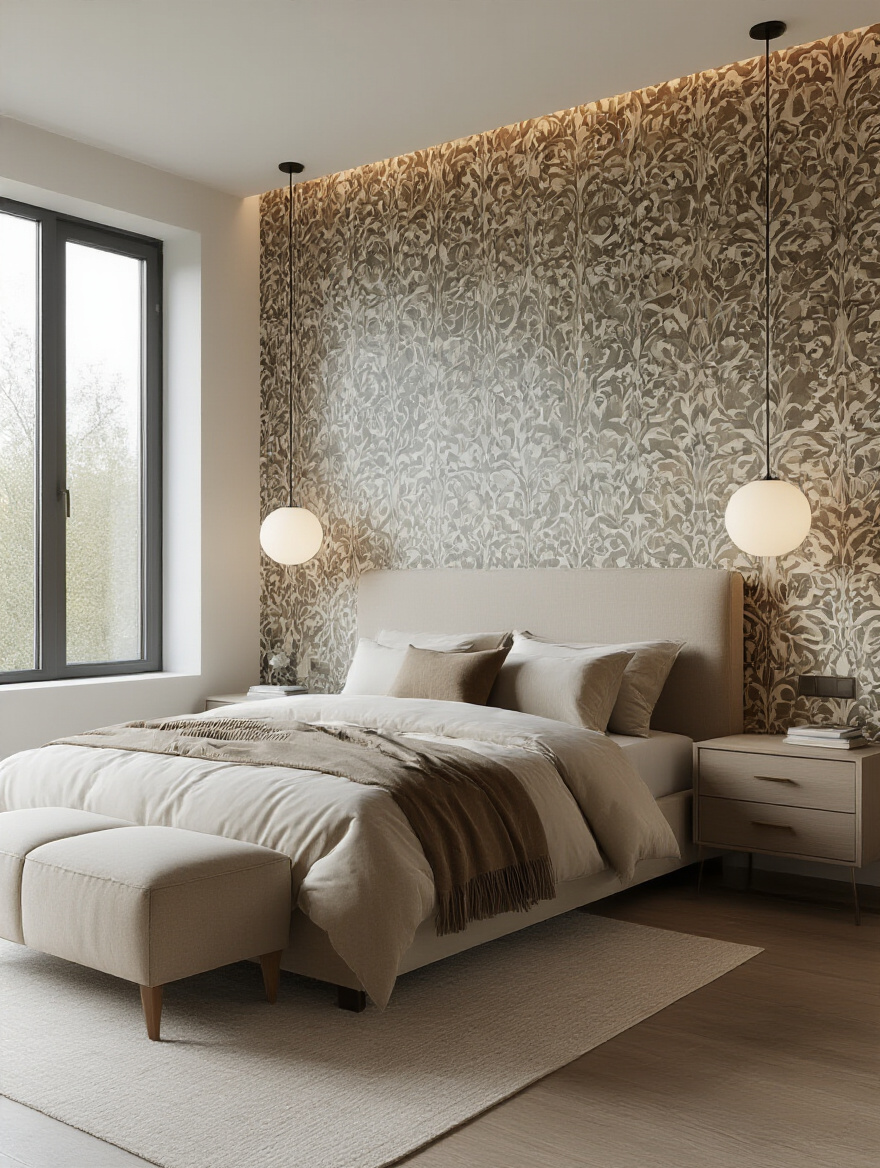
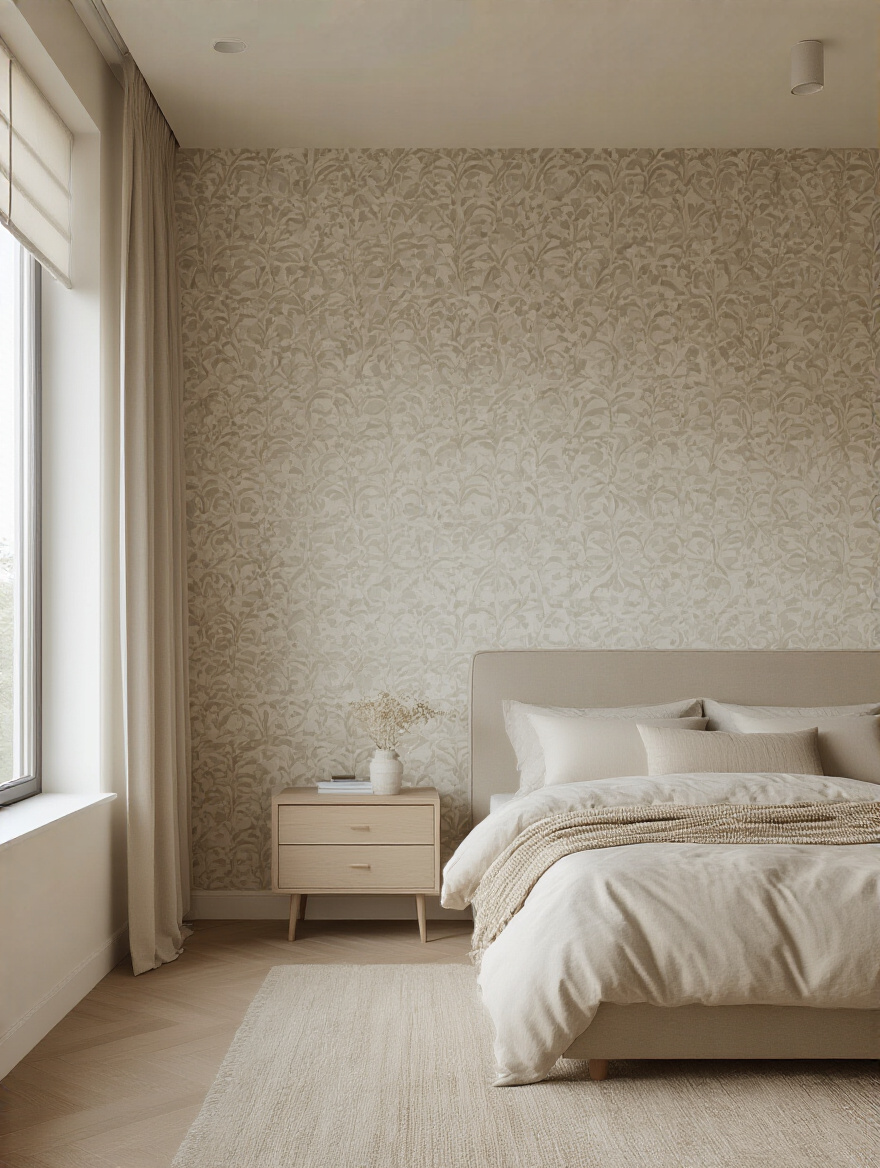
7. Deciphering Pattern Scale and Repeat for Aesthetic Harmony
We touched on pattern repeat for ordering, but now let’s talk about it for aesthetics. The scale of the pattern needs to match the scale of your room. A tiny, intricate pattern can get lost and just look like a vague texture from across a large room. Conversely, a huge, bold pattern can completely overwhelm a small space and make it feel claustrophobic.
Think of it like planting a garden. You wouldn’t put a giant oak tree in a tiny planter box. Pro tip: Take a photo of your wallpaper sample on the wall from the doorway. Your phone can give you a surprisingly good sense of how the scale will feel from a distance. A good rule of thumb is that for a standard bedroom, patterns with a repeat of around 18-24 inches tend to strike a perfect balance. They’re large enough to make a statement but not so big they take over the room.
It’s all about creating visual balance, not visual chaos.
8. Order and Evaluate Wallpaper Samples for True-to-Life Appearance
I’m saying this again because it’s that important. Order samples. Do not skip this step. I have seen a color that looked like a calm, earthy terracotta on a screen turn into a jarring, bright orange in real life. You absolutely cannot trust the color you see on your monitor. Your room’s unique lighting will have the final say.
When your samples arrive, don’t just hold them up. Tape them to the wall—the actual wall you plan to cover. Live with them for a weekend. Notice how the color shifts as the sun moves across the sky. See how it feels at night with your lamps on. Compare it to your headboard, your pillows, your curtains. This is your final quality check before you commit, and it’s the difference between a good result and a great one.
It’s the most valuable five or ten dollars you will spend on this entire project.
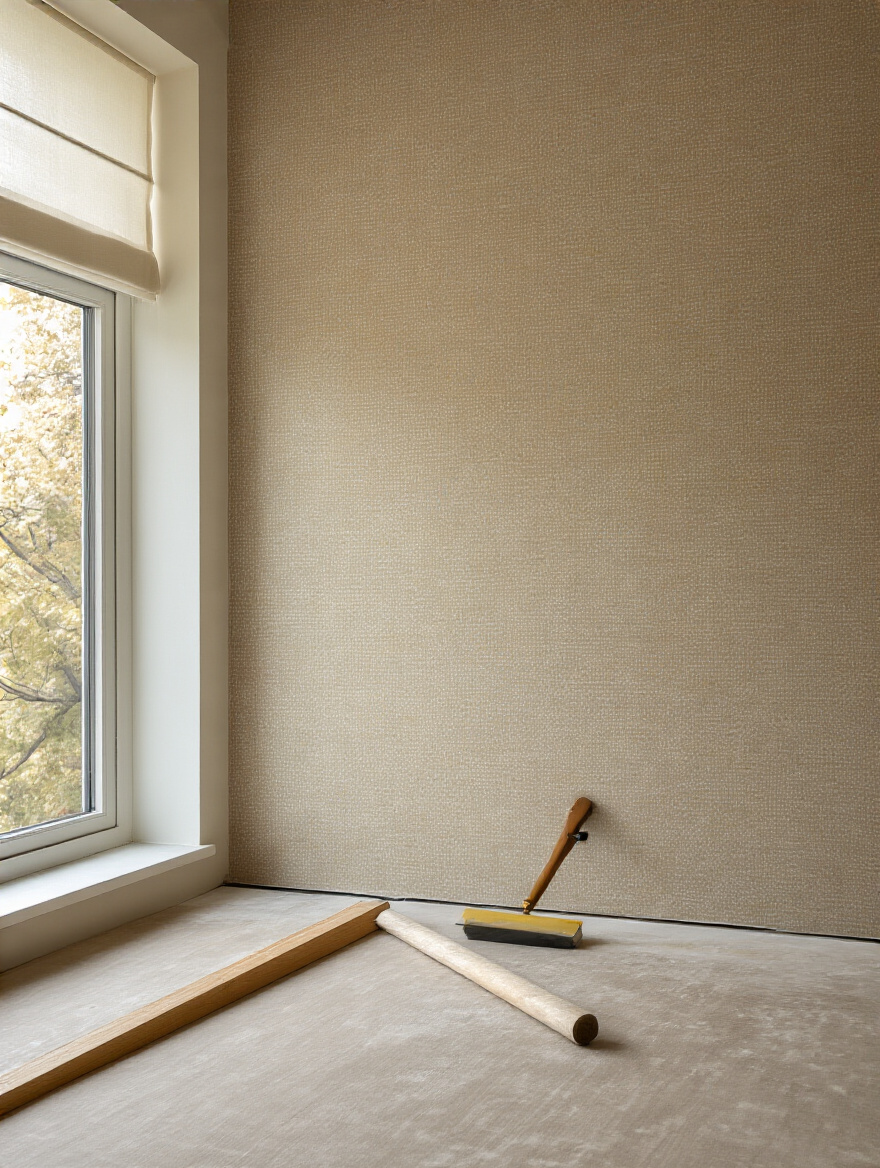
9. Prepare Your Wall Surface Meticulously for Flawless Adhesion
You want your wallpaper to look flawless? The secret isn’t in the paper; it’s in the wall underneath. Any little bump, nail hole, or speck of dust will show through like a mountain once the paper is up. The preparation phase is your grunt work, but it’s what creates that perfect, canvas-like surface.
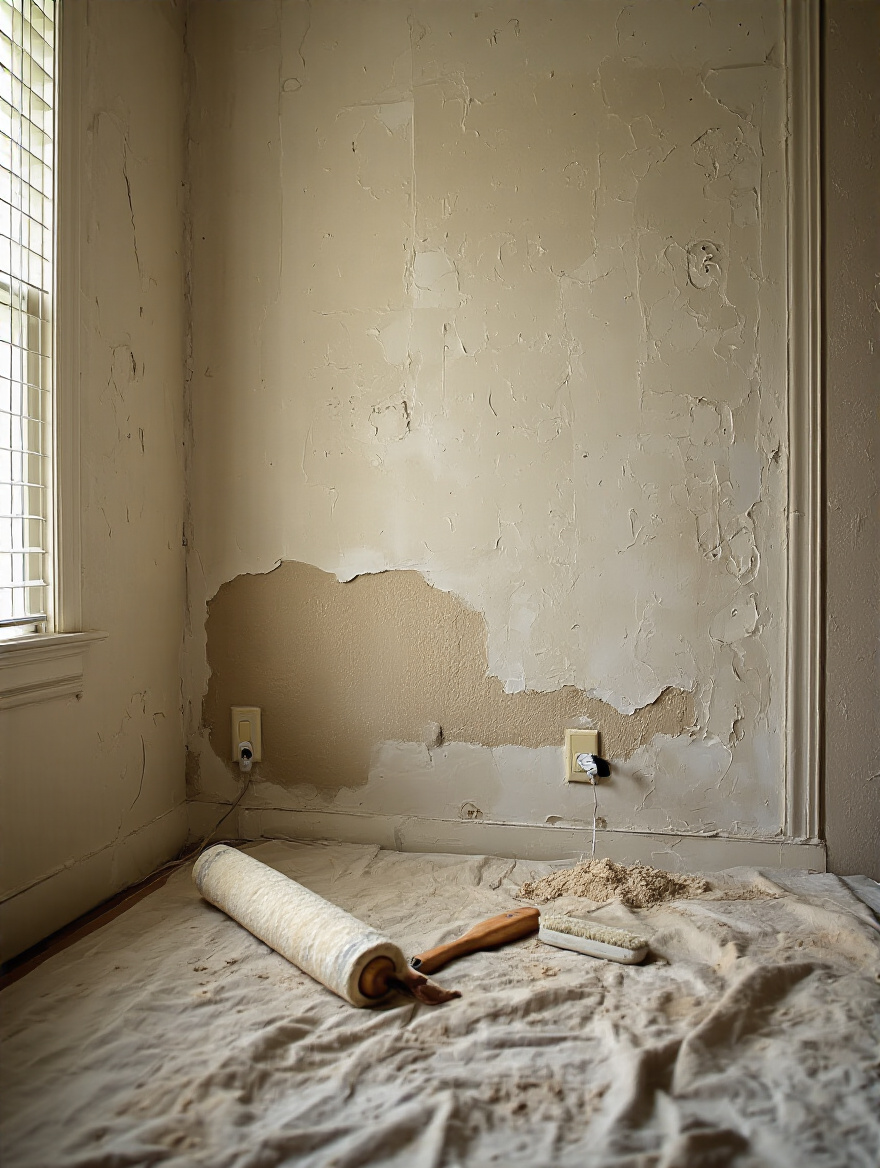
First, wash the wall. Even if it looks clean, there’s a thin layer of grime. Use a simple sugar soap solution. Then, fill every single nail hole and crack with spackle, let it dry, and sand it until it’s perfectly smooth. The final, non-negotiable step is priming. Use a primer specifically made for wallpaper. This stuff does two crucial things: it creates a uniform surface so the paste adheres evenly, and it makes the wallpaper way easier to remove years down the road without destroying your drywall.
Skipping the primer is the number one mistake people make, and it’s a decision they always regret.
Choosing & Preparing: Sealing Your Wallpaper Fate (Part 2)
We’re still in prep mode, because it’s just that critical. Think of this part as organizing your toolshed before you start a big garden project. Having everything in its place makes the actual work flow smoothly and prevents those frantic “where did I put that?” moments.
10. Gather All Essential Tools Before You Begin Installation
Laying everything out before you start is a game-changer. Trying to find a sharper blade or a clean sponge mid-hang when you have a piece of pasted wallpaper in your hands is a recipe for disaster. Create a workstation on a drop cloth and assemble your toolkit. You don’t need a ton, but what you need, you need to be good.
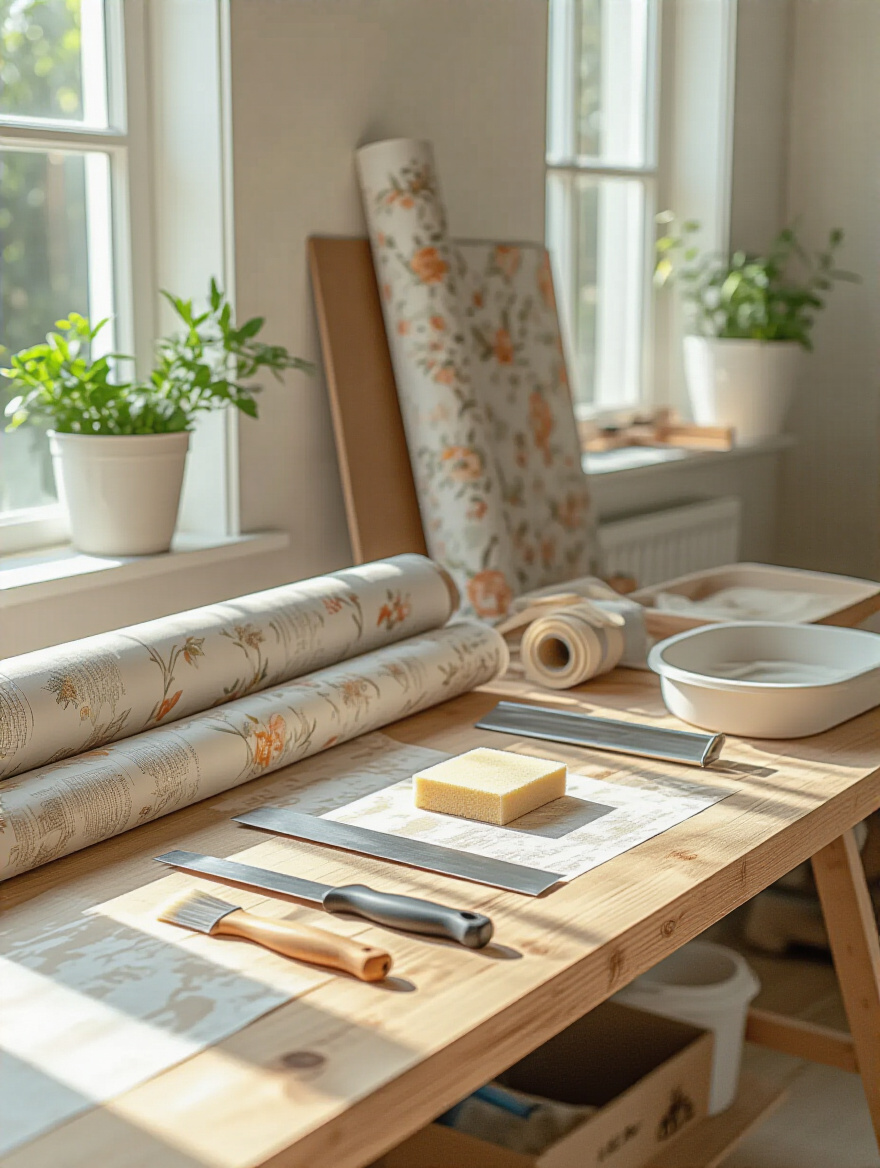
Here’s the essential list: a sharp utility knife with lots of snap-off blades (a dull blade will tear your paper), a metal straightedge, a tape measure, a level (a laser level is amazing if you have one), a plastic smoothing tool, a seam roller, clean sponges, and a bucket of clean water. If you’re using traditional paste, you’ll also need a paste brush or roller and a tray. Having everything within arm’s reach makes the process ten times less stressful and ten times more precise.
Good tools are an investment in a professional-looking result.
11. Understand the Critical Role of Primer for Different Wall Types
I know I just mentioned primer, but it’s worth a deeper dive. Not all primers are the same. A standard paint primer isn’t what you want. You need a dedicated wallpaper primer, often called a “sizer.” It creates a barrier that stops the wall from sucking up the moisture in your paste too quickly, which would cause a weak bond. It gives you more “slip” time to slide the paper into perfect alignment.

The type of wall you have also matters. For new, unpainted drywall, a PVA-based primer is a must to seal the porous surface. For walls that have been painted with a glossy paint, you might want to give them a light sanding first, then use an acrylic wallpaper primer to give it some “tooth” for the paste to grab onto. Think of primer as the handshake between your wall and the wallpaper—you want it to be a firm, reliable one.
This single step guarantees better adhesion now and much easier removal later.
Installation Excellence: Achieving a Professional Finish (Part 1)
This is it. The moment of truth. You’ve planned and prepped, and now you’re ready to transform that wall. The key here is to move slowly and deliberately. Don’t rush. The goal is precision, not speed. A calm, methodical approach will always yield the best results.
12. Master the Art of Measuring and Cutting Panels Precisely
Here’s the mantra: measure twice, cut once. Measure the height of your wall in a few different places—walls are rarely perfectly square. Use the longest measurement as your guide and add at least four extra inches. This gives you a couple of inches of wiggle room to trim at the top and bottom for a perfect fit.
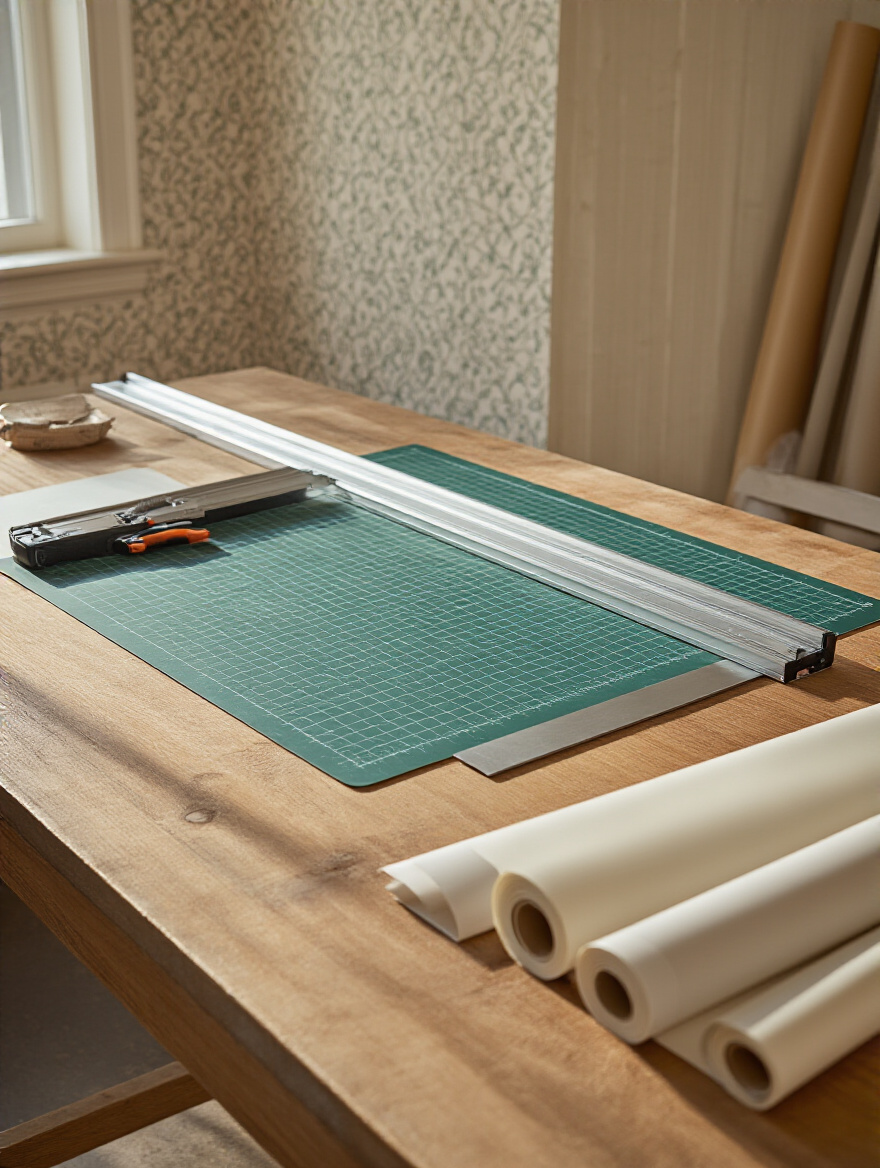
When you’re ready to cut, unroll your paper on a clean, flat surface. If you have a pattern, lay your second strip next to the first and slide it up or down until the pattern matches perfectly before you mark and cut it. Use a long metal straightedge and a fresh, sharp blade for every single cut. This isn’t the time to be frugal with blades. A fresh blade will glide through the paper, giving you a perfectly clean edge. A slightly dull blade will drag and tear it.
Precision in cutting is the foundation of a seamless, professional-looking wall.
13. Establish Your Starting Point Strategically for Optimal Alignment
Do not start in a corner. I repeat: do not start in a corner. Corners are almost never perfectly straight (plumb), and if you use one as your guide, by the time you get to the other side of the wall, your wallpaper will be noticeably slanted. Instead, you need to create your own perfectly straight starting line.
Here’s how the pros do it: find the center of your wall and use a level to draw a perfectly vertical pencil line from ceiling to floor. This is your plumb line. You will hang your first piece of wallpaper right alongside this line. This guarantees that your first piece is perfectly straight, and every piece that follows will be too. It might mean your first strip is right in the middle of the wall, and that’s fine. It ensures the whole installation is balanced and true.
Your level is your most trusted guide in this process.
14. Perfect Adhesive Application (or Peel & Stick Technique) to Prevent Bubbles
Bubbles are the enemy. They’re caused by trapped air, and the best way to deal with them is to prevent them from happening in the first place. Whether you’re using paste or peel-and-stick, the technique is the same: smooth from the center out. After you’ve positioned the top of your strip, use a plastic wallpaper smoother and, with firm, even pressure, push the air out toward the edges.
For traditional wallpaper, apply a thin, even coat of paste. Too little and you’ll get dry spots; too much and it will squish out the seams and make a mess. For peel-and-stick, only peel back about a foot of the backing at a time. Smooth that section down firmly before pulling off more backing. Trying to hang a whole sticky sheet at once is a surefire way to get it stuck to itself in a crumpled mess. Work in small, manageable sections, always smoothing from the center out.
Patience and a systematic approach will give you that beautiful, flat finish you’re after.
15. Seamlessly Match Patterns and Hide Joins Between Strips
Getting your seams to disappear is the true art of wallpapering. When you hang your second piece, don’t just stick it next to the first one. Lightly overlap it by a fraction of an inch, align the pattern perfectly, and then gently slide it back until the edges are butted up tightly against each other. There should be no gap and no overlap.
Once the seam is perfectly aligned, use a seam roller—a small, dedicated tool—and run it lightly down the join. This ensures both edges are firmly adhered to the wall. But be gentle! Pressing too hard can squeeze out all the paste and leave a visible line. Immediately wipe away any paste that does squeeze out with a clean, damp sponge. If you let it dry on the face of the paper, it can leave a shiny spot.
This step is what separates a good DIY job from a great one.
Installation Excellence: Achieving a Professional FInish (Part 2)
We’re in the home stretch now. The panels are up, and it’s already looking incredible. This final part of the installation is all about the finishing touches—the details that create those clean, crisp edges and make the wallpaper look like it was truly custom-fit for your room.
16. Expertly Trim Excess Wallpaper Around Obstacles and Edges
This is where that fresh, sharp blade comes into play again. Once a panel is up and smoothed, you’ll have extra paper at the ceiling and baseboard. To get a perfect cut, use a wide putty knife or a metal straightedge. Press it firmly into the crease where the wall meets the ceiling or baseboard, creating a sharp guide. Then, run your utility knife along the edge of the putty knife. This gives you a perfectly straight cut every time.
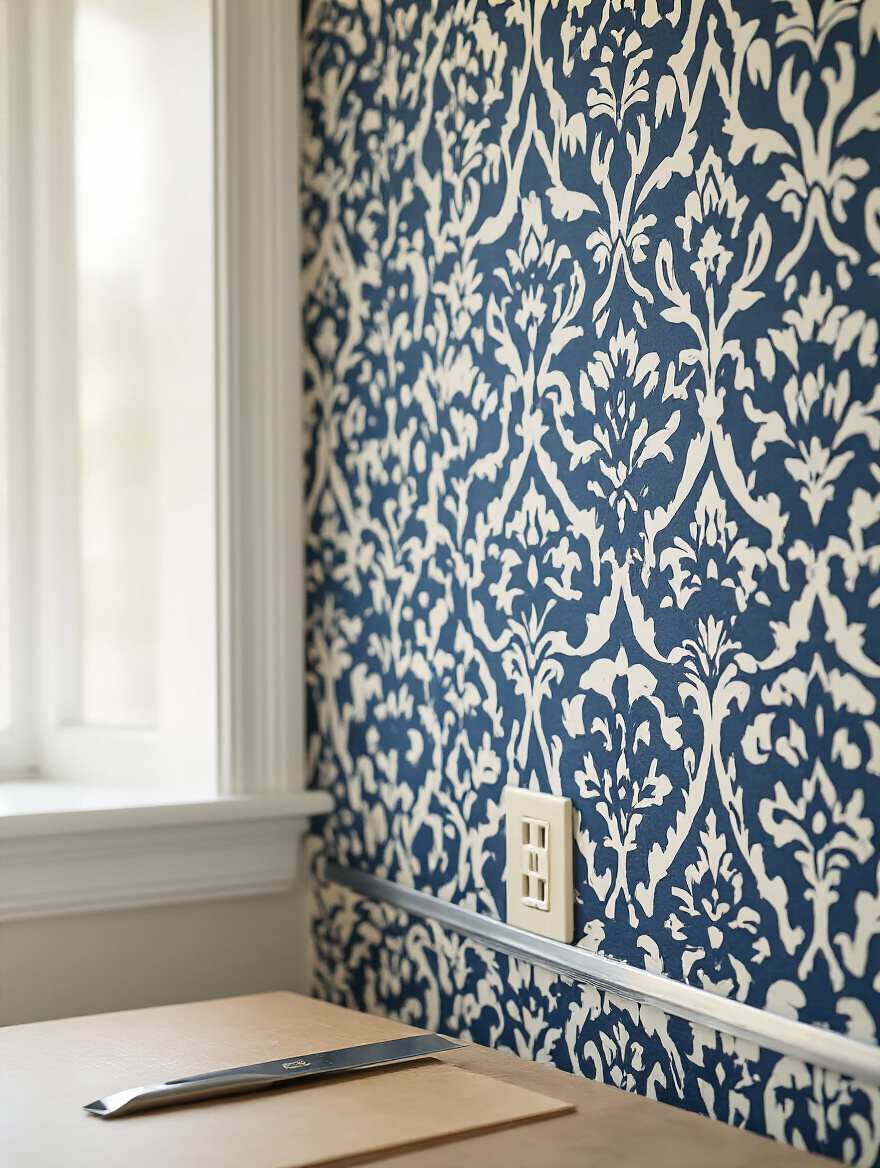
For outlets and switches, turn off the power first! Then, hang the wallpaper right over the opening. You’ll be able to feel the hollow spot of the electrical box underneath. Make an “X” cut from corner to corner with your knife, and then trim the flaps flush with the edges of the box. When you screw the faceplate back on, it will cover the cuts perfectly, leaving a clean, integrated look.
Don’t rush the trimming. These final cuts are what make the whole job look sharp and polished.
Styling, Troubleshooting & Longevity (Part 1)
The wallpaper is up, trimmed, and looking fantastic. Now what? Your job isn’t quite done. The next steps are about integrating the wall into your room’s ecosystem, troubleshooting any minor issues that pop up, and knowing how to care for your investment so it lasts for years.
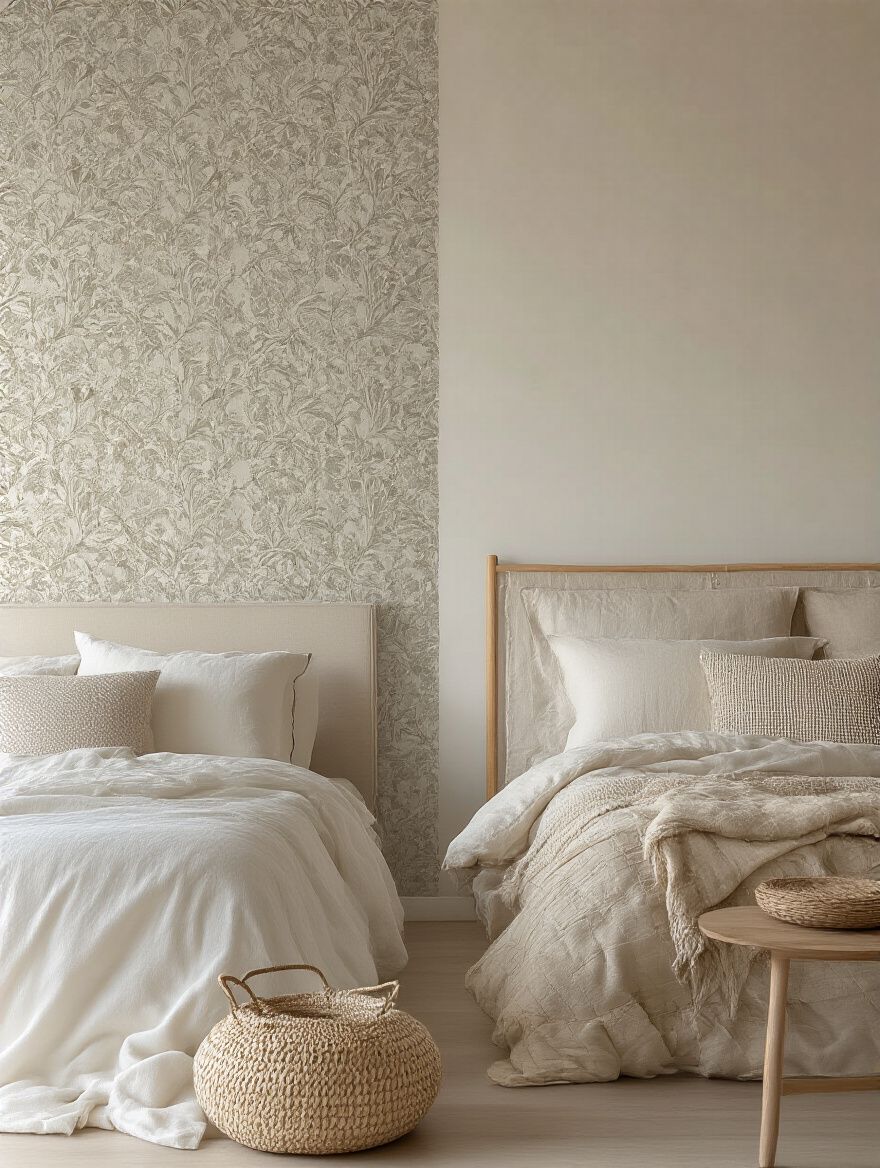
17. Integrate Your Accent Wall with Existing Furniture and Decor
Now that your beautiful new wall is the star of the show, you may need to tweak a few things to make sure it feels connected to the rest of the space. This is often as simple as pulling one of the minor colors from the wallpaper pattern and bringing it into the room in other ways.
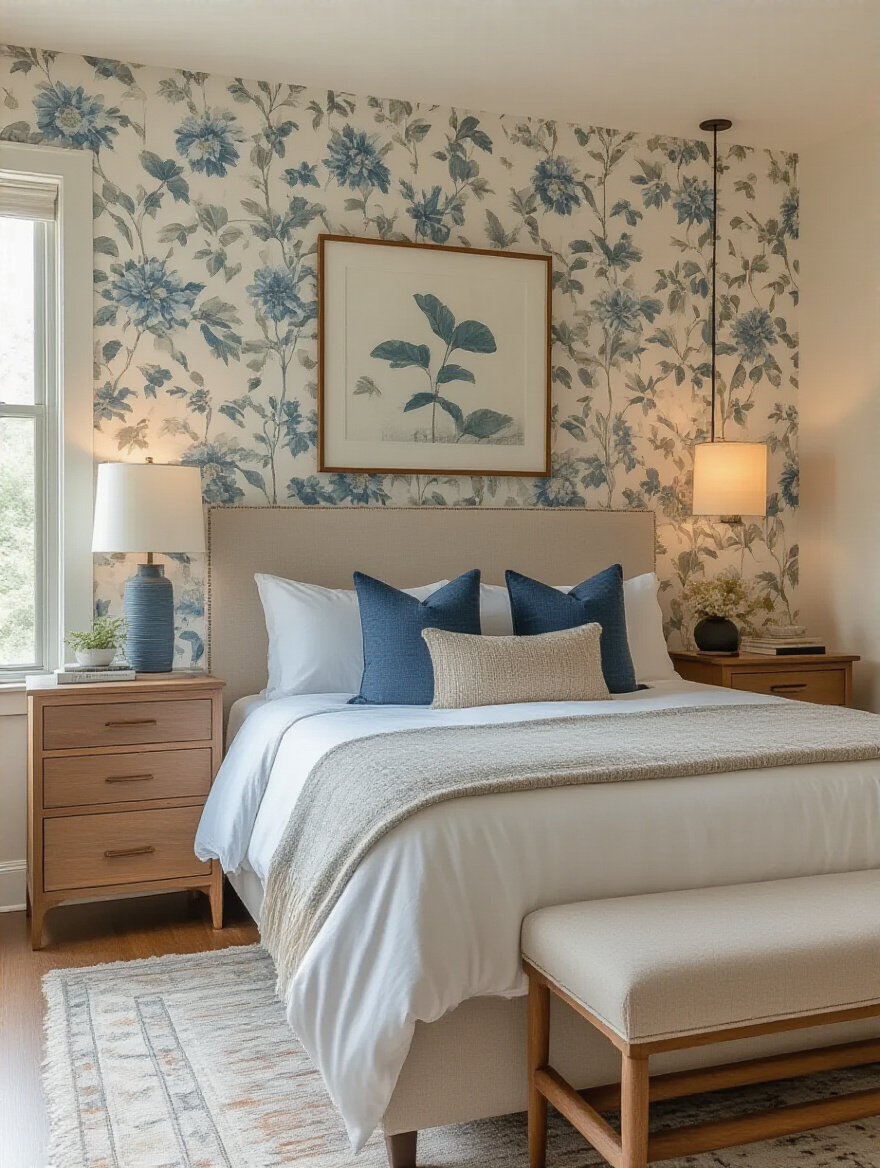
Maybe it’s a couple of new throw pillows for the bed, a new lampshade, or a vase in that specific color. These small touches act as a bridge, weaving the accent wall into the fabric of the room so it doesn’t feel like a standalone feature. It creates a cohesive, intentional design where every element feels like it belongs.
It’s the final step in making that wall a true, integrated part of your personal landscape.
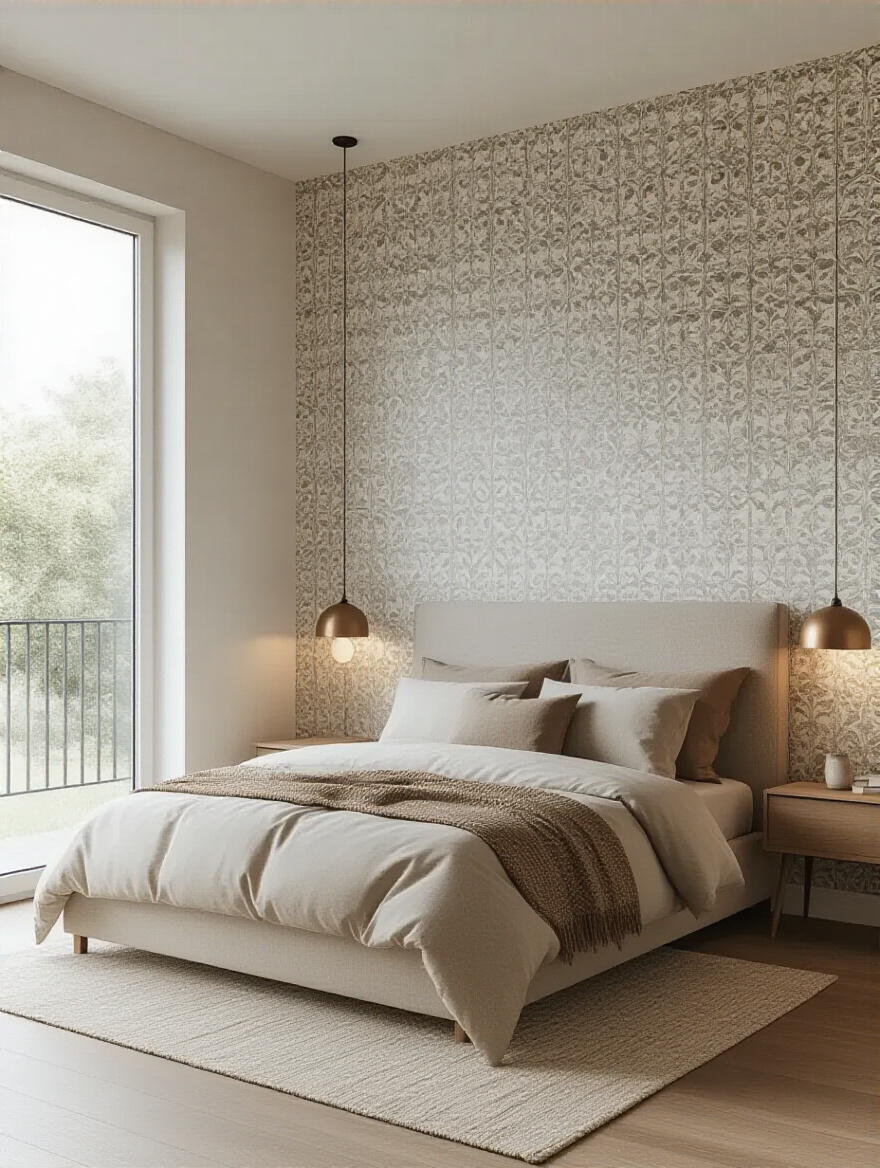
18. Maximize Impact with Complementary Lighting and Accessories
The right lighting can take your accent wall to a whole new level. Consider how you can use light to highlight its texture or pattern. A pair of stylish sconces on either side of the bed can cast a beautiful, soft wash of light across the wall, creating lovely shadows and highlights, especially on textured papers like grasscloth.
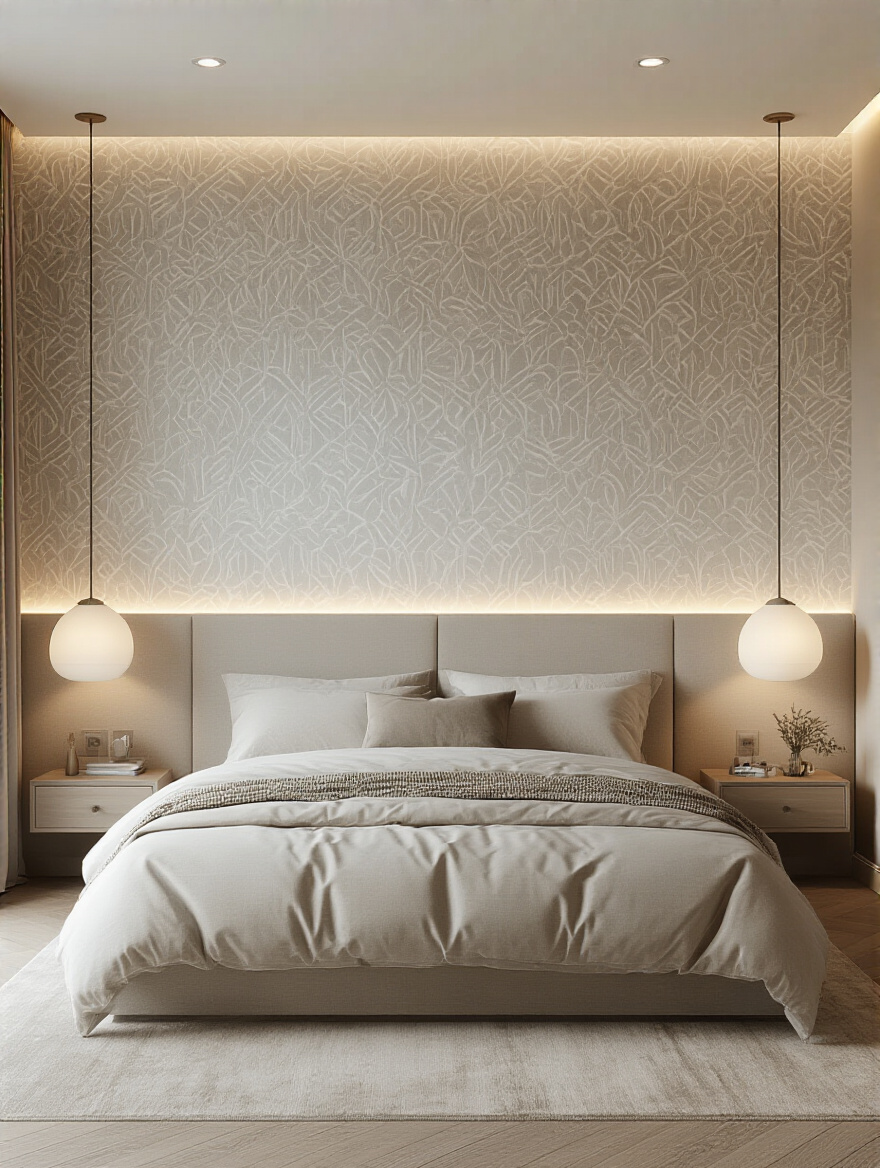
You can also use a picture light centered over the headboard to turn the wall into a true piece of art. The key is to create layers of light—ambient, task, and accent—that work together. And don’t forget dimmers! Being able to soften the light in the evening transforms the mood of the room and makes that accent wall feel even more luxurious and intimate.
Lighting is the element that breathes life into your design after the sun goes down.
19. Troubleshoot Common Installation Mistakes (Bubbles, Tears, Uneven Seams)
Even with careful work, tiny issues can appear as the wallpaper dries. Don’t panic. Most are easy to fix. If a small bubble appears, you can often solve it with a pinprick. Use a fine sewing pin to poke a tiny hole in the center of the bubble, then gently smooth the air out with your finger. The tiny hole will be invisible.

If a seam lifts slightly after drying, you can use a tiny artist’s brush to apply a very small amount of seam adhesive right under the edge and press it down with your seam roller. The key is to address these issues right away. Letting them sit can make them harder to fix later on.
A little bit of quick, careful attention can solve almost any minor flaw.
20. Maintain Your Wallpaper for Extended Beauty and Durability
Treat your wallpaper well, and it will look great for a very long time. For most types, a gentle dusting with a microfiber cloth is all the regular maintenance you need. For washable vinyl wallpapers, you can use a slightly damp sponge with a drop of mild dish soap to wipe away smudges, but always test it in an inconspicuous spot first.
The biggest enemy of wallpaper longevity is moisture. That’s why it’s not always the best choice for a poorly ventilated bathroom, and why you should make sure your bedroom has good airflow. Protecting your wall from direct, harsh sunlight can also prevent fading over the long term.
A little bit of gentle care goes a long way in preserving your beautiful work.
Styling, Troubleshooting & Longevity (Part 2)
Thinking ahead is the mark of a truly smart project. Your style will evolve, and life changes. Making a choice today that doesn’t lock you into a corner tomorrow is just good planning. It’s about creating a space that is both beautiful now and adaptable for the future.
21. Consider Future Removal or Renovation for Long-Term Planning
This is where that wallpaper-specific primer you used really pays off. When it’s time for a change in a few years, a properly primed wall will make removal so much easier. Many modern non-woven wallpapers are “strippable,” meaning they’ll peel off in full sheets, leaving your wall almost perfectly intact.
Even if you’re using a permanent, traditional paper, the primer creates a barrier that prevents the paste from forming an unbreakable bond with your drywall. This means you’ll be steaming and scraping a lot less, and you’ll avoid the gouges and damage that can happen when removing paper from an unprepared wall. Thinking about removal before you even start hanging is the ultimate pro move. It’s a gift to your future self.
A great design considers not only its beginning, but also its end.
Conclusion
So there you have it. Creating a stunning bedroom wallpaper accent wall isn’t about just picking a pattern; it’s a process. It’s about understanding the environment of your room, preparing your foundation with care, and executing with patience and precision. It’s an act of transforming a blank surface into something with soul—a focal point that sets the tone for your entire personal sanctuary. It’s the indoor equivalent of creating a beautiful garden vista right outside your window.
By following these steps, you’re not just decorating; you’re designing. You’re curating a space that feels intentional, cohesive, and deeply personal. You now have the knowledge to move beyond simply looking at inspiration and start creating it for yourself. So pick a design that speaks to you, order those samples, and begin the journey. Your dream bedroom, a space that truly feels like an extension of you, is waiting.