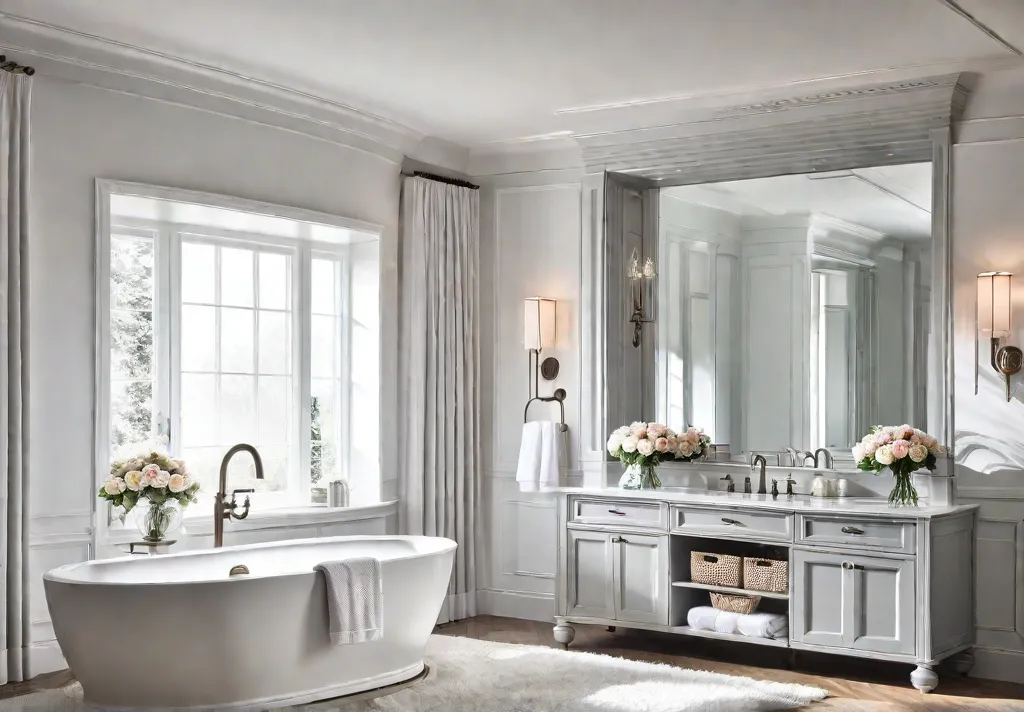
As a passionate landscaper and home decor enthusiast, I know firsthand the transformative power of a well-designed space. And when it comes to creating a sanctuary within our homes, the bathroom is often overlooked – but it doesn’t have to be. Imagine stepping into a serene oasis where every detail, from the vanity to the mirror, reflects your unique style and invites you to linger a little longer.
That’s the beauty of a DIY bathroom vanity makeover. With just a weekend and a little creativity, you can breathe new life into this oft-neglected space, turning it into a personalized retreat that not only looks incredible but also aligns with your eco-conscious values. So, roll up your sleeves, grab your tools, and get ready to embark on a journey that will unlock the full potential of your bathroom – one brushstroke, one repurposed piece, and one inspired flourish at a time.
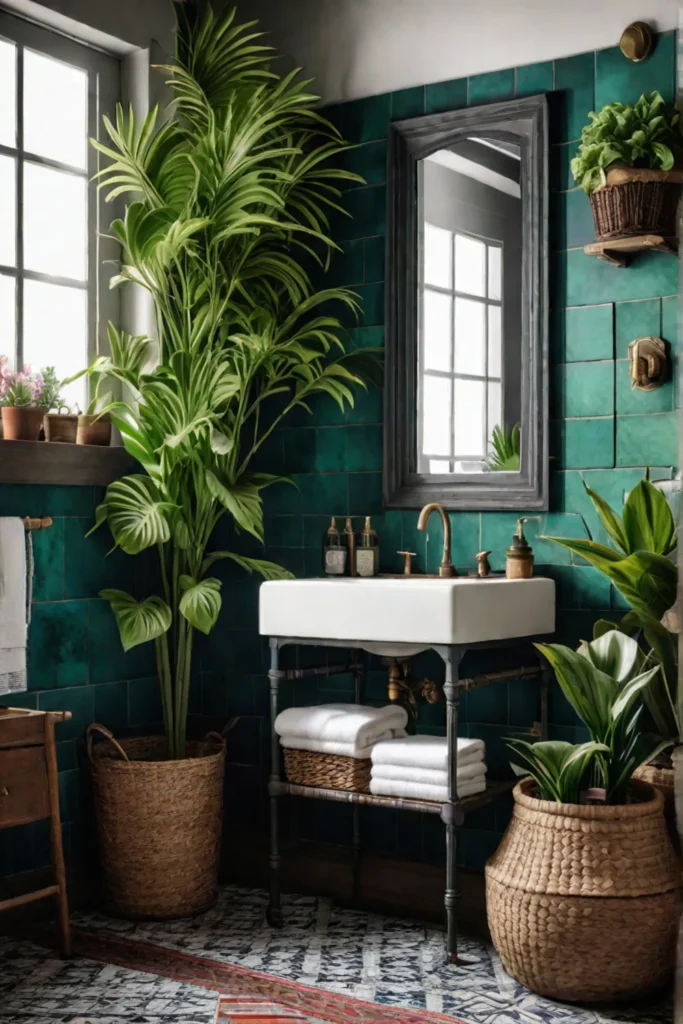
A Splash of Color: Transforming Your Vanity with Paint
Is your bathroom vanity looking a little drab and outdated? Believe it or not, a simple coat of paint can work wonders in giving it a fresh, vibrant new look. As a firm believer in the power of color to breathe life into any space, I’m here to share my top tips for transforming your vanity with paint – a budget-friendly project that you can easily tackle on a weekend.
Choosing the Right Paint
Not all paints are created equal, especially when it comes to bathrooms. To ensure a durable, long-lasting finish, opt for a high-quality, moisture-resistant paint specifically formulated for bathrooms. These paints are designed to withstand the humidity and condensation that can cause regular paints to peel or bubble over time.
Prepping Your Vanity for Paint
Proper preparation is the key to achieving a flawless, professional-looking finish. Start by thoroughly cleaning the vanity surface to remove any dirt, grime, or residue. If the surface is particularly glossy, lightly sand it to create a rough texture that will help the paint adhere better. Don’t forget to use painter’s tape to protect surrounding areas and achieve crisp, clean lines.
If you’re painting over a slick or non-porous surface, consider using a specialized primer designed for adhesion. This extra step will ensure that your new paint job stays put, even in the face of moisture and humidity.
Unleash Your Creativity
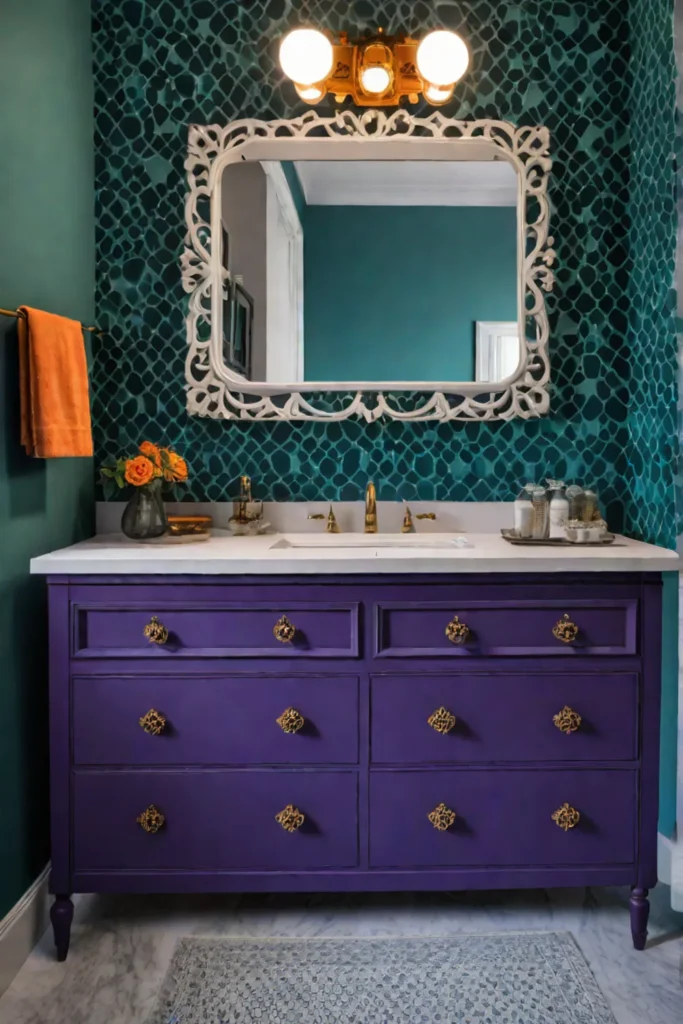
Once you’ve prepped your vanity, the real fun begins – choosing your color! Whether you prefer bold, statement-making hues or softer, more subdued shades, the world is your oyster. Don’t be afraid to experiment and let your style shine through. A fresh coat of paint can instantly transform the entire look and feel of your bathroom, making it feel cleaner, brighter, and more inviting.
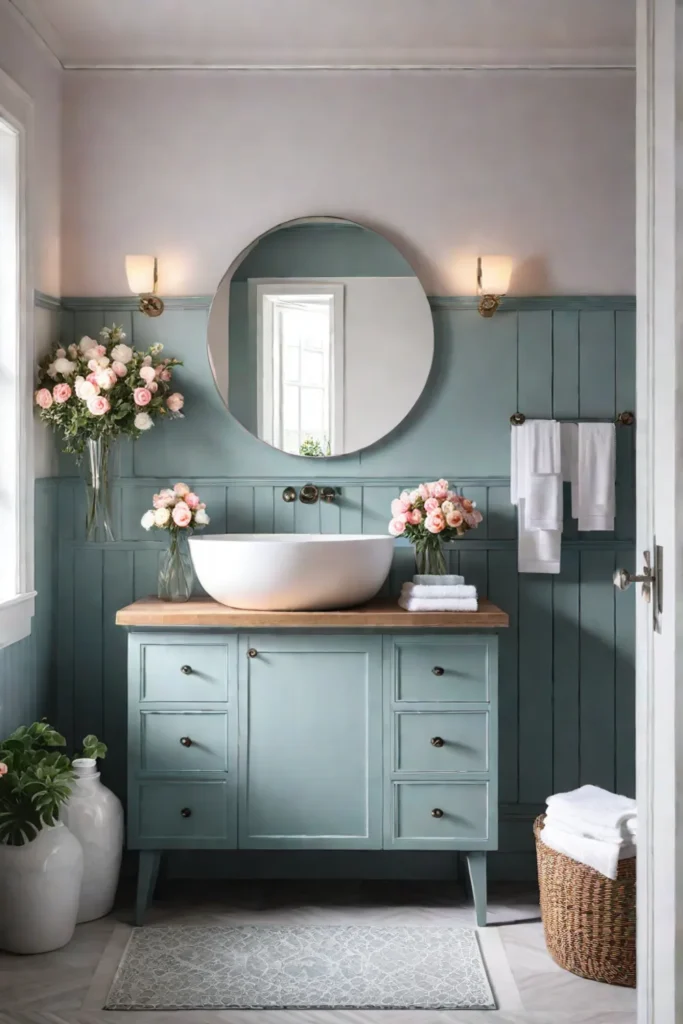
Transforming your vanity with paint is an achievable weekend project that can yield impressive results. With the right preparation and a little creativity, you can breathe new life into your bathroom without breaking the bank.
Looking for a timeless alternative to paint? The next section delves into the art of refinishing your vanity for a classic, enduring look.
Back to Its Former Glory: Refinishing Your Vanity for a Timeless Look
Is your bathroom vanity looking a little worse for wear? That tired, outdated finish can make even the most beautifully crafted piece look drab and uninviting. But fear not, my eco-conscious friends – with a little elbow grease and some patience, you can breathe new life into your vanity and restore it to its former glory. Refinishing is an affordable and sustainable way to transform your space, and it’s a project that even a weekend warrior like myself can tackle.
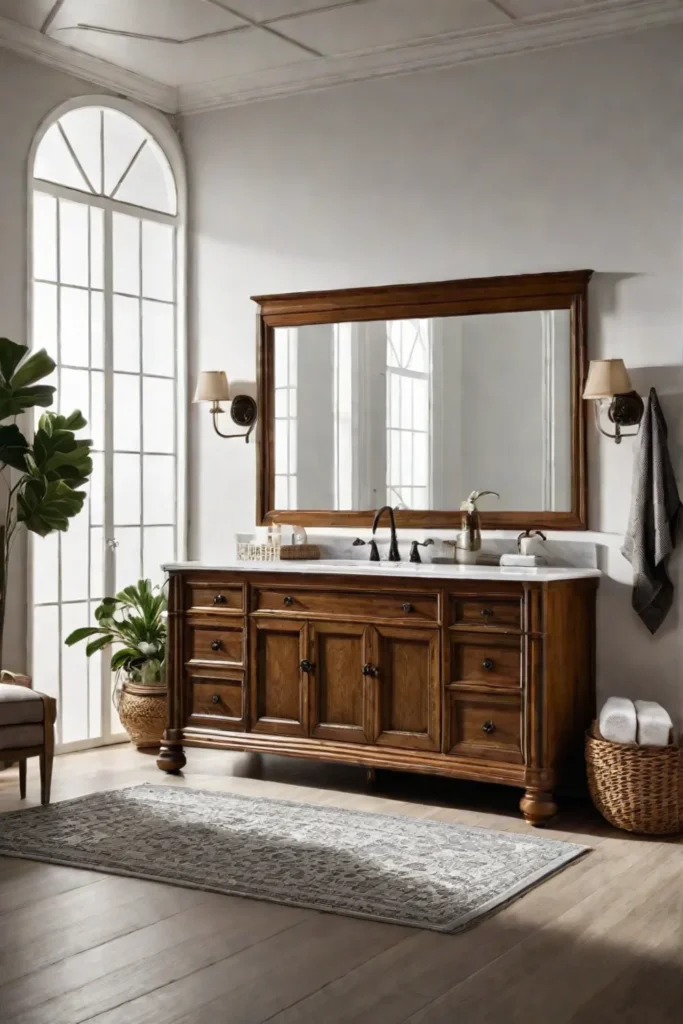
Gathering Your Refinishing Supplies
Before we get our hands dirty, let’s make sure we have everything we need. Gather up a chemical stripper (eco-friendly, of course), sandpaper in varying grits, wood filler for any nicks or dents, a good quality brush or rag for applying the new finish, and your chosen stain or paint. Don’t forget the all-important safety gear – gloves, goggles, and a well-ventilated workspace are a must.
Step-by-Step Refinishing Process
Now, let’s get down to business. Start by stripping away that old, tired finish – the chemical stripper will make quick work of it, but be patient and let it do its thing. Once that’s done, it’s time to sand, sand, sand. This step is crucial for creating a smooth, even surface for your new finish to adhere to. Fill any imperfections with wood filler, and then give it one final sanding before you move on to the fun part.
When it comes to choosing your new finish, consider the unique challenges of a bathroom environment. Water-based polyurethane or lacquer finishes are excellent choices for their durability and moisture resistance. And don’t be afraid to get creative with your color choices – a pop of vibrant hue can add a touch of personality to your space.
The Finishing Touches
Once you’ve applied your chosen finish, it’s time to let it cure and admire your handiwork. But don’t stop there! Protect your newly refinished vanity by adding some stylish and functional hardware. A sleek set of drawer pulls or a unique mirror can take your project from basic to brilliant.
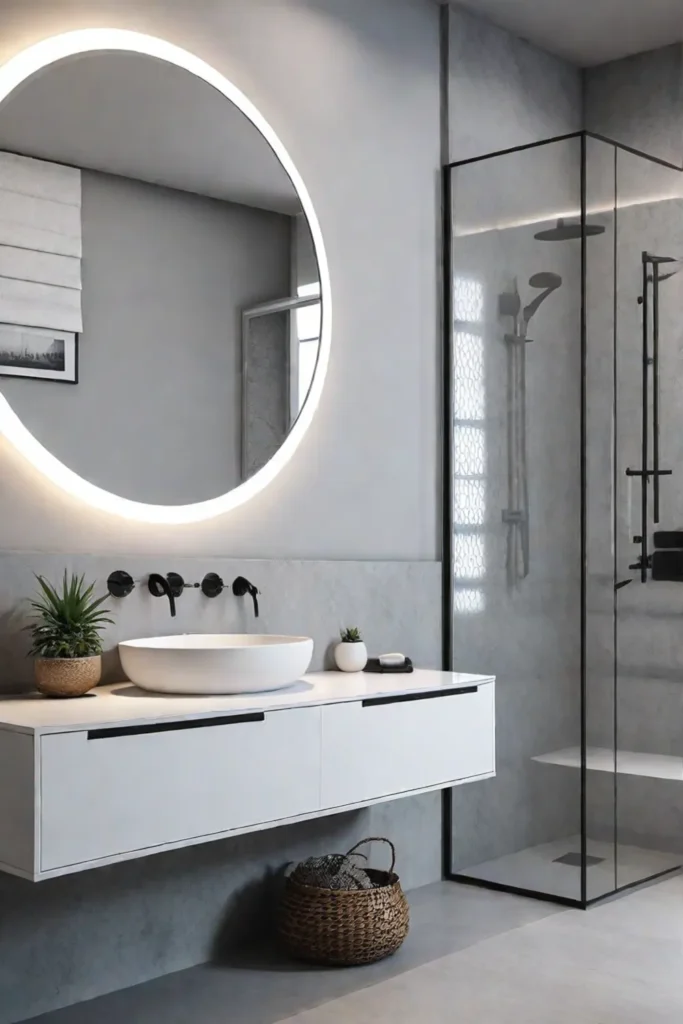
And there you have it, my friends – a vanity that looks like it just rolled off the showroom floor, but with all the character and charm of a well-loved piece. Not only have you saved yourself some serious cash, but you’ve also given new life to an existing piece, reducing your environmental impact in the process. Sustainability never looked so chic!
Now, let’s talk about those hardware upgrades – a few well-chosen pieces can truly elevate your space without breaking the bank.
Hardware that Wows: Budget-Friendly Upgrades for Maximum Impact
Did you know that something as simple as changing the hardware on your bathroom vanity can instantly elevate its perceived value? It’s true – those seemingly insignificant knobs, pulls, and hinges have the power to transform the entire look and feel of your space. So why settle for the mundane when you can effortlessly infuse your vanity with a touch of wow factor?
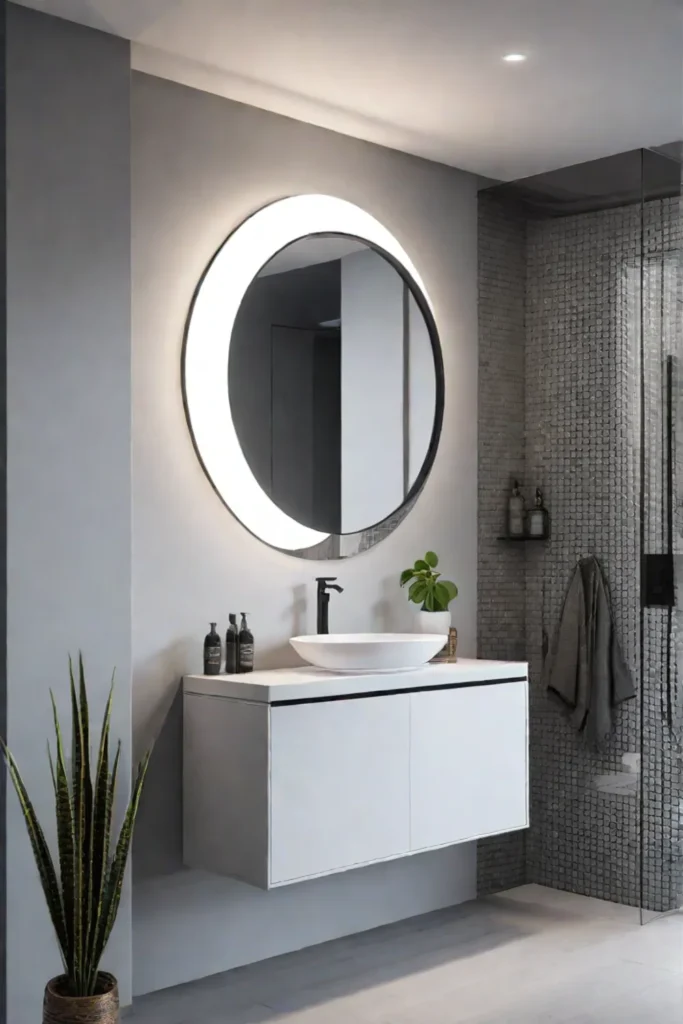
Selecting Hardware That Complements Your Style
The beauty of hardware lies in its versatility. Whether you’re drawn to sleek and modern or vintage and ornate, there’s a style to suit every taste. Perhaps you’re a minimalist at heart, craving the clean lines of brushed nickel or matte black hardware. Or maybe you prefer the warmth and character of aged brass or rustic iron. The options are endless, allowing you to express your unique personality through these small but mighty accents.
Effortlessly Installing New Hardware
Replacing your vanity hardware is a relatively simple DIY project that can be tackled in a single weekend. With just a few basic tools and a little elbow grease, you can breathe new life into your bathroom. And the best part? You don’t have to break the bank to achieve a high-end look. Mix and match different hardware finishes for an eclectic and eye-catching display, or consider adding decorative backplates for an extra touch of elegance.
Embracing Trends (or Bucking Them)
While it’s always fun to stay on top of the latest trends, don’t be afraid to forge your path. Perhaps you’re drawn to the warmth of brushed gold hardware, a timeless choice that exudes sophistication. Or maybe you’re feeling bold and want to make a statement with vibrant, jewel-toned accents. The key is to choose hardware that speaks to your style and creates a space that feels uniquely yours.
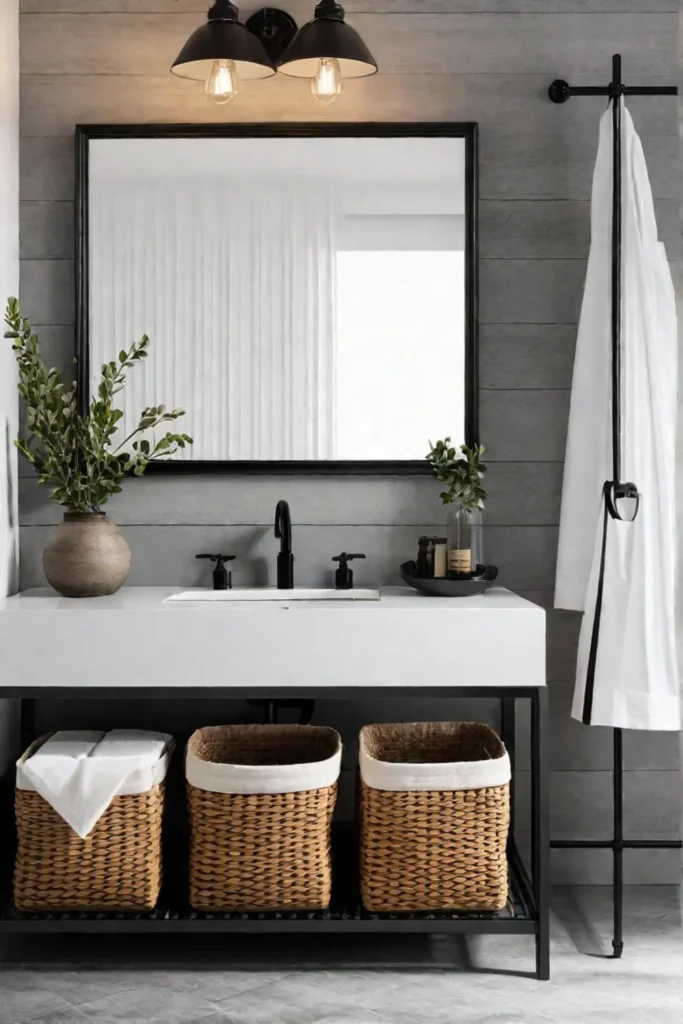
As you embark on your hardware transformation, remember that even the smallest details can have a profound impact on the overall aesthetic of your bathroom vanity. So, embrace your inner designer and let your creativity shine through these budget-friendly upgrades. Let’s move into the next section on upcycling furniture for a truly one-of-a-kind vanity.
Upcycling Ingenuity: Repurposing Furniture for a One-of-a-Kind Vanity
Have you ever stumbled upon a vintage dresser or side table and thought, “This could be so much more”? In my experience, upcycling old furniture into bathroom vanities is an ingenious way to add character and sustainability to your space. It’s a chance to breathe new life into a forgotten piece while creating something truly unique.
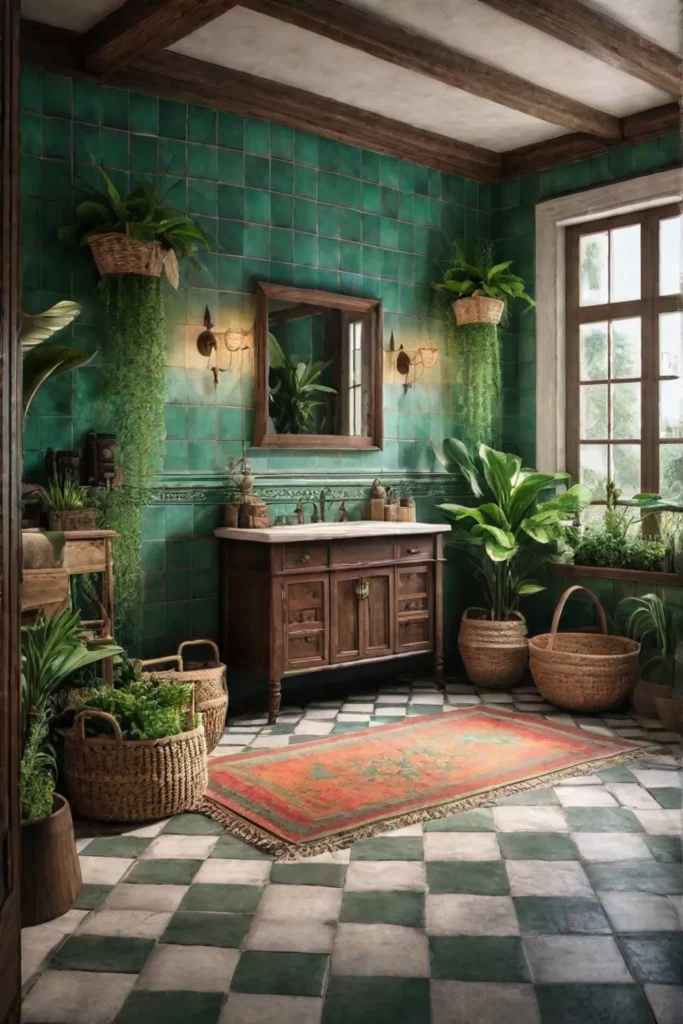
Choosing the Right Furniture Piece
The first step is finding the perfect canvas for your vanity transformation. Dressers and consoles with clean lines and sturdy construction are ideal candidates. Look for pieces with enough depth to accommodate plumbing and a spacious top surface for your sink. Don’t be afraid to think outside the box – even an old desk or bookcase could become a showstopping vanity with a little creativity.
Transforming Furniture with DIY Modifications
Once you’ve found your diamond in the rough, it’s time to roll up your sleeves and get to work. Depending on the piece, you may need to remove drawers, cut out space for plumbing, or add shelving for storage. I love incorporating open shelves or glass-front cabinets to display towels and decorative accents.
For a modern farmhouse vibe, consider adding a vessel sink and sleek faucet. If you’re feeling adventurous, you could even swap out the existing top for a stunning slab of reclaimed wood or quartz.
Putting Your Stamp on It
The true beauty of upcycled vanities lies in their ability to tell a story. Perhaps you’ll sand down the original finish and apply a fresh coat of paint in a bold, unexpected hue. Or maybe you’ll embrace the piece’s vintage charm by highlighting its unique hardware and patina.
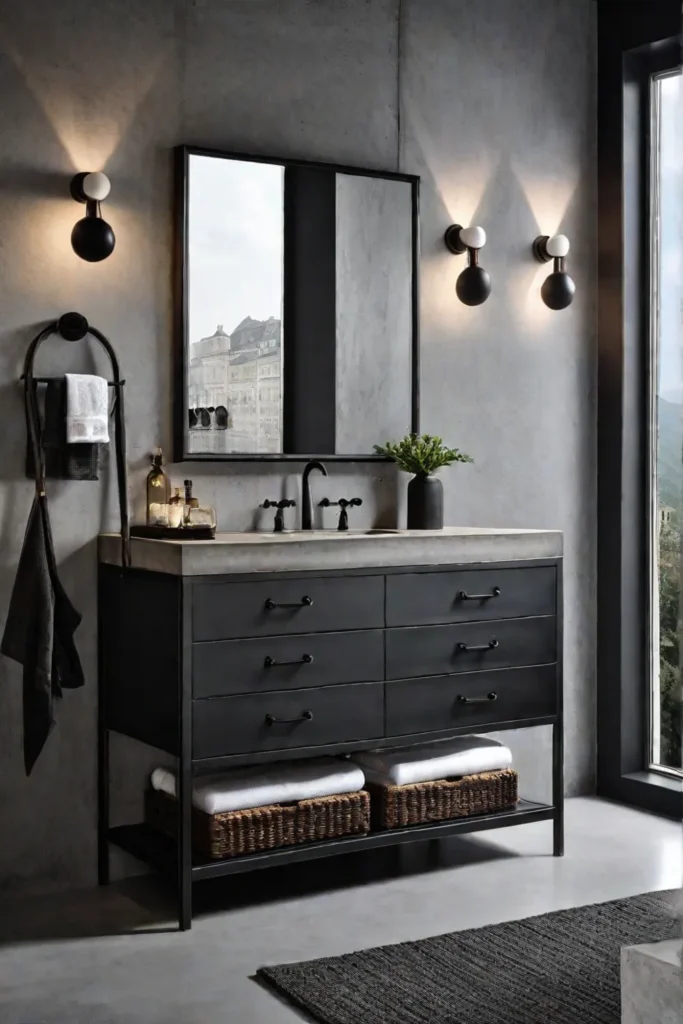
Don’t forget the finishing touches – stylish mirrors, pendant lighting, and artfully arranged plants or pottery can elevate your one-of-a-kind vanity into a true work of art.
With a little elbow grease and a whole lot of creativity, you can transform an old piece of furniture into the bathroom vanity of your dreams – one that reflects your style and commitment to sustainable living. And who knows? Your upcycled masterpiece might just inspire others to embrace the art of repurposing. Onward to the next section, where we’ll explore even more creative vanity top ideas to take your bathroom from drab to fab.
Beyond the Surface: Creative Vanity Top Ideas
What if I told you that the vanity top is the unsung hero of your bathroom makeover? Often overlooked, this humble surface can make or break the overall aesthetic and functionality of your space. As a landscaper and home decor enthusiast, I’ve learned that every element, no matter how small, plays a vital role in crafting a cohesive and inviting environment.
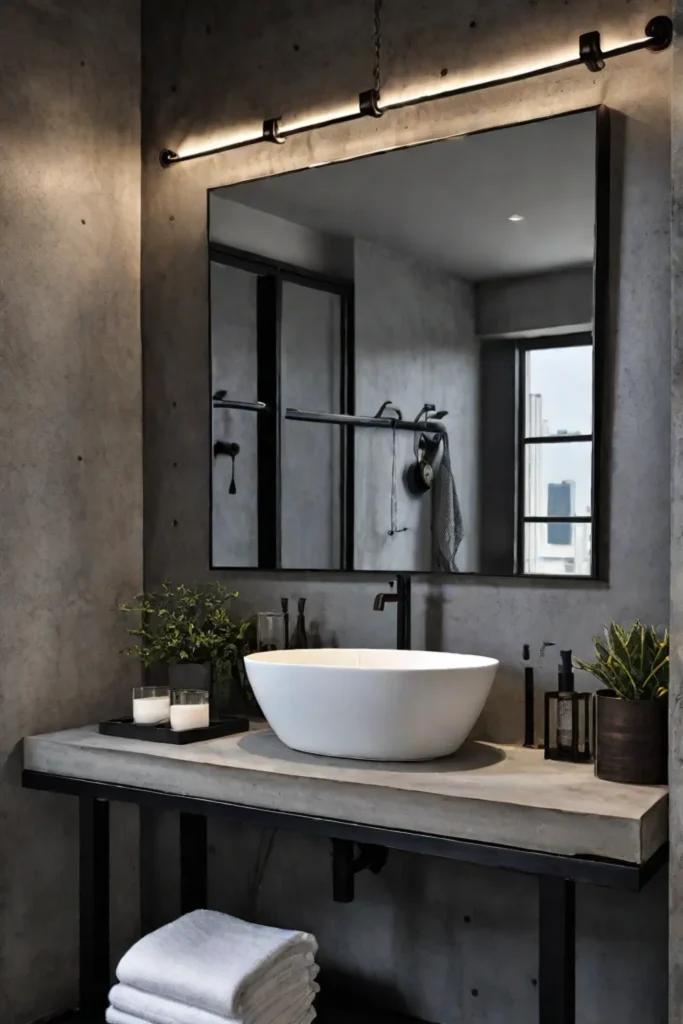
Exploring Popular Vanity Top Materials
The world of vanity tops is a kaleidoscope of possibilities, each material offering its unique charm and practicality. For a sleek and modern look, quartz is a fantastic choice – not only is it visually stunning, but it’s also incredibly durable and resistant to stains, making it a practical option for high-traffic areas. If you’re aiming for a warm and inviting feel, a butcher block countertop can add a touch of rustic charm to your space.
DIY Vanity Top Installation Tips
Feeling adventurous? Why not try your hand at a DIY vanity top installation? It’s a rewarding project that can save you money while allowing you to put your stamp on your bathroom. One of my favorite DIY options is a concrete vanity top – it’s incredibly versatile and can be molded to fit any shape or size, making it a perfect choice for those with a more industrial or minimalist aesthetic.
Unleash Your Creativity
Remember, the beauty of a vanity top lies in its ability to reflect your unique style. Don’t be afraid to think outside the box – consider repurposing materials like reclaimed wood or even incorporating decorative tiles for a touch of personality. The possibilities are endless when you approach your vanity top with an open mind and a willingness to experiment.
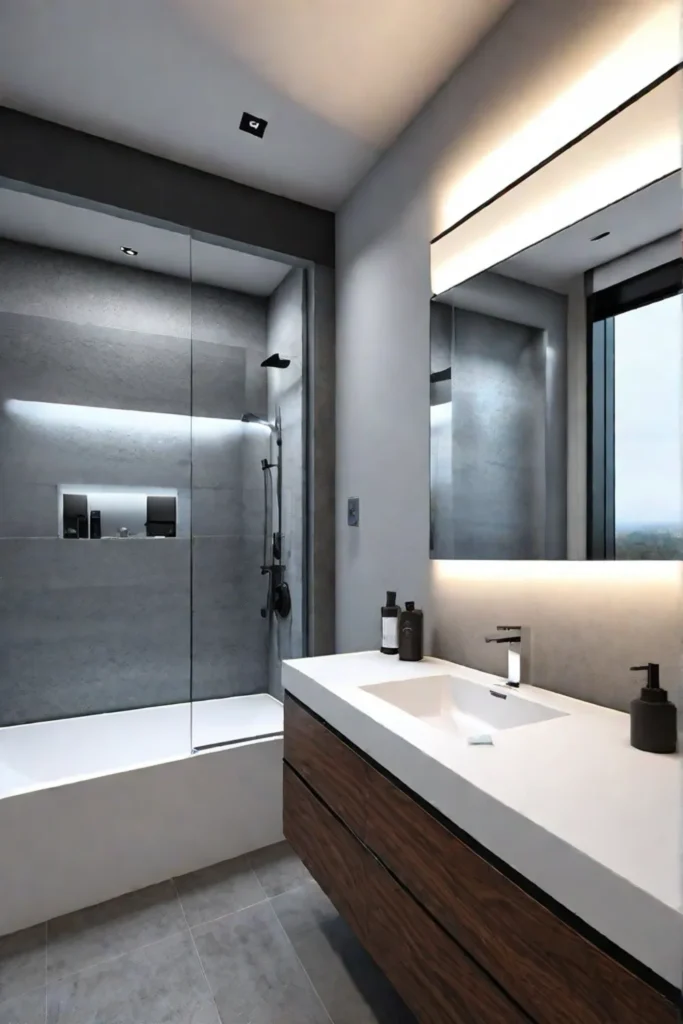
As we move on to the next section, remember that the mirror is the perfect complement to your stunning vanity top, so get ready to explore the world of reflective style!
Mirror, Mirror: Enhancing Your Vanity with Reflective Style
Have you ever walked into a bathroom and been immediately captivated by the vanity mirror? It’s not just a functional piece, but a statement-making centerpiece that can elevate the entire space. As a landscaper and home decor enthusiast, I’ve learned that the right mirror can work wonders in amplifying the beauty and functionality of your vanity area.
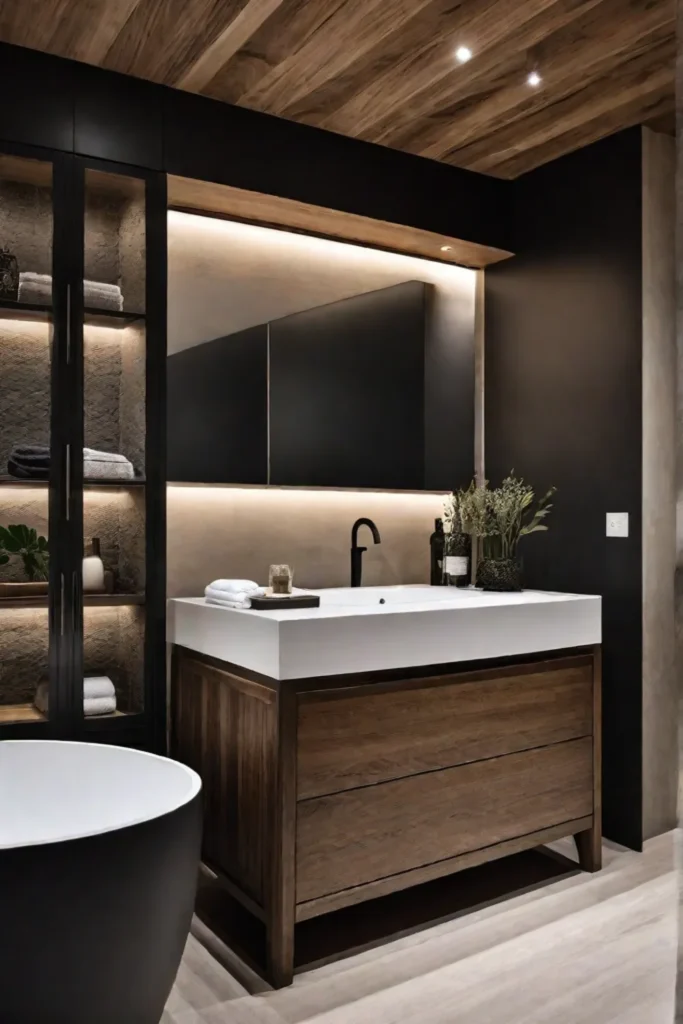
Choosing the Perfect Mirror Shape and Size
The first step in enhancing your vanity is selecting the ideal mirror shape and size. Rectangular mirrors are a classic choice but don’t be afraid to think outside the box. A round or oval mirror can soften the lines of a traditional vanity, while an arched mirror adds a touch of elegance. When it comes to size, aim for a mirror that extends a few inches beyond the vanity on each side for a balanced look.
DIY Mirror Frame Ideas
If you’re feeling creative, consider framing your mirror for a truly unique touch. A DIY frame can transform a simple mirror into a showstopper. Repurpose an ornate picture frame for a vintage vibe, or create a sleek, modern frame with wood or metallic accents. Get inspired by the natural elements of Los Angeles and incorporate materials like driftwood or succulents for a touch of organic charm.
Lighting and Placement
Proper lighting is crucial for a functional and flattering vanity mirror. Install sconces or mounted lights on either side of the mirror to provide even illumination and eliminate harsh shadows. For an added touch of luxury, consider incorporating dimmers to adjust the ambiance. When it comes to placement, position the mirror at eye level for optimal convenience and visibility.
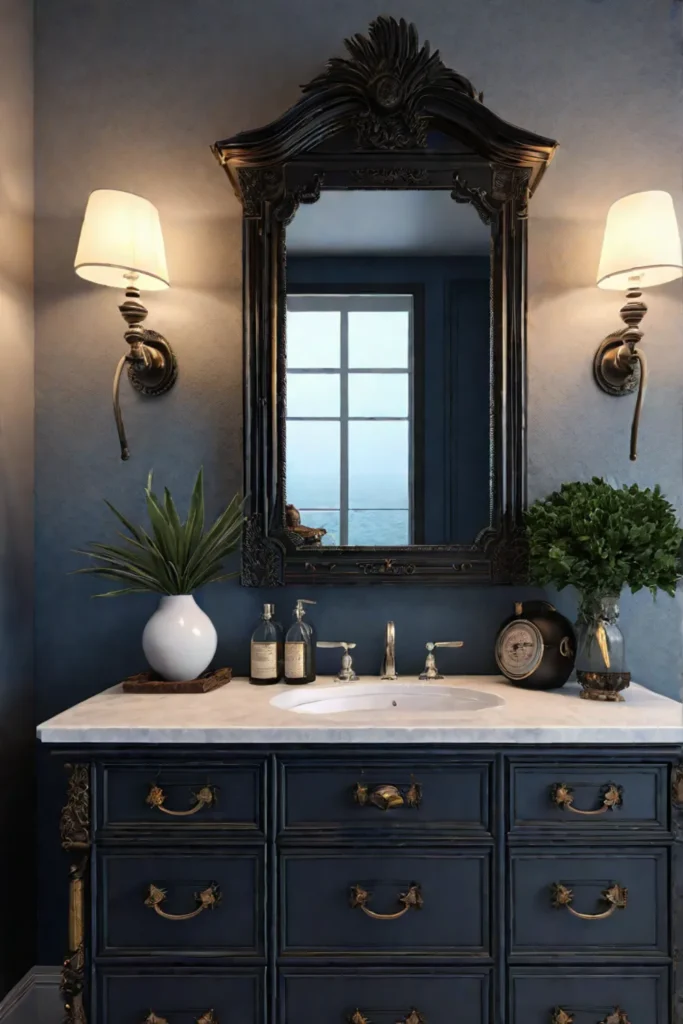
As you can see, a well-chosen mirror can be the crowning glory of your vanity area, creating a space that is not only practical but also stylish and inviting. With a little creativity and attention to detail, you can transform your bathroom into a personal oasis that reflects your unique style and design sensibilities.
With the mirror in place, it’s time to focus on the finishing touches that will truly make your vanity shine.
Finishing Touches: Styling Your Vanity for a Polished Look
Have you ever walked into a beautifully designed bathroom and felt a sense of tranquility wash over you? It’s amazing how the smallest details can elevate a space and create an atmosphere that instantly puts you at ease. That’s the power of thoughtful styling, my friends. And when it comes to your DIY bathroom vanity makeover, the finishing touches can truly make all the difference.
Organizing Your Vanity Essentials
Let’s start with the practical side of things. A cluttered vanity top can be a real mood killer, so it’s essential to keep your essentials organized. Invest in some stylish trays or organizers to corral your toiletries, makeup, and other daily necessities. Not only will this help you maintain a tidy space, but it also adds a touch of intentionality to your vanity’s overall aesthetic.
Adding Decorative Accents
Now, let’s have some fun! This is where you can let your creativity shine. Consider adding a few decorative accents to your vanity to infuse your style and create a cohesive, inviting atmosphere. I’m a huge fan of incorporating natural elements, like a potted plant or a wooden tray for holding your jewelry. Not only do these touches bring a sense of warmth and texture to the space, but they also create a subtle spa-like ambiance that’s perfect for your daily pampering routine.
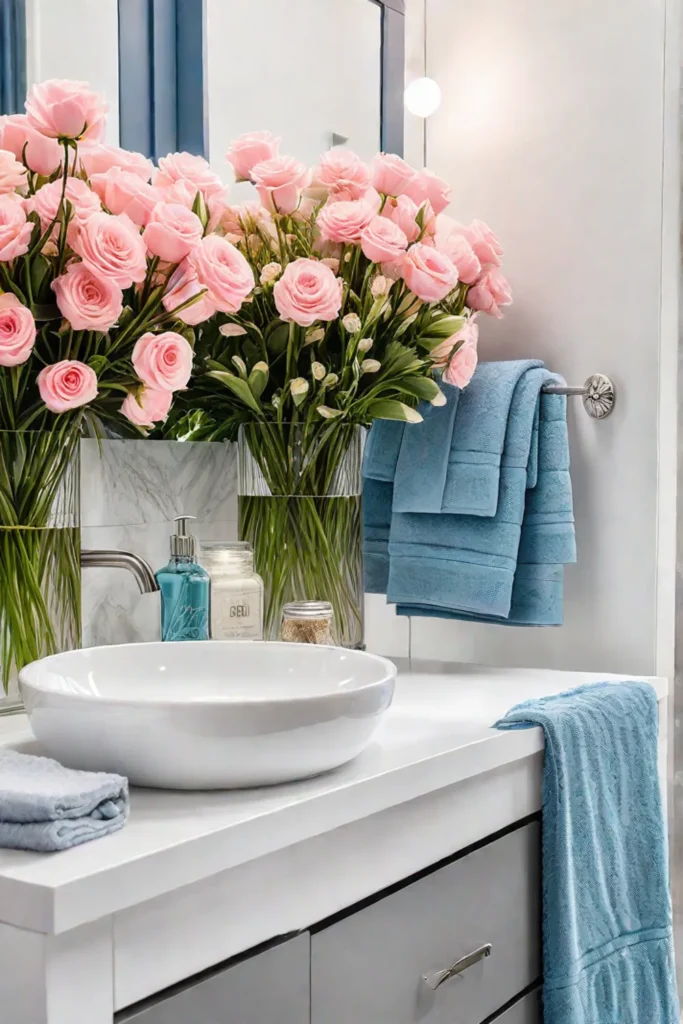
Another idea? Fill a decorative vase or jar with fresh flowers or greenery. This simple addition can instantly breathe life into your bathroom and add a touch of freshness that’s sure to uplift your spirits every time you step into the space.
Reflecting Your Personality
At the end of the day, the true magic lies in styling your vanity in a way that reflects your unique personality and taste. Whether you gravitate towards minimalist chic or bohemian flair, don’t be afraid to experiment with different accessories and arrangements until you find the perfect combination that speaks to your soul.
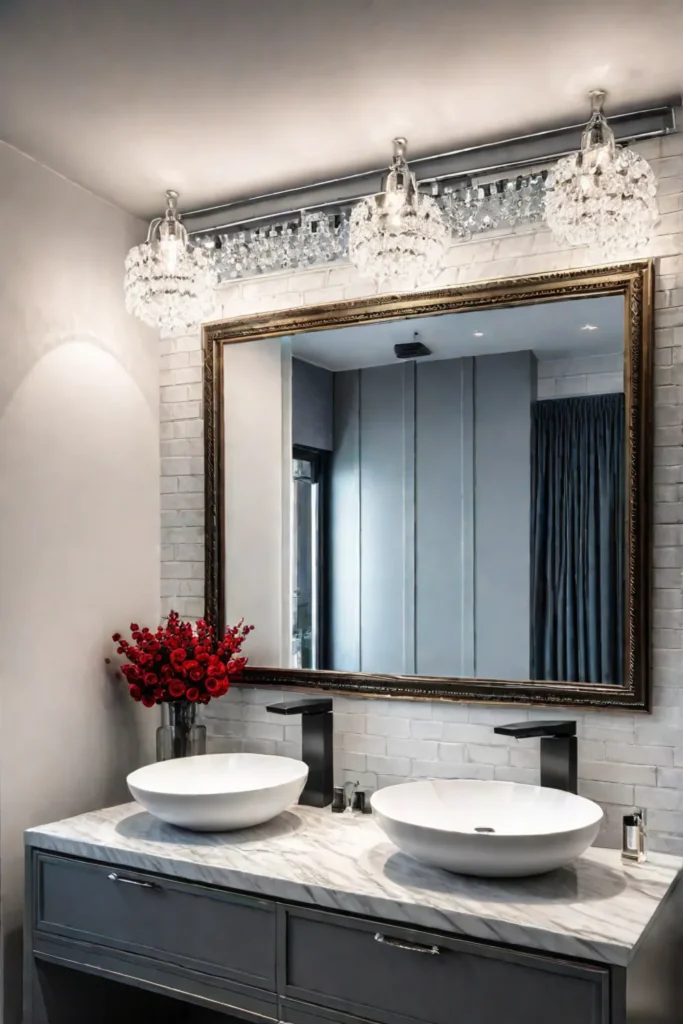
Remember, the finishing touches are what truly elevate a space from a simple DIY project to a thoughtfully curated oasis. So, have fun with it, embrace your creativity, and let your vanity be a canvas for expressing your style.
With these tips in mind, you’ll be well on your way to creating a bathroom vanity that not only looks incredible but also feels like a true extension of your home’s personality. And who knows? You might just find yourself lingering a little longer in front of that mirror, basking in the beauty and serenity you’ve created. Embrace the transformative power of styling, and get ready to fall in love with your bathroom all over again.
Now, let’s talk about putting the finishing touches on this incredible DIY journey.
Finishing Touches
As you can see, transforming your bathroom vanity into a stunning, sustainable masterpiece is well within reach – even for a weekend warrior like yourself. From the power of paint to the magic of upcycling, there’s no limit to the creative possibilities that await you. So, embrace your inner designer, let your imagination run wild, and don’t be afraid to put your stamp on every aspect of this space.
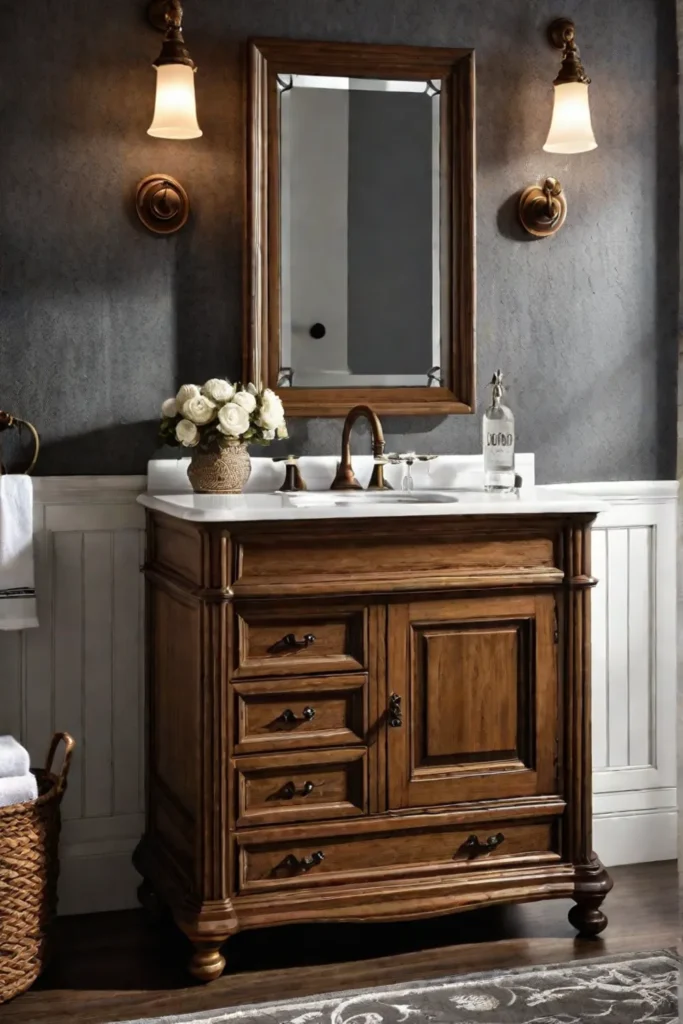
Remember, the true beauty of a DIY project lies in the journey itself – the satisfaction of rolling up your sleeves, the thrill of problem-solving, and the pride that comes with stepping back and admiring your handiwork. And when you’re surrounded by the warmth and character of a space that reflects your unique style and values, you’ll know that every moment was worth it.
So, what are you waiting for? Grab your tools, gather your materials, and get ready to embark on a DIY adventure that will transform your bathroom into a true reflection of your personality and passion for sustainable living. Because at the end of the day, your home should be a sanctuary – a place where every detail, from the vanity to the mirror, tells a story that’s uniquely yours
