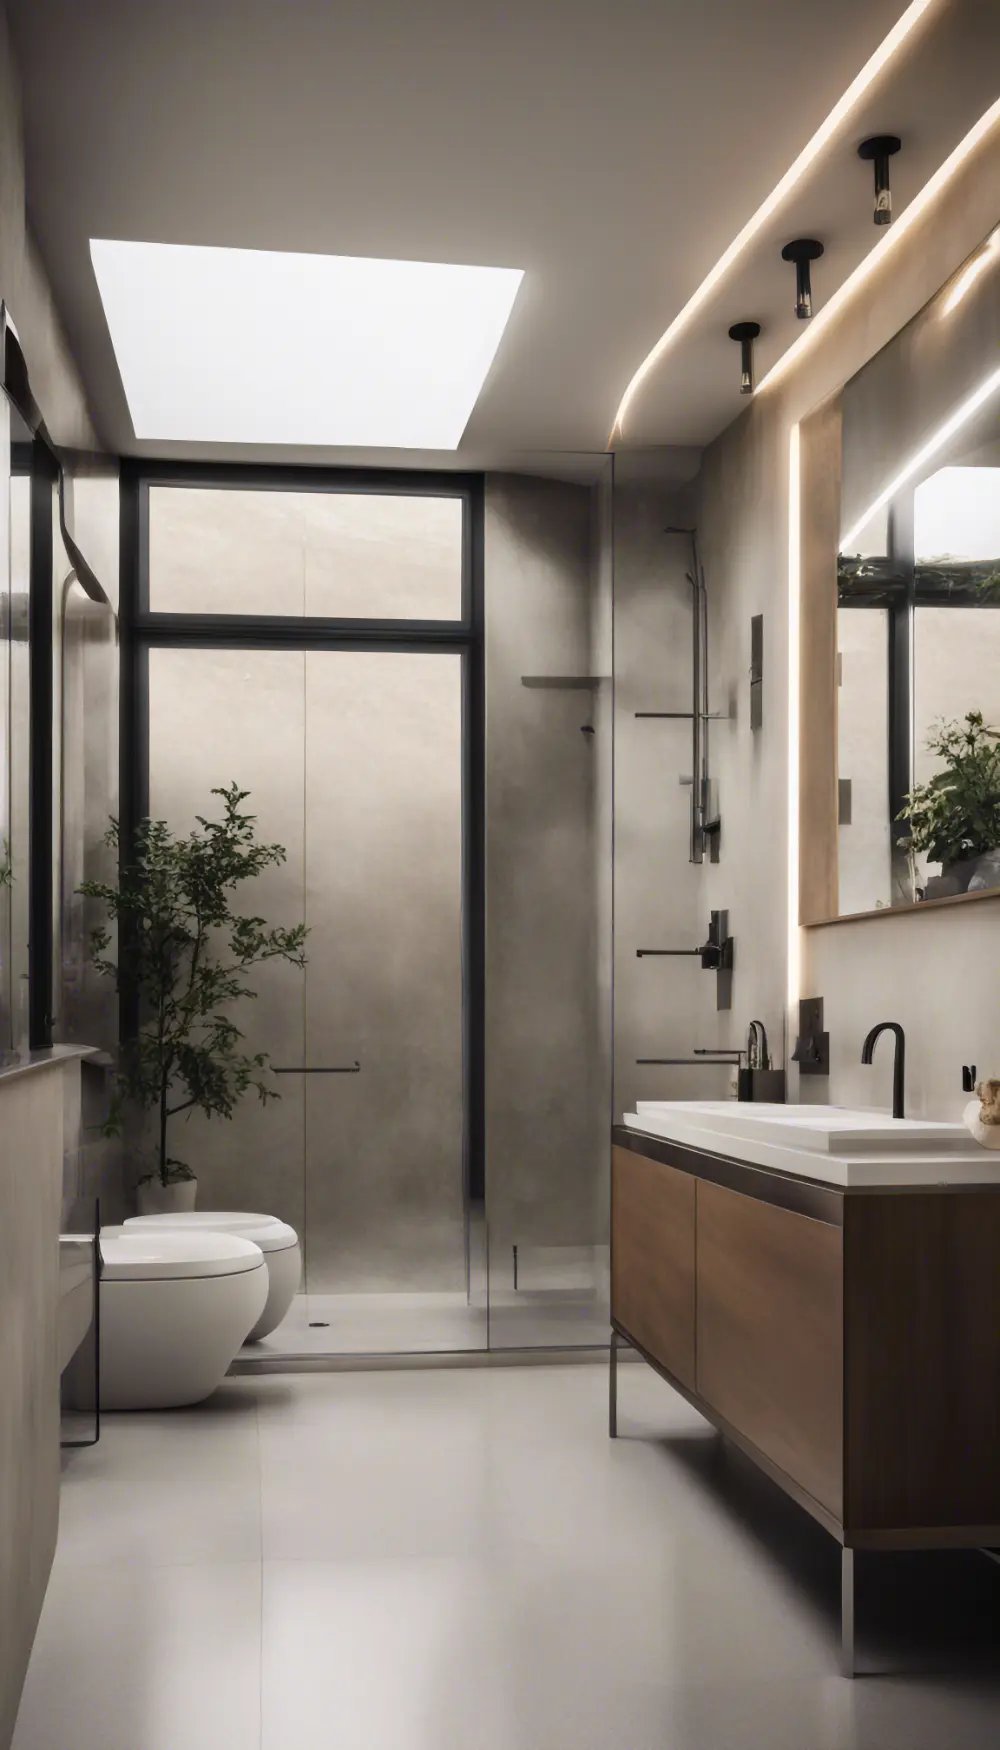
Are you tired of your boring bathroom walls? I hear you! As a home designer, I know how a few simple DIY projects can transform a space without breaking the bank. Bathroom wall decor is a game-changer—it allows you to get creative, add personal style, and potentially increase your home’s value.
Just imagine walking into your bathroom each morning and feeling inspired by a vibrant mural or lifted by the sight of a beautiful floating shelf display. The good news is you don’t need to be an interior design pro to make this happen. With some essential tools and a little elbow grease, you can turn your bathroom into a relaxing oasis that reflects your unique taste.
In this post, I’ll share eight budget-friendly DIY bathroom wall decor projects that will have your space looking fresh and fabulous in no time. Whether you’re an experienced DIYer or a beginner, there’s something here for everyone. So, let’s get started on your bathroom makeover journey!
Planning Your DIY Bathroom Wall Decor Project
Before diving into the fun part—the actual projects—it’s important to do some planning and preparation. This will help ensure your DIY bathroom wall decor turns out exactly how you envisioned it.
First, take some time to research design ideas and themes that speak to your personal style. With millions of home decor images, Pinterest is an excellent resource for finding inspiration. You can also check out portfolios from professional interior designers or follow home decor blogs to stay on top of the latest trends.
Next, create a budget for your project. Make a list of all the materials and tools you’ll need, including the cost of online purchases. Apps like Mint or YNAB can help you track your spending and stay within your desired limits.
Finally, measure the dimensions of your bathroom walls. This will help you determine the appropriate size for your decor pieces. And remember to consider the humid environment – choose moisture-resistant materials to ensure your DIY creations stand the test of time.
With a bit of planning and preparation, you’ll be well on your way to a functional and fabulous bathroom. Let’s dive into the first project!
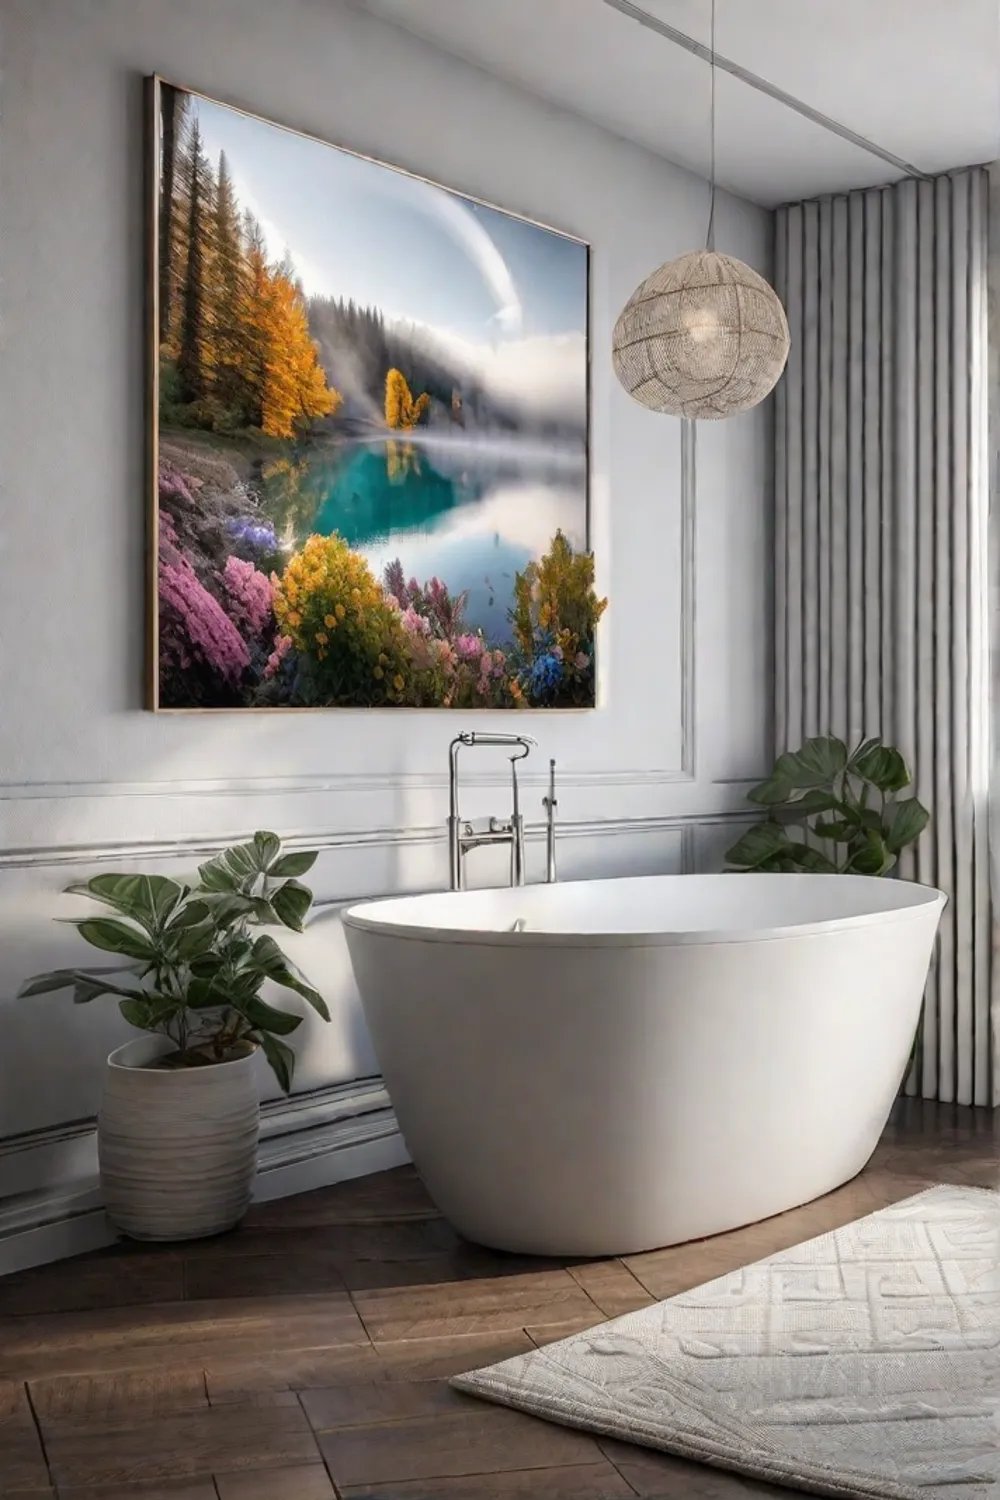
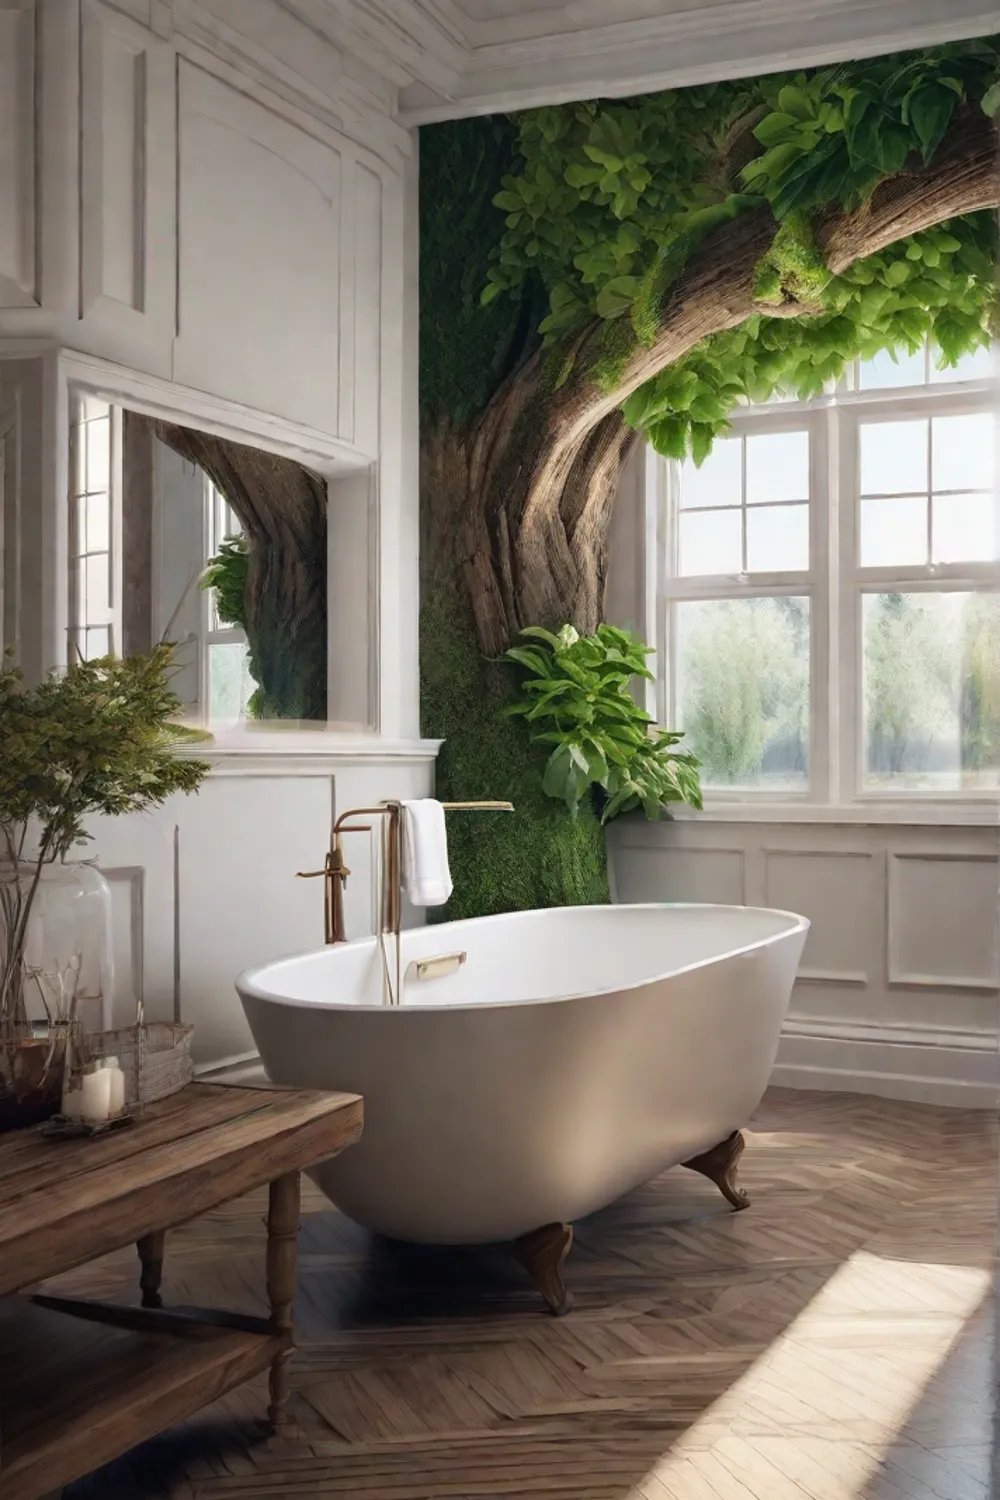
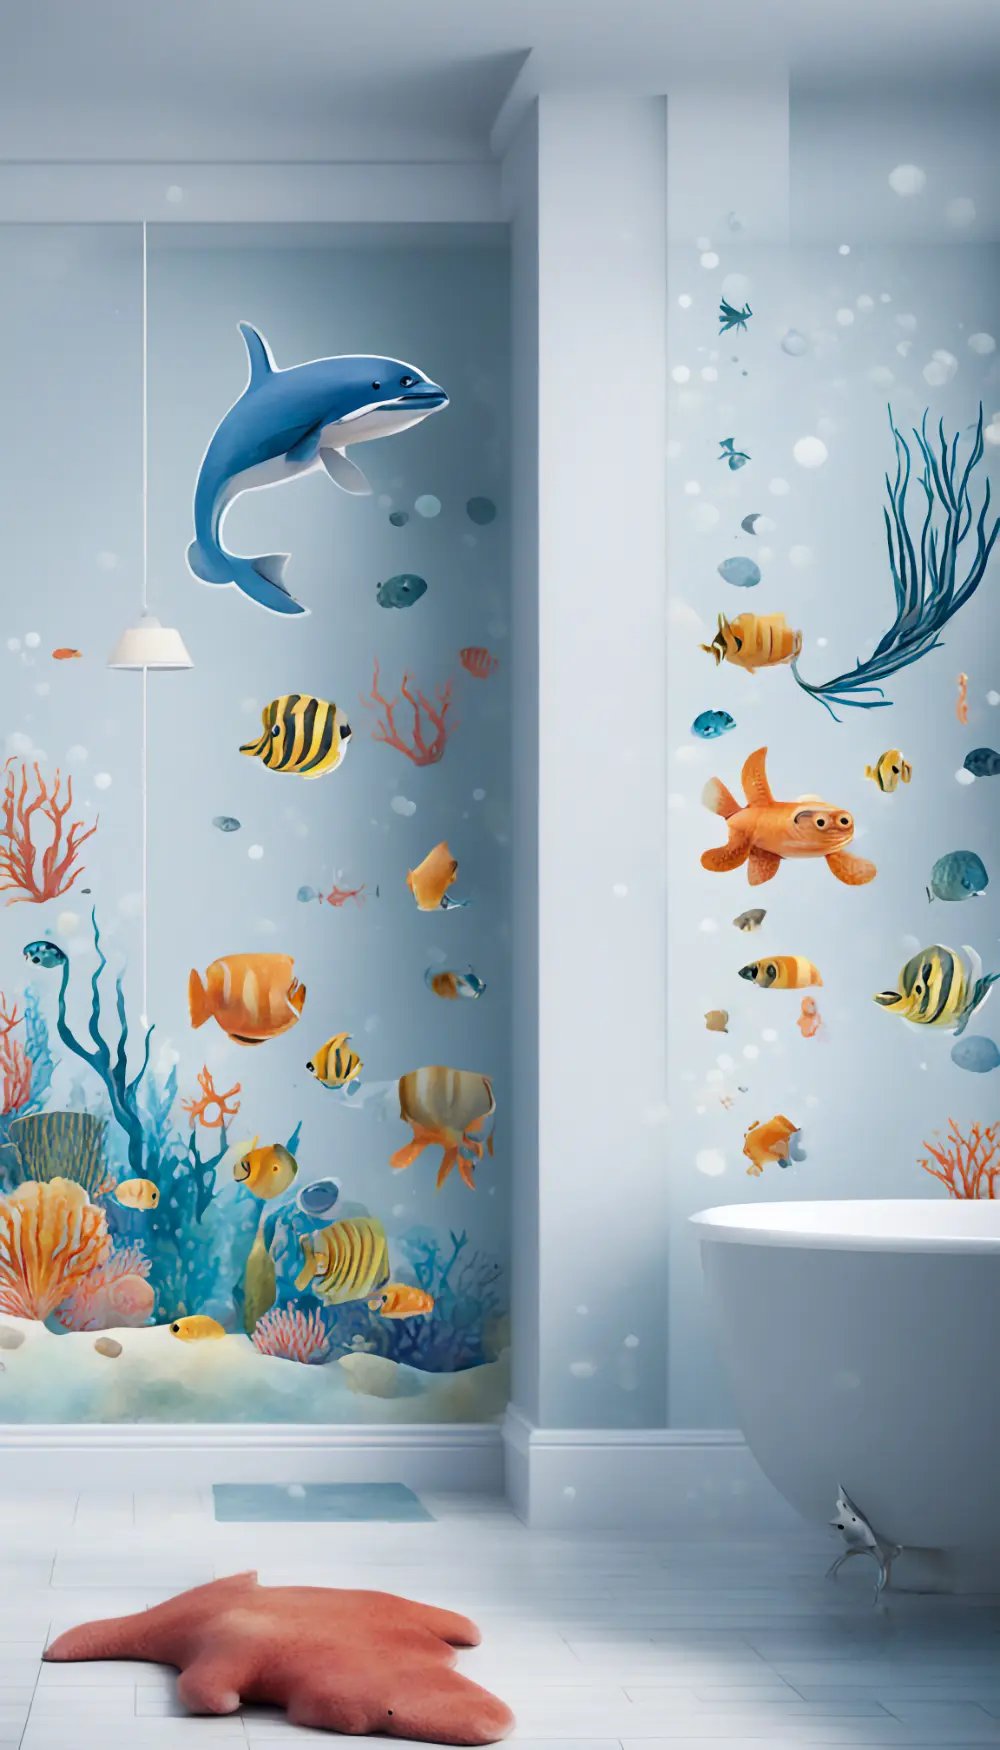
DIY Painted Murals
One of my favorite ways to add personality to a bathroom is with a vibrant, hand-painted mural. This creative DIY project allows you to transform a plain wall into a stunning focal point that reflects your unique style.
To get started, choose a theme or motif that speaks to you. You may be drawn to nature scenes, geometric patterns, or a personalized map. Sketch a rough draft of your design, which will guide you when painting.
Next, gather your supplies—painter’s tape, a pencil, a ruler, a level, paintbrushes, and acrylic or latex paint suitable for bathrooms. Acrylic paints are generally the best choice, as they are waterproof and easy to work with.
Begin by taping off the edges of your wall to prevent any paint from bleeding through. Then, lightly draw your design onto the wall using a pencil and a ruler to ensure straight lines and symmetry. Slowly fill in your sketch with paint, using small brush strokes for a smooth finish. Remember to let each layer dry completely before adding the next.
When selecting your paints, keep the bathroom environment in mind. As Sarah Heathcote, founder of The Paint Shed, explains, “Choose a high-quality, low VOC (volatile organic compound) paint for your bathroom mural. Low VOC paints emit fewer chemicals, making them safer for your health.”
The great thing about a DIY-painted mural is that you can personalize it to your liking. Incorporate elements that reflect your interests, hobbies, or favorite travel destinations. For example, create a serene beach scene if you love the ocean. Or, if you’re inspired by Art Deco, try a bold, geometric pattern.
While creating a mural requires some skill and patience, it’s an achievable project for most people with some practice. Just take your time, pay attention to the details, and you’ll have a stunning, one-of-a-kind piece that elevates your bathroom’s style.
Upcycled Wall Art
Upcycling is the way to go if you’re looking for a budget-friendly way to add character to your bathroom. You can create unique wall art that showcases your creativity by repurposing old items like frames, fabric scraps, and vintage postcards.
Start by looking around your home for potential materials. Those outdated or damaged frames you’ve been meaning to toss? Don’t throw them away just yet! With a fresh coat of paint or some new glass panes, you can transform them into stylish bathroom decor. Fabric scraps, vintage maps, and even empty toiletry containers can also be turned into one-of-a-kind wall art.
When it comes to the techniques, the possibilities are endless. Iron fabric scraps onto lightweight foam boards or canvas, then attach Velcro strips along the edges for easy hanging. Stitch together various fabrics to create a beautiful wall quilt. Or, turn an old ladder into a functional bookshelf or storage unit.
Need some inspiration? Check out these case studies of successful upcycled projects:
- The DIY Decorator shares step-by-step instructions for creating a chalkboard wall using recycled wooden pallets.
- Design Improvised demonstrates how to transform an old ladder into a stylish bookshelf or storage unit.
- Home Stories A to Z offers ideas for repurposing wine crates into functional furniture, such as shelves and storage cubbies.
To source your materials, scour local thrift stores, flea markets, and online marketplaces like eBay or Etsy. You’d be amazed at the hidden gems you can find for a fraction of the cost of new decor.
By incorporating upcycled elements into your bathroom, you’ll save money and add a unique, personalized touch to your space. Get creative, have fun, and let your DIY skills shine!
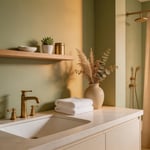
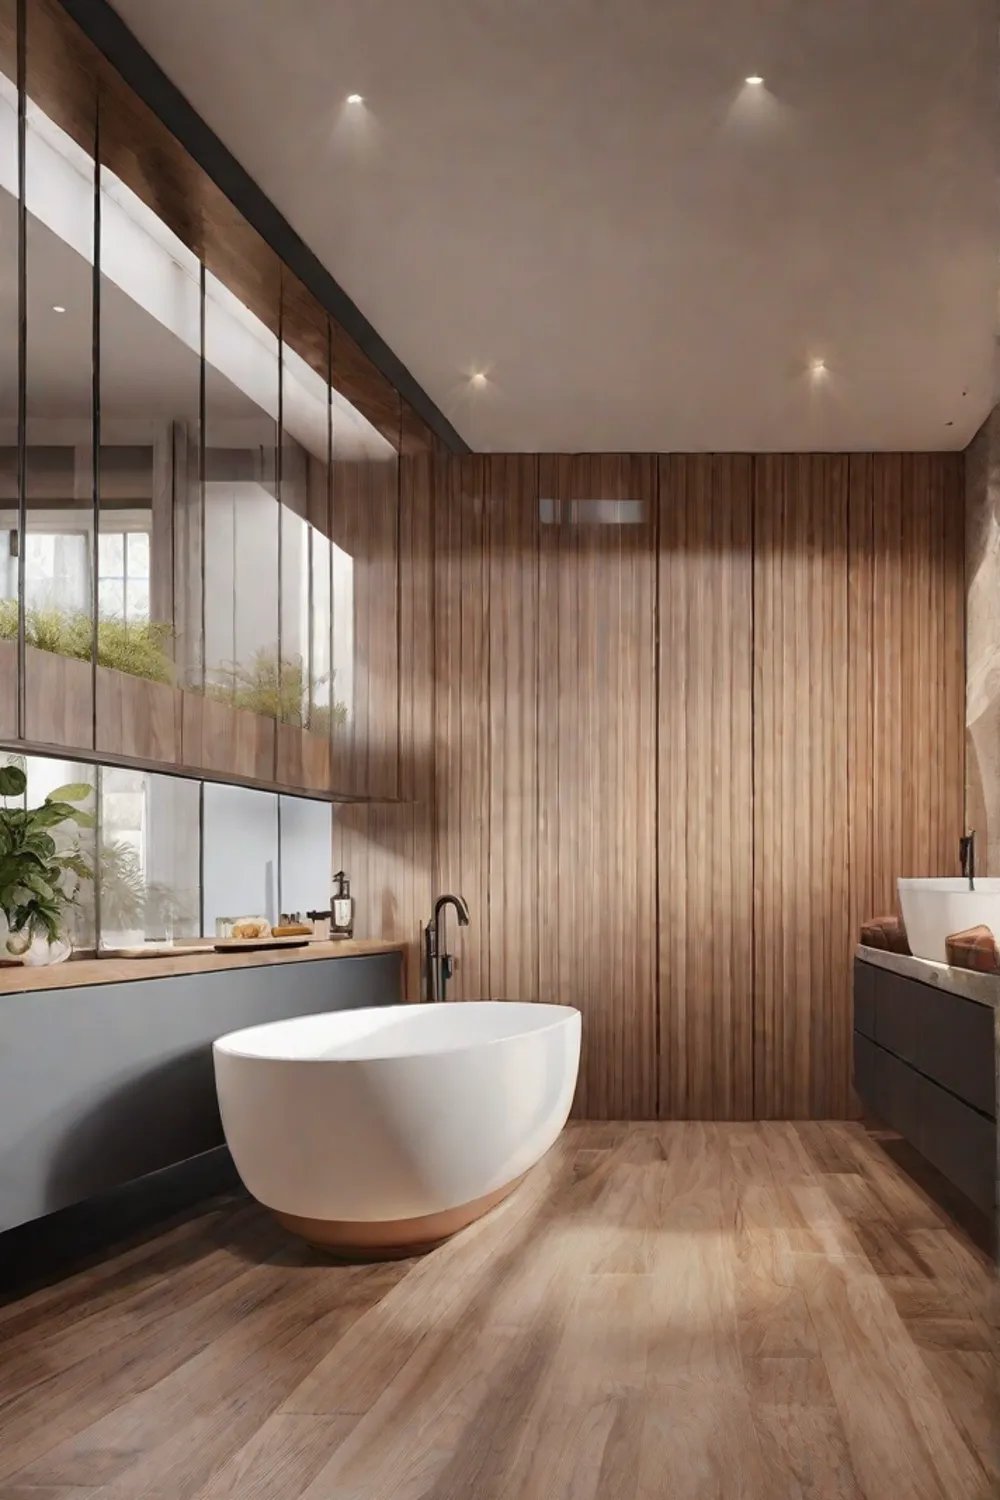
Floating Shelves and Storage Solutions
Floating shelves are a fantastic way to add style and functionality to your bathroom while staying within a budget. These sleek, wall-mounted shelves provide extra storage space without taking up precious floor real estate—perfect for small bathrooms.
When designing your floating shelves, consider using natural materials like wood to bring warmth and texture to the room. Arrange a single large shelf or a group of smaller ones to create a focal point. And remember to add some greenery by placing potted plants on your shelves for a fresh, spa-like feel.
When safely installing floating shelves in a bathroom, there are a few essential factors to remember. First, choose moisture-resistant materials like treated wood or MDF to ensure your shelves can withstand the humid environment. Next, determine the weight capacity based on what you plan to store on them. Finally, use the appropriate hardware to mount the shelves securely to your walls—you want them to stay upright and on track!
Try mounting the shelves high above the vanity or toilet to maximize your bathroom storage. This utilizes vertical space and keeps frequently used items within easy reach. Opt for sliding doors instead of hinged ones to save on floor space. You can also incorporate pull-out trays under the sink for additional hidden storage.
You’ll create a beautiful, functional space tailored to your needs by thoughtfully incorporating floating shelves into your DIY bathroom wall decor. And the best part? You can do it all on a budget.
Vinyl Decals and Removable Wallpaper
If you’re looking for an easy, budget-friendly way to transform your bathroom walls, vinyl decals and removable wallpaper are excellent options. These peel-and-stick materials offer a range of benefits, including quick application, versatility, and the ability to change up your look without damaging your walls.
Both vinyl decals and removable wallpaper come in various designs, patterns, and finishes, allowing you to customize your space to your heart’s content. And the best part? They’re relatively simple to apply, even for DIY beginners.
When it comes to the application process, here’s what you need to know:
For vinyl decals, start by cleaning the surface, then cut the decal to size if necessary. Peel off the backing and smooth it onto the wall, minimizing air bubbles. Some manufacturers even provide templates to help you position the decal perfectly.
Removable wallpaper requires more effort but is still a manageable DIY project. First, measure the area you want to cover and cut the wallpaper to size using scissors or a utility knife. Then, use a brush or roller to apply the adhesive and smooth the paper onto the wall.
In terms of durability, high-quality vinyl decals can last several years, while the lifespan of removable wallpaper can vary depending on the adhesive used. When it’s time to remove either option, take your time and follow the manufacturer’s instructions carefully to avoid any wall damage.
Whether you choose vinyl decals or removable wallpaper, these budget-friendly materials offer a quick and easy way to inject personality into your bathroom. From geometric patterns to nature-inspired designs, the options are endless. So, get creative and start planning your next bathroom transformation!
DIY Framed Mirrors
Upgrading a plain bathroom mirror into a stylish statement piece is more accessible. With a few basic materials from your local hardware store and some DIY elbow grease, you can create a one-of-a-kind framed mirror that elevates your space without breaking the bank.
The first step is to choose a frame that complements your bathroom’s overall style and color scheme. You can opt for a wooden or metal frame or even repurpose an old picture frame. Just be sure to measure your mirror accurately so the frame fits snugly.
Once you have your frame, it’s time to prepare it for installation. Depending on the material, you may need to sand, paint, or stain the frame to achieve your desired look. Just make sure it’s clean and dry before you start.
Next, attach the frame to the backside of the mirror using wood glue or screws. Leave enough space around the edges to ensure a proper fit and alignment. Finally, fill the gaps between the mirror and the frame with caulk to create a seamless, professional-looking finish.
Consider adding personal touches like monograms, family crests, or even your favorite quotes to make your framed mirror unique. For extra functionality, you can also incorporate additional elements, such as built-in shelves or storage compartments.
Compared to store-bought framed mirrors, DIY projects can save you significant money. For example, a standard 24″ x 36″ framed mirror from a home improvement store can cost anywhere from $200 to $400, while a similar DIY version could be completed for less than $
By following these steps and tapping into your creative side, you’ll have a beautiful, budget-friendly framed mirror that adds personality and style to your bathroom. It’s a win-win!
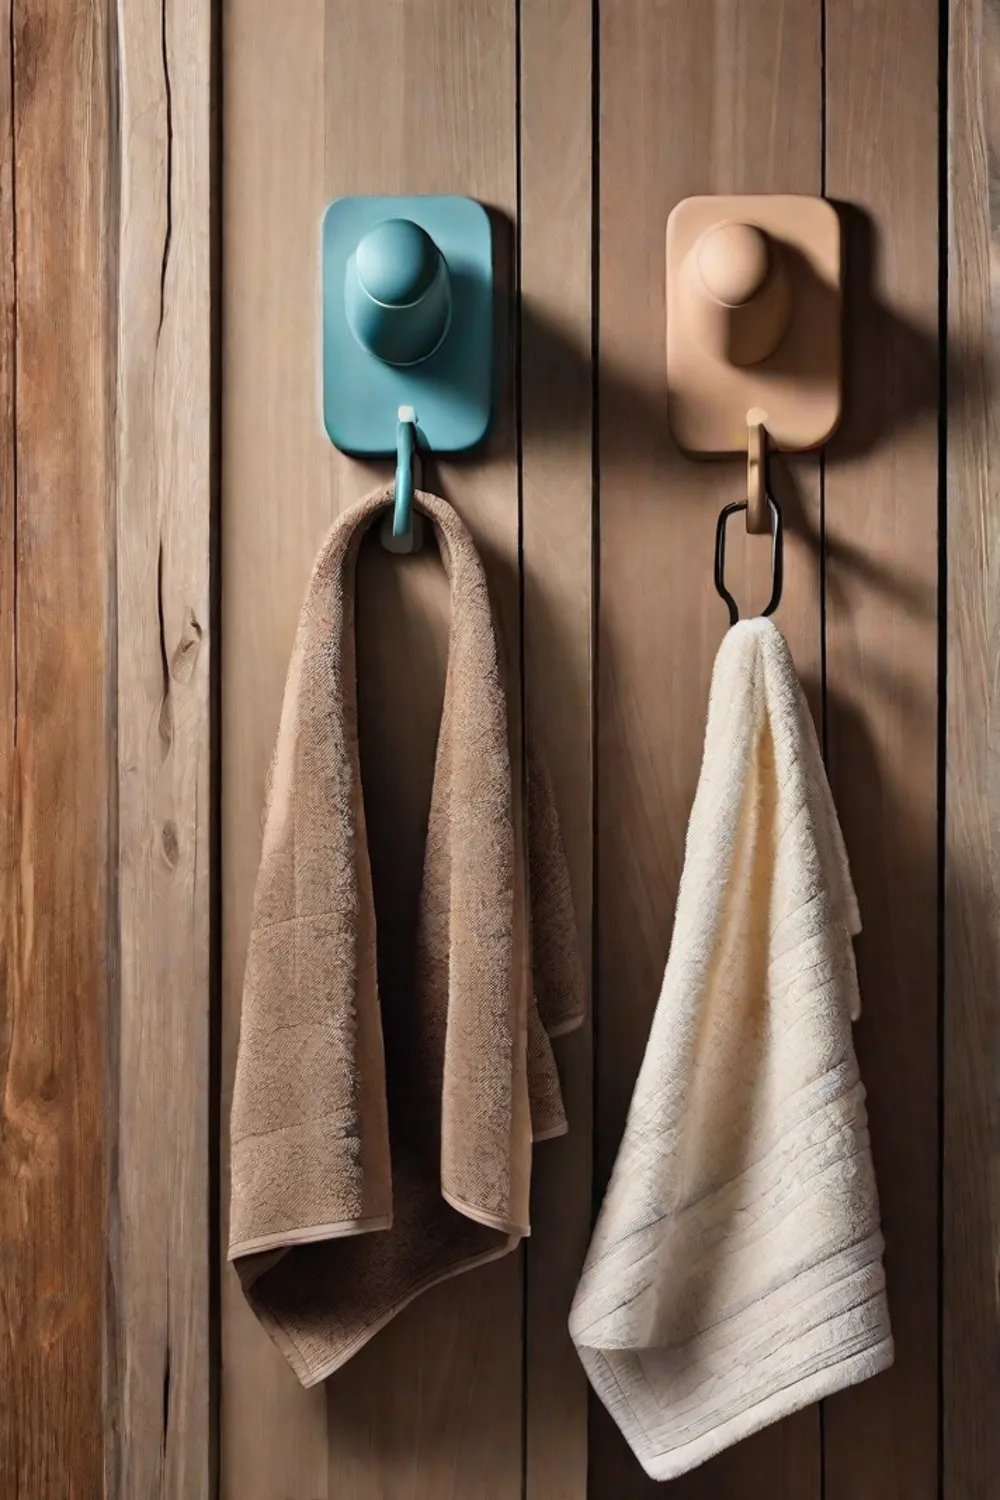
Creative Towel Hangers and Hooks
Functional decor items can significantly impact your bathroom, and towel hangers and hooks are no exception. These practical yet stylish accessories serve their purpose and contribute to your space’s overall aesthetic.
One easy DIY project is a wire basket towel holder. Use wire baskets from your local hardware store to create a rustic yet modern towel display. This is an excellent option if you’re looking for a functional piece that can be customized to fit your specific towel sizes.
Another idea is to make a unique towel ring holder using a wooden dowel and some decorative rope or ribbon. This adds a touch of elegance to your bathroom while still being budget-friendly.
Consider incorporating unconventional materials into your towel hanger and hook designs for a truly one-of-a-kind look. For example, repurpose wine bottle corks into a functional and stylish cork holder. Or, transform mason jars into rustic towel holders that blend perfectly with the farmhouse-inspired decor.
When installing your new towel hangers and hooks, consider a few safety considerations. Ensure your materials are moisture-resistant and won’t be prone to mold growth in the humid bathroom environment. Additionally, follow the manufacturer’s instructions carefully to ensure a secure and stable installation, whether drilling into the walls or using adhesive strips.
By getting creative with your towel storage solutions, you can add personality and functionality to your bathroom without spending a fortune. So, let your DIY skills shine, and have fun transforming this practical area into a stylish focal point.
Eco-friendly and Sustainable Decor
In recent years, there’s been a growing emphasis on incorporating eco-friendly and sustainable elements into our homes, and bathrooms are no exception. By choosing decor items made from recycled, upcycled, or natural materials, you can refresh your space on a budget and contribute positively to the environment.
One way to go green with your DIY bathroom wall decor is to use repurposed or upcycled materials. Glass jars, for example, can be transformed into charming storage containers or planters for small indoor plants. Bamboo, a fast-growing and renewable resource, makes an excellent choice for frames, shelves, or even towel hooks.
According to the U.S. Environmental Protection Agency (EPA), Americans generate approximately 4 million tons of municipal solid waste annually. By opting for eco-friendly decor, you can help reduce this staggering amount of waste and do your part for the planet.
Beyond the environmental benefits, sustainable materials can also offer personal health advantages. Many natural materials, like bamboo, have antimicrobial properties that make them ideal for bathroom use, where moisture and bacteria thrive.
If you’re inspired to incorporate more green elements into your bathroom, consider creating upcycled artwork using old canvases, frames, or newspaper clippings. Reclaimed wood shelves can also add character and warmth to your space while reducing waste.
And remember the power of plants! Introducing greenery through hanging planters or potted succulents beautifies your bathroom and helps purify the air, contributing to a healthier indoor environment.
By focusing on eco-friendly and sustainable decor options, you can transform your bathroom into a stylish, wellness-focused oasis – all while staying true to your budget and environmental values. It’s a win-win situation!
Conclusion
As a home designer, I’m always excited to see how DIY projects can breathe new life into a space, and bathrooms are no exception. You can easily upgrade your space without breaking the bank by tackling these eight budget-friendly DIY bathroom wall decor projects.
Whether you’re drawn to the vibrant creativity of a hand-painted mural, the rustic charm of upcycled wall art, or the sleek functionality of floating shelves, there’s something here for every style and skill level. The best part? You get to tap into your creativity and personal flair to make your bathroom your own.
Beyond the cost savings, these DIY projects also offer a sense of accomplishment and pride. Imagine the satisfaction of walking into your newly refreshed bathroom each day, surrounded by decor that you lovingly created yourself. It’s a feeling that can’t be matched by hiring a professional.
So, what are you waiting for? Choose a project that speaks to you, gather your supplies, and get ready to transform your bathroom into a beautiful and budget-friendly space. You might even discover a new DIY hobby in the process!
If you need any help along the way, don’t hesitate to let me know. I’m always happy to offer advice and share my design expertise. Now, go forth and make your bathroom dreams a reality!