You know the question people always ask me when I’m standing in the middle of their beautiful, creaky, 120-year-old home? It’s never about the foundation or the windows. It’s when we get to the kitchen, and they wave a hand at a sad, solitary ceiling fixture and ask, “What on earth do we do about the light in here?” They see the potential in the tall ceilings and the original Butler’s pantry, but the room feels like a cave after 4 p.m.
My answer is always the same: The people who built this house didn’t have to worry about this. They cooked with daylight and maybe a gas lamp. They didn’t have electricity dictating where the “work zones” were. The biggest mistake homeowners make today is thinking one bright light can solve the problem. It can’t. It just turns your beautiful, historic kitchen into a soulless operating room. What you need isn’t just light. You need layers. You need to think like a painter, revealing the depth, texture, and character that’s been hiding in the shadows.
Kitchen Lighting Design Foundations
Before you fall in love with a gorgeous brass pendant online, you have to do the foundational work. This is the stuff that isn’t glamorous but makes all the difference. It’s about creating a plan—a lighting story—that makes your kitchen not just look good, but feel right and function perfectly, whether you’re chopping onions or hosting a dinner party.
1. Uncover Your Kitchen’s 3 Layers: Ambient, Task, Accent
Everyone thinks they need a brighter kitchen, so they buy the brightest single fixture they can find. Here’s what actually happens: you create a glare-filled interrogation room with deep, dark shadows in all the most important places, like where you’re trying to chop vegetables. You’re fighting the light instead of using it. You have to stop thinking about a single light source and start thinking in three essential layers. It’s the absolute cornerstone of good design.
Think of it like this: Ambient light is your general, overall illumination—it’s the foundational light that lets you walk into the room without tripping over the dog. Task lighting is your workhorse; it’s focused, bright light aimed directly at your countertops, your sink, and your stovetop. Finally, Accent light is the magic. It’s the little highlights that draw your eye to beautiful details, like the texture of your backsplash, the glassware inside a cabinet, or a piece of art. Without all three, your kitchen will always feel flat and incomplete.
Each of these layers needs to be thought of as separate, but working together. Once you master this, you can move on to deciding where each layer is needed most.
2. Map Key Work Zones for Optimized Light Placement
Now that you understand the layers, you need a map. Grab a piece of paper and sketch out your kitchen’s floor plan. Be honest about how you use the space. Where do you actually stand when you’re prepping food? It’s probably a three-foot section of counter. Where do the kids do their homework? Where do you read recipes? Mark these spots on your map. These are your “work zones.”
I once had clients with a stunning 1920s Craftsman home. They’d spent a fortune on beautiful soapstone countertops, but the main prep area between the sink and stove was cast in a permanent shadow from their own bodies because the only light was directly behind them. They hated cooking in their dream kitchen. By simply adding a dedicated under-cabinet light to that specific zone, we transformed the space. It’s not about flooding the whole room with light; it’s about putting the right light in exactly the right spot.
Once you know your zones, you can start thinking about the quality of the light itself.
3. Choose the Right Color Temperature for Ambiance and Function
Can we talk about why so many kitchens feel like a hospital cafeteria or a dingy cave? It’s because everyone gets color temperature wrong. Measured in Kelvin (K), this isn’t about how hot a bulb gets; it’s about the color of the light it produces. And frankly, a lot of what’s sold in big box stores is terrible. Anything above 4500K starts looking cold, sterile, and slightly blue—it’s unflattering to people and food. Anything too low, like 2200K, can feel dim and overly yellow.
You need to match the temperature to the task. For your work zones—those countertops where you need to see clearly—a clean, neutral white light around 3500K to 4000K is perfect. It’s bright and clear without being harsh. But for ambient lighting and any lights over a dining area, you want to lean warmer, into the 2700K to 3000K range. This is the temperature of welcoming, cozy, evening light. Using a single color temperature throughout the entire kitchen is a massive mistake that makes the space feel one-dimensional.
After you decide on the color, you need to figure out just how much light you’ll need.
4. Calculate Lumen Needs for Perfectly Bright Kitchen Spaces
Okay, stop thinking in watts. Watts measure energy use, not brightness. That’s old-school thinking from the incandescent era. Today, we measure brightness in lumens. Calculating how many lumens you need isn’t as complicated as it sounds. The basic rule of thumb is to figure out your kitchen’s square footage (length times width) and then multiply that by a number based on the zone.

For general, ambient light, aim for around 30-50 lumens per square foot. For task areas, you need more—think 70-80 lumens per square foot. Here’s what’s just noise: getting bogged down in the exact math. What really matters is using this as a starting point and then adjusting for your specific home. A Victorian kitchen with dark, cherry cabinets and a soapstone counter will absorb light and needs more lumens. A modern, all-white kitchen with glossy surfaces will reflect light and needs less. Use the calculation as your guide, not as an unbreakable law.
Of course, the best and cheapest light of all is the one that’s already there.
5. Maximize Natural Light for Daytime Energy Savings
Before you spend a dime on fixtures, look at your windows. In historical homes, windows were the primary source of light, and they were often placed with incredible intelligence to capture the sun. Don’t fight them! The biggest crime I see is people covering up beautiful, large original windows with heavy, dark drapes to gain privacy, and in the process, plunging their kitchen into darkness all day long.
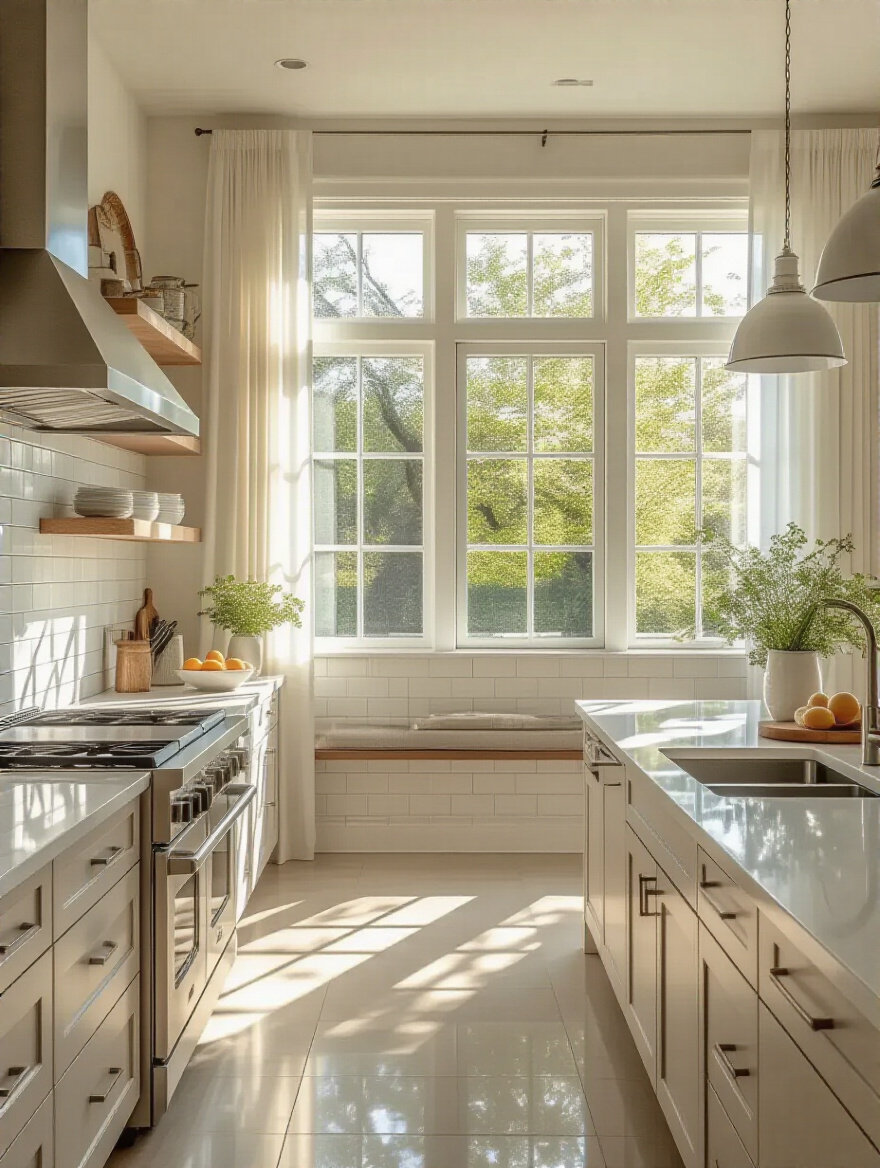
Opt for lighter, sheerer window treatments that you can easily pull back or that diffuse light without blocking it completely. And think about reflectivity. A light-colored countertop, a glossy backsplash tile, or even a strategically placed mirror can bounce natural light from a window deep into the room. If you’re undertaking a larger renovation in an old rowhouse with a dark central kitchen, look into a solar tube. It’s an incredible device that can funnel bright, natural sunlight from your roof down into a windowless space.
Selecting Optimal Kitchen Fixture Types
This is the fun part—picking out the jewelry. But every fixture has a job to do. Your choices here will define the style of your kitchen, but more importantly, they’ll determine whether your lighting plan actually works. This is where you bring those layers of light to life.
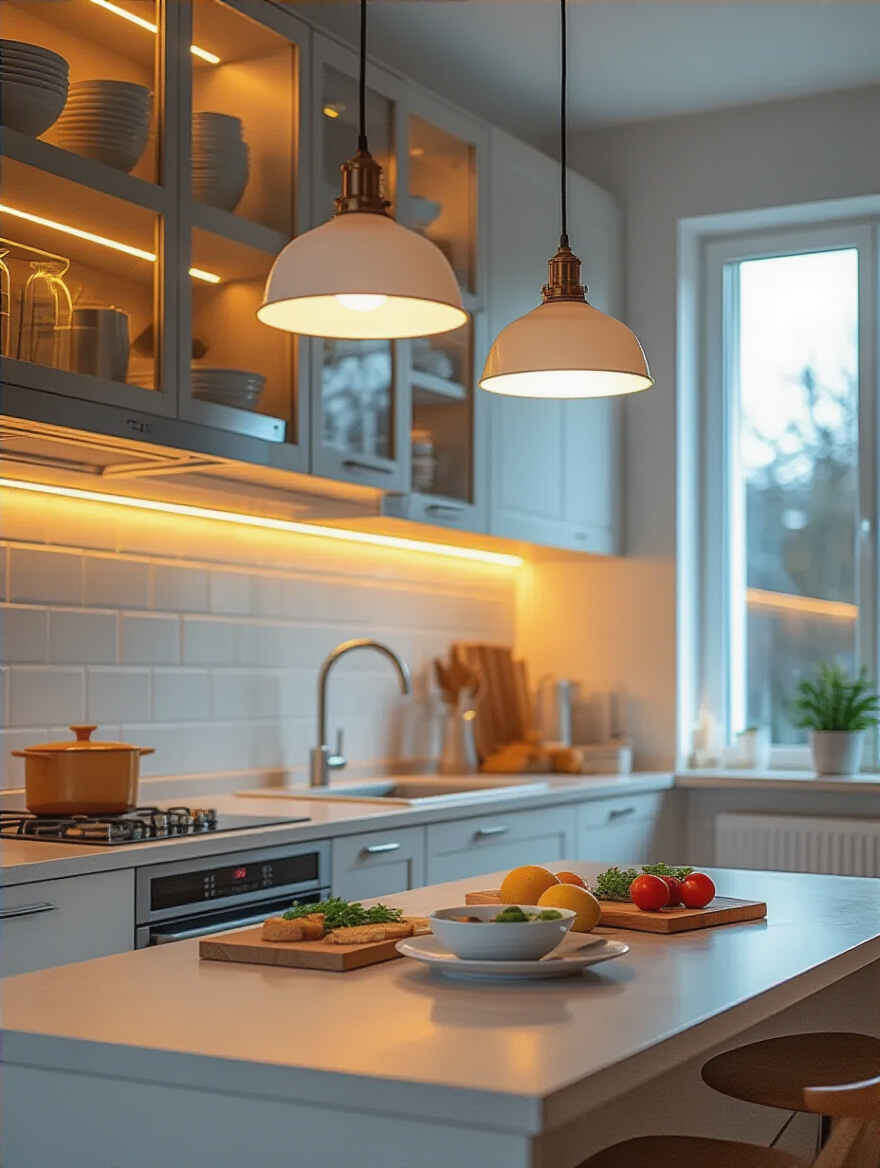
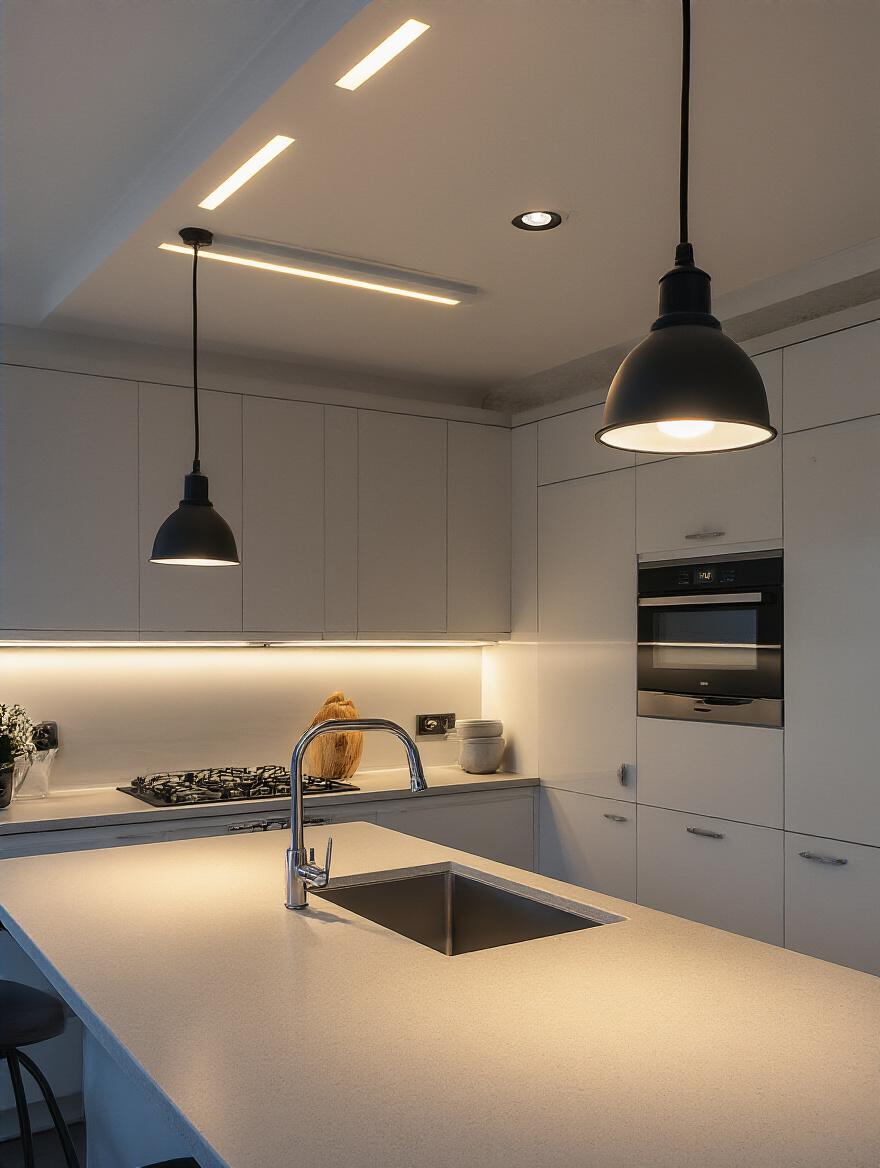
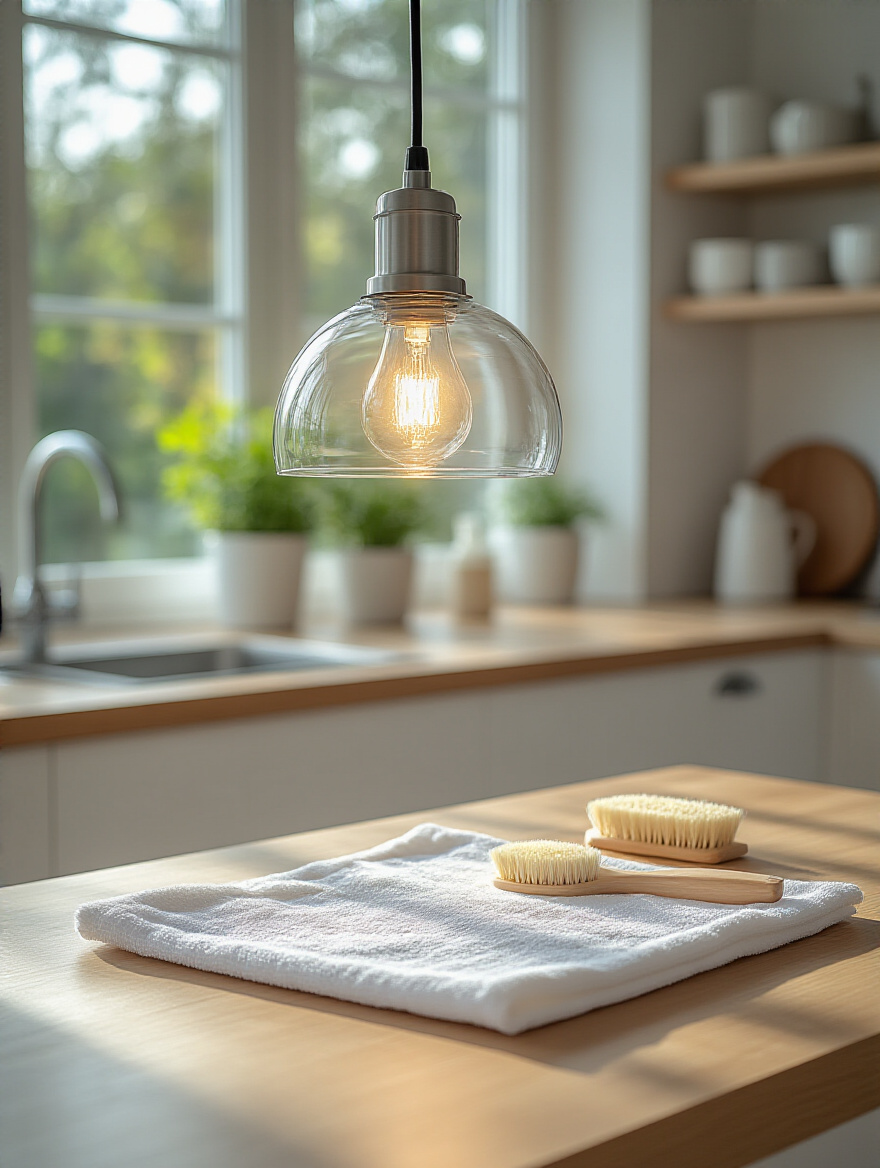
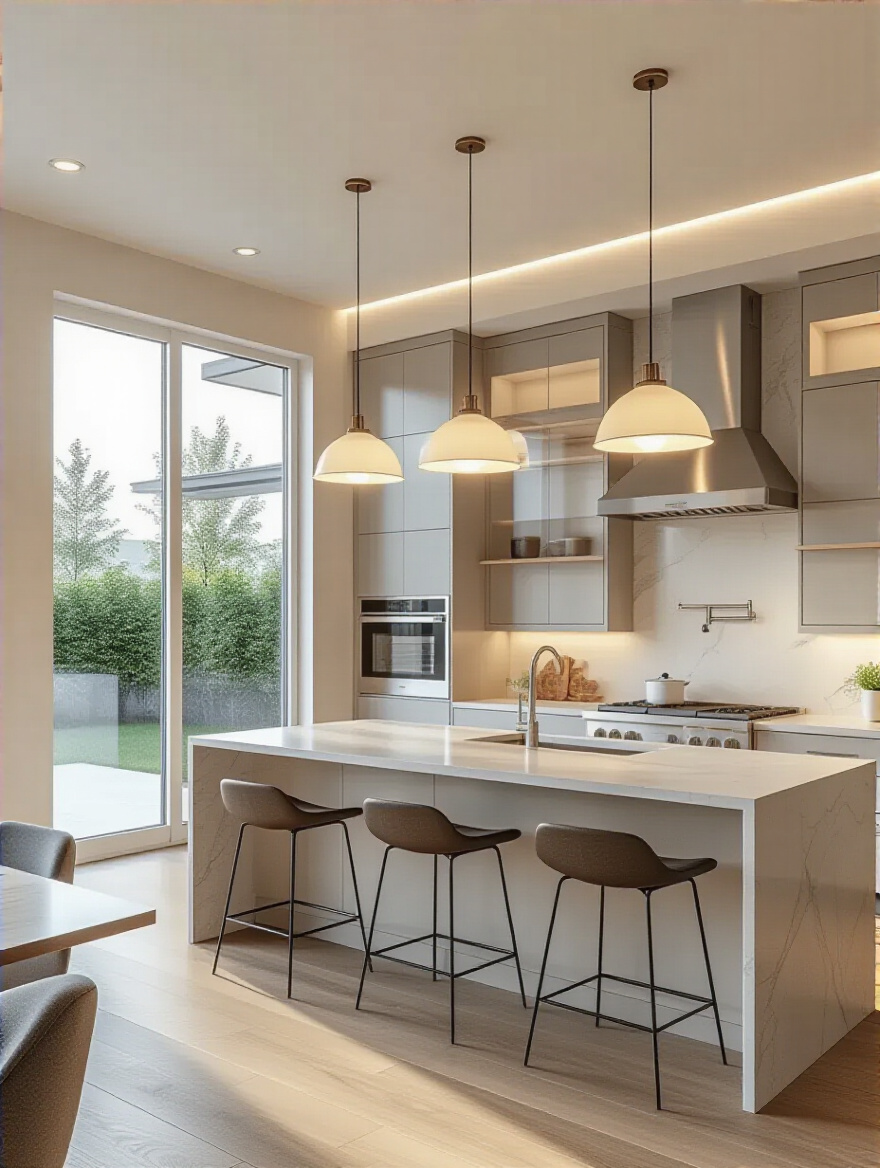
6. Pick Perfect Pendant Lights to Define Your Island
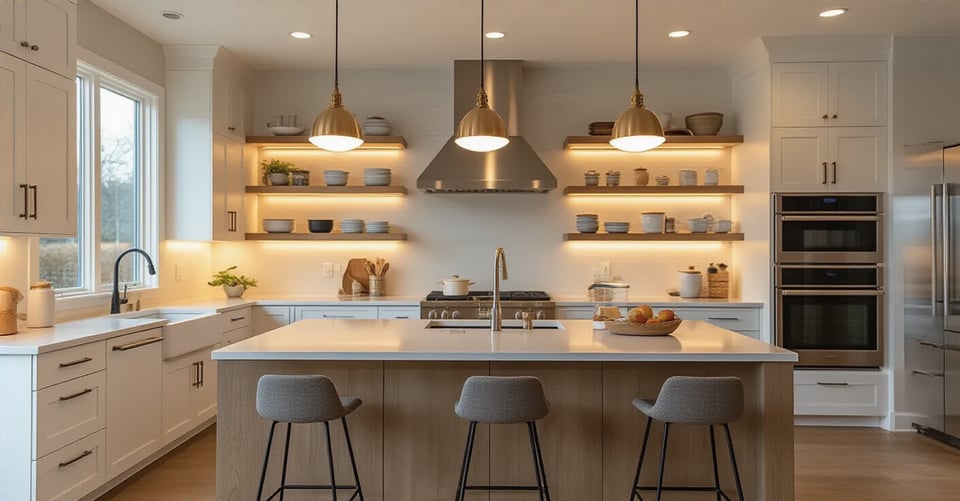
Pendants are statement pieces, but they are also crucial task lights. They visually anchor your island and define it as a gathering space. But everyone gets the scale and height wrong. Here are the shortcuts you need: hang them so the bottom of the fixture is 30-36 inches above your countertop. Any higher, and they stop being effective task lights. Any lower, and they’re in your line of sight. It’s an awkward head-bobbing situation.
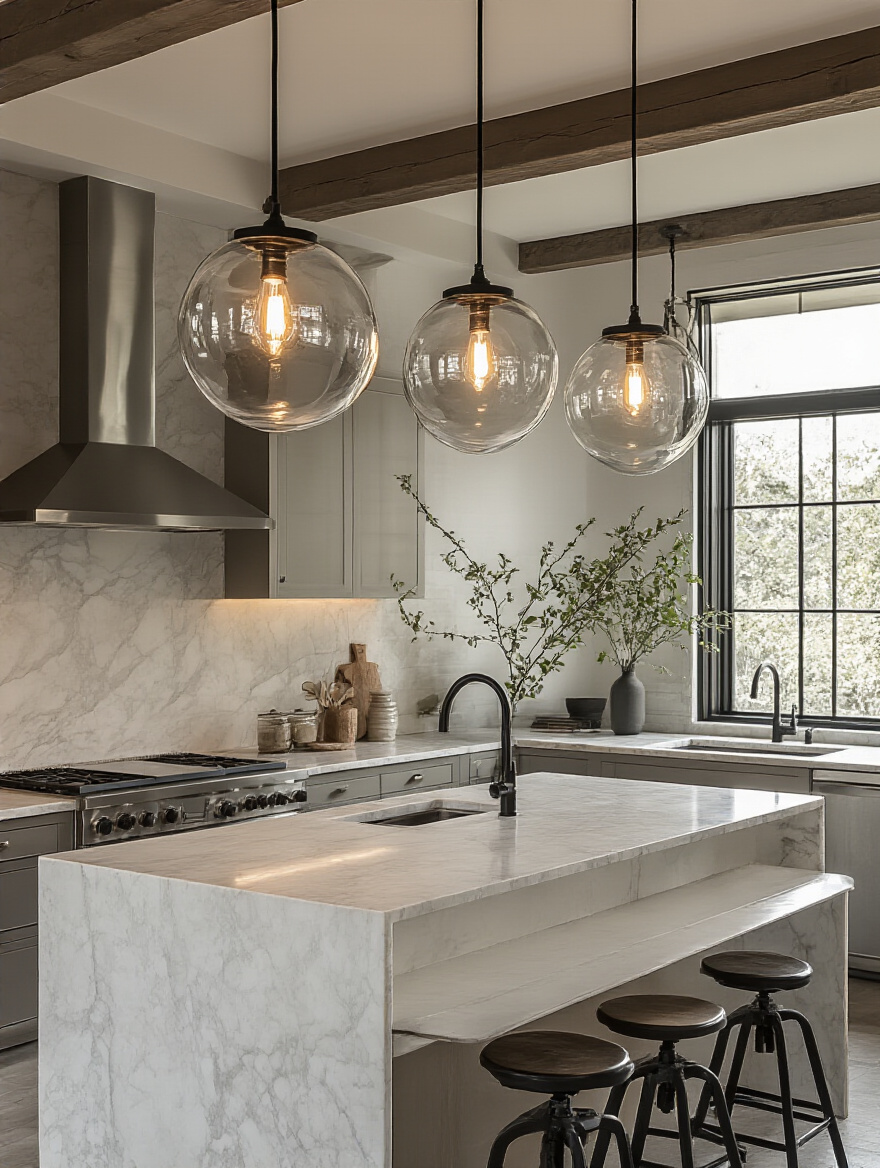
For spacing, you don’t want them too crowded or too far apart. For a standard 6-8 foot island, two well-sized pendants are usually perfect. For a very long island, three can work beautifully. Don’t just space them evenly across the whole length; center the grouping over the island. I once watched a client almost install three tiny pendants over their massive 10-foot reclaimed barn wood island. It would have looked like three lonely little earrings on a giant. We swapped them for two substantial, 20-inch-wide lanterns, and it balanced the entire room.
Pendants light the island, but your most important work surface is probably along the wall.
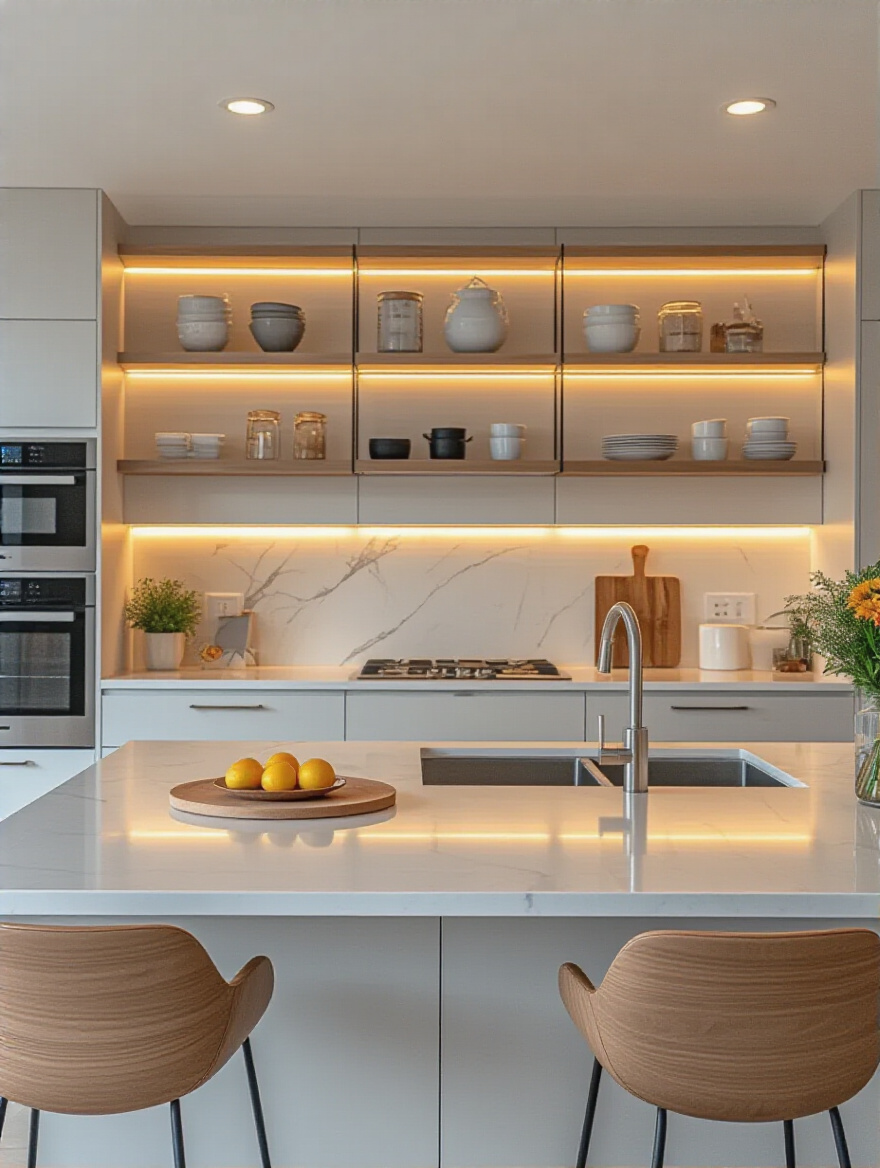
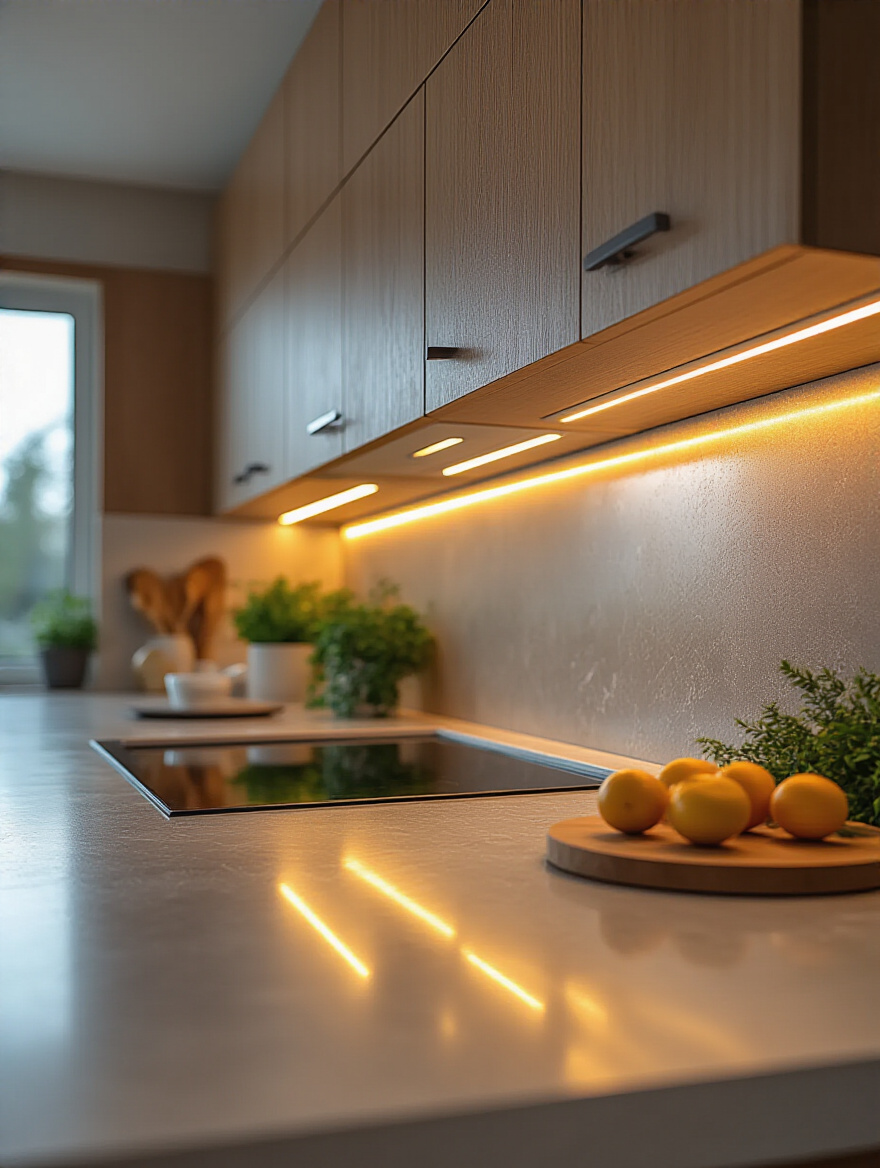
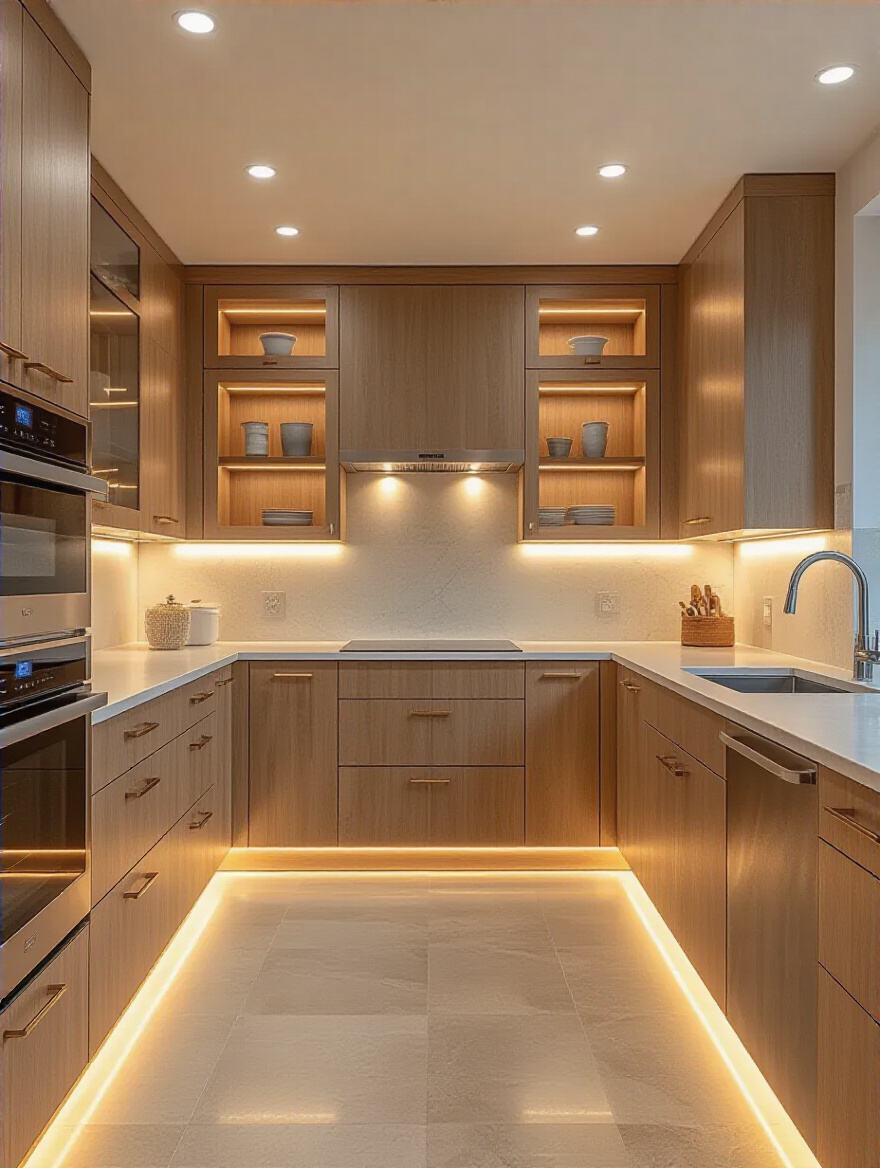
7. Illuminate Countertops Effectively with Under-Cabinet Solutions
This is not a suggestion; it is a requirement. If you do only one thing to improve your kitchen lighting, install under-cabinet lights. This is the single most effective way to eliminate shadows on your main workspace. It places the light source between you and the task, so your own body doesn’t block the light from an overhead fixture.
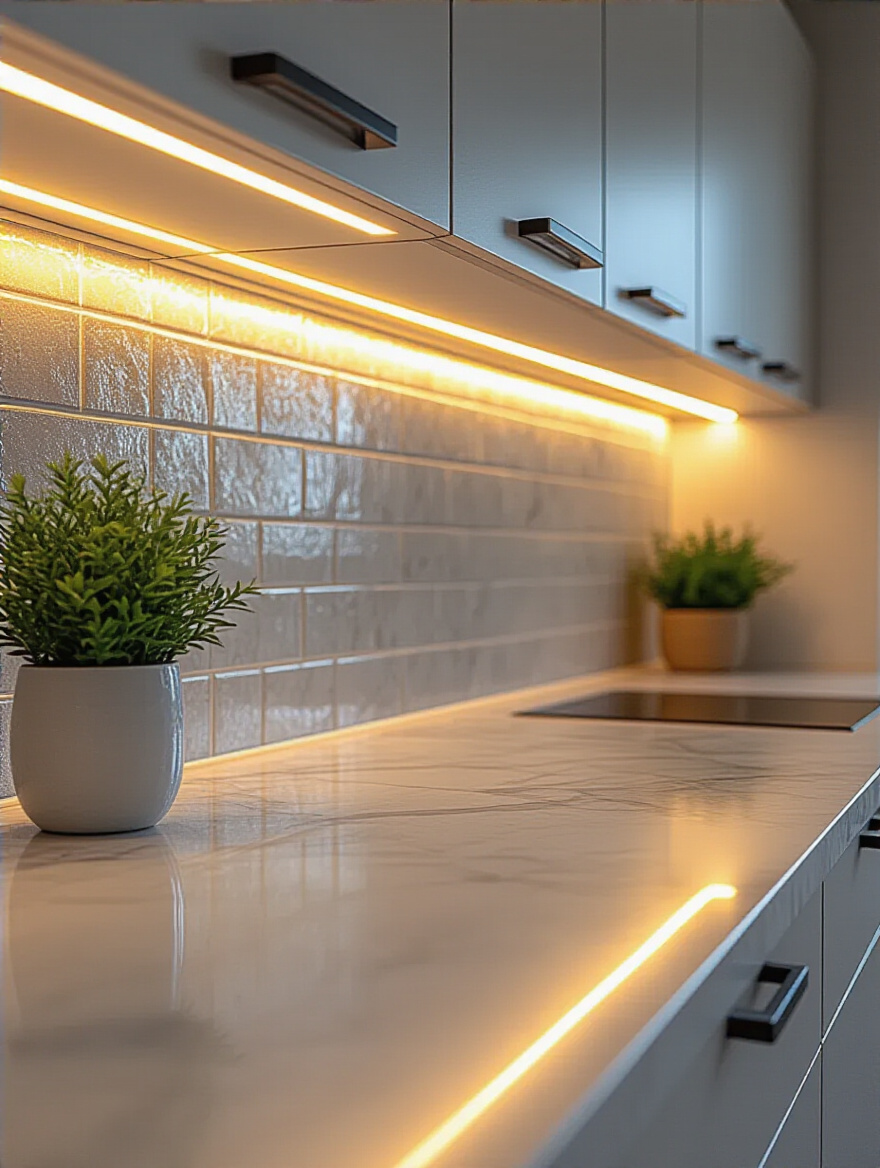
The BS everyone believes is that any cheap puck light will do. Wrong. They create pools of light with dark spots in between, which is distracting. You want a continuous, linear LED strip. And here’s the trick you wish you’d known earlier: mount the strip toward the front of the cabinet, not pushed back against the wall. This placement throws the light more evenly across the entire counter depth and prevents glaring reflections on your backsplash. Use a channel with a frosted diffuser to get that smooth, professional glow without seeing the individual LED dots.
This covers the workhorse lighting, but you still need to light the whole room.
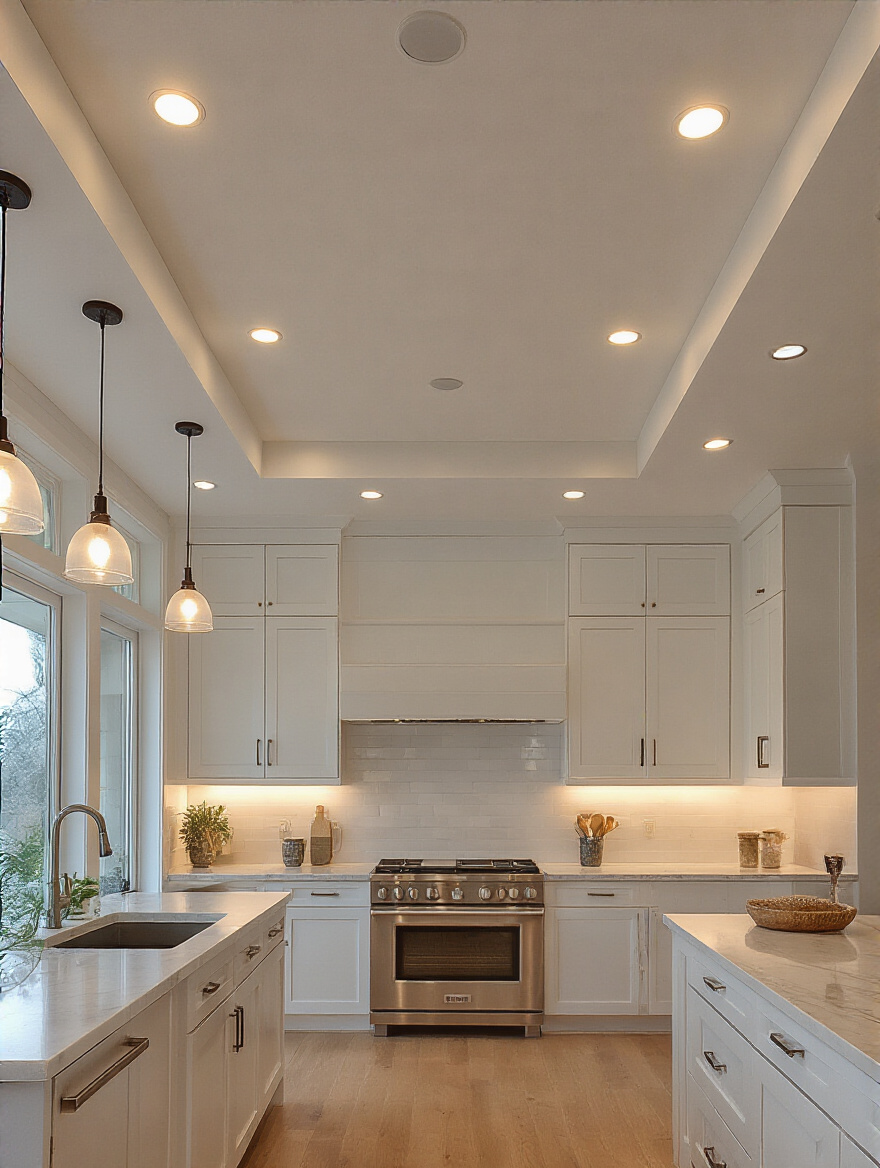
8. Install Recessed Lighting for Seamless, Overhead Illumination
Recessed lighting gets a bad rap because it’s often done so poorly, resulting in a “Swiss cheese” ceiling. But when done right, it’s the quiet, hardworking foundation for your ambient light. In a historic home, you have to be careful—cutting into original plaster-and-lath ceilings is a job for a pro who knows how to do it without creating a mess of cracks. But the result is a clean, unobtrusive wash of light that makes the room feel bigger.
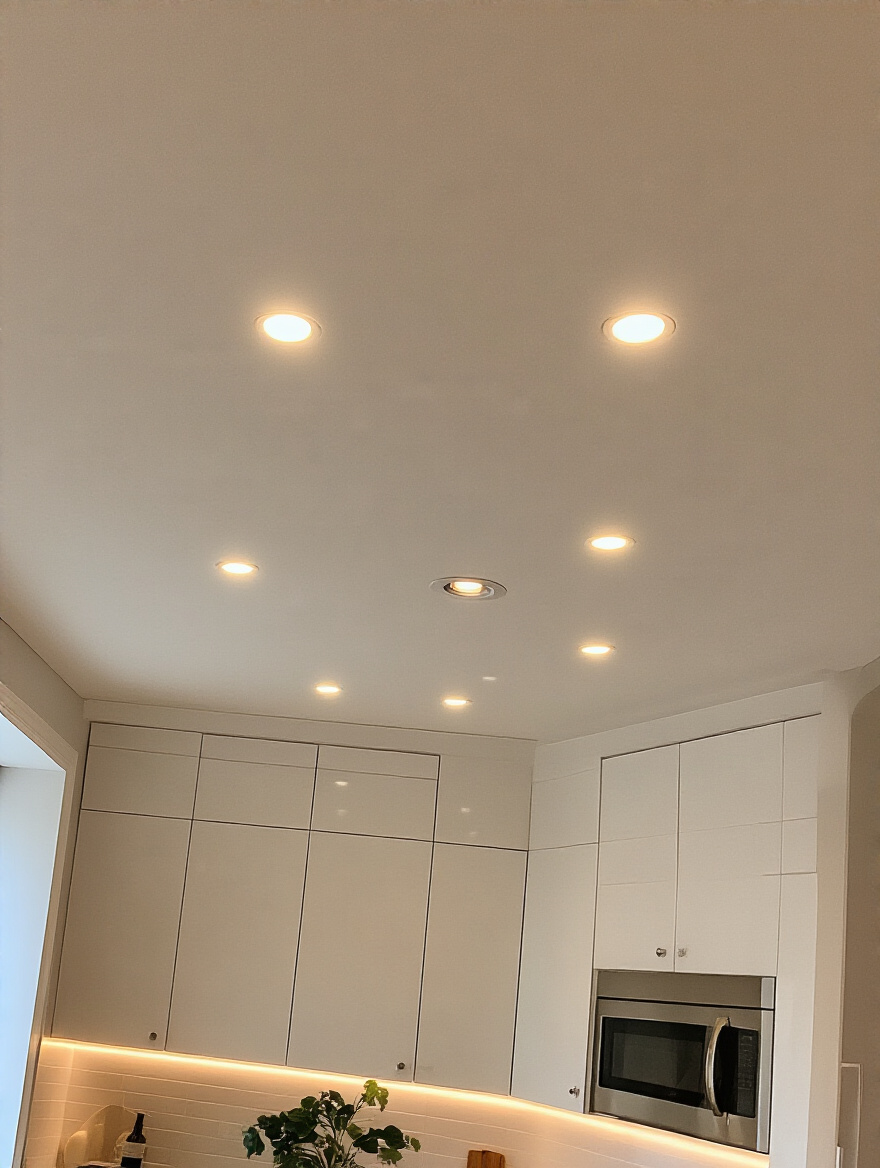
The shortcut is a simple formula: your spacing between lights should be about half of your ceiling height. For an 8-foot ceiling, space them about 4 feet apart. For a 10-foot ceiling, 5 feet apart. This ensures the cones of light overlap, so you don’t get dark spots. Make sure you use gimbal (adjustable) fixtures, especially near the perimeter, so you can aim the light to “wash” the walls or cabinet faces, which makes the room feel even more open and bright.
But sometimes, cutting all those holes isn’t practical, especially with old construction.
9. Utilize Track Lighting for Flexible Accent and Task Spots
I used to think track lighting was dated, a relic of the 80s. I was wrong. Modern track lighting is sleek, minimal, and one of the best problem-solvers for kitchens, especially in spaces with high, sloped ceilings or where you can’t easily add new junction boxes. Instead of having to wire five separate spots, you have one power source feeding a whole line of adjustable lights.

The key is to think of track lighting as a flexible system, not just a line of lights. You can use some heads with a flood beam for general light, and others with a narrow spot beam to precisely highlight a task area or a piece of art on the wall. The BS part is thinking you have to use it for everything. Track lighting is a fantastic task and accent layer, but it should almost always be paired with some other form of ambient light to avoid a “stage-lit” or “museum” feel.
Once your fixtures are chosen, you need to control them.
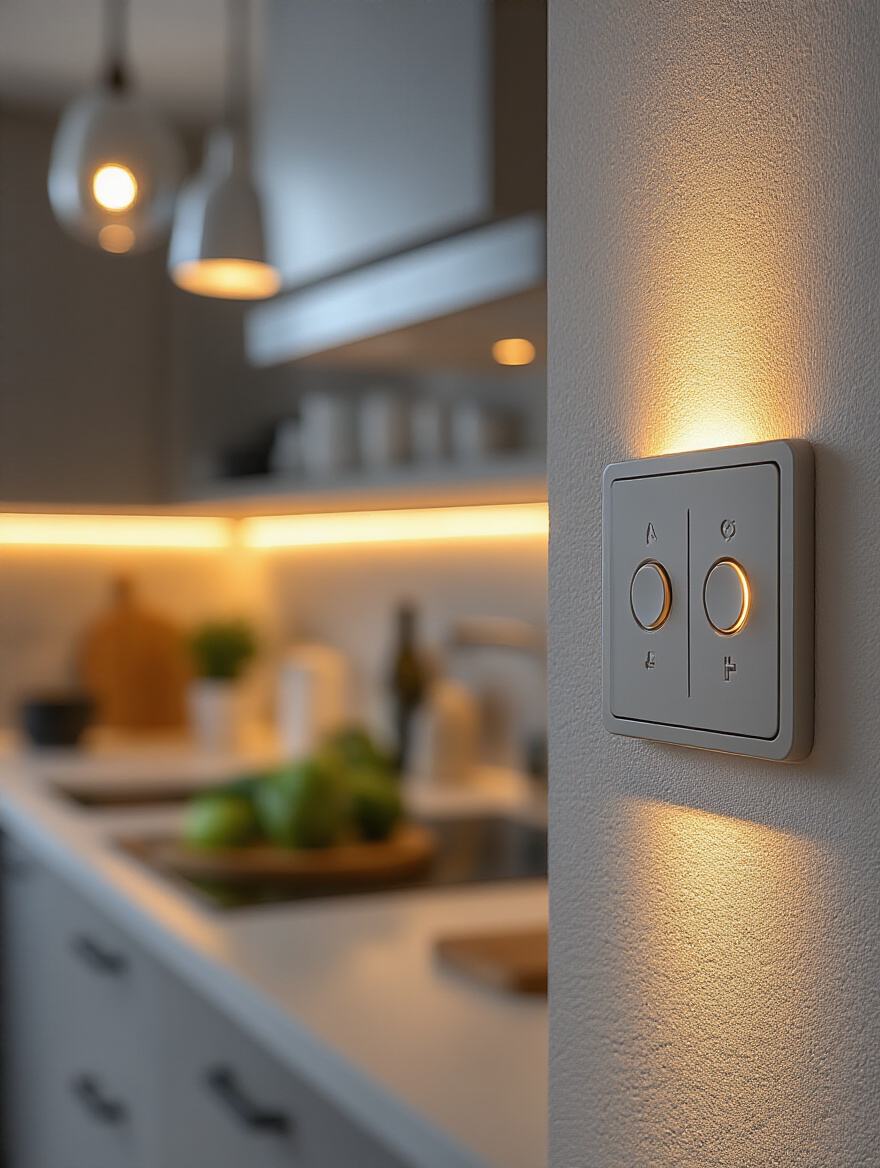
10. Embrace Smart Lighting Control for Ultimate Versatility
This is where historical character meets modern convenience. You can have a period-appropriate lantern fixture and still control it with your voice. Smart lighting isn’t a gimmick; it’s the key to unlocking the full potential of your layered lighting design. It’s what allows you to change the entire mood of the room with a single command.
Imagine you’re cooking. You say, “Hey Google, set kitchen to ‘Prep Mode.'” Your under-cabinet and island pendants go to 100% brightness at a cool 4000K, while your ambient lights dim to 30%. Then, when guests arrive, you say, “Set kitchen to ‘Entertain.'” Now, the task lights dim way down, and the ambient and accent lights come up to a warm, welcoming 2700K glow. This is what smart dimmers and switches allow you to do. It’s the difference between having a bunch of lights and having a true lighting system.
Strategic Installation & Placement Insights
You can buy the most beautiful, expensive light fixtures in the world, but if you install them in the wrong place or wire them incorrectly, they won’t work right and could even be dangerous. This is where the details become everything, especially in an older home with quirks you can’t see behind the walls.
11. Position Fixtures to Eliminate Shadows and Glare
We’ve touched on this, but it’s so important it deserves its own point. Every light fixture should be placed with one goal in mind: put the light between your eyes and the thing you’re looking at. This simple principle is the secret to eliminating both shadows and glare. Your under-cabinet lights should be in front of you, lighting the counter. Your island pendants should be directly above the island, not off to one side.
The place I see this go wrong the most is with the sink. People often have just a general recessed light somewhere behind them, casting a huge shadow right into the sink basin where they’re trying to scrub a pot. A dedicated, single recessed light or a small pendant placed directly over the center of the sink is a game-changer. It feels like a small detail, but it makes a daily chore infinitely less frustrating.
Once positioned, you need to control the intensity.
12. Master Dimmer Switch Integration for Adjustable Moods
I will say this until I am blue in the face: Put everything on a dimmer. Everything. Your recessed lights, your pendants, your under-cabinet lights, your sconces. A switch that is only on or off is a wasted opportunity. Dimmers are the single most important and cost-effective tool for controlling the mood in your kitchen. They allow you to take that bright, functional task lighting and dial it down to a soft, atmospheric glow for dinner.
Here’s the hard-won lesson: Not all dimmers work with all bulbs. The biggest source of flickering or buzzing in modern LED lights is an old dimmer switch that was designed for incandescents. You must buy a dimmer that is specifically rated for LEDs (often called a CL or trailing-edge dimmer). It’s a small detail on the packaging that will save you an immense amount of frustration.
Let’s drill down on getting that ambient light perfect.
13. Properly Space Recessed Cans for Even Light Distribution
I already gave you the rule of thumb (space them at half your ceiling height), but here’s the shortcut I wish I’d known when I started: Test one before you cut all the holes. Temporarily wire up and power a single recessed light. Hold it up to the ceiling in one of your planned locations. Look at the cone of light it casts on the floor. See how big it is.
This little test tells you everything. You’ll see exactly how the light from that specific fixture, with that specific bulb, behaves in your room. It will give you the confidence to know if your spacing plan is right or if you need to move the lights a bit closer together to ensure the edges of those light cones will overlap nicely. This is especially vital in old homes where ceiling heights might not be standard.
This same principle of precision applies to your task lights, too.
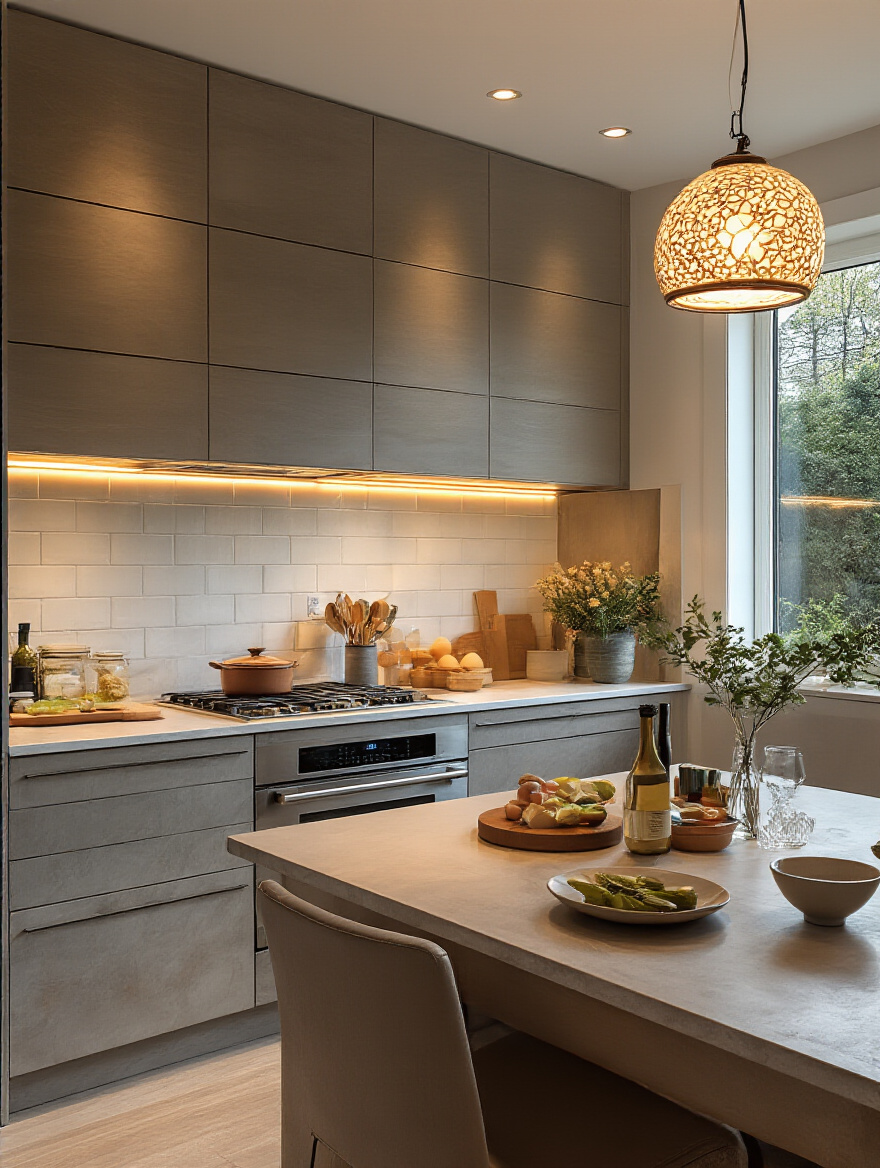
14. Mount Under-Cabinet Lights for Glare-Free Workspace
I’m going to say this again because it’s the most common installation mistake I see. Mount your under-cabinet lighting strips at the front of the cabinet, tucked up right behind the front lip. Everyone’s first instinct is to push it all the way to the back, against the wall. This is wrong. When you do that, the light hits the backsplash at a harsh angle, creating glare, and it doesn’t illuminate the front half of your counter where you’re actually working.
Placing the light at the front illuminates the entire countertop from front to back. And please, use a diffusing channel. I know it’s an extra step and a few extra dollars, but seeing those individual “dots” of the LED strip reflected in your beautiful stone countertop looks cheap and amateur. A simple aluminum channel with a frosted plastic cover melts those dots into a single, seamless line of pure, clean light. It’s the difference between a DIY job and a professional one.
And now for the most important step of all.
15. Safely Wire New Fixtures: Essential Electrical Know-How
Let’s be very clear. If you are standing in a house built before 1950 and you see things like knob-and-tube wiring or cloth-wrapped wires, you do not touch it. You call a licensed electrician. Period. It’s not worth the risk. For newer wiring, if you’re comfortable, a simple fixture swap is often doable. But the first, last, and only rule is to make sure the power is OFF.
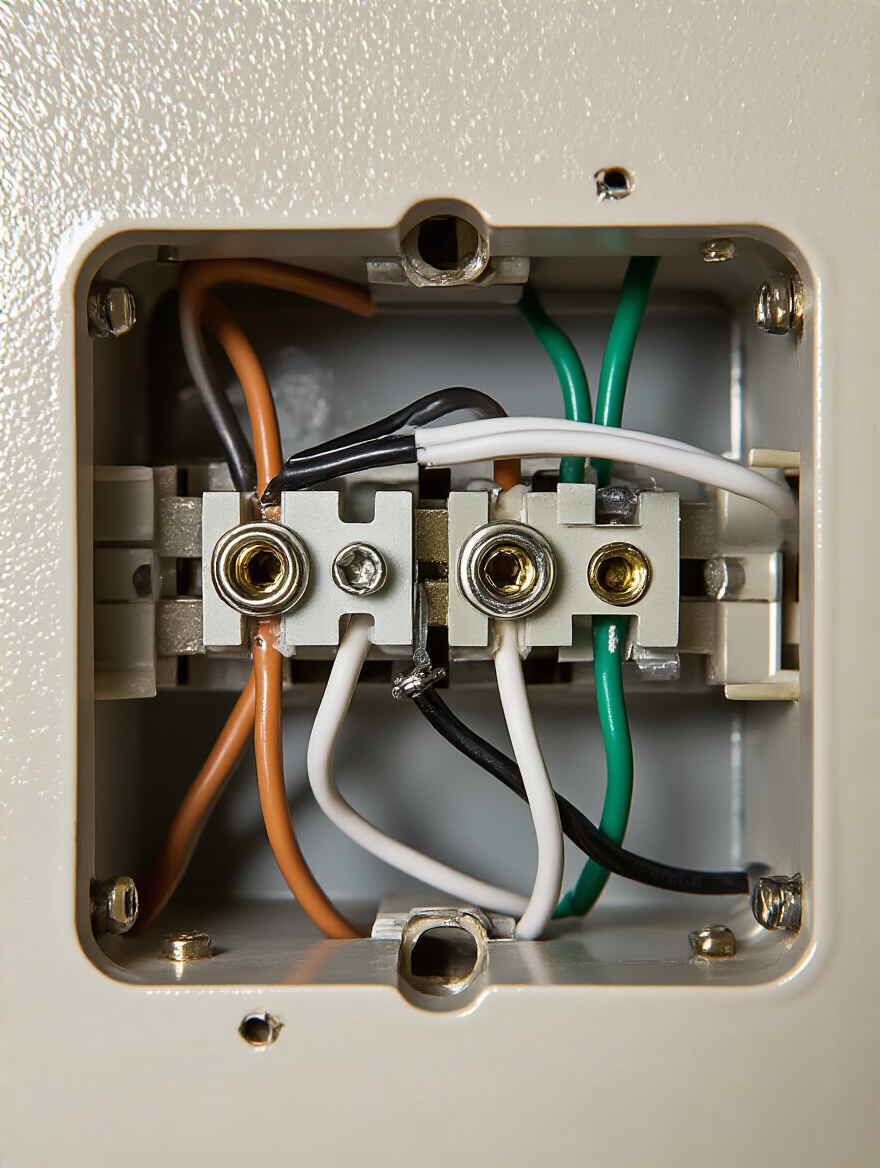
Don’t just flip the breaker. Get a non-contact voltage tester—they’re cheap—and physically test the wires to ensure they are dead before you touch them. I once learned this the hard way on what I thought was a dead circuit that had been mislabeled on the panel. It’s not a mistake you make twice. Always connect the wires properly: black to black (hot), white to white (neutral), and never, ever neglect the green or bare copper ground wire. The ground wire is what saves you if something goes wrong.
Enhancing Aesthetics & Longevity
Your lighting system is in. Now what? The final set of details is about making sure your investment looks great and lasts for decades. It’s about the bulbs you choose, the maintenance you perform, and knowing when an issue is a simple fix or a call for help.
16. Optimize Bulb Choices for Energy Efficiency and Longevity
The world of light bulbs has gotten confusing. Here’s what actually matters: LED is the only choice for energy efficiency and lifespan. But not all LEDs are created equal. You must look for two numbers on the box: Color Temperature (Kelvin), which we’ve discussed, and the Color Rendering Index, or CRI.
CRI is a score out of 100 that measures how accurately a light source reveals the true colors of objects. Have you ever bought a shirt in a store that looked one color, and then you got it outside and it looked completely different? That’s because of low CRI lighting. In a kitchen, a low CRI bulb will make your beautiful steak look grey and your fresh red peppers look dull. The BS is that any LED is fine. It’s not. For a kitchen, you should never accept a CRI below 90. It makes all your design choices—and your food—look better.
Once you have the right bulbs, you need to keep them shining.
17. Clean and Maintain Fixtures for Sustained Brightness
Kitchens are greasy, dusty places. A fine layer of cooking oil and airborne dust will inevitably build up on your light fixtures and bulbs. You might not notice it day to day, but over six months, that grimy film can reduce your light output by as much as 20-30%. You’re paying for electricity, but that grime is trapping the light before it ever reaches your countertop.
Once every few months, do a proper cleaning. Turn off the power at the breaker, let the bulbs cool completely, and then get to work. Gently remove glass shades or diffusers and wash them in warm, soapy water. Wipe down the bulbs and the fixture housings with a damp microfiber cloth. You will be absolutely shocked at how much brighter your kitchen is when you’re done. It’s the easiest and cheapest way to restore your lighting to its full potential.
Sometimes, though, cleaning isn’t enough.
18. Upgrade Old Fixtures to Modernize Kitchen Style Effortlessly
You might not need a full renovation. I’ve seen kitchens from the 90s with great layouts and solid cabinets that are completely held back by an awful, dated light fixture. That ugly fluorescent box in the center of the ceiling? That dated, brass-and-glass chandelier over the breakfast nook? They are dragging your entire kitchen down.
Swapping out a single, prominent light fixture is one of the highest-impact, lowest-cost upgrades you can make. It can instantly change the entire personality of the room. A client of mine had a perfectly functional kitchen that just felt “old.” We did nothing but replace the central dome light with a sleek track system and swap out a dated pendant for a modern farmhouse-style fixture. The room immediately felt twenty years younger.
Of course, new lights can sometimes have new problems.
19. Troubleshoot Common Lighting Issues: Flickering or Dimming
Your brand-new LED lights are flickering, and it’s driving you insane. Before you call an electrician, check two things. First, is the bulb screwed in all the way? It sounds silly, but it’s a common cause. Second, and more likely, is the dimmer switch compatible with your bulbs? As I mentioned, this is the number one cause of flickering with LEDs.
If you have the correct dimmer, look for a tiny lever or dial on the side of it. This is the “trim adjustment.” It sets the bottom end of the dimming range. Sometimes, LEDs will flicker when they are dimmed too low because they aren’t getting enough power. By using that little lever to adjust the trim, you can raise the minimum level just enough to stop the flicker while still getting a nice, deep dim. It’s a five-second fix that solves the problem 90% of the time.
Finally, let’s put it all together.
20. Layer Light Effectively to Enhance Depth and Visual Appeal
This brings us back to where we started. All these individual tips—choosing fixtures, placing them correctly, picking the right bulbs, putting them on dimmers—are all in service of one grand goal: creating beautiful, functional layers of light. When you get it right, you can stand in your kitchen at night and orchestrate the light to perfectly suit your needs.
You’ll have your bright, functional task lighting for cooking, your warm, welcoming ambient light for when guests are mingling, and your subtle, glowing accent lights that make your glassware sparkle and add a touch of drama. Each layer is controlled independently, allowing you to mix and match them. This interplay of light and shadow is what gives a room depth, character, and a soul. It’s the final, crucial step that elevates a kitchen from just a room you cook in to the true heart of your home.
Conclusion
Light is transformative. It’s the single most powerful element in design, capable of making a small room feel spacious, a dark room feel welcoming, and an old room feel timeless. It’s not about just buying a few kitchen lighting fixtures; it’s about conducting an orchestra of light to create a space that works for your life. By layering ambient, task, and accent lighting, and by paying close attention to the details of placement, control, and color, you are taking on the role of a true steward for your home.
Don’t be intimidated by the process. Start with one thing. Go add an under-cabinet light. Swap that ugly ceiling fixture. Put in a dimmer switch. Each small change is a step toward revealing the full beauty and character that’s been waiting in your kitchen all along. You have the knowledge now. Go illuminate the heart of your home and create a space that feels as good as it looks, for many years to come.