The kitchen table isn’t just a surface; it’s the stage for morning coffee rituals, family dinners, homework sessions, and lively conversations. As the heart of countless daily activities, the lighting above this crucial spot plays a far greater role than mere illumination. It sets the mood, defines the space, and can transform the ordinary into the extraordinary. But with countless options for fixtures, heights, sizes, and types of light, choosing the right kitchen lighting over your table can feel like a daunting task.
This guide is designed to demystify the process, offering practical advice and creative ideas to help you select and position lighting that perfectly balances form and function, enhancing every moment spent gathered around your table. Let’s shed some light on how to make this vital area shine.
1. Choosing the Right Fixture Type for Your Table
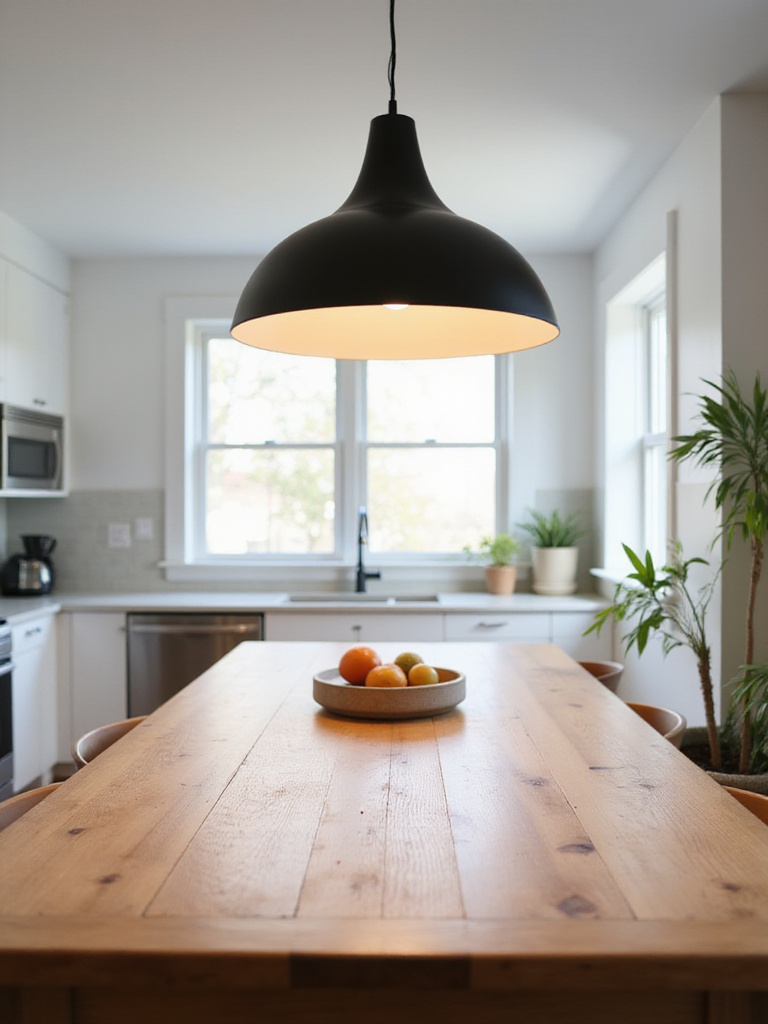
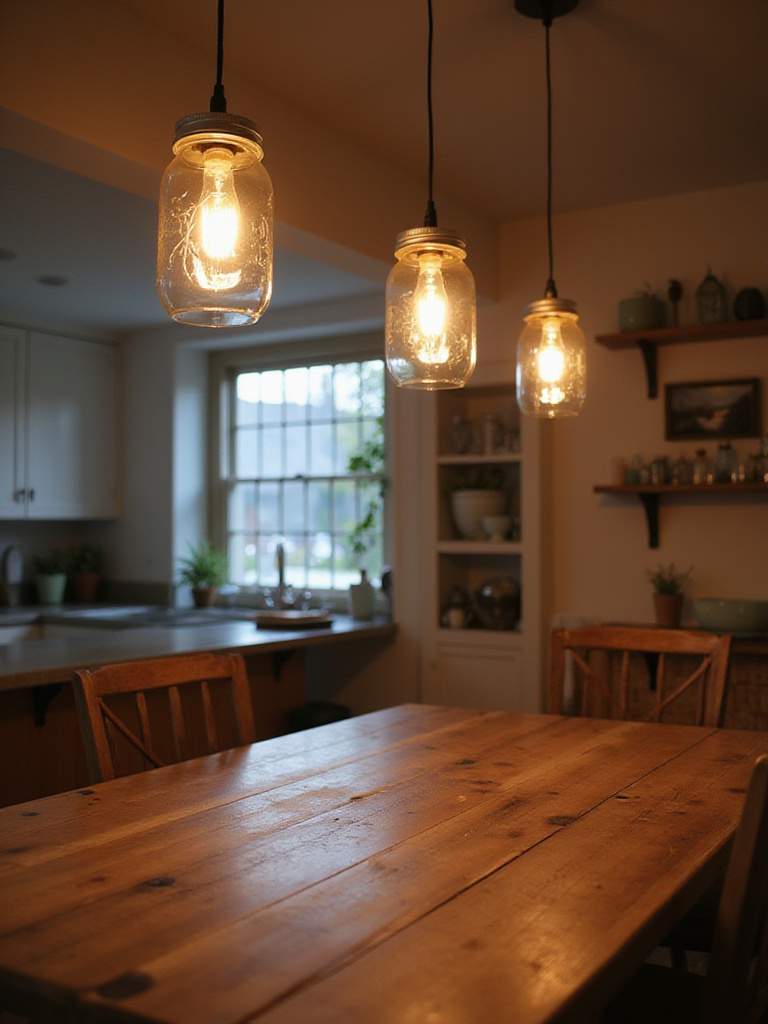
The foundation of exceptional kitchen lighting over table areas begins with selecting the appropriate fixture type. Pendants provide focused illumination and versatility, chandeliers create a statement with their broader ambient glow, and linear suspensions offer even lighting for rectangular tables. Each brings distinct characteristics that can dramatically alter how your dining space feels and functions.
When determining the right size, aim for fixtures that are roughly one-half to two-thirds the width of your table. For height, start with 30-36 inches above the table for 8-foot ceilings, adjusting upward for higher ceilings. Remember that the fixture should balance with your table without overwhelming the space or hanging uncomfortably low.
The magic of this piece lies in its ability to set the tone for your entire dining experience, functioning as both a practical light source and a design anchor. Let’s explore how to position this crucial element at just the right height.
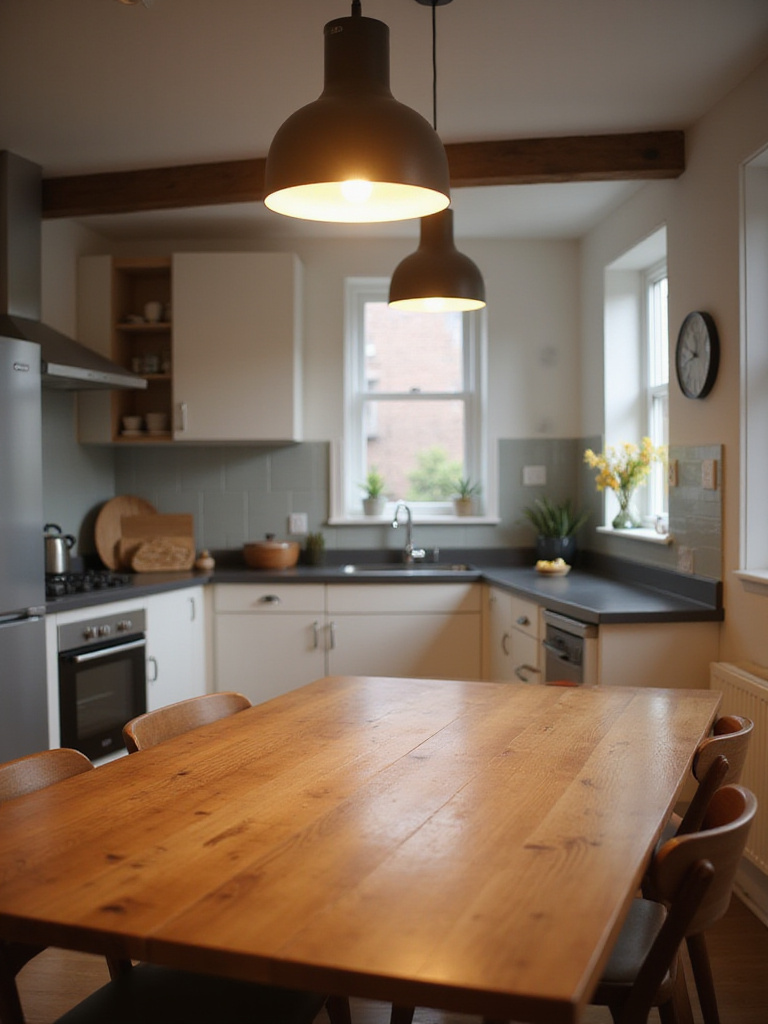
2. Finding the Perfect Hanging Height
The height at which your kitchen lighting over table hangs can make or break your dining experience. Too high, and you’ll lose the intimate feel and focused illumination. Too low, and you’re creating an obstacle that blocks conversation and causes uncomfortable glare. It’s a delicate balance that requires thoughtful consideration.
For standard 30-inch tall dining tables, position the bottom of your fixture between 28-36 inches above the tabletop. This range provides optimal illumination while maintaining clear sightlines. For every foot of ceiling height above 8 feet, add approximately 3 inches to this measurement to maintain visual proportion in the room.
The challenge of awkward spaces becomes easier when you understand that finding the right height isn’t just about measurements—it’s about creating harmony between your fixture, table, and the people who gather there. Now let’s consider how the size of your fixture should relate to your table dimensions.
3. Matching Fixture Size to Table Dimensions
Just as a tiny hat looks odd on a large head, an undersized fixture appears insignificant over a substantial table. Conversely, an oversized chandelier can overwhelm a delicate dining surface. Finding the right proportion creates visual harmony that feels instinctively “right” to anyone who enters the space.

For round tables, choose fixtures with diameters approximately one-half to two-thirds the table width. With rectangular tables, focus on length—your linear fixture or arrangement of pendants should cover about two-thirds of the table’s length. Remember that the fixture’s visual weight matters too; an airy, open design can be larger without feeling heavy.
The silhouette draws inspiration from the table’s own shape, creating a natural pairing that enhances both elements. But should you opt for a single statement piece or multiple smaller fixtures? Let’s explore that question next.
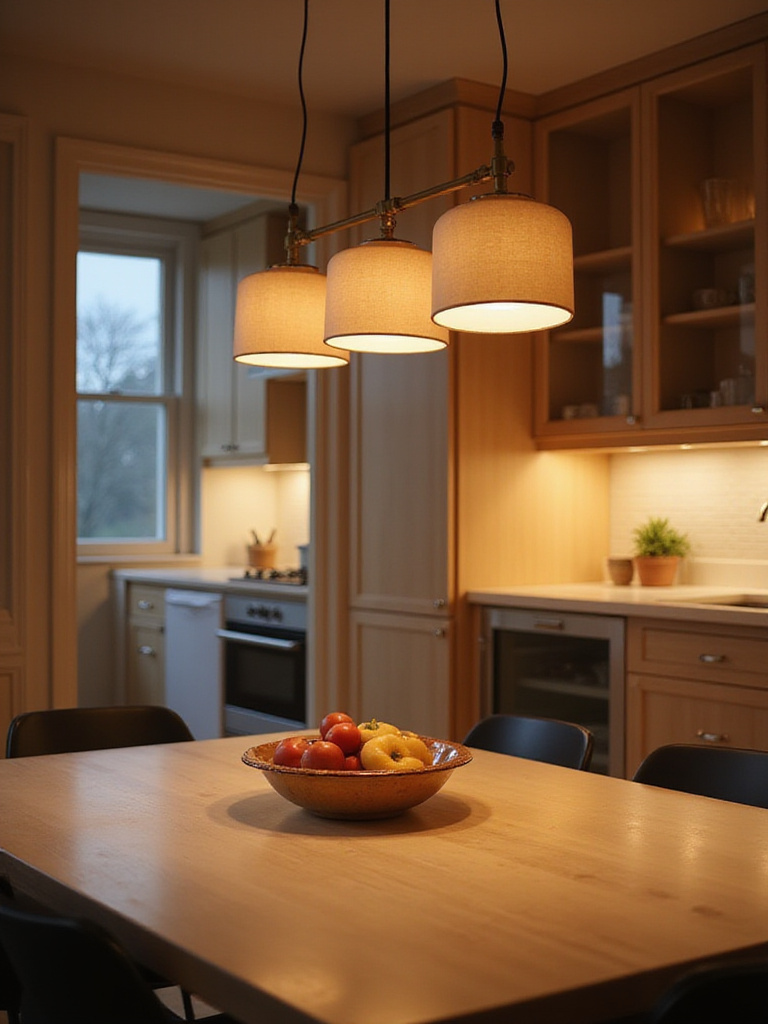
4. Multiple Pendants vs. Single Statement Fixture
The decision between hanging several smaller pendants or one larger fixture over your kitchen table creates dramatically different visual impacts. Multiple pendants distribute light more evenly across the entire table surface, eliminating shadows and creating a dynamic, customizable look. They allow for creative arrangements and can be spaced to perfectly match your table’s dimensions.
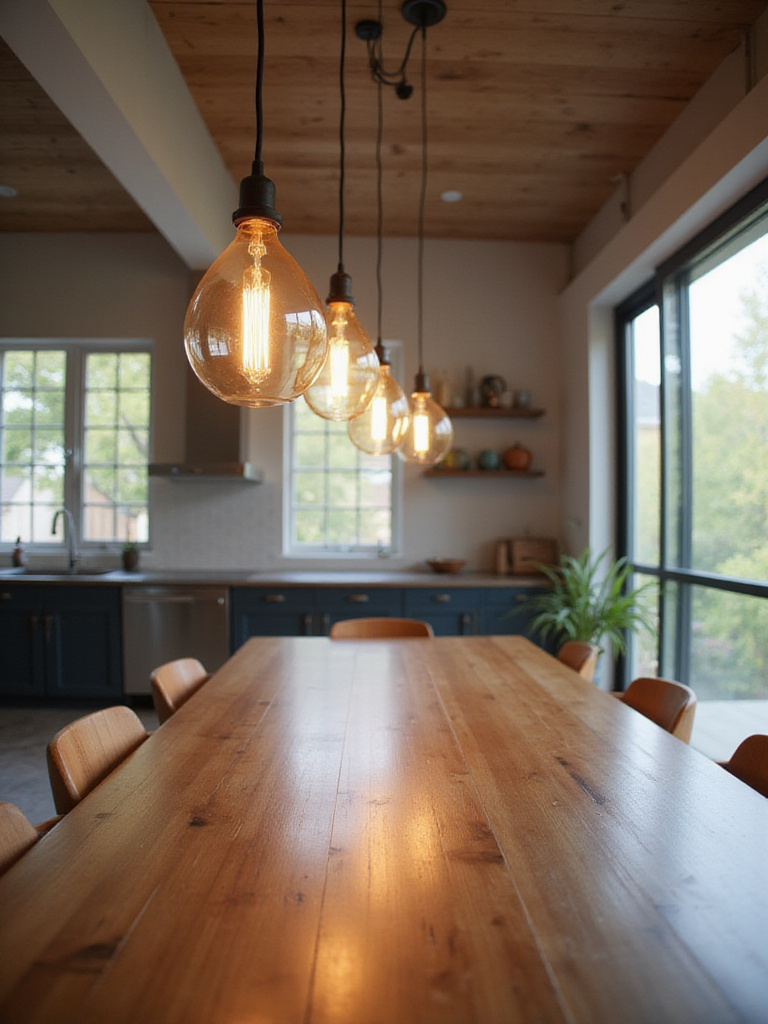
A single statement fixture, meanwhile, creates a powerful focal point that can anchor your dining area with less visual complexity. It’s typically easier to install, requiring just one electrical connection, and can make a bold design statement that reflects your personal style. For smaller tables under 48 inches, a single fixture often provides the cleanest look.
The unexpected pairing that always works is matching your lighting choice to both your table size and your design goals. A long harvest table might shine with three identical pendants, while a round pedestal table could call for one eye-catching chandelier. With your fixture configuration decided, let’s ensure it complements your overall kitchen aesthetic.
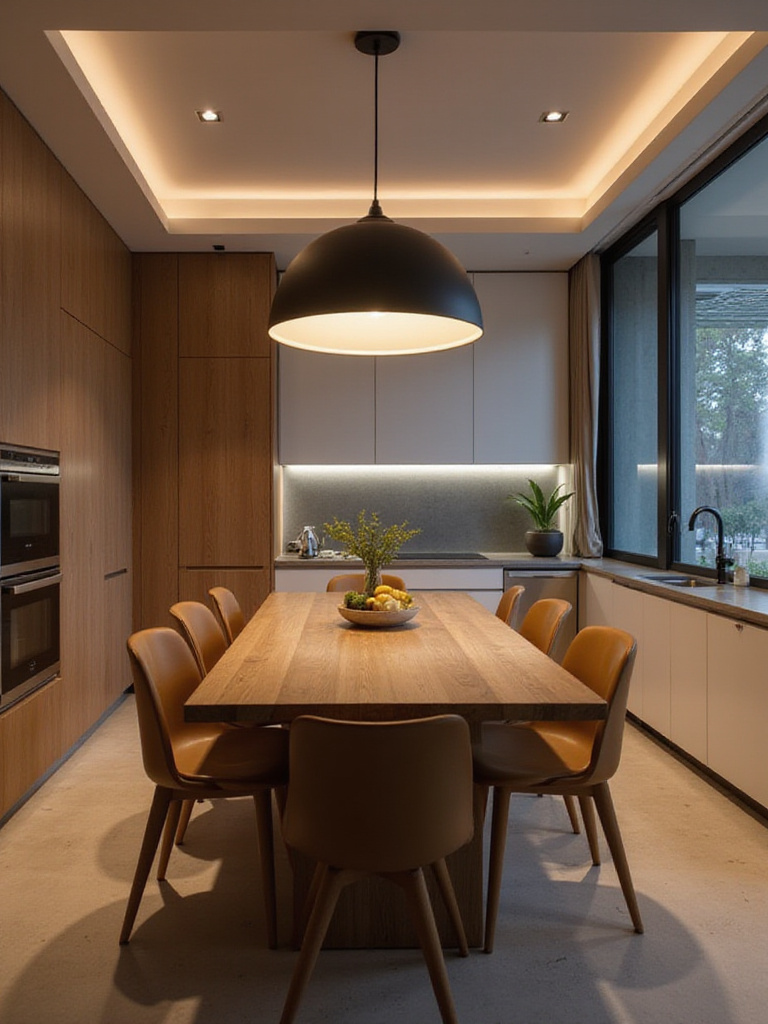
5. Harmonizing Your Lighting with Kitchen Decor
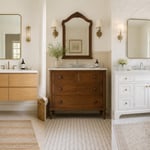
The light fixture above your kitchen table should feel like it belongs in the space, not like an afterthought or a competing element. Identifying your kitchen’s existing style—whether Modern, Traditional, Farmhouse, Industrial, Mid-Century, or something else—provides the framework for selecting lighting that enhances rather than clashes with your design vision.
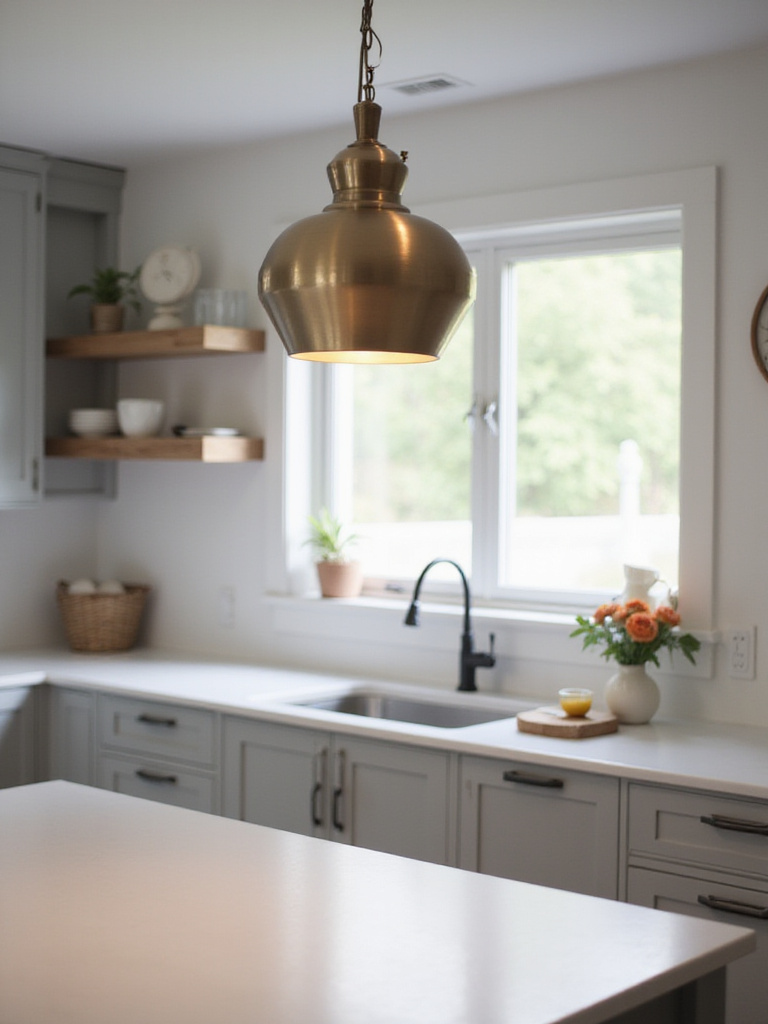
Take inventory of your kitchen’s defining elements: cabinet style, hardware finishes, countertop materials, and color palette. These characteristics should inform your lighting choice. In a sleek, contemporary kitchen with flat-panel cabinets and minimal hardware, angular pendant lights with clean lines maintain design coherence. For a farmhouse kitchen with shaker cabinets and vintage touches, fixtures with rustic metals or natural materials extend the aesthetic overhead.
The revival of this classic form comes with a twist when you thoughtfully match your kitchen lighting over table areas to your existing decor while still allowing the fixture to shine as its own design element. Now, let’s explore how to make that fixture truly versatile through simple technology.
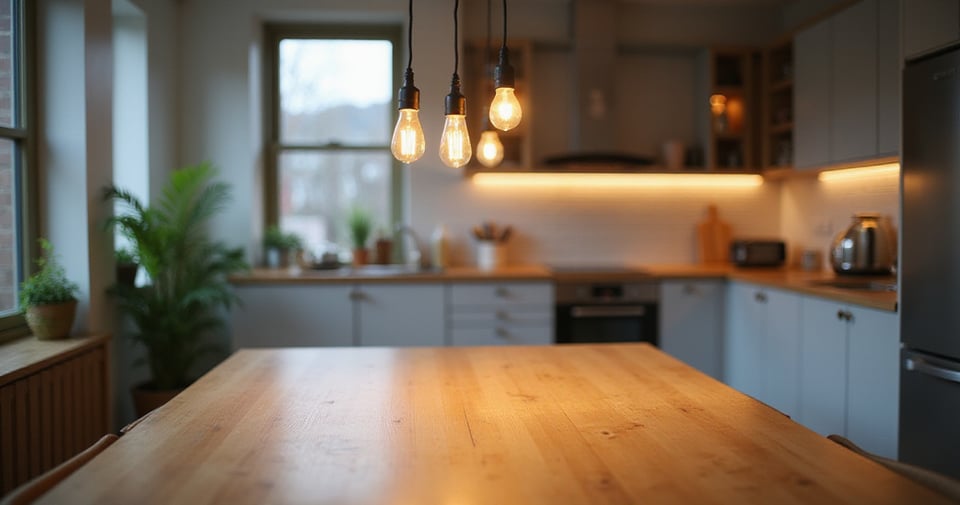
6. Installing a Dimmer for Ultimate Flexibility
Adding a dimmer switch to your kitchen lighting over table is perhaps the single most impactful upgrade you can make to enhance functionality. This simple addition transforms a static light source into a dynamic element that adapts to every occasion—from bright illumination for homework sessions to a soft, intimate glow for dinner parties.
When selecting a dimmer, match it to your bulb type to prevent flickering or buzzing. LED-specific dimmers are essential for LED bulbs, while smart dimmers offer the ultimate control through apps or voice commands. The investment is minimal compared to the dramatic improvement in your dining experience, allowing you to create the perfect atmosphere for any activity.
“Light is to dining what music is to a concert—it sets the tone, creates the mood, and transforms the ordinary into the extraordinary.”
When clients ask us about balancing style with comfort, I always recommend dimmers as the first step toward creating a truly adaptable dining space. But the brightness of your fixture matters too, which brings us to understanding light output.
7. Understanding Lumens for Proper Brightness
Beyond the fixture’s appearance, the amount of light it produces—measured in lumens—determines whether your kitchen table is properly illuminated. Unlike watts, which measure energy consumption, lumens directly quantify brightness. For kitchen table lighting, finding the sweet spot between too dim and uncomfortably bright is essential for both functionality and ambiance.
As a general guideline, aim for 30-40 lumens per square foot of table surface. For a typical 3×5 foot rectangular table (15 square feet), you’d want approximately 450-600 lumens total. Consider how you use the table; activities like reading recipes or helping with homework may require higher lumen outputs than casual dining. If your fixture accommodates multiple bulbs, calculate their combined lumen output to ensure adequate brightness.
The craftsmanship reveals itself in details like how well your kitchen lighting over table illuminates the space without creating harsh glare or dim spots. With brightness addressed, let’s consider how the quality of that light affects the mood of your dining area.
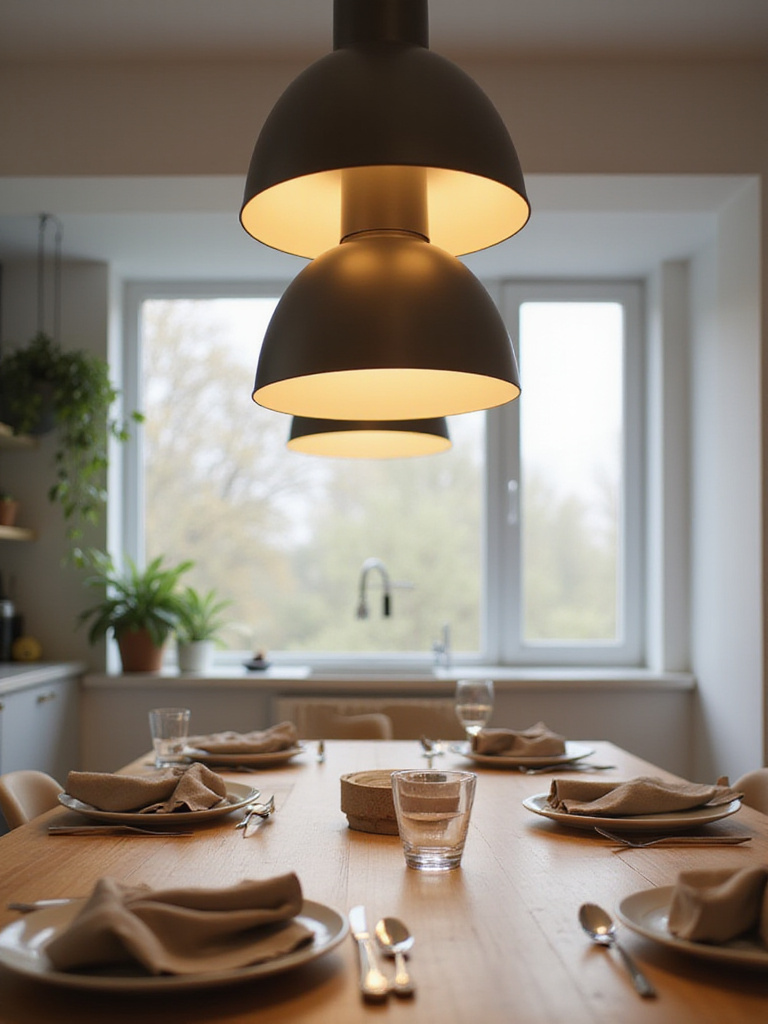
8. Selecting the Right Color Temperature
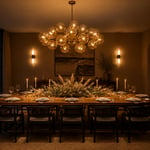
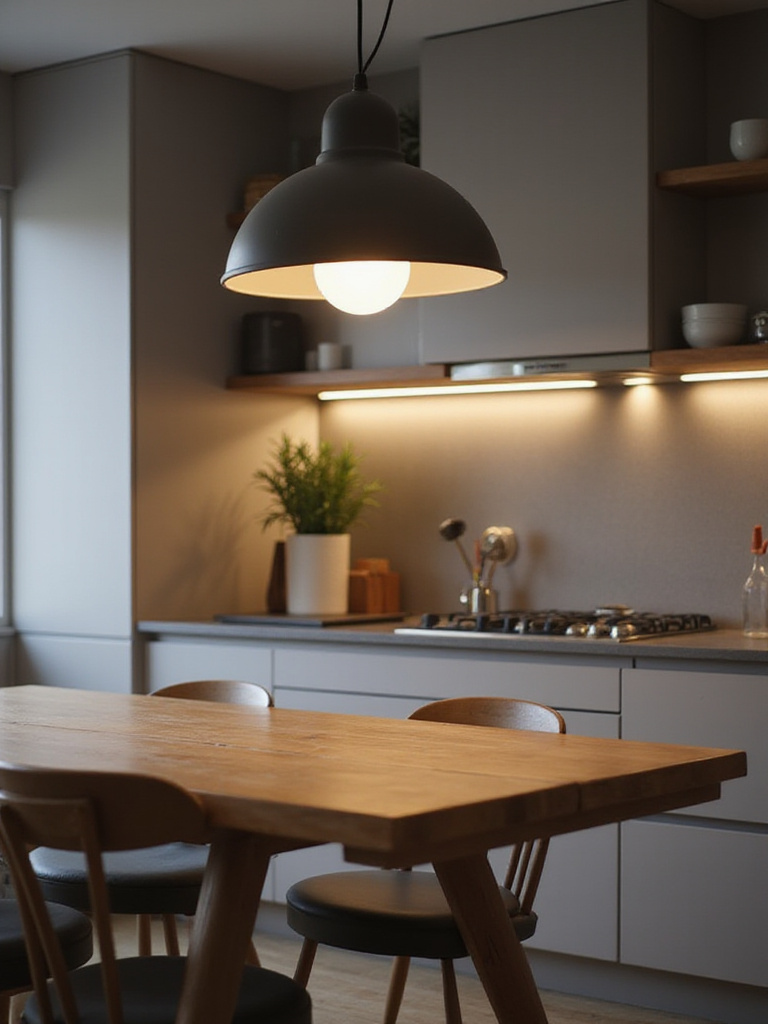
Color temperature, measured in Kelvin (K), dramatically influences how your dining area feels. Lower Kelvin values (2700K-3000K) produce warm, yellowish light that creates a cozy, intimate atmosphere—ideal for relaxed dining experiences. Higher values (3500K-5000K) generate cooler, bluer light that, while excellent for task-focused areas of the kitchen, can feel clinical and uninviting over a dining table.
For most kitchen lighting over table applications, warm white (2700K-3000K) creates the most appealing environment. This range flatters skin tones, makes food look more appetizing, and encourages relaxation and conversation. If your table doubles as a workspace, consider bulbs around 3000K-3500K for a balance between warmth and clarity, or use dimmable bulbs with adjustable color temperature.
The emotional response this evokes begins with the subtle psychological effects of light quality. Warm light signals to our brains that it’s time to unwind and connect, making meals more enjoyable and memorable. Now, let’s look at how to achieve this effect efficiently with modern technology.
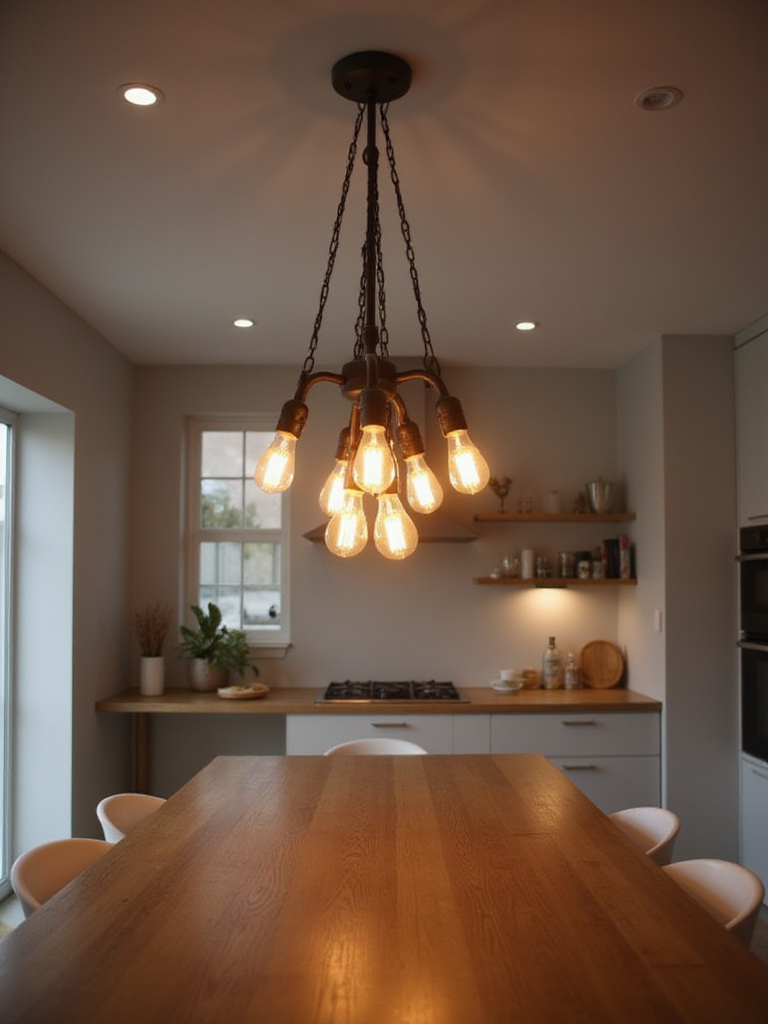
9. Embracing LED Technology for Efficiency
The kitchen table is often illuminated for hours each day, making energy-efficient lighting a smart choice for both your utility bills and the environment. LED bulbs have revolutionized kitchen lighting over table areas by providing exceptional illumination while consuming a fraction of the electricity used by traditional incandescent or halogen bulbs.

Beyond energy savings, LEDs offer practical advantages for dining spaces. Their extraordinary lifespan—often 25,000+ hours compared to an incandescent’s 1,000 hours—means less frequent replacement, especially valuable for hard-to-reach fixtures. They generate minimal heat, making the dining area more comfortable, and are available in various color temperatures and brightness levels to suit any preference.
- Look for “dimmable” on LED packaging if using with dimmer switches
- Check the lumen rating for brightness (not wattage)
- Verify the Kelvin rating matches your desired warmth (2700K-3000K for dining)
- Consider CRI (Color Rendering Index) of 90+ for the most natural food appearance
After months of sourcing and curation, I’ve found that quality LEDs transform dining experiences through their consistency and adaptability. But a single light source rarely creates the most inviting dining environment, which is why we need to consider layering.
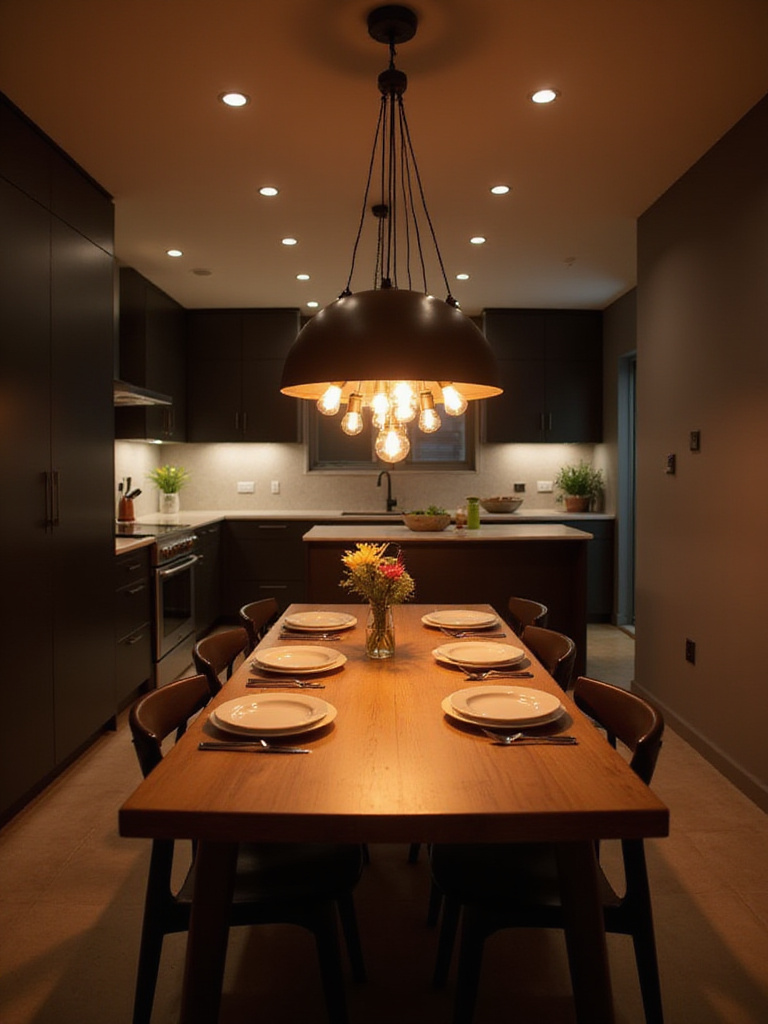
10. Creating Depth Through Layered Lighting
The most inviting kitchen table areas feature multiple types of lighting working in harmony rather than relying on a single overhead fixture. This layering approach creates visual depth, eliminates harsh shadows, and allows for customized lighting scenarios that adapt to different activities and times of day.
Start with your primary task lighting—the pendant, chandelier, or linear fixture directly over the table. Then add ambient lighting from nearby recessed ceiling fixtures, wall sconces, or even under-cabinet lights that provide a soft background glow. For special touch, consider accent lighting that highlights artwork, architectural features, or a beautiful centerpiece on the table itself.
The interplay between the colors creates a dynamic environment where light and shadow work together to enhance the dining experience. Each layer serves a purpose, from illuminating faces during conversation to creating a gentle backdrop that makes the space feel more expansive and inviting. While creating beautiful light is important, let’s not forget the practical side of maintaining your fixtures.
11. Planning for Easy Maintenance
Kitchen environments present unique challenges for lighting fixtures due to cooking residues, grease, and dust that inevitably accumulate over time. Choosing kitchen lighting over table areas that can be easily cleaned will save you significant frustration and ensure your fixture continues to perform beautifully for years.
Consider materials and designs that resist dust collection and are simple to wipe down. Smooth glass, metal, or plastic surfaces generally clean more easily than intricate designs with numerous small components. Fixtures with removable glass shades allow for thorough cleaning, while sealed designs prevent insects from finding their way inside. Remember that fixtures in open-concept kitchens may require more frequent cleaning than those in separate dining rooms.
For those worried about maintenance, I recommend scheduling quarterly cleaning of your dining fixtures as part of your regular home maintenance routine. Turn off the power, use appropriate cleaning products for your fixture’s materials, and consider investing in an extendable duster for regular touch-ups. Now, let’s look at how to achieve great style without breaking the bank.
12. Achieving Style on a Budget
Beautiful kitchen lighting over table doesn’t have to drain your wallet. There are numerous strategies for finding stylish, effective options at various price points. Consider fixtures made from less expensive materials like powder-coated metal or glass rather than crystal or hand-blown artisanal pieces. Many retailers offer designer-inspired styles at fraction of high-end prices.
Another budget-friendly approach is to update existing fixtures rather than replacing them entirely. A fresh coat of spray paint can transform an outdated chandelier, while new shades can completely change the look of basic pendants. Shopping sales, floor models, or gently used fixtures from online marketplaces can yield significant savings on quality pieces.
The styling mistake most people make is assuming that price directly correlates with style impact. Some of the most striking kitchen lighting over table arrangements come from creative approaches rather than big budgets. Focus on proportion, style compatibility, and light quality rather than price tags. With your fixture selected, let’s move on to the practical aspects of installation.
13. Installation Best Practices
Proper installation ensures your kitchen lighting over table not only looks beautiful but functions safely for years to come. The most critical step is securing the fixture to a properly rated electrical box that can support its weight. Standard junction boxes typically support fixtures up to 50 pounds, but heavier chandeliers may require special bracing attached directly to ceiling joists.
Centering the fixture perfectly over your table is essential for balanced illumination and aesthetics. If your existing junction box isn’t ideally positioned, consider using a ceiling medallion with an offset opening, installing a swag kit to redirect the fixture, or hiring an electrician to relocate the box. Always turn off power at the breaker box before beginning any electrical work, and if you’re not comfortable with wiring, professional installation is worth the investment.
The designer’s attention to detail shows in how precisely the kitchen lighting over table is positioned and how cleanly the installation is finished. Even the most beautiful fixture loses impact when installed crookedly or with exposed wiring. With your light properly installed, let’s explore how it can help define your dining space.
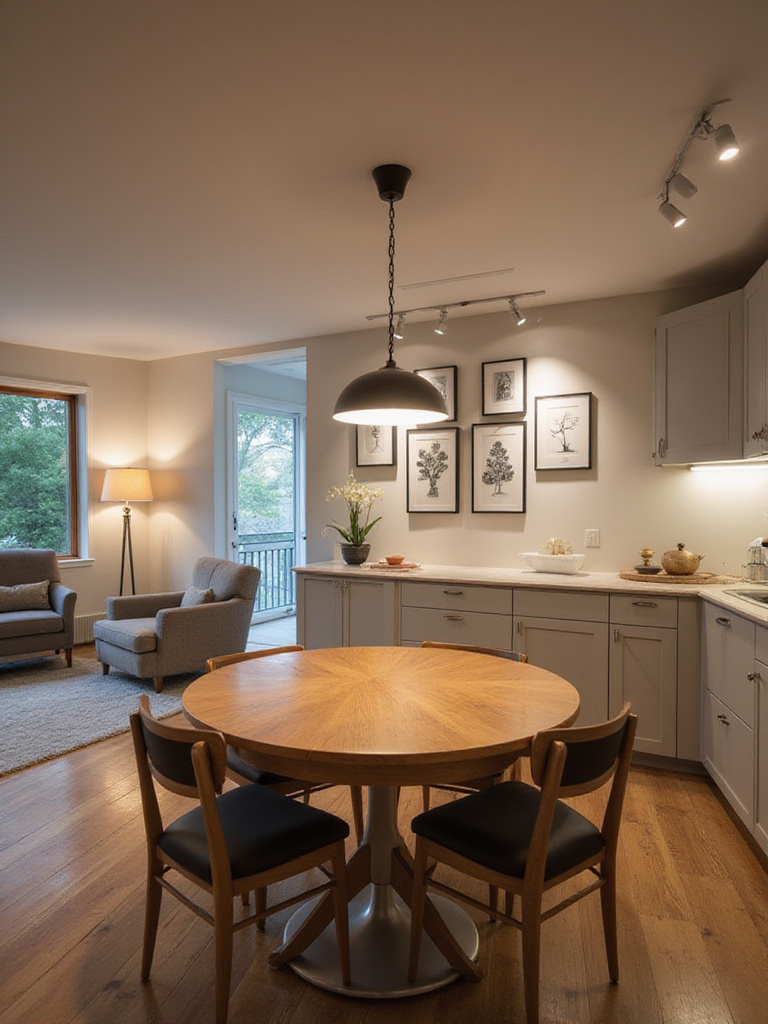
14. Defining Your Dining Zone Through Light
In open-concept kitchens or multipurpose spaces, lighting plays a crucial role in visually separating the dining area from surrounding zones. A well-chosen fixture over your kitchen table creates an architectural boundary without walls, signaling “this is where we gather to eat” and establishing a sense of intimacy within a larger room.
The contrast between your table lighting and surrounding illumination helps reinforce this boundary. Consider using slightly warmer or dimmer light over the table compared to task-oriented kitchen work areas. The physical presence of a pendant or chandelier hanging lower than ceiling-mounted fixtures further emphasizes the dining zone as a distinct space with its own purpose and character.
As morning light filters through, the texture creates a natural gathering point that draws family and friends together. This visual anchoring makes open floor plans feel more organized and intentional, giving the eye a natural place to rest. For the ultimate in control and convenience, let’s explore how smart technology can enhance your dining lighting.
15. Incorporating Smart Lighting Technology
Smart lighting brings unprecedented control and convenience to kitchen lighting over table areas, allowing you to create perfect illumination for every occasion with minimal effort. These systems range from simple Wi-Fi enabled bulbs that work with your existing fixtures to fully integrated smart pendants and chandeliers with built-in technology.
The benefits extend far beyond novelty. Program specific brightness levels and color temperatures for different activities—bright, cooler light for homework sessions or crafts, and warm, dimmed settings for dinner parties. Voice control through systems like Alexa or Google Home lets you adjust lighting hands-free while cooking or entertaining. Many systems also offer scheduling, automatically transitioning lighting throughout the day to match natural light patterns or your family’s routine.
The unexpected environmental benefit comes from the precision control smart lighting offers, allowing you to use exactly the right amount of light needed for each activity, potentially reducing energy consumption. Plus, the ability to control lights remotely means never accidentally leaving them on when you’re away. As useful as smart technology is, sometimes architectural constraints like low ceilings require specific lighting solutions.
16. Solutions for Low Ceilings
Low ceilings present unique challenges for kitchen lighting over table areas, as traditional hanging pendants or chandeliers might hang too low or make the space feel cramped. Fortunately, there are elegant solutions designed specifically for these architectural constraints that provide both style and functionality without sacrificing headroom.
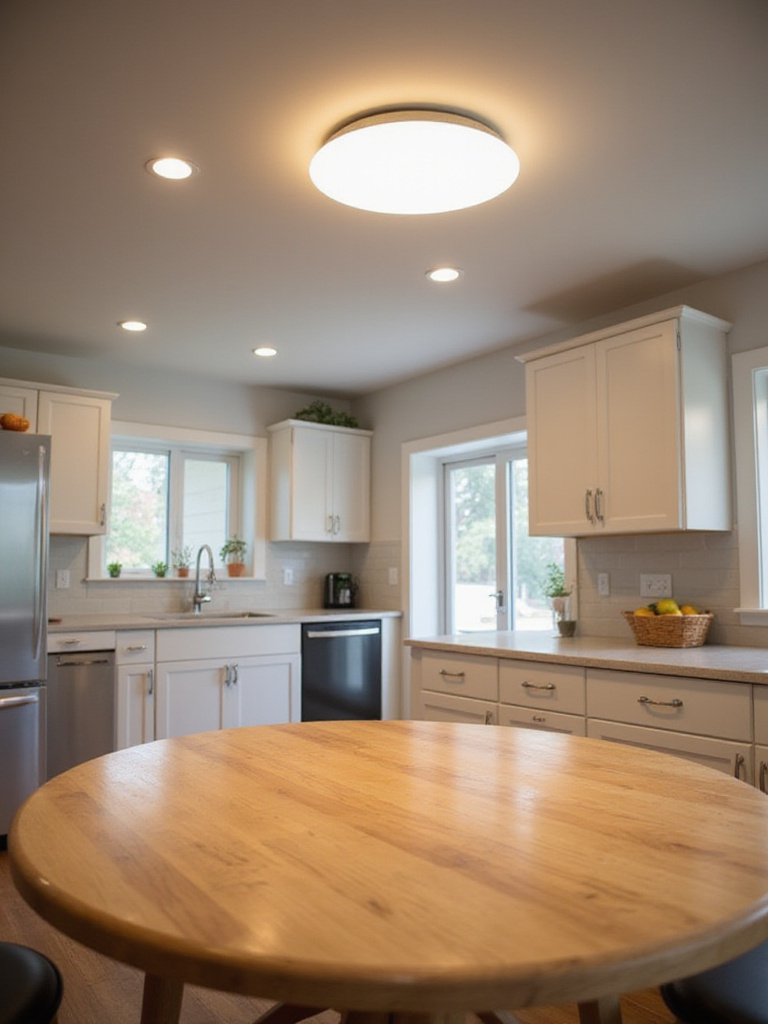
Flush mount and semi-flush mount fixtures attach directly to the ceiling or hang just a few inches below it, providing ambient light while maintaining an open feel. Today’s options go far beyond outdated “boob lights,” offering sleek contemporary designs, drum shades with diffused glow, or even statement pieces with crystals or interesting metalwork. For rectangular tables, consider multiple smaller flush mounts spaced evenly along the length rather than a single central fixture.
Even in smaller spaces, here’s how this works: measure your ceiling height and ensure at least 7 feet of clearance between the floor and the bottom of any fixture. If your ceilings are under 8 feet, focus on fixtures that extend no more than 12 inches from the ceiling surface. For kitchens with more generous ceiling heights, linear fixtures offer a contemporary alternative.
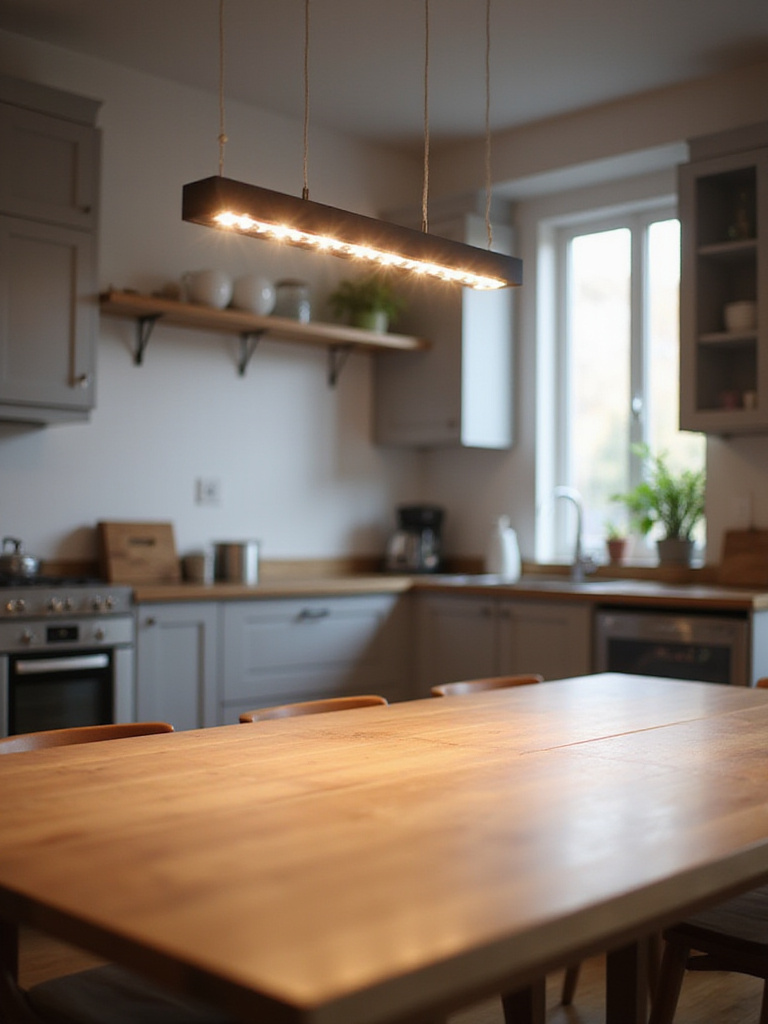
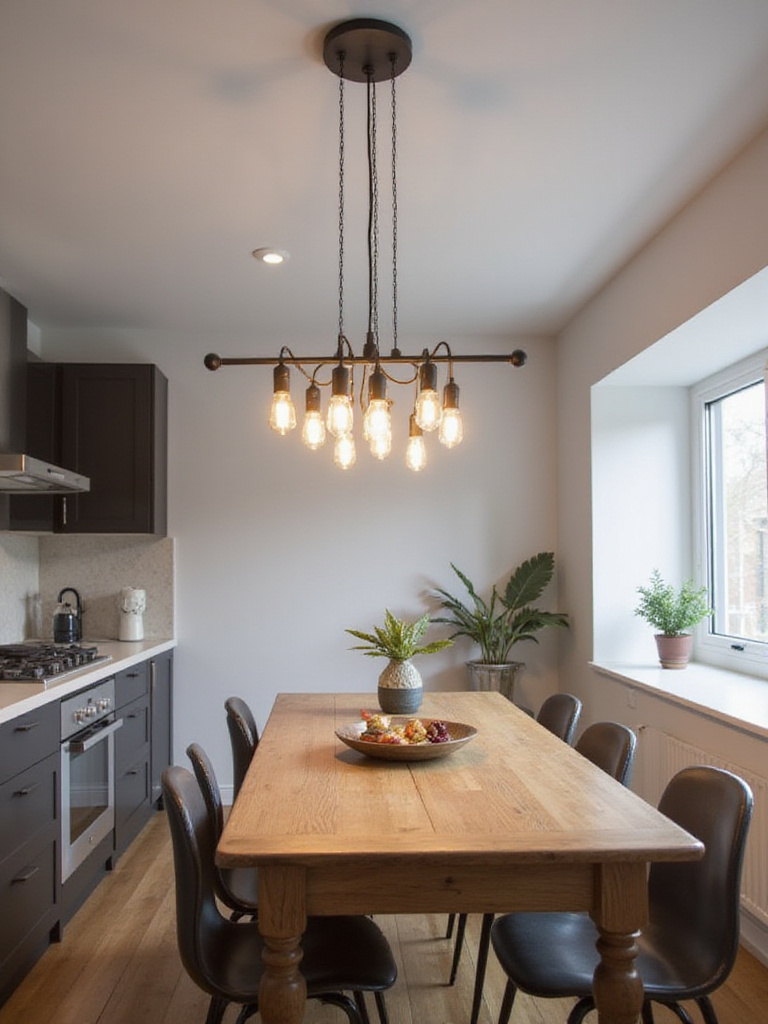
17. Exploring Linear Fixtures for Contemporary Spaces
The inspiration for this collection struck when designers recognized that traditional round fixtures don’t always complement rectangular dining tables. Linear fixtures—elongated lights that extend along the length of a table—create a natural visual pairing with rectangular or oval tables while providing even illumination across the entire surface.
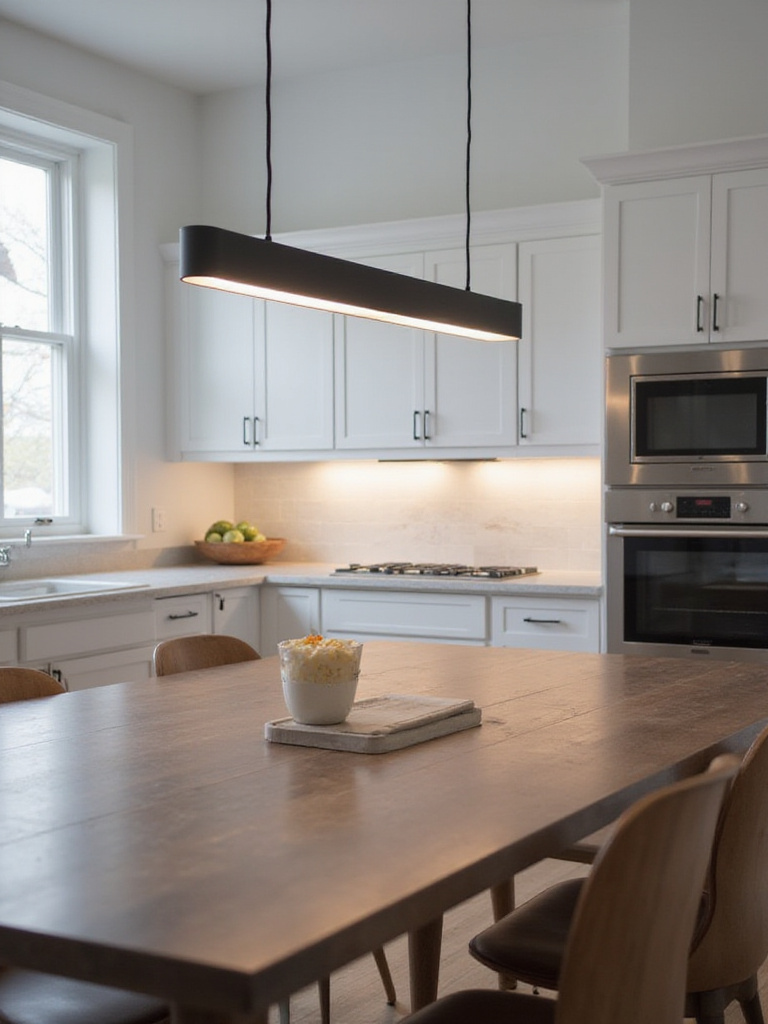
These fixtures come in various styles, from minimalist metal bars housing LED strips to elaborate linear chandeliers with multiple hanging elements arranged in a row. The linear form draws the eye along the table’s length, making it appear larger and more substantial. For kitchen islands that double as dining areas, linear fixtures help distinguish the eating zone while maintaining a cohesive overhead plane.
The evolution of this trend reflects broader cultural shifts toward more casual, multifunctional dining spaces. Linear fixtures feel architectural and contemporary, perfectly complementing today’s open-concept kitchens. Their even light distribution eliminates the “hot spot” effect of single pendants, ensuring everyone at the table enjoys the same quality of illumination. While your main fixture provides essential illumination, don’t overlook the impact of supplementary lighting.
18. Enhancing With Strategic Accent Lighting
While the primary kitchen lighting over table provides essential illumination, thoughtfully placed accent lighting nearby can elevate the dining experience to new heights. These secondary light sources add dimension, create atmosphere, and highlight architectural or decorative elements that might otherwise go unnoticed in the evening hours.
Consider wall sconces flanking a nearby sideboard, a small table lamp on an adjacent counter, or picture lights illuminating artwork in the dining area. Even LED strip lighting under a floating shelf or inside a glass-front cabinet can provide a gentle glow that complements your main fixture. These accent lights shouldn’t compete with your table lighting but rather support it, creating layers of illumination at different heights and intensities.
Beyond the obvious placement, consider using this for creating evening ambiance even when the main lights are off. A softly lit china cabinet or illuminated plant niche can provide just enough gentle illumination for late-night snacks or early morning coffee without the intensity of overhead lights. Before finalizing any lighting plan, however, it’s essential to test positions temporarily.
19. Testing Before Committing
One of the most common mistakes in kitchen lighting over table installation is skipping the crucial step of testing positions before final installation. What looks perfect in theory or in a showroom might create unexpected shadows, hang awkwardly, or simply feel wrong in your actual space. Taking time to temporarily mock up your lighting prevents costly mistakes and disappointment.

For hanging fixtures, use painter’s tape to mark ceiling positions and temporarily hang cardboard cutouts or the actual fixture (without permanent wiring) at various heights. Stand back, sit at the table, and evaluate how it looks and feels from different angles. Check for potential glare issues, ensure it doesn’t obstruct important sightlines, and verify that the light distribution covers the entire table surface evenly.
The visual weight balances perfectly when you take the time to test different positions and heights before drilling holes or calling the electrician. This extra step might add a day to your project timeline but can save weeks of living with improperly positioned lighting. As you test, pay special attention to how light and shadow interact in your space.
20. Embracing the Beauty of Shadows
We’ve been focusing on light, but the absence of light—shadow—plays an equally important role in creating atmosphere around your kitchen table. Strategic shadows add depth, dimension, and visual interest that flat, shadowless lighting cannot achieve. They highlight textures, create rhythm, and add a sense of intimacy that makes dining more engaging and memorable.
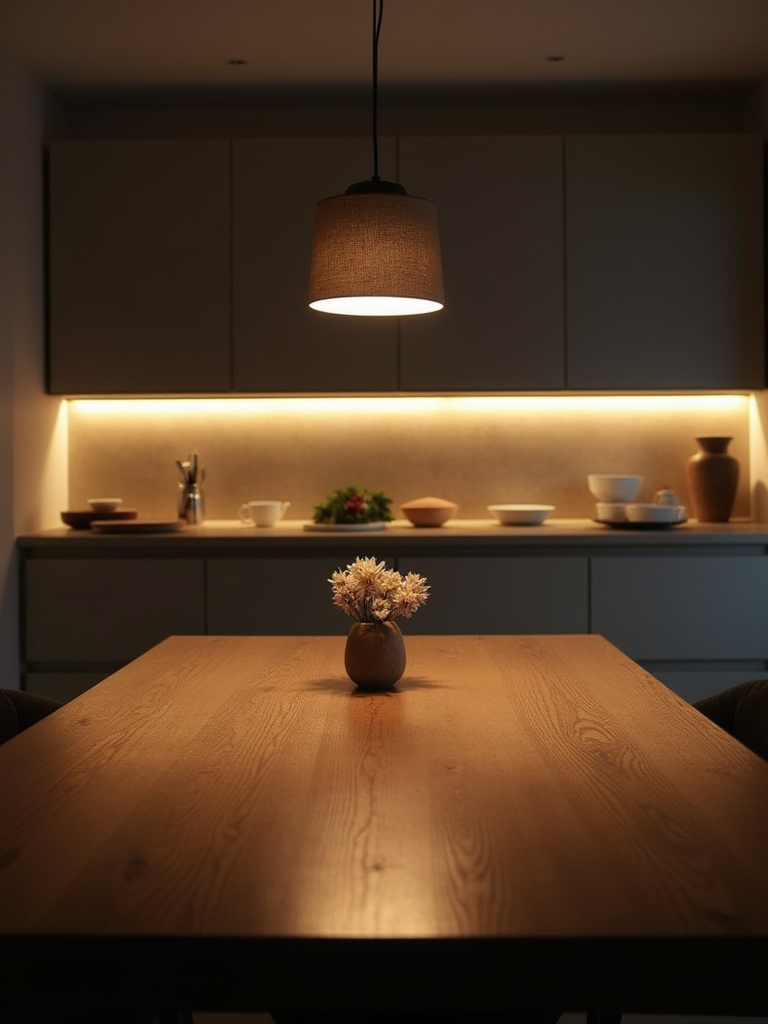
The type of fixture you choose directly impacts shadow patterns. Open-frame pendants cast interesting geometric shadows on the table and walls. Fixtures with perforated shades create delicate shadow patterns that dance across surfaces. Even solid shades produce defined edges of light and shadow that can frame the table area dramatically. Consider how these shadow effects will interact with your table setting, centerpieces, and wall textures.
The tactile experience changes the entire room’s energy when you embrace the interplay of light and shadow rather than trying to eliminate all shadows. This approach creates dining experiences that feel more natural and nuanced, similar to candlelight dining but with greater functionality. The most successful kitchen lighting over table installations celebrate this balance between illumination and shadow.
Conclusion
The journey to perfect kitchen lighting over table areas involves thoughtful consideration of both technical elements and aesthetic qualities. From selecting the right fixture type and size to determining ideal height, understanding light output, and embracing energy-efficient technology, each decision contributes to creating a dining space that’s both functional and beautiful.
Remember that lighting is never just about visibility—it’s about creating atmosphere, defining space, and enhancing the experiences that happen around your table. Whether you’re enjoying family meals, hosting friends, or simply enjoying a quiet cup of coffee, the right lighting transforms these everyday moments into something special.
By implementing these 20 ideas, you can create kitchen lighting over table areas that perfectly balance form and function, enhancing both your home’s design and the quality of time spent gathering around the table. After all, in the heart of the home, it’s not just about illuminating a surface—it’s about lighting up life’s most meaningful moments.